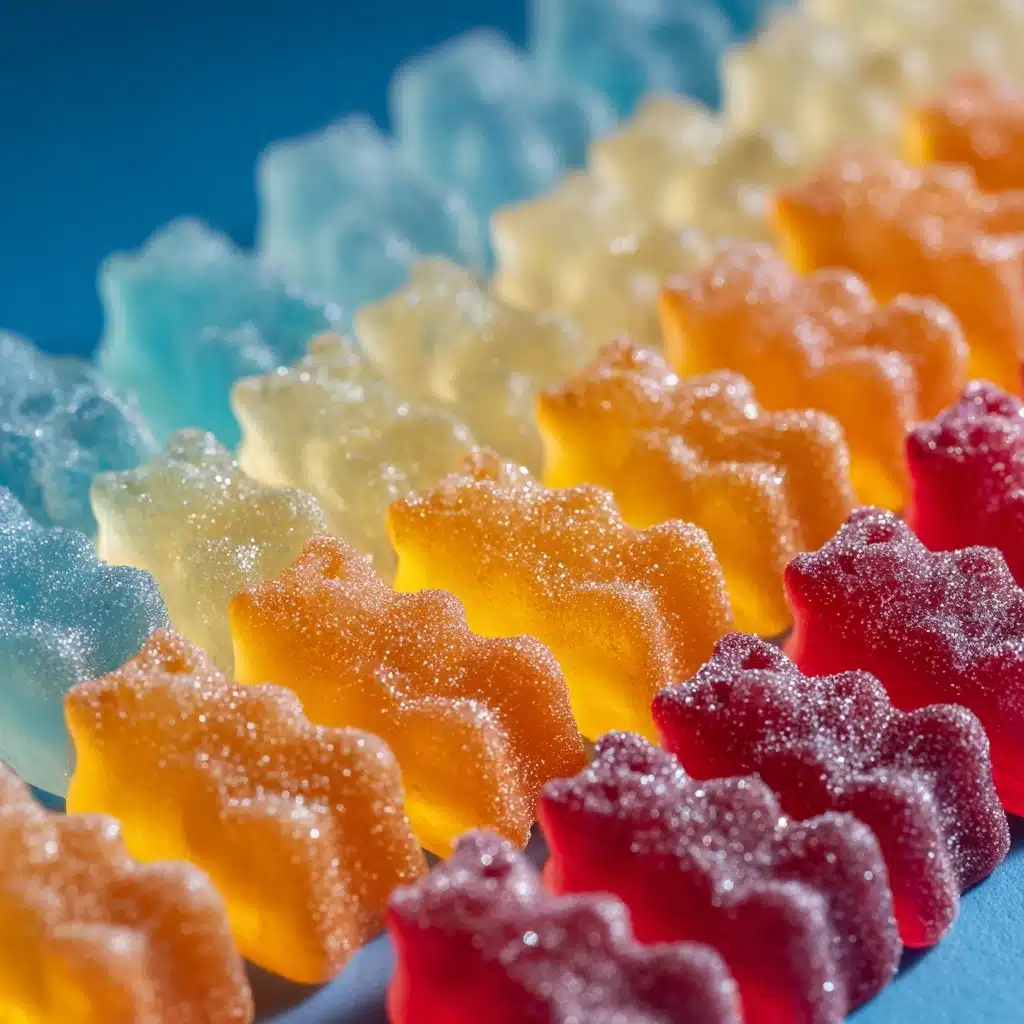
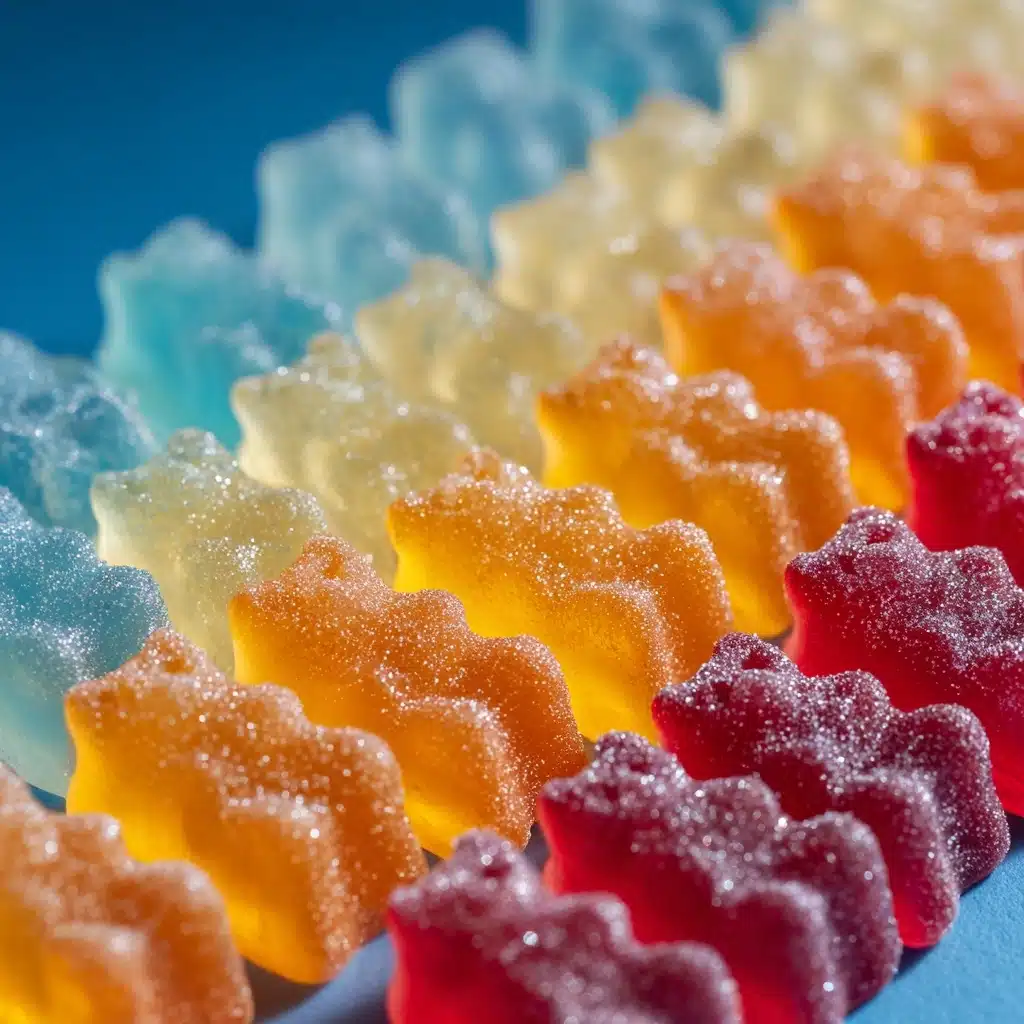
If you’ve ever dreamed of making dazzling, colorful sweets right in your own kitchen, Homemade Rock Candy is a fantastic adventure. These sparkling sugar crystals are as much a science experiment as they are a whimsical treat, perfect for kids and grownups alike. With just a handful of pantry staples and a splash of creativity, you can craft delicious, eye-catching candies in your favorite flavors and hues. Homemade Rock Candy is a treat that combines nostalgia, fun, and flavor in every crystal, making it a showstopper for parties, gifts, or just a sweet kitchen project with the family.
Ingredients You’ll Need
The magic of Homemade Rock Candy lies in its simplicity. Each ingredient plays a vital role, from forming those signature sparkling shards to carrying amazing flavors and vivid colors. Don’t skimp on the basics—the beauty of this recipe is how a few ordinary items can transform into something extraordinary!
- Water: The base that dissolves your sugar and starts the crystal-forming magic.
- Granulated Sugar: The star of the show—this is what grows into those beautiful crystals, so use plenty!
- Extra Sugar (for seeding): Rolling the sticks in sugar helps kickstart the crystallization process for impressive results.
- Food Coloring (optional): Adds a festive and playful touch—choose your favorite colors for maximum fun.
- Flavored Extract (vanilla, cherry, or peppermint): Infuses your rock candy with delicious, customizable taste.
- Wooden Skewers or Strings: These will become the base for your rock candy sticks or shaped crystals.
- Clothespins or Clips: Keep your skewers perfectly suspended so crystals can grow undisturbed.
- Clean Glass Jars: The vessels for your sugar syrup—make sure they’re spotless for best results!
How to Make Homemade Rock Candy
Step 1: Prepare the Skewers or Strings
Start this fun project by prepping your candy-making anchors. Dip wooden skewers or strings in water, then roll them thoroughly in granulated sugar. This “seeding” layer is key, as it gives the sugar crystals a head start when they start growing. Let them dry completely on a parchment-lined tray; patience here means even bigger, shinier crystals later on!
Step 2: Make the Sugar Syrup
Grab a large saucepan and pour in the water. Set it over medium heat and let it come to a boil. Once you see those first rolling bubbles, begin adding your granulated sugar very gradually—about a cup at a time. Stir constantly as you go, making sure each batch dissolves fully before adding more. This step is crucial for achieving a perfectly saturated syrup that’ll form gorgeous crystals.
Step 3: Add Color and Flavor
After every last grain of sugar has vanished and your mixture is gleaming and clear, bring the syrup to a rolling boil, then remove from the heat. Now’s the moment to personalize! Stir in your chosen flavored extract and a few drops of food coloring if you’d like to give your Homemade Rock Candy some extra pizzazz. Let the mixture cool for 15–20 minutes so it won’t melt your seeding sugar when you add the sticks.
Step 4: Set Up the Jars
Carefully pour your cooled sugar syrup into clean glass jars, filling them almost to the top but not overflowing. Suspend your prepared skewer or string in the center of each jar using clothespins or clips, ensuring it doesn’t touch the bottom or sides. The key is to keep everything steady and undisturbed! Place your jars in a cool spot where they won’t be jostled.
Step 5: Grow Sugar Crystals
Now comes the hard part: waiting! Let your Homemade Rock Candy rest quietly for 5 to 7 days. Try not to disturb the jars as the sugar crystals work their slow, glittery magic. Over the week, you’ll notice dazzling crystals forming and fanning out. When the rock candy has reached the size and sparkle you like, gently remove each stick and let them dry on parchment paper.
How to Serve Homemade Rock Candy
Garnishes
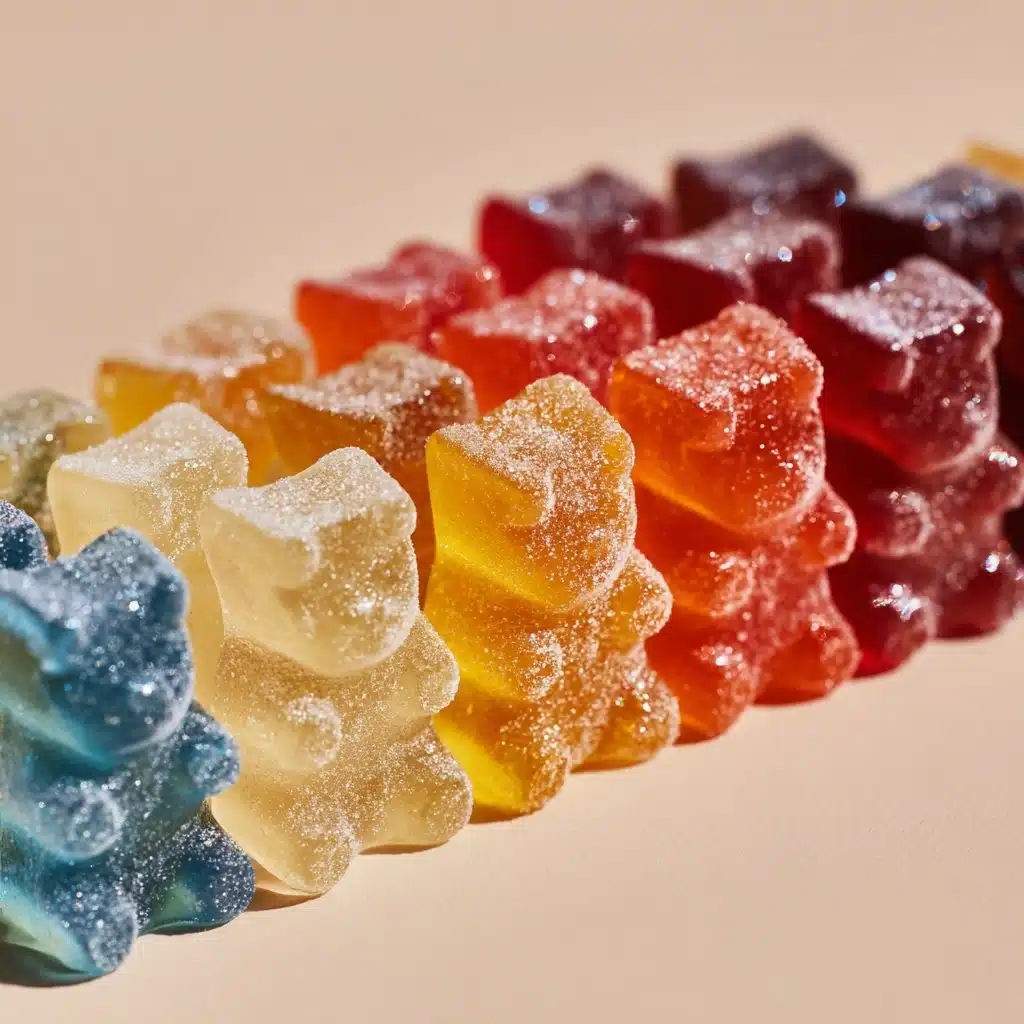
Sprinkle your Homemade Rock Candy sticks with edible glitter or add pretty ribbons to their handles for a festive touch. You can even dust them with coordinating colored sugar for a little extra sparkle to match a party theme or holiday.
Side Dishes
While rock candy is marvelous on its own, it pairs wonderfully alongside a steamy mug of tea or a rich hot chocolate, where it doubles as a stir stick and sweetener. Place them atop a tiered dessert tray with cookies, brownies, or even fruit for a delightful contrast of textures and colors.
Creative Ways to Present
Homemade Rock Candy is a showstopper when gifted in clear cellophane bags with bright bows, nestled in mason jars with a handwritten tag, or arranged in decorative vases as an edible centerpiece. Consider bundling several flavors and colors together for a rainbow effect—it’s guaranteed to wow guests or recipients!
Make Ahead and Storage
Storing Leftovers
Keep your Homemade Rock Candy beautiful and fresh by storing it in an airtight container at room temperature. Ensure each stick is completely dry before packaging to prevent any stickiness or crystal melting. When stored properly, the candy will last for weeks, ready for snacking or gift-giving at a moment’s notice.
Freezing
Freezing is not recommended for Homemade Rock Candy, as the moisture can cause the sugar crystals to dissolve or become sticky when thawed. Instead, keep them in a dry, cool spot away from any humidity or strong odors for best results.
Reheating
There’s no need to reheat Homemade Rock Candy—once the crystals have formed and dried, they’re good to go! If your candy gets sticky from humid air, laying it out on parchment paper in a dry area should help it firm up again.
FAQs
Why isn’t my rock candy forming crystals?
Often, the issue is with an undersaturated syrup or a disturbed jar. Make sure you’ve used enough sugar to fully saturate the solution, and try to keep jars as still as possible in a spot free from vibrations or temperature swings. Don’t forget to seed your sticks generously!
How can I speed up the crystal growing process?
Using narrower jars can help create larger, quicker crystals since the solution is concentrated around the stick. Additionally, keeping the syrup undisturbed and out of direct sunlight will help crystals form more rapidly. Resist the urge to check too frequently!
Can I use natural food coloring or different flavors?
Absolutely! Gel or powder natural food coloring works beautifully, and extracts like orange, lemon, or almond give endless flavor combos to your Homemade Rock Candy. Always add extracts after you’ve removed the syrup from heat to preserve their full flavor.
Is Homemade Rock Candy safe for kids to make?
It’s a fantastic project for children with close adult supervision, especially during the boiling sugar steps and handling hot syrup. Let little ones help with prepping skewers, choosing colors, or wrapping the finished candies for gifts!
Can I make rock candy without skewers?
Yes! You can tie a string to a pencil and suspend it in the syrup, or use other food-safe items as surfaces for crystallization. Just ensure they’re clean and able to hang in the center of your jar for best results.
Final Thoughts
Homemade Rock Candy is pure nostalgia and creativity wrapped up in one sparkling treat. It’s such a joy to watch the crystals grow—almost like kitchen magic! Give this recipe a try and share the sweet results with friends, family, or anyone who could use a sugary smile. Happy candy making!
Print
Homemade Rock Candy Recipe
- Prep Time: 20 minutes
- Cook Time: 10 minutes
- Total Time: 30 minutes (plus 5–7 days growing time)
- Yield: 8 rock candy sticks
- Category: Dessert
- Method: Stovetop
- Cuisine: American
- Diet: Vegetarian
Description
Learn how to make your own delicious Homemade Rock Candy with this easy recipe. Perfect for a fun kitchen project with kids or as a sweet treat for yourself!
Ingredients
For the Rock Candy:
- 2 cups water
- 6 cups granulated sugar (plus extra for seeding)
- food coloring (optional)
- 1–2 teaspoons flavored extract (such as vanilla, cherry, or peppermint)
For Assembly:
- wooden skewers or strings
- clothespins or clips
- clean glass jars
Instructions
- Prepare Skewers or Strings: Dip skewers or strings in water, roll in sugar, and let dry.
- Boil Sugar: Boil water in a saucepan, add sugar gradually, stir until dissolved.
- Add Color and Flavor: Stir in coloring and extract, if desired.
- Cool and Pour: Let syrup cool, then pour into jars.
- Set Up: Suspend skewers in jars, avoiding contact with sides.
- Grow Crystals: Leave undisturbed for 5–7 days.
- Finish: Remove sticks and dry on parchment paper.
Notes
- To speed up crystallization, avoid moving jars.
- Using narrower jars can help crystals grow faster and larger.
- Supervise children during boiling and handling.

