

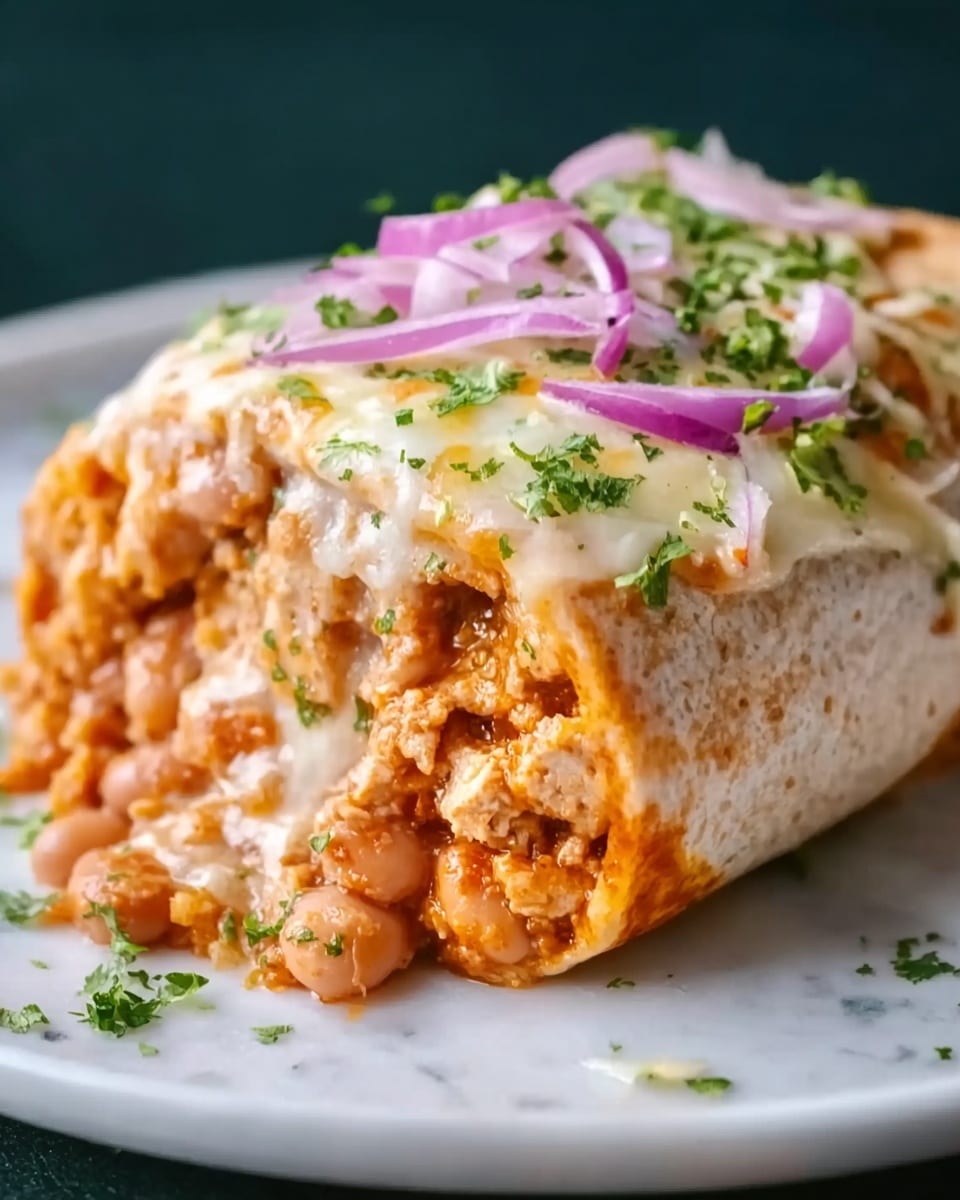
If you have ever dreamed of marrying the gooey, cheesy goodness of a quesadilla with the satisfying heartiness of a burrito, then this Homemade Quesarito Recipe is going to be your next obsession. This dish is a delightful fusion of crispy tortillas, melted cheese, savory seasoned beef, and flavorsome rice wrapped up in one irresistible package. It’s the perfect combination of textures and tastes that will make every bite a celebration of comfort food done right. Trust me when I say, once you try this Homemade Quesarito Recipe, it will become your go-to for a quick, comforting, and utterly delicious meal.

Ingredients You’ll Need
Gathering simple ingredients is the key to making this Homemade Quesarito Recipe a crowd-pleaser. Each ingredient plays a vital role—from the melty cheeses that create the perfect gooey texture to the seasoned ground beef that packs in rich, savory depth. The rice adds a soft base, while the tortillas bring it all together with a satisfying crispiness once toasted.
- 2 large flour tortillas: The foundation that holds your quesarito together, providing structure and crunch.
- 1/2 cup shredded cheddar cheese: Adds sharpness and helps seal the tortilla layers with excellent meltability.
- 1/2 cup cooked white or Mexican rice: Gives a soft, fluffy texture and acts as a hearty filler.
- 1/2 cup seasoned ground beef: Packed with flavor, it’s the savory heart of this dish—season to your preference!
- 1/4 cup nacho cheese sauce: Creamy and indulgent, it brings an extra layer of cheesy goodness.
- 2 tbsp sour cream: Adds cool, tangy contrast to balance the richness.
- 1/4 cup shredded mozzarella or Mexican blend cheese: For a smooth, stretchy texture that complements the cheddar.
- 1 tbsp butter or oil: Essential for toasting the tortillas to a golden crisp without sticking.
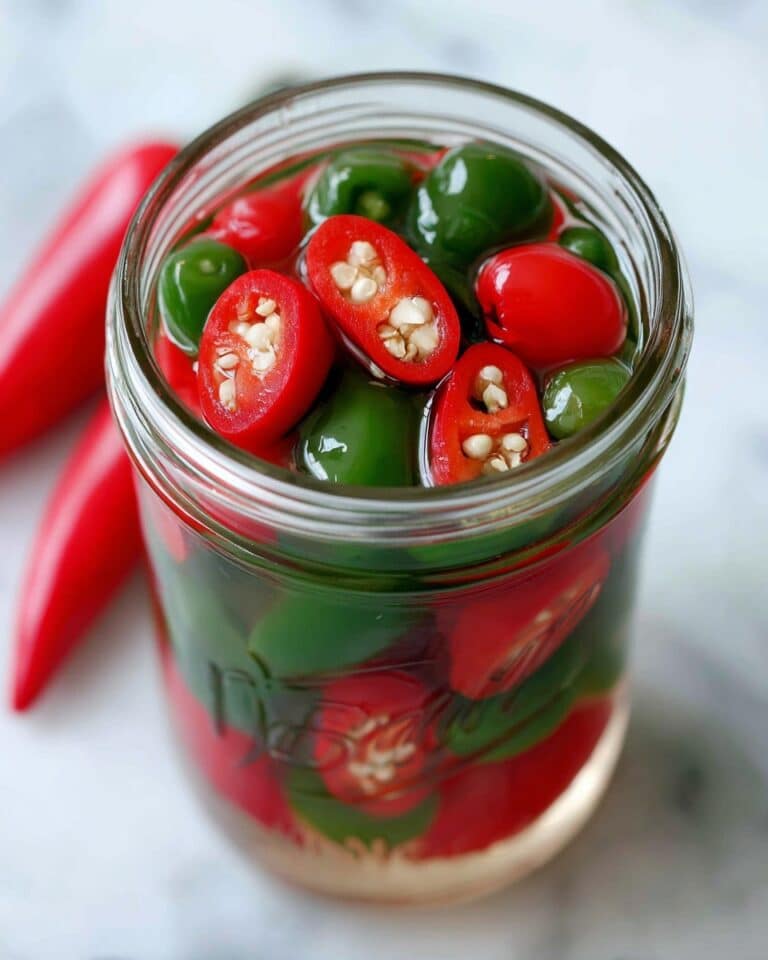
- Optional toppings (hot sauce, chopped jalapeños, or guacamole): Customize your quesarito with a little heat or creamy freshness.
How to Make Homemade Quesarito Recipe
Step 1: Prepare the Cheese-Layered Tortilla
Start by laying one flour tortilla flat on a clean surface. Evenly sprinkle the shredded cheddar cheese over the entire tortilla—this will create that crispy, cheesy outer shell you are aiming for. Once spread, place the second tortilla on top and gently press it down to help the two tortillas stick together with the cheese in between.
Step 2: Toast the Tortilla “Quesadilla” Base
Heat a large skillet over medium heat and melt the butter or warm the oil. Carefully transfer the double-layered tortilla to the skillet. Toast until the bottom tortilla turns golden brown and the cheddar cheese melts, about 2 to 3 minutes. Flip it over and toast the other side until equally golden and melty. Remove from heat and let it cool slightly so you can handle it while building your quesarito inside.
Step 3: Add Rice and Beef Filling
Lay the toasted quesadilla flat on a cutting board or work surface. Spread the cooked rice in a horizontal line across the center—this keeps everything contained when you roll. Next, add the seasoned ground beef on top of the rice, distributing it evenly for balanced flavor in every bite.
Step 4: Layer Sauces and Extra Cheese
Drizzle the nacho cheese sauce evenly over the beef to introduce a creamy and flavorful layer. Add dollops of sour cream for tangy coolness, then sprinkle the shredded mozzarella or your preferred Mexican blend cheese on top. If you like a little spice or freshness, now’s the time to scatter chopped jalapeños, a splash of hot sauce, or guacamole.
Step 5: Roll and Seal Your Quesarito
Carefully fold the sides of the quesadilla inwards, then roll tightly like a burrito to encase all the fillings. Make sure it’s snug so nothing falls out when you toast it again.
Step 6: Final Toast to Crisp and Seal
Place the rolled quesarito seam-side down in the hot skillet. Toast for 1 to 2 minutes until the seam is sealed and the exterior is beautifully crisped. Flip it over if you want both sides perfectly golden and crunchy. This final step ensures your quesarito holds its shape and is irresistibly crispy.
Step 7: Slice and Serve
Remove from the pan and slice the quesarito in half to showcase all the layers inside. Serve hot with extra sour cream or your favorite dipping sauce. This is when you get to enjoy the fruits of your labor, a crunchy, cheesy, meaty delight packed with flavor and perfectly balanced textures.
How to Serve Homemade Quesarito Recipe
Garnishes
Brighten up your quesarito with fresh garnishes like chopped cilantro, diced tomatoes, or even a squeeze of lime. These add freshness and vibrant color that play beautifully against the rich, melty insides.
Side Dishes
Pair this Homemade Quesarito Recipe with classic sides like a crunchy salad, refried beans, or crispy tortilla chips for added textures. You can also serve it alongside some smoky grilled veggies or a zesty corn salsa for a complete meal experience.
Creative Ways to Present
Turn your quesarito into a fun party food by cutting it into smaller bite-sized pieces and serving with a variety of dipping sauces. You could also build a “quesarito station” with various fillings and toppings so everyone can customize their own.
Make Ahead and Storage
Storing Leftovers
Leftover Homemade Quesarito Recipe can be wrapped tightly in foil or plastic wrap and stored in the fridge for up to 3 days. This keeps the exterior crisp and the insides fresh, ready for a quick reheat.
Freezing
If you want to make these in advance, freeze your rolled quesaritos before the final toast. Wrap each one individually and freeze for up to 1 month. To enjoy later, thaw overnight in the fridge and re-toast to crisp them up.
Reheating
Reheat leftovers in a hot skillet over medium heat to revive that crispiness on the outside while warming the inside thoroughly. Avoid microwaving if you want to keep the delightful crunch intact.
FAQs
Can I use other types of meat for this Homemade Quesarito Recipe?
Absolutely! Ground turkey, chicken, or even plant-based meats work wonderfully. Just season them well to maintain that savory punch.
Is it possible to make this recipe vegetarian?
Yes, swap the ground beef with beans, sautéed mushrooms, or seasoned veggies for a delicious vegetarian version.
What type of cheese works best for the quesadilla layers?
Cheddar is great for sharp flavor and melt, but a Mexican blend or mozzarella adds superb stretchiness. Mixing cheeses can bring the best of both worlds.
Can I prepare the rice in advance?
Definitely. Cooked rice can be made ahead and stored in the fridge for a couple of days, making assembly quicker when you’re ready to cook.
How spicy can I make this dish?
As much or as little as you like! Add jalapeños, hot sauce, or spicy seasoning to the beef to bring your desired kick to this Homemade Quesarito Recipe.
Final Thoughts
Making the Homemade Quesarito Recipe is an absolute joy and a delightful treat that anyone can whip up in no time. It’s a perfect blend of cheesy, savory, and crispy that hits all the right spots whenever you crave something filling and flavorful. I wholeheartedly encourage you to try this recipe and watch how it quickly becomes a favorite for busy weeknights or casual gatherings. Happy cooking and even happier eating!
Print
Homemade Quesarito Recipe
- Prep Time: 10 minutes
- Cook Time: 10 minutes
- Total Time: 20 minutes
- Yield: 1 serving
- Category: Main Course
- Method: Frying
- Cuisine: Mexican American
Description
This Homemade Quesarito recipe combines the cheesy goodness of a quesadilla with the hearty filling of a burrito for a deliciously satisfying meal. Featuring layers of melted cheddar and mozzarella cheeses, seasoned ground beef, rice, nacho cheese sauce, and sour cream, all wrapped in toasted flour tortillas, this quick and easy dish is perfect for lunch or dinner. Customize it with your favorite extras like hot sauce, jalapeños, or guacamole for an extra kick.
Ingredients
Main Ingredients
- 2 large flour tortillas
- 1/2 cup shredded cheddar cheese
- 1/2 cup cooked white or Mexican rice
- 1/2 cup seasoned ground beef (or beef of choice)
- 1/4 cup nacho cheese sauce
- 2 tbsp sour cream
- 1/4 cup shredded mozzarella or Mexican blend cheese
- 1 tbsp butter or oil (for toasting)
Optional Extras
- Hot sauce, to taste
- Chopped jalapeños, to taste
- Guacamole, for serving
Instructions
- Prepare the cheese base: Lay one flour tortilla flat on a clean surface and sprinkle the shredded cheddar cheese evenly across the entire surface to ensure a melty and flavorful base for the quesadilla.
- Make the quesadilla: Place the second tortilla on top of the first, pressing slightly to help them stick together. Heat a large skillet over medium heat and add butter or oil for toasting. Carefully place the tortilla stack in the skillet and toast until the bottom tortilla is golden brown and the cheese is melted, about 2-3 minutes. Flip and toast the other side similarly. Remove from heat once both sides are crispy and melty.
- Add the fillings: Lay the toasted quesadilla flat on a cutting board. In a horizontal line across the center, spread the cooked rice, followed by the seasoned ground beef. Drizzle the nacho cheese sauce and spoon sour cream evenly over the filling, then sprinkle the shredded mozzarella or Mexican blend cheese on top. Add any optional extras like hot sauce or chopped jalapeños for added flavor and heat.
- Fold and roll: Fold in the sides of the quesadilla tightly over the filling, then roll it up like a burrito, ensuring the filling is enclosed securely.
- Seal and crisp: Return the rolled quesarito to the skillet over medium heat, placing it seam-side down to seal the roll. Toast for 1-2 minutes until the seam holds and the exterior is crisp. Flip carefully and toast the other side if desired for extra crunch.
- Serve: Remove the quesarito from the skillet and slice in half to serve. Enjoy it hot with your favorite dipping sauces, extra sour cream, guacamole, or salsa on the side.
Notes
- Use seasoned ground beef or any preferred ground meat such as turkey or chicken for variations.
- For a vegetarian version, substitute beef with cooked beans or sautéed vegetables.
- Customize heat levels by adding jalapeños, hot sauce, or omit entirely for a milder taste.
- Ensure the skillet is preheated properly to get a crispy and well-sealed quesadilla exterior.
- Use fresh, warm tortillas for easier folding and better texture.


