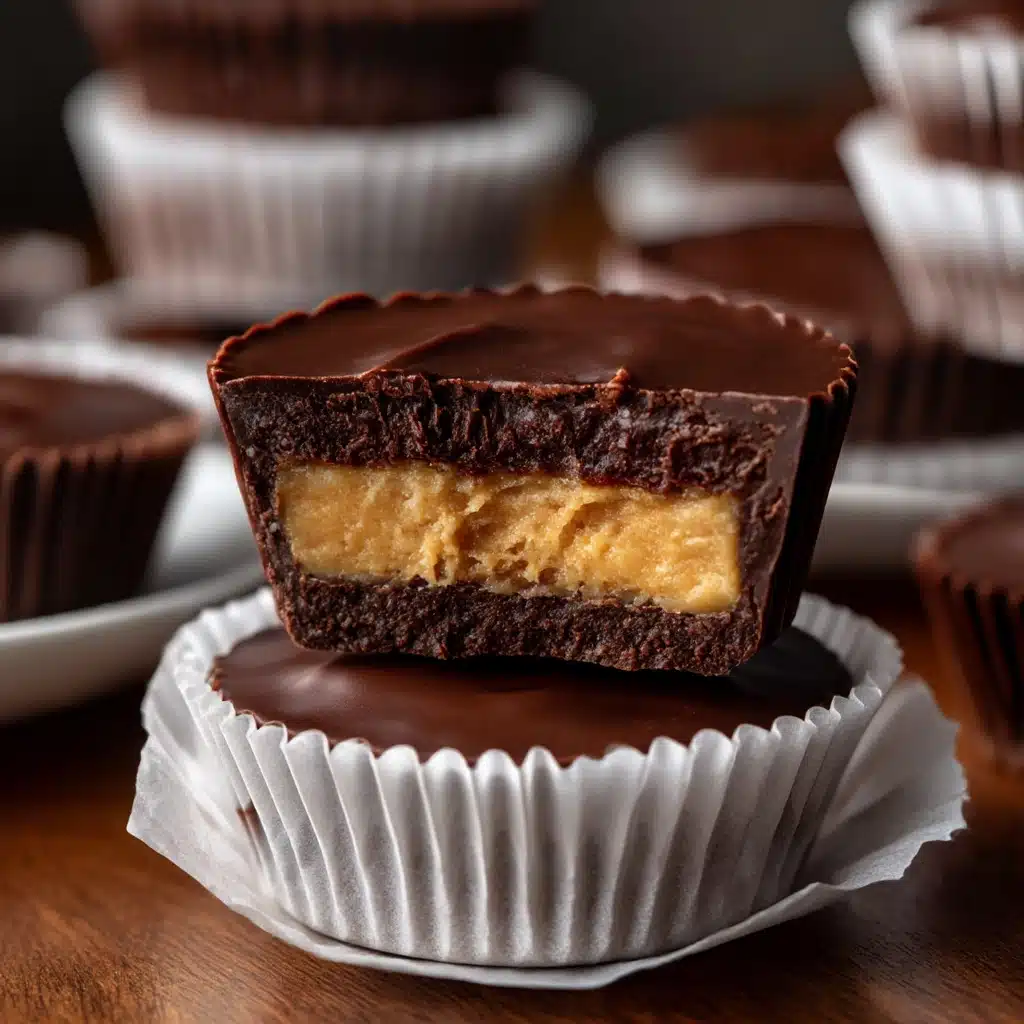
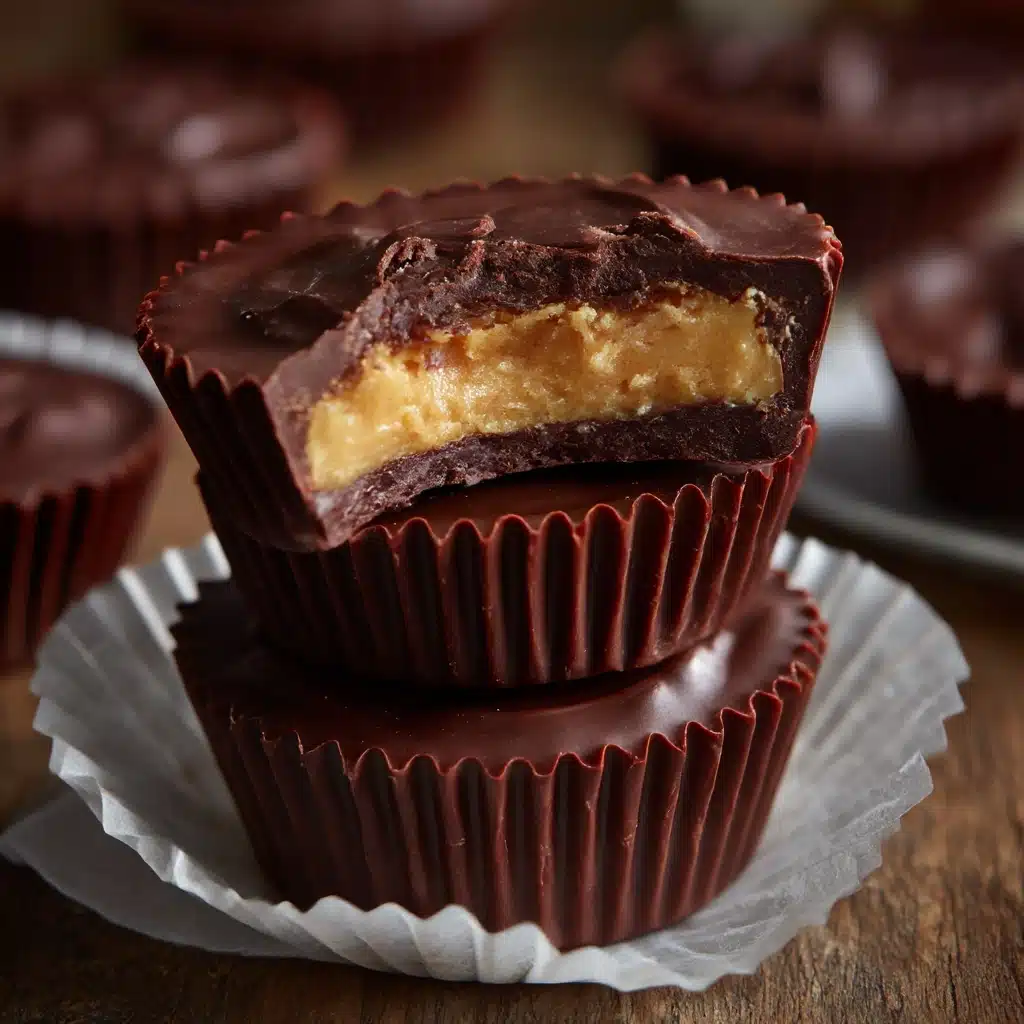
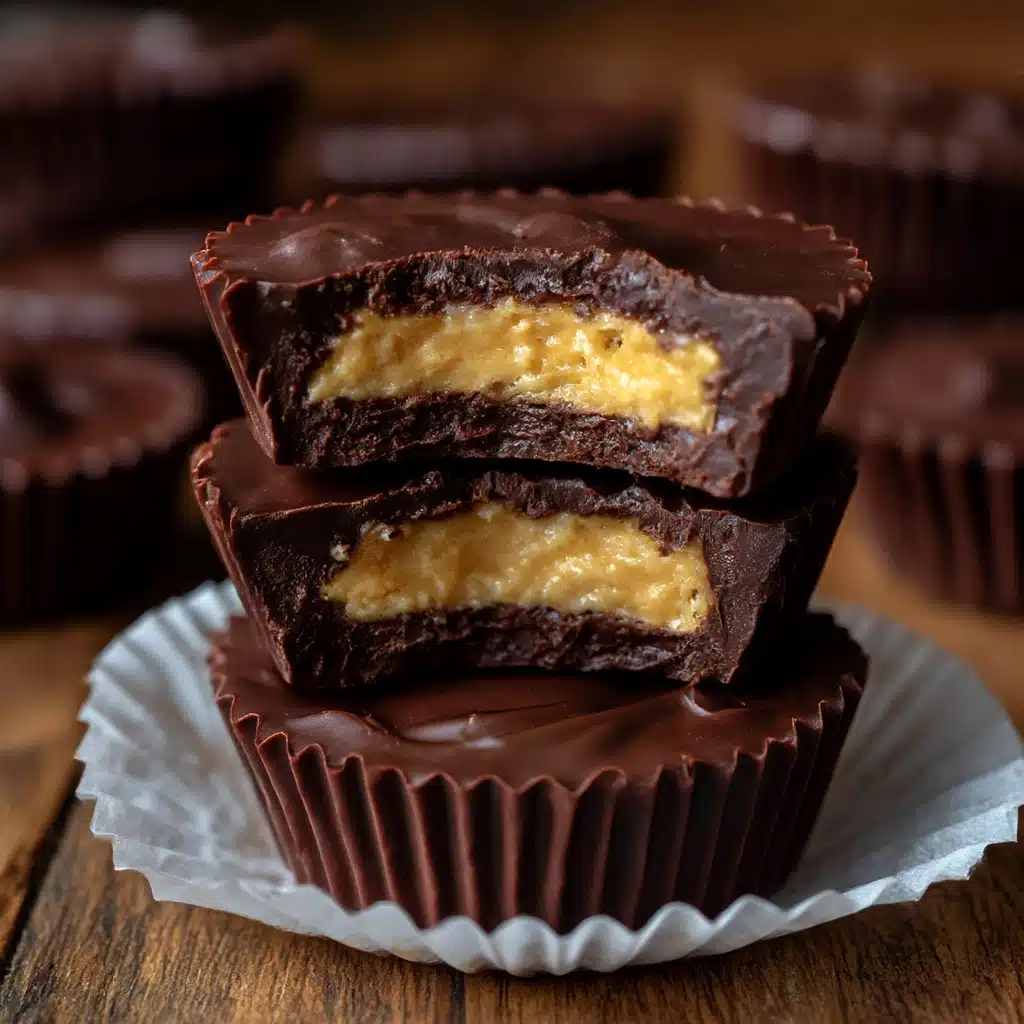
If you’ve always dreamed of sinking your teeth into the perfect blend of creamy, salty-sweet peanut butter and velvety chocolate, these Homemade Peanut Butter Cups are about to make your kitchen feel like a gourmet candy shop. They’re much more than just a nostalgic treat—every bite is a joyful, melt-in-your-mouth experience, crafted with simple ingredients you probably already have on hand. Whether you whip up a batch for a party, whip out a few as an afternoon pick-me-up, or gift them to friends, you’ll find yourself reaching for this recipe again and again. The best part? You control every layer, so they’re fresher, bolder, and somehow even more satisfying than the store-bought ones.
Ingredients You’ll Need
It’s almost magical how only a handful of pantry staples can come together to create something this crave-worthy. Each ingredient in these Homemade Peanut Butter Cups plays a crucial role, adding depth to the flavor, boosting the texture, or creating that signature appearance you know and love.
- Semi-sweet chocolate chips: The foundation of each cup, these provide a rich, balanced sweetness that lets the peanut butter shine.
- Coconut oil: This helps the chocolate melt smoothly and gives your cups that glossy, irresistible finish.
- Creamy peanut butter: The star of the show! Go for your favorite brand—you’ll taste the difference in every bite.
- Powdered sugar: Blends seamlessly into the peanut butter, adding sweetness and a slightly fluffy texture.
- Unsalted butter (softened): Makes the filling creamy and luxurious, ensuring it melts in your mouth.
- Salt: Just a pinch brings out the flavors and balances the sweetness beautifully.
- Flaky sea salt (optional): Adds a gourmet touch and an extra pop of flavor on top—totally worth it!
How to Make Homemade Peanut Butter Cups
Step 1: Set Up Your Mold
Start by lining a 12-cup mini muffin tin with paper liners. This step might seem simple, but it’s what gives your treats their adorable shape and makes popping them out later a breeze! A sturdy liner also keeps your chocolate layers neat.
Step 2: Melt the Chocolate
In a microwave-safe bowl, combine the chocolate chips and coconut oil. Heat in 30-second bursts, stirring between each until you have a perfectly smooth, glossy mixture. The coconut oil is your secret weapon here—it helps the chocolate layer coat evenly and firms up to a slight snap in the fridge.
Step 3: Form the Chocolate Base
Spoon about 1 teaspoon of the melted chocolate into each muffin liner. Use the back of your spoon to gently spread the chocolate, nudging it up the sides just a bit. This creates a little shell to cradle the peanut butter later. Pop the tin in the freezer for 10 minutes so the base can firm up—it’s a quick chill that makes all the difference.
Step 4: Mix the Peanut Butter Filling
While the chocolate sets, stir together the creamy peanut butter, powdered sugar, softened butter, and salt in a mixing bowl. You’ll end up with a dreamy, fluffier peanut butter mixture—sweet, salty, and perfectly spreadable. Taste it now if you must, but try to save enough for filling your cups!
Step 5: Add the Filling
Once the chocolate bottoms are firm, retrieve your muffin tin from the freezer. Add about a teaspoon of the peanut butter mixture to each cup, flattening it gently with your fingers or the back of a spoon. Don’t worry if it’s a little sticky—that means you nailed the texture!
Step 6: Top Off with More Chocolate
Spoon a final teaspoon of melted chocolate over each peanut butter layer, smoothing the tops gently. If you like that gourmet touch, sprinkle flaky sea salt on top before the chocolate sets. It’s optional, but it makes these Homemade Peanut Butter Cups totally irresistible.
Step 7: Chill to Perfection
Return the muffin tin to the freezer for another 15 to 20 minutes, or until the peanut butter cups are completely set. Once firm, they’re ready to devour—just store them in the fridge until showtime.
How to Serve Homemade Peanut Butter Cups
Garnishes
A little sprinkle of flaky sea salt on top instantly elevates your peanut butter cups, adding a touch of sophistication and a satisfying crunch. You can also try a light dusting of cocoa powder, a swirl of melted white chocolate, or even a few crushed peanuts for a fun twist.
Side Dishes
Pair your Homemade Peanut Butter Cups with a big glass of cold milk for pure nostalgia, or serve them alongside fresh berries for a bright, tangy contrast. For a richer dessert platter, try them with small scoops of vanilla ice cream or espresso for adults who love the chocolate-peanut butter-coffee trifecta.
Creative Ways to Present
Arrange the peanut butter cups in fancy candy boxes for holiday gifting or stack them on a tiered dessert tray for birthdays and parties. You can also wrap each one individually in colorful foil wrappers to evoke that classic, store-bought feel—except these are so much better.
Make Ahead and Storage
Storing Leftovers
Homemade Peanut Butter Cups keep beautifully in an airtight container in the refrigerator for up to one week. The cold keeps the chocolate crisp and the peanut butter filling just the right level of creamy. For best texture, let them sit at room temperature for a few minutes before indulging.
Freezing
If you want to make a big batch for later, go ahead and stash them in the freezer! Place the cups in a single layer or separated by parchment in a freezer-safe container—they’ll keep for up to two months without picking up any freezer taste. Thaw in the fridge for a few hours before serving for best results.
Reheating
There’s really no need to reheat these treats, but if you love a gooier center, you can zap a peanut butter cup in the microwave for 5–10 seconds. Be careful not to overdo it—the chocolate may melt quickly, and you want that signature two-layer look.
FAQs
Can I use milk or dark chocolate instead of semi-sweet chocolate chips?
Absolutely! Milk chocolate will make these Homemade Peanut Butter Cups sweeter and creamier, while dark chocolate adds a bold, slightly bitter edge. Choose your favorite or make a mix for a fun variety.
What’s the best peanut butter to use for these cups?
Creamy, shelf-stable peanut butter tends to give the smoothest filling, but natural peanut butter works too—just stir it well to blend any separated oils. Avoid chunky types for this recipe, unless you’re aiming for a textured surprise.
How do I make these peanut-free?
You can swap out peanut butter for almond butter, cashew butter, or sunflower seed butter to make nut-free or allergy-friendly homemade candy. The technique and amounts stay the same.
Can I scale up this recipe for a party?
Yes, you can double or triple the ingredients to make several dozens of Homemade Peanut Butter Cups at once. Prepare them in batches, or use regular-sized muffin tins for larger treats. Just remember to adjust the chill time slightly as needed.
Is it possible to make them vegan?
Definitely! Use dairy-free chocolate chips, plant-based butter, and ensure your peanut butter and sugar are vegan. Coconut oil is already a plant-based ingredient, so it’s easy to adapt these cups for friends with dairy restrictions.
Final Thoughts
There’s something special about enjoying these Homemade Peanut Butter Cups, knowing every swirl and sprinkle is crafted by your own hands. They’re fun to make, incredibly satisfying to share, and even better to sneak straight from the fridge. Trust me, one taste and you’ll be hooked—so don’t be surprised if your friends and family start requesting them on repeat!
Print
Homemade Peanut Butter Cups Recipe
- Prep Time: 20 minutes
- Cook Time: 0 minutes
- Total Time: 40 minutes (including chilling)
- Yield: 12 mini cups
- Category: Dessert
- Method: No-Bake
- Cuisine: American
- Diet: Vegetarian
Description
Indulge in the rich, creamy goodness of these homemade peanut butter cups. Perfect for satisfying your sweet tooth cravings!
Ingredients
For Chocolate Layer:
- 1 1/2 cups semi-sweet chocolate chips
- 1 tablespoon coconut oil
For Peanut Butter Filling:
- 3/4 cup creamy peanut butter
- 1/4 cup powdered sugar
- 2 tablespoons unsalted butter (softened)
- 1/4 teaspoon salt
- Flaky sea salt for topping (optional)
Instructions
- Prepare Chocolate Base: Line a 12-cup mini muffin tin with paper liners. Melt chocolate chips and coconut oil in the microwave, then spoon into each liner. Freeze to set.
- Make Peanut Butter Filling: Mix peanut butter, powdered sugar, softened butter, and salt until smooth. Place on top of chocolate base.
- Add Chocolate Topping: Cover each with more melted chocolate, sprinkle with sea salt if desired, and freeze until set.
- Enjoy: Store in the refrigerator until ready to indulge!
Notes
- You can substitute almond or sunflower seed butter for a nut-free option.
- Dark chocolate can be used for a deeper flavor profile.

