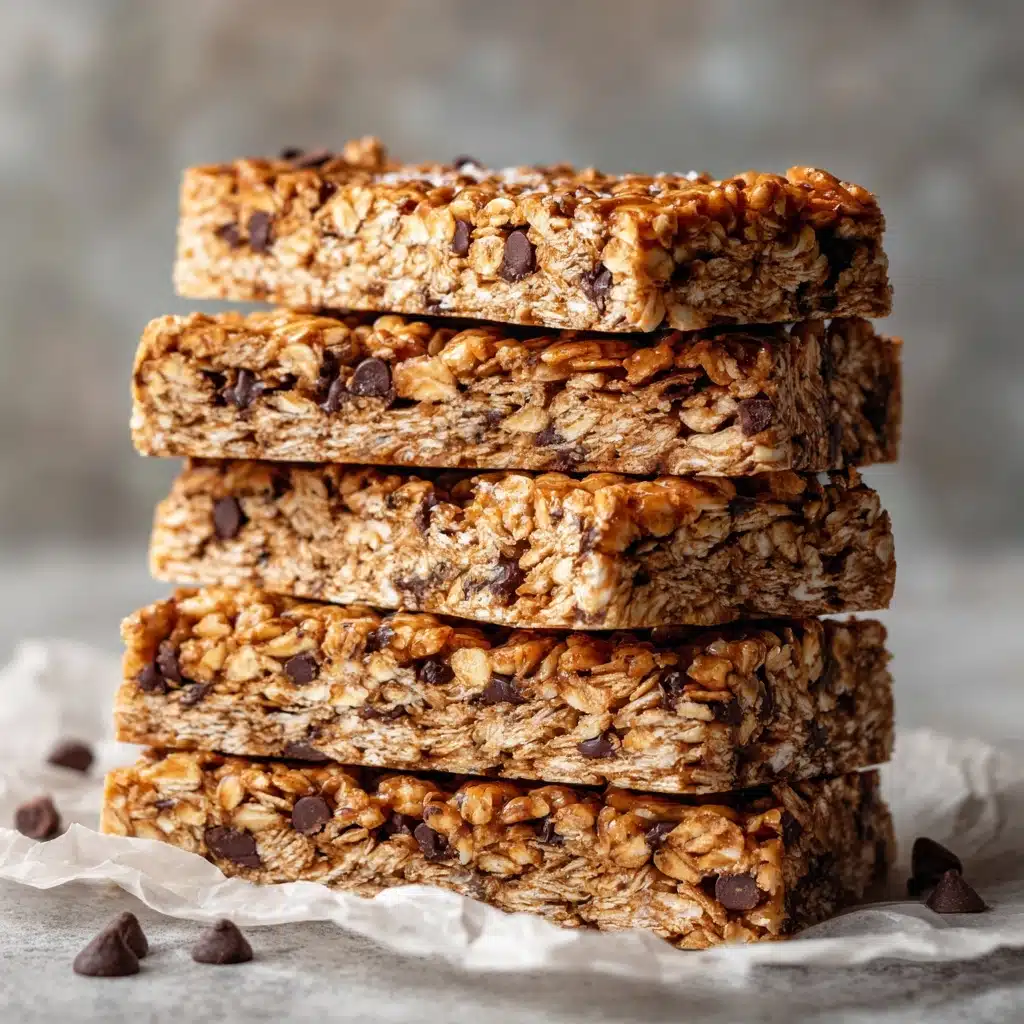
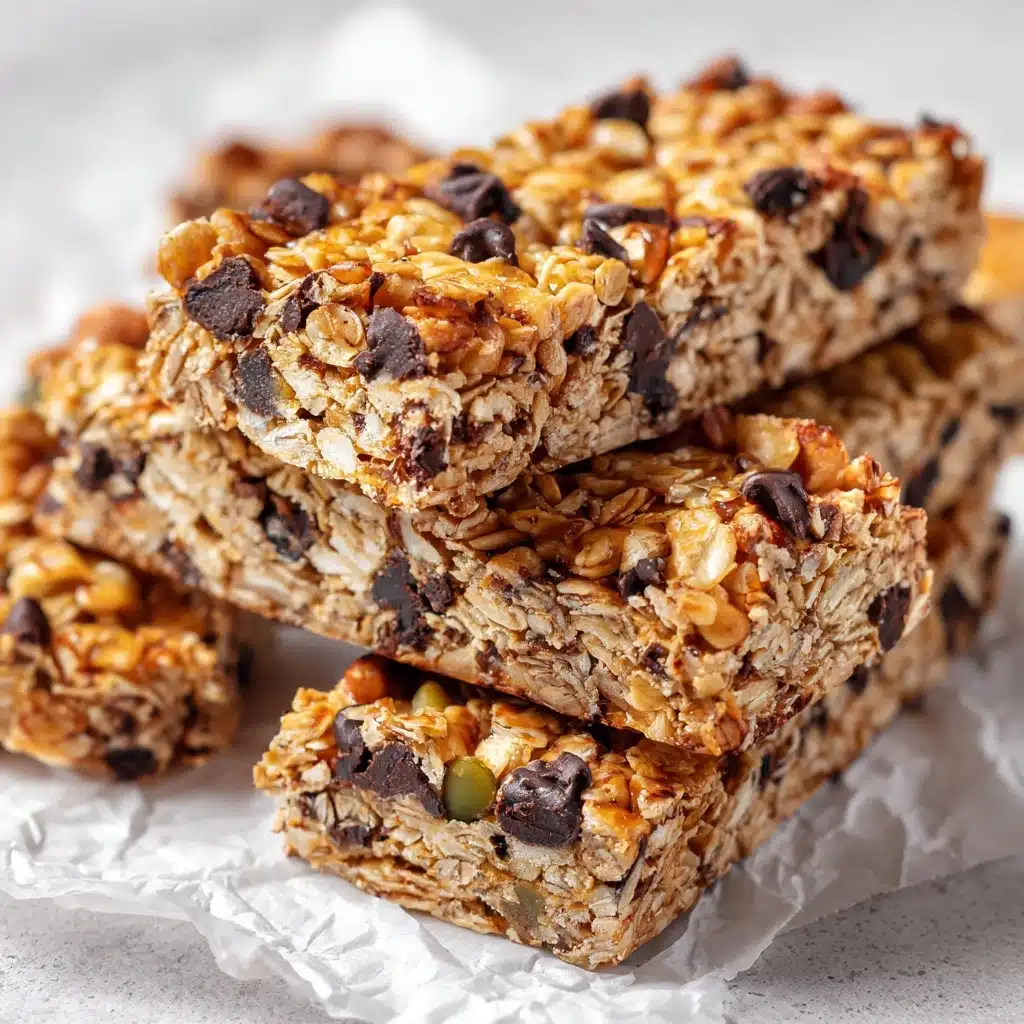
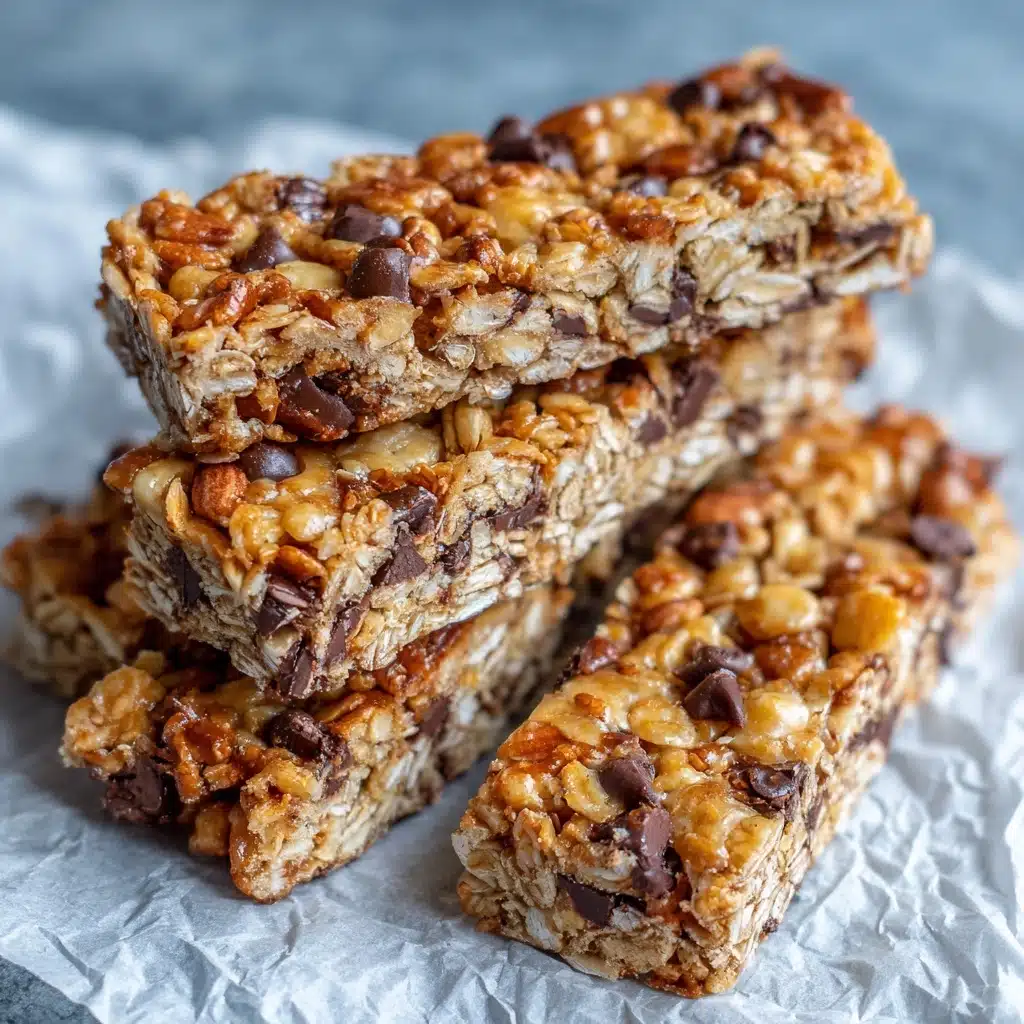
If you’re always searching for the ultimate on-the-go snack that’s customizable, wholesome, and just the right amount of sweet, these Homemade Granola Bars are about to become your new kitchen staple. Not only do they taste incredible—think nutty, chewy, and perfectly satisfying—but they’re also surprisingly easy to whip up, whether you want a nourishing breakfast bite or a quick afternoon treat. Packed with oats, nuts, dried fruit, and a touch of chocolate, this recipe turns simple pantry basics into something truly special. Once you taste the difference between these and store-bought bars, you’ll never look back!
Ingredients You’ll Need
The beauty of Homemade Granola Bars lies in how straightforward, yet purposeful, each ingredient is. Every component brings its own texture, flavor, and nutritional bonus, and you can easily swap or add mix-ins to suit your cravings! Here’s what you’ll need:
- Rolled oats: The heart of the recipe, oats provide a tender chew and classic granola flavor while keeping things wholesome and satisfying.
- Chopped nuts (almonds or walnuts): For big crunch and nutty richness, choose your favorites or try a mix for extra character.
- Honey or maple syrup: This natural sweetener binds everything together and adds a golden hue and a kiss of floral sweetness.
- Nut butter (peanut, almond, or cashew): The creamy base that holds your bars, plus it brings healthy fats and a subtle savory depth.
- Dried fruit (raisins, cranberries, or chopped dates): Chewy pops of natural sweetness keep every bite exciting—pick one or combine a few!
- Mini chocolate chips (optional): For all the chocolatiers out there, these melt slightly in the oven and create pockets of gooey bliss.
- Salt: Just a pinch balances all the flavors and highlights the nutty, sweet notes.
- Vanilla extract: This finishing touch adds warm aroma, tying all your delicious ingredients together.
How to Make Homemade Granola Bars
Step 1: Prepare Your Pan and Preheat the Oven
Start by preheating your oven to 350°F (175°C), which ensures even baking. Line an 8×8-inch baking pan with parchment paper—this makes the bars easy to lift out and slice later, so you get those perfect, tidy squares without any sticking or crumbling.
Step 2: Mix the Dry Ingredients
Grab a large bowl and combine the rolled oats, chopped nuts, dried fruits, salt, and (if you’re feeling it) those irresistible mini chocolate chips. Stir everything together so each bite will have a balance of flavors and textures.
Step 3: Melt and Blend the Wet Ingredients
In a small saucepan set over low heat, mix the honey (or maple syrup) and your choice of nut butter. Keep stirring gently until the mixture becomes silky smooth and slightly warm—this helps everything blend with the oats later. Once it’s ready, stir in the vanilla extract for that bakery shop aroma.
Step 4: Combine Wet and Dry Ingredients
Pour the luscious warm mixture over your dry ingredients. With a sturdy spatula or wooden spoon, mix well—really get in there! You want every oat and nut to be thoroughly coated, so the bars hold together beautifully once baked.
Step 5: Press Into Pan and Bake
Scrape the mixture into your prepared pan and press it down firmly using the back of a spatula or even your (clean) hands. This step is key; the firmer you press, the better your bars will hold together. Slide the pan into the oven and bake for 15–18 minutes, or until the edges look lightly golden and the kitchen smells like nutty heaven.
Step 6: Cool and Slice
Once baked, let the bars cool completely in the pan. This patience is rewarded with bars that won’t fall apart when you cut them! Use the parchment to lift the block out, then slice into 12 bars—perfectly portable, perfectly snackable.
How to Serve Homemade Granola Bars
Garnishes
Add an extra-special touch before serving by drizzling your Homemade Granola Bars with a little melted chocolate or a sprinkle of flaky sea salt. For a beautiful finish, press a few extra dried fruit pieces or nuts into the tops before baking.
Side Dishes
Pair your bars with a bowl of creamy Greek yogurt and fresh berries for a hearty breakfast, or serve alongside a steaming mug of coffee or tea for a balanced snack. They’re fantastic with smoothies too, turning a quick bite into a mini-meal.
Creative Ways to Present
Wrap individual bars in parchment and tie with twine for a rustic, gift-worthy treat, or stack them in a glass jar for an inviting countertop snack station. Arrange them in a pretty basket lined with a napkin for brunch spreads or outdoor picnics—guests will be delighted!
Make Ahead and Storage
Storing Leftovers
Homemade Granola Bars keep incredibly well in an airtight container at room temperature for up to a week. Just tuck them away in a cool, dry spot—no refrigeration needed—and you’ll have ready-to-go snacks within arm’s reach.
Freezing
For even longer storage, these bars freeze beautifully. Arrange them in a single layer (or separated by parchment) in a freezer-safe container, and they’ll stay fresh for up to three months. Grab one and let it thaw at room temperature when snack time strikes!
Reheating
If you like a warm, gooey touch—especially if you’ve added chocolate—pop a bar in the microwave for about 10 seconds. It softens just enough to evoke those straight-from-the-oven vibes without losing its structure.
FAQs
Can I make Homemade Granola Bars gluten-free?
Absolutely! Simply swap regular rolled oats for certified gluten-free oats, and you’ll have bars that are perfect for gluten-sensitive snackers—no other modifications needed.
What if I don’t have nut butter on hand?
If you’re out of nut butter, sunflower seed butter works just as well and keeps things nut-free for anyone with allergies. The bars will still be creamy and delicious!
Can I add protein powder to Homemade Granola Bars?
Yes, you can stir in a couple tablespoons of your favorite protein powder along with the dry ingredients. If needed, add a splash more honey or nut butter to help everything bind together nicely.
How do I make them less sweet?
For a less sweet snack, cut back slightly on the honey or maple syrup and bump up the nut butter. You can also skip the chocolate chips and use unsweetened dried fruit to keep the bars more balanced.
Are these suitable for kids’ lunchboxes?
Definitely! Homemade Granola Bars are perfect for kids: they’re sturdy, filling, and you can control exactly what goes in. Just be mindful of any school nut policies—seed butters work great in place of nuts for a safe, tasty twist.
Final Thoughts
Making your own Homemade Granola Bars isn’t just rewarding—it’s pure fun, and so much tastier than anything from a box. With endless ways to customize and a recipe that’s both reliable and flexible, you’re about to have snack-time covered in the most delicious way. Give them a try and watch everyone in your house fall in love, one chewy, hearty bite at a time!
Print
Homemade Granola Bars Recipe
- Prep Time: 10 minutes
- Cook Time: 15 minutes
- Total Time: 25 minutes
- Yield: 12 bars
- Category: Snack
- Method: Baking
- Cuisine: American
- Diet: Vegetarian
Description
These Homemade Granola Bars are a delicious and nutritious snack option that you can easily make at home. Packed with wholesome ingredients like oats, nuts, dried fruit, and nut butter, these bars are perfect for a quick energy boost or a satisfying treat.
Ingredients
Ingredients:
- 2 cups old-fashioned rolled oats
- 1/2 cup chopped nuts (such as almonds or walnuts)
- 1/2 cup honey or maple syrup
- 1/2 cup nut butter (peanut, almond, or cashew)
- 1/3 cup dried fruit (raisins, cranberries, or chopped dates)
- 1/4 cup mini chocolate chips (optional)
- 1/4 teaspoon salt
- 1/2 teaspoon vanilla extract
Instructions
- Preheat the oven: Preheat the oven to 350°F (175°C) and line an 8×8-inch baking pan with parchment paper.
- Mix dry ingredients: In a large mixing bowl, combine oats, nuts, dried fruit, salt, and chocolate chips if using.
- Prepare wet mixture: In a saucepan over low heat, mix honey (or maple syrup) and nut butter until smooth. Stir in vanilla extract.
- Combine and bake: Pour the wet mixture over the dry ingredients, mix well, press into the pan, and bake for 15-18 minutes until golden.
- Cool and cut: Let the bars cool completely in the pan before cutting into bars.
Notes
- For a no-bake version, refrigerate the mixture for at least 2 hours before slicing.
- Customize with seeds, coconut flakes, or different nut butters.
- Store in an airtight container for up to a week.

