
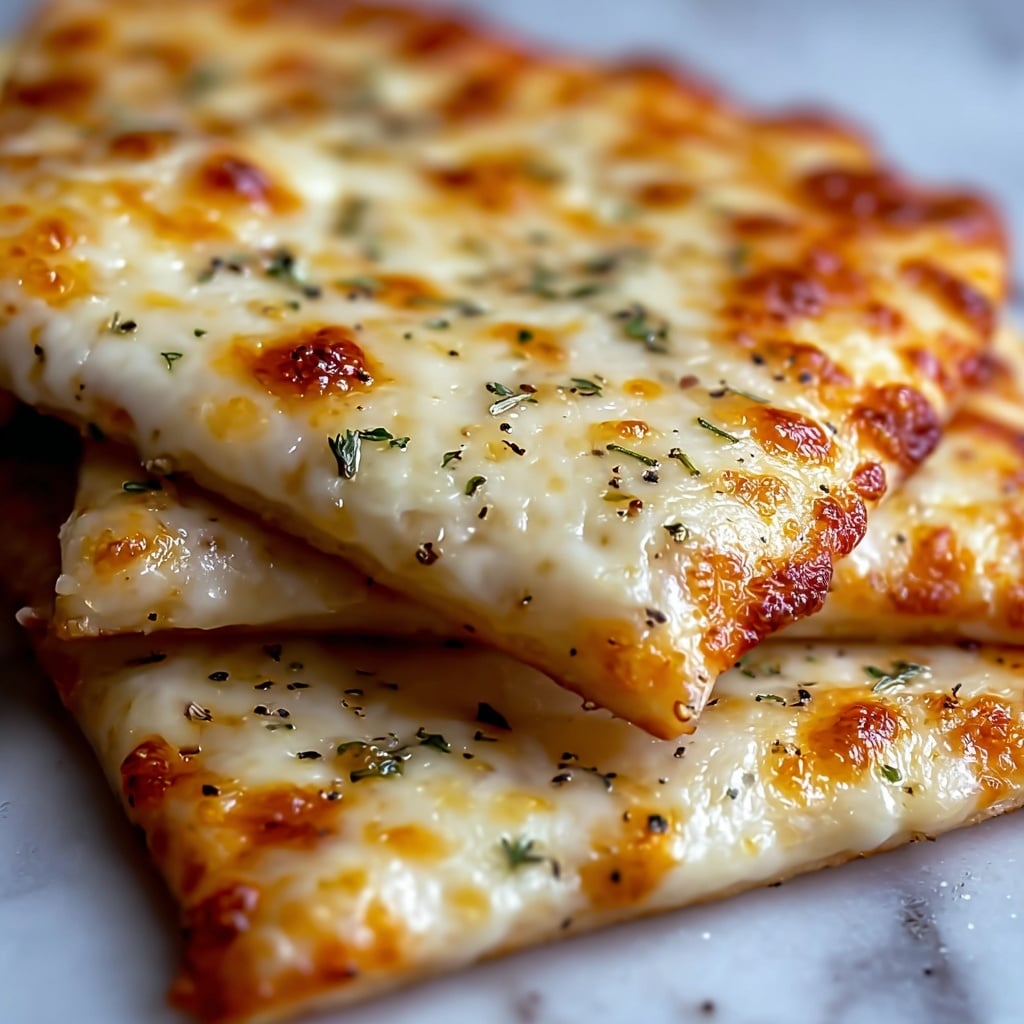
If you have ever wished for a fun, delicious, and comforting snack that brings all the joys of pizza in a handheld form, you have to try my Homemade Easy Cheesy Pizza Pockets Recipe. These little pockets are packed with melty mozzarella, zesty pizza sauce, and your favorite toppings wrapped snugly in golden, crispy dough, making them a perfect treat for busy afternoons, casual dinners, or parties. The beauty of this Homemade Easy Cheesy Pizza Pockets Recipe is how simple ingredients come together with minimal effort to create something truly irresistible that everyone will love.

Ingredients You’ll Need
The magic of this Homemade Easy Cheesy Pizza Pockets Recipe starts with straightforward ingredients you likely have on hand or can easily find. Each one plays a special part in building the perfect balance of flavors, textures, and colors that make these pockets so crave-worthy.
- Refrigerated pizza dough: This is your base, giving that soft yet crisp crust that holds all the fillings deliciously.
- Pizza sauce: Adds tangy, rich tomato flavor that makes each bite burst with classic pizza goodness.
- Shredded mozzarella cheese: The star cheese that melts beautifully and brings that signature gooey cheesiness.
- Pepperoni slices (or your favorite toppings): Customizable for your taste, these add savory, meaty bites or fresh vegetables.
- Dried oregano: A sprinkle of this herb injects that familiar Italian pizzazz.
- Garlic powder: Elevates the flavor profile by adding subtle warmth and depth.
- Egg: Whisked into an egg wash, it gives your pizza pockets that gorgeous golden shine.
- Olive oil: Brushed on top for extra crispiness and a lovely finish when baked.
How to Make Homemade Easy Cheesy Pizza Pockets Recipe
Step 1: Preheat and Prepare
Begin by setting your oven to 375°F (190°C) so it’s perfectly hot when your pockets are ready to go in. Line a baking sheet with parchment paper or simply grease it lightly to prevent any sticking and make cleanup a breeze.
Step 2: Roll and Cut the Dough
Roll the refrigerated pizza dough out on a lightly floured surface, allowing it to stretch nicely without sticking. Then, cut it into 8 equal rectangles to form the base shapes of your pizza pockets. The size can be adjusted if you want smaller snacks or bigger handheld treats.
Step 3: Add Sauce, Cheese, and Toppings
Spread about a tablespoon of pizza sauce right in the center of each dough rectangle—this little pool of sauce is the flavor foundation. Next, pile on shredded mozzarella generously, followed by your favorite toppings. Pepperoni is classic, but feel free to get creative with mushrooms, bell peppers, or whatever you love most.
Step 4: Fold and Seal
Carefully fold the dough over the filling to create a neat pocket. Seal the edges tightly by pressing with your fingers or a fork to make sure no cheesy goodness escapes during baking. This step ensures each pocket stays intact and satisfying.
Step 5: Egg Wash for a Golden Finish
Whisk the egg in a small bowl and brush a thin layer over the tops of each pizza pocket. This simple step will give them an irresistible golden sheen once baked, making them look as tasty as they taste.
Step 6: Olive Oil Brushing
Brush a little olive oil on top of each pocket to help crisp the crust beautifully and add a subtle richness that complements the flavors inside.
Step 7: Bake to Perfection
Place the prepared pockets on your baking sheet and slide them into the oven. Bake for 12 to 15 minutes until the dough is golden brown and the cheese is bubbling inside—this is your cue that these pockets are ready to wow.
Step 8: Cool and Serve
Once out of the oven, let your pizza pockets cool for a few minutes—this resting lets the fillings settle just enough to avoid any burning bursts. Serve with extra pizza sauce on the side for dipping, and watch everyone reach for seconds!
How to Serve Homemade Easy Cheesy Pizza Pockets Recipe
Garnishes
Enhance your pizza pockets by sprinkling freshly chopped basil or parsley on top after baking. A light dusting of grated Parmesan or a pinch of red pepper flakes adds a sophisticated twist without overpowering the comforting flavors.
Side Dishes
Serve alongside a crisp green salad with a tangy vinaigrette to balance out the richness. Garlic roasted vegetables or a simple bowl of tomato soup also pair beautifully, turning these pockets into a complete meal.
Creative Ways to Present
For parties or casual gatherings, arrange the pizza pockets on a large wooden board with small bowls of various dipping sauces—think ranch, marinara, or even a spicy hummus. You could also stick a toothpick into each pocket topped with a small olive or cherry tomato for a charming appetizer display.
Make Ahead and Storage
Storing Leftovers
If you have any leftover homemade easy cheesy pizza pockets, store them in an airtight container in the refrigerator for up to three days. Reheat gently to keep the crust from becoming too tough.
Freezing
These pockets freeze wonderfully! After shaping and sealing but before baking, place them on a parchment-lined tray and freeze until solid. Once frozen, transfer to a freezer bag for up to two months.
Reheating
For best results, reheat frozen or refrigerated pizza pockets in a preheated oven at 350°F (175°C) for 10 to 12 minutes. This method crisps the outside while warming the inside evenly, keeping the gooey cheese just right.
FAQs
Can I use homemade pizza dough instead of refrigerated dough?
Absolutely! Homemade dough works beautifully and adds a personal touch. Just make sure it’s rolled out evenly to ensure consistent baking times.
What are some great vegetarian toppings I can use?
Try mushrooms, bell peppers, spinach, olives, or artichoke hearts for delicious vegetarian options that keep every bite flavorful and fresh.
Is it possible to make these pizza pockets gluten-free?
Yes, substitute the regular pizza dough with your favorite gluten-free pizza dough. Just be aware that baking times and textures may slightly vary.
Can I prepare these ahead of time and bake later?
Definitely. You can assemble the pockets, cover them tightly with plastic wrap, and refrigerate for up to 24 hours before baking. This makes them perfect for meal prepping or busy days.
How can I make the dough crispier?
Brushing olive oil on top before baking, as described in the recipe, helps create that coveted crispy crust. Additionally, using a pizza stone or baking steel can improve crispness even further.
Final Thoughts
There is something incredibly satisfying about making and sharing this Homemade Easy Cheesy Pizza Pockets Recipe. It’s a cozy, flavorful way to enjoy the essence of pizza in a portable, fun package that’s perfect for any occasion. I encourage you to gather your ingredients, roll up your sleeves, and dive into making these tasty pockets—you’ll be rewarded with smiles and full bellies every single time!
Print
Homemade Easy Cheesy Pizza Pockets Recipe
- Prep Time: 10 minutes
- Cook Time: 15 minutes
- Total Time: 25 minutes
- Yield: 8 pizza pockets
- Category: Snack
- Method: Baking
- Cuisine: Italian-American
Description
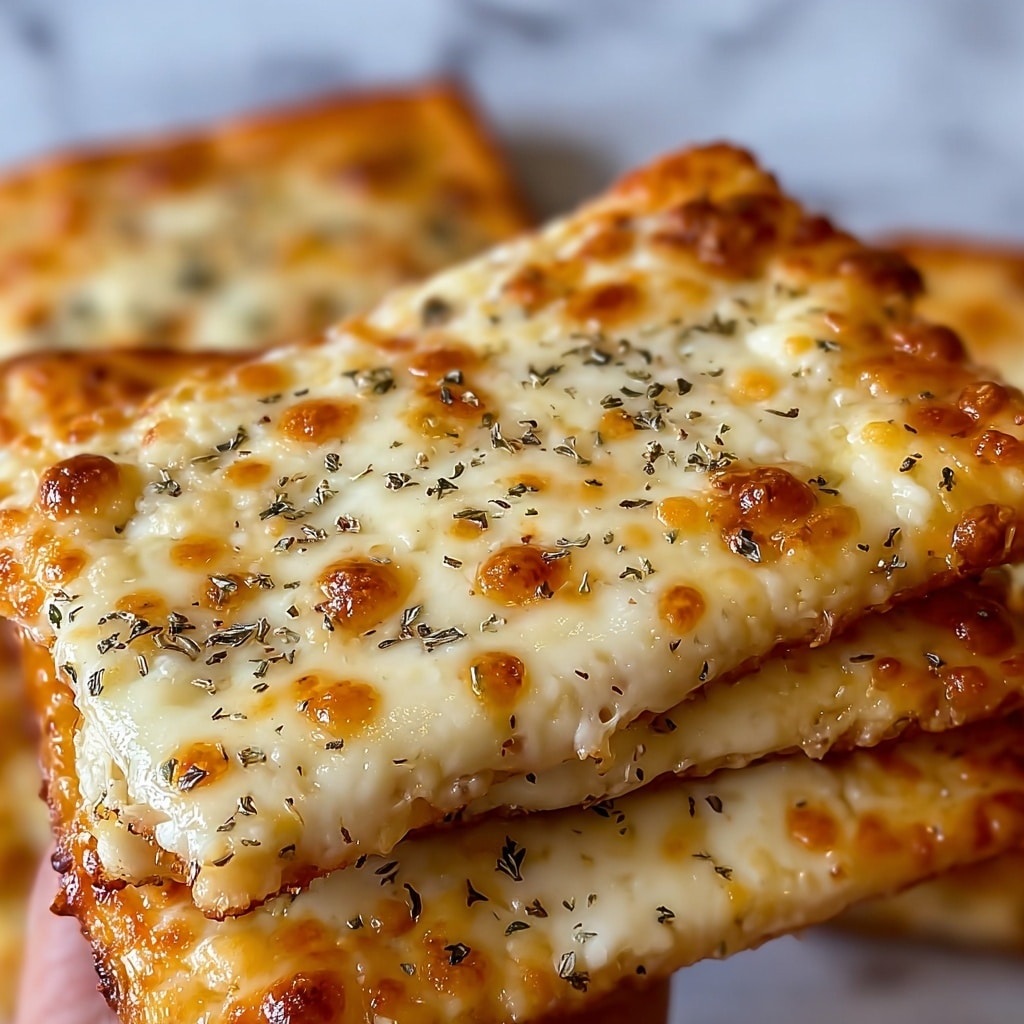
These Homemade Easy Cheesy Pizza Pockets are a delicious and fun way to enjoy classic pizza flavors wrapped in a golden, crispy dough. Perfect for a quick snack or meal, these pockets are filled with gooey mozzarella cheese, savory pepperoni, and a flavorful pizza sauce, baked to bubbly perfection. Simple to prepare and perfect for sharing, they bring the joy of pizza into convenient, handheld pockets.
Ingredients
Pizza Dough and Sauce
- 1 package refrigerated pizza dough
- 1/2 cup pizza sauce
Cheese and Toppings
- 1 1/2 cups shredded mozzarella cheese
- 1/2 cup pepperoni slices (or your favorite pizza toppings such as mushrooms, bell peppers, etc.)
Seasoning and Finishing
- 1/4 teaspoon dried oregano
- 1/4 teaspoon garlic powder
- 1 egg (for egg wash)
- Olive oil (for brushing)
Instructions
- Preheat Oven: Preheat your oven to 375°F (190°C). Line a baking sheet with parchment paper or lightly grease it to prevent sticking.
- Prepare Dough: Roll out the pizza dough on a lightly floured surface. Cut the dough into 8 equal rectangles or adjust to your preferred size.
- Add Sauce and Toppings: Spread about a tablespoon of pizza sauce in the center of each rectangle. Sprinkle a generous amount of shredded mozzarella cheese on top, then add pepperoni slices or your choice of toppings. Sprinkle dried oregano and garlic powder for extra flavor.
- Form Pockets: Fold the dough over the filling to form a pocket, sealing the edges firmly by pressing with your fingers or crimping with a fork to ensure no filling escapes during baking.
- Egg Wash: Whisk the egg in a small bowl and brush it over the tops of each pizza pocket. This will give them a beautiful golden color once baked.
- Brush Olive Oil: Place the pizza pockets onto the prepared baking sheet and brush the tops with olive oil to enhance crispiness during baking.
- Bake: Bake in the preheated oven for 12-15 minutes or until the dough is golden brown and the cheese inside is melted and bubbly.
- Cool and Serve: Remove the pockets from the oven and allow them to cool slightly before serving. Serve with extra pizza sauce for dipping if desired. Enjoy your cheesy, savory pizza pockets!
Notes
- You can customize the filling with any pizza toppings you prefer such as mushrooms, bell peppers, olives, or cooked sausage.
- To avoid sogginess, ensure not to overfill the pockets and seal the edges tightly.
- The egg wash helps achieve an attractive golden crust; you can substitute with milk or cream if preferred.
- Refrigerated pizza dough can vary in size and thickness, so adjust your rectangle cuts accordingly.
- Leftover pockets can be refrigerated and reheated in the oven for a crispy finish rather than microwaving.


