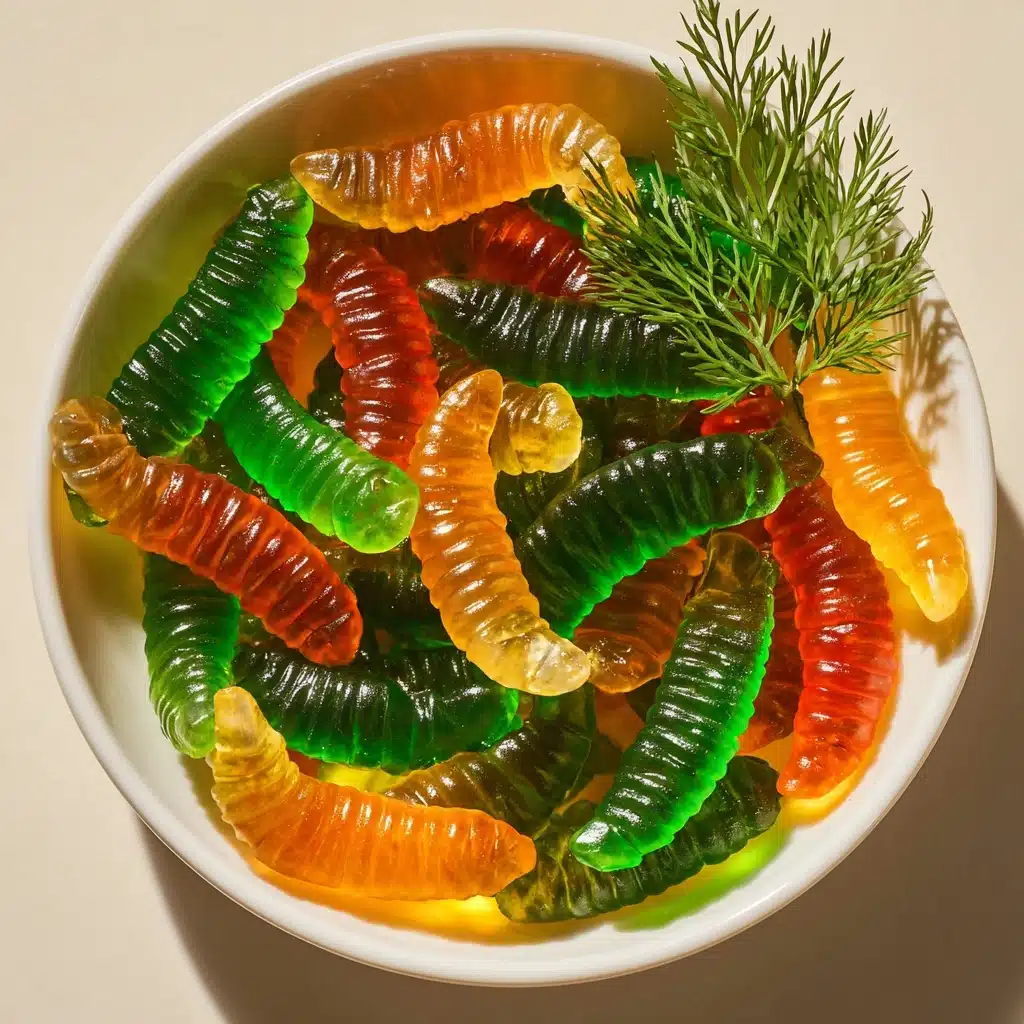
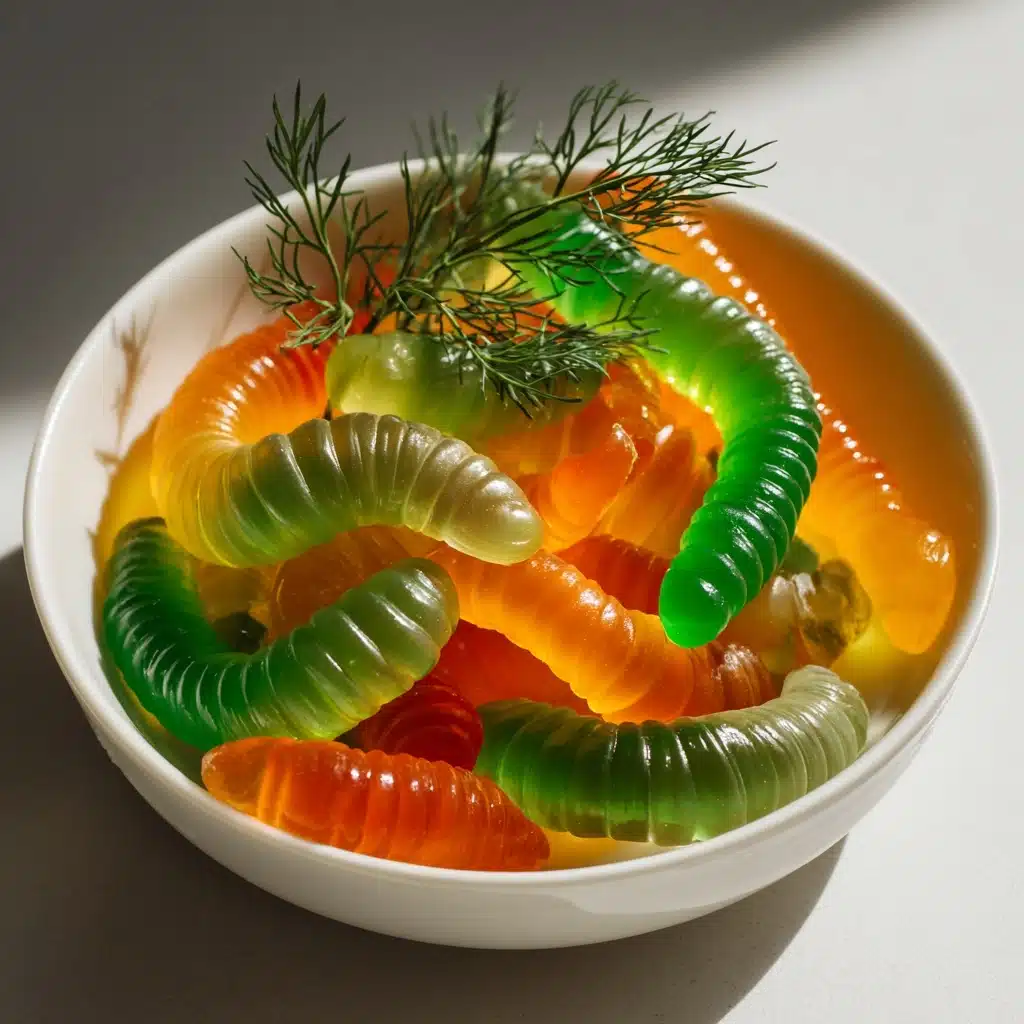
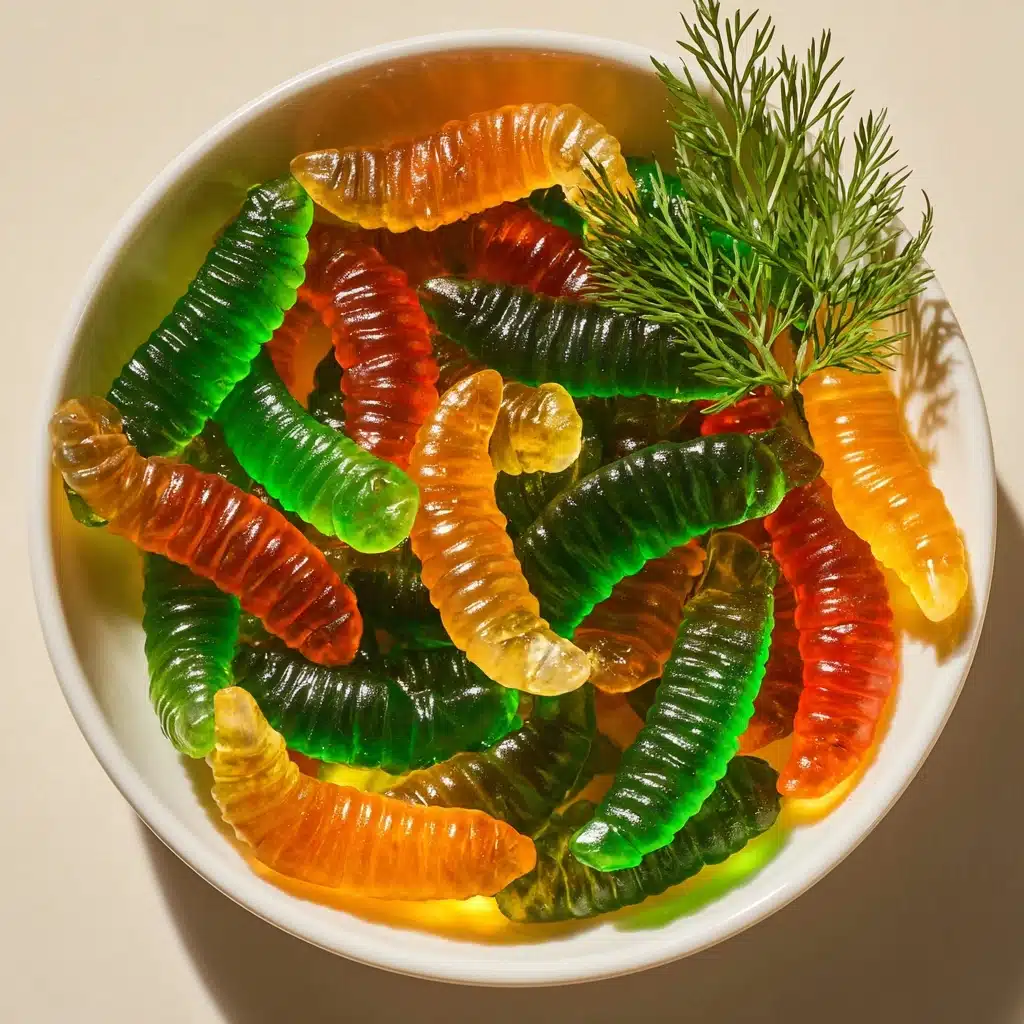
If you’re the type Snack, Candy. Homemade Dill Pickle Gummy Worms are the fun, briny, sweet-sour snack you never knew you needed! These wiggly candies deliver a playful punch of pickle flavor, balanced perfectly with honey and a touch of garlic, all while inviting that signature chewy bite we all crave. Between their neon green hue and zippy taste, these gummies are a conversation starter and a totally unique treat perfect for snacking, parties, or surprising your fellow pickle lovers!
Ingredients You’ll Need
What I love most about this recipe (besides its sheer whimsy) is how a handful of pantry staples come together to create something so lively and unique. Each ingredient plays an important role—think of it as a briny symphony, where every note matters for taste, texture, or that signature gummy color.
- Dill Pickle Juice: The heart of these worms! Strain for maximum clarity and bold, tangy flavor.
- Granulated Sugar: Balances out the savory notes and gives these gummies just the right amount of sweetness.
- Honey: Adds a gentle floral note and helps the gummies stay just the right amount of chewy.
- Unflavored Gelatin Powder: The magic behind that bouncy, gummy worm texture—don’t skip or substitute it!
- Lemon Juice: Brightens the flavor and adds a little extra zing.
- Garlic Powder: Just a pinch brings a savory undertone that truly echoes real dill pickles.
- Dried Dill: This is where the classic pickle flavor shines, so use a good-quality dried dill for best results.
- Salt: Essential for drawing out and balancing all those vibrant flavors.
- Green Food Coloring (optional): For that extra playful, neon look—totally optional, but highly recommended for effect!
How to Make Homemade Dill Pickle Gummy Worms
Step 1: Bloom the Gelatin
Pour the dill pickle juice into a small saucepan, then sprinkle the unflavored gelatin evenly over the surface. Let this mixture sit undisturbed for 5 minutes. This “blooming” step is crucial—giving the gelatin time to absorb the liquid first ensures your Homemade Dill Pickle Gummy Worms have a perfectly chewy, non-grainy texture. You’ll see the surface become wrinkled and slightly gelled, which is exactly what you want!
Step 2: Heat and Dissolve
After the gelatin has bloomed, turn the heat to low and place the saucepan on your burner. Add the sugar, honey, lemon juice, garlic powder, dried dill, and salt. Whisk constantly and gently for 3 to 5 minutes, making sure all the gelatin and sugar granules dissolve completely. Be careful not to let the mixture simmer or boil—gentle heat is the key to keeping the gummies clear and smooth!
Step 3: Add Color and Prepare the Molds
Once everything is dissolved and you have a golden, slightly greenish liquid, remove the pan from the heat. Now is the perfect moment to stir in a few drops of green food coloring if you want your Homemade Dill Pickle Gummy Worms to really pop. Line up your gummy worm (or other small candy) molds on a tray, ready for pouring. Having everything prepped makes this step stress-free!
Step 4: Fill the Molds
Carefully pour the warm, aromatic mixture into your molds. Using a dropper or a small measuring cup with a spout makes it so much easier and less messy. Fill each cavity right to the top for uniform, plump worms. If you spill a little, don’t worry—wiping up is easy once the mixture sets.
Step 5: Chill Until Set
Place the molds in the refrigerator and let them set undisturbed for at least 2 hours. Patience pays off here! The gelatin needs this time to fully set, giving your Homemade Dill Pickle Gummy Worms that signature stretch and chewiness. A watched worm never sets, so busy yourself with party planning or picking out your favorite pickle jars.
Step 6: Unmold and Enjoy
Once the gummies are completely firm, gently pop them out of their molds. Revel in your creation—these worms should look vibrant and wobble just right. Store them in an airtight container in the fridge and know you’ve got a one-of-a-kind snack at the ready!
How to Serve Homemade Dill Pickle Gummy Worms
Garnishes
Garnishing your worms is pure fun—think tiny sprigs of fresh dill, a dusting of flaky sea salt, or even a sprinkle of cracked black pepper to add pizzazz. If you’re feeling extra, a quick dip in sour sugar (just mix granulated sugar and citric acid) gives each worm a tangy sparkle that pops both visually and on your tongue.
Side Dishes
If you want the ultimate pickle party, pair these with classic potato chips, a cheese plate, or even a spread of charcuterie. The savory-tangy vibe of the gummy worms adds a playful twist alongside sharp cheddar, spicy salami, or sweet bread & butter pickles. For an adventurous snack board, throw in roasted nuts and spicy pretzels—it’ll surprise and delight everyone, kids and adults alike!
Creative Ways to Present
Presentation is half the fun with Homemade Dill Pickle Gummy Worms. Try piling them into a mason jar tied with ribbon for a whimsical hostess gift, or arranging them on a platter with real pickles and veggies for a laugh-out-loud snack table. You can also freeze them into ice cubes for the world’s quirkiest Bloody Mary garnish, or serve them in mini candy bags for party favors.
Make Ahead and Storage
Storing Leftovers
Once made, Homemade Dill Pickle Gummy Worms keep brilliantly in an airtight container in the refrigerator for up to a week. Layering parchment or wax paper between the layers helps prevent sticking, so you can grab a handful whenever a craving strikes. Keep them chilled for best flavor and texture.
Freezing
If you find yourself with more gummies than you can eat (rare, but possible!), you can freeze them. Lay the worms in a single layer on a baking sheet until solid, then transfer to a zip-top bag for up to two months. When you’re ready to snack, let them thaw in the fridge—just note the texture may be a bit softer after freezing.
Reheating
These gummies are best enjoyed cold, but if you accidentally freeze them and want a faster thaw, let them sit at room temperature for 15–20 minutes. Avoid microwaving, as that will melt the gelatin and ruin their signature texture. Cold, chewy, and tangy is truly the way to go for the full experience.
FAQs
Can I use other pickle juices or just dill?
Dill pickle juice is the magic behind Homemade Dill Pickle Gummy Worms, but you can experiment with other savory brines for a fun twist. Just note that sweet bread & butter or spicy pickle juice will change the final flavor. Stick with classic dill for the most authentic, nostalgic taste.
What if I don’t have gummy worm molds?
No problem! You can use any silicone candy mold or even pour the mixture into a small loaf pan and cut it into strips after setting. The iconic worm shape is fun, but any gummy candy shape will work for this recipe.
How do I make the flavor even stronger?
For extra punchy Homemade Dill Pickle Gummy Worms, try reducing your pickle juice a little on the stove before using, or add a teaspoon of powdered pickle seasoning to the mix. Just be cautious with added salt—taste before you add more, since brines can really vary!
Are these gummies suitable for vegetarians?
Since unflavored gelatin is made from animal products, these are not vegetarian. However, you could try substituting with agar-agar powder. The texture may differ but it’s a fun experiment if you want a plant-based version!
Can I make these sour instead of sweet?
Absolutely! Just mix a little citric acid with extra sugar and toss the finished Homemade Dill Pickle Gummy Worms in this mixture for a seriously tart, puckery finish that’s sure to thrill sour candy fans.
Final Thoughts
If you’re searching for a snack that’s offbeat, delicious, and truly unforgettable, Homemade Dill Pickle Gummy Worms are about to become your new obsession. Whether you’re a devoted pickle lover or just want to impress your friends with something wildly original, this recipe delivers joy in every tangy-chewy bite. Don’t be afraid to try it—your tastebuds (and your party guests) will thank you!
Print
Homemade Dill Pickle Gummy Worms Recipe
- Prep Time: 10 minutes
- Cook Time: 5 minutes
- Total Time: 2 hours 15 minutes
- Yield: About 40 gummy worms
- Category: Snack, Candy
- Method: Stovetop, Refrigeration
- Cuisine: American
- Diet: Non-Vegetarian
Description
Indulge in a unique twist on gummy candy with these Homemade Dill Pickle Gummy Worms. These savory treats combine the tangy flavor of dill pickles with a sweet and chewy gummy texture, creating a delightful snack that will surprise your taste buds.
Ingredients
For the Gummy Worms:
- 1 cup dill pickle juice (strained)
- 1/4 cup granulated sugar
- 2 tablespoons honey
- 3 tablespoons unflavored gelatin powder
- 1 tablespoon lemon juice
- 1/4 teaspoon garlic powder
- 1/4 teaspoon dried dill
- 1/8 teaspoon salt
- 3–4 drops green food coloring (optional)
Instructions
- Bloom the Gelatin: Pour the dill pickle juice into a small saucepan and sprinkle the gelatin evenly over the top. Let it sit for 5 minutes to bloom.
- Prepare the Mixture: Place the saucepan over low heat. Stir in sugar, honey, lemon juice, garlic powder, dill, and salt. Continue stirring until the gelatin and sugar have completely dissolved, about 3–5 minutes.
- Add Color: Remove from heat and stir in food coloring if using.
- Pour into Molds: Carefully pour the mixture into gummy worm molds using a dropper or measuring cup with a spout.
- Chill: Refrigerate for at least 2 hours or until firm.
- Serve: Once set, remove the gummy worms from the molds and store them in an airtight container in the refrigerator.
Notes
- For a stronger pickle flavor, use more concentrated pickle brine or add 1 teaspoon of pickle seasoning.
- These gummies will keep for about 1 week refrigerated.

