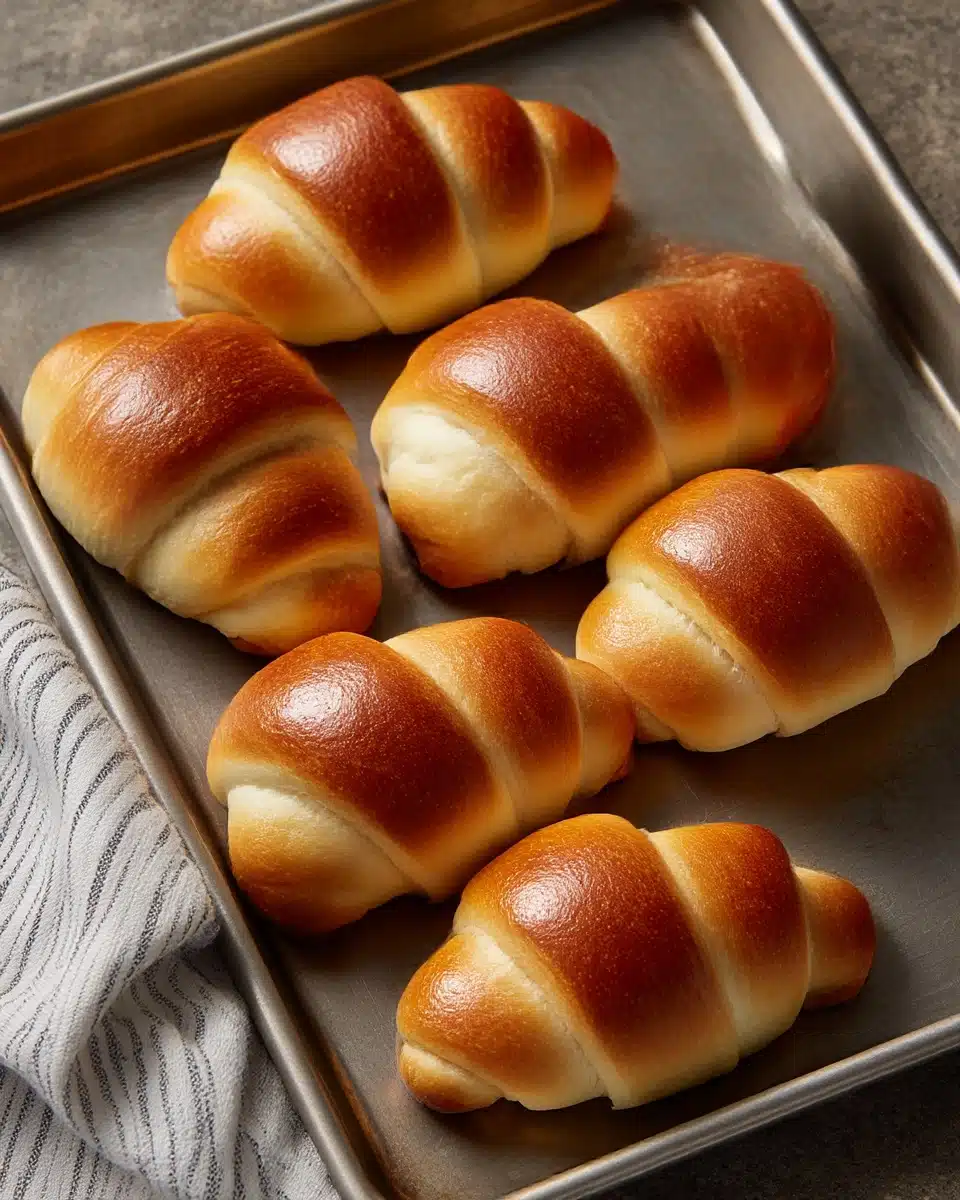
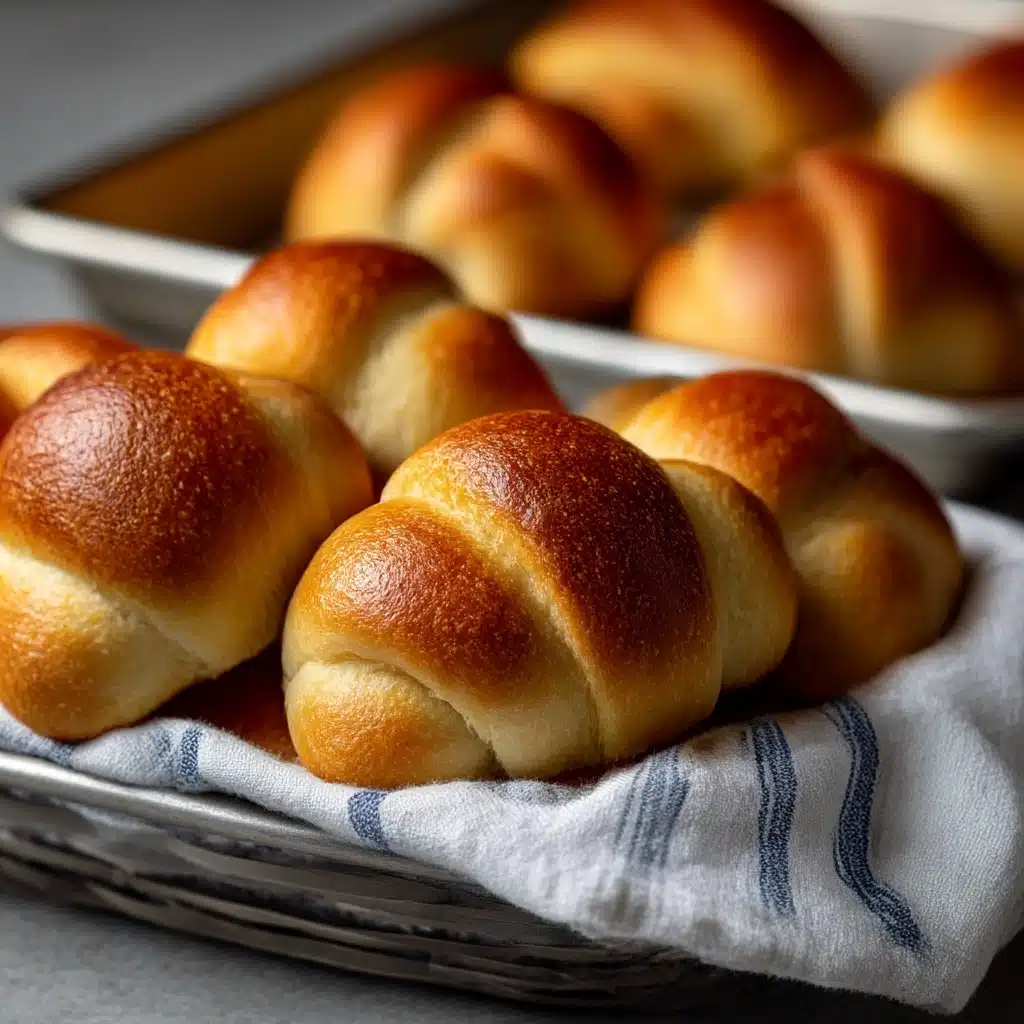
There’s something truly magical about pulling a tray of golden, softly spiraled Homemade Crescent Rolls from the oven—the rich buttery aroma wafting through your kitchen instantly promises something special. These classic rolls boast a pillowy interior and delicately crisp edges, making them an irresistible companion to any meal. Whether you’re sharing them at a holiday feast, a Sunday brunch, or simply as a comforting treat, they have a way of bringing everyone to the table. Let’s dive into the secrets behind making your own batch of Homemade Crescent Rolls that will disappear in moments!
Ingredients You’ll Need
The joy of Homemade Crescent Rolls is how a handful of simple ingredients come together to create something magical. Each component plays a starring role in flavor, texture, or appearance—no surprise shortcuts here, every one matters!
- All-purpose flour: This is the foundation, providing structure and that soft, chewy bite you crave in a well-made roll.
- Active dry yeast: The leavening hero—gives your rolls that wonderful lift and airy crumb.
- Whole milk: Enriches the dough, lending tenderness and a subtle sweetness that sets crescent rolls apart from ordinary bread.
- Granulated sugar: Feeds the yeast and balances the savory notes, giving the rolls just a hint of sweetness.
- Unsalted butter: Adds that signature rich flavor and helps create the irresistibly soft layers.
- Eggs: Provide tenderness and a beautiful golden color, plus help bind the dough for easy rolling.
- Salt: Don’t skip it! A pinch enhances every other flavor and keeps the rolls from tasting flat.
How to Make Homemade Crescent Rolls
Step 1: Activate the Yeast
Begin by gently warming your whole milk—it should feel just a little warmer than body temperature, never hot. Sprinkle in the active dry yeast and a pinch of sugar, then let it sit for about 5 to 10 minutes. You’re looking for bubbles and a slightly foamy top, signs your yeast is alive and ready to go. This is the kick-start to that fluffy Homemade Crescent Rolls texture!
Step 2: Make the Dough
In a large mixing bowl, combine your flour, remaining sugar, and salt. Stir in the frothy yeast mixture, then add in melted butter and eggs. At first, you’ll have a shaggy dough—have faith! Knead it (by hand or with a mixer’s dough hook) until it’s smooth and elastic, about 8 to 10 minutes. If it’s too sticky, sprinkle in a little more flour, but keep it soft.
Step 3: Let the Dough Rise
Transfer the dough to a lightly greased bowl, cover it with a clean kitchen towel, and set it somewhere warm and draft-free. In about 1 to 2 hours, it should double in size. This rise is essential for those dreamy, pillowy Homemade Crescent Rolls.
Step 4: Shape the Crescent Rolls
Punch down your risen dough and turn it out onto a well-floured surface. Gently roll it into a large, even circle—think pizza dough thickness here. Use a pizza cutter or sharp knife to slice it into triangles, then gently roll each one up, starting at the wide end and tucking the tip under the finished roll. The spiral is part of their charm!
Step 5: Second Rise
Place your shaped rolls, point-side down, onto a parchment-lined baking sheet, leaving room for them to expand. Let them rise again until puffy, about 45 minutes. This second rise ensures your Homemade Crescent Rolls bake up extra light and airy.
Step 6: Bake to Golden Perfection
Preheat your oven to 375°F (190°C). Melt a touch more butter and brush it over the tops of each roll—this adds flavor and ensures a glistening finish. Bake for 12 to 15 minutes, or until they’re golden brown and irresistibly fragrant. Resist the urge to dive in immediately—let them cool slightly, so you don’t lose that soft, steam-filled interior.
How to Serve Homemade Crescent Rolls
Garnishes
For that extra flourish, brush the warm rolls with a final sweep of melted butter and finish with a light sprinkle of flaky sea salt or fresh chopped herbs such as parsley or chives. You can even try a little garlic butter for a savory twist; these simple touches bring brightness and depth to Homemade Crescent Rolls.
Side Dishes
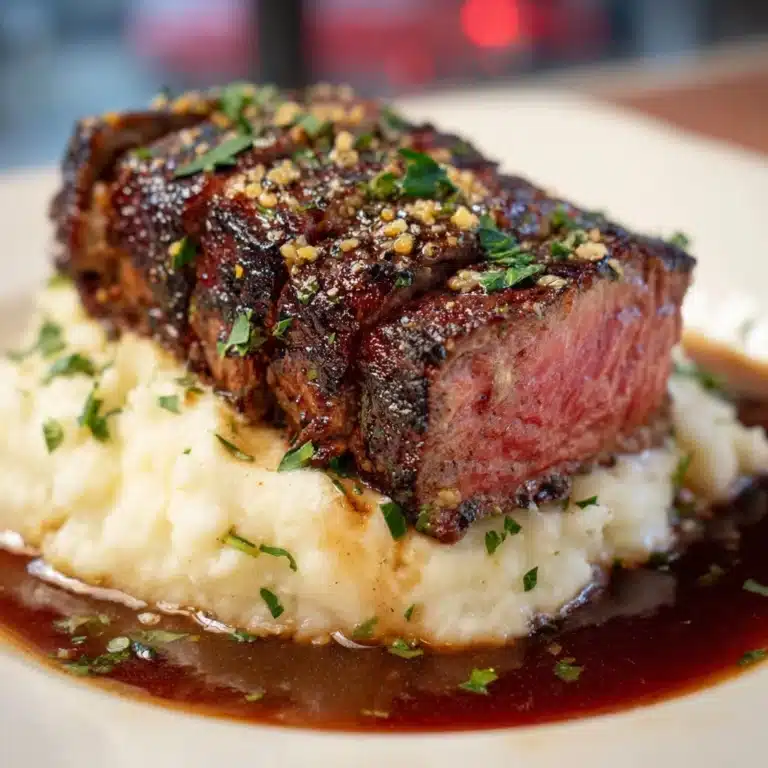
Homemade Crescent Rolls play beautifully alongside just about anything—think hearty stews, creamy soups, or classic roast chicken. They’re outstanding with holiday spreads but just as good beside a humble bowl of tomato soup or a crisp green salad. Keep a basket on the table and watch them vanish!
Creative Ways to Present
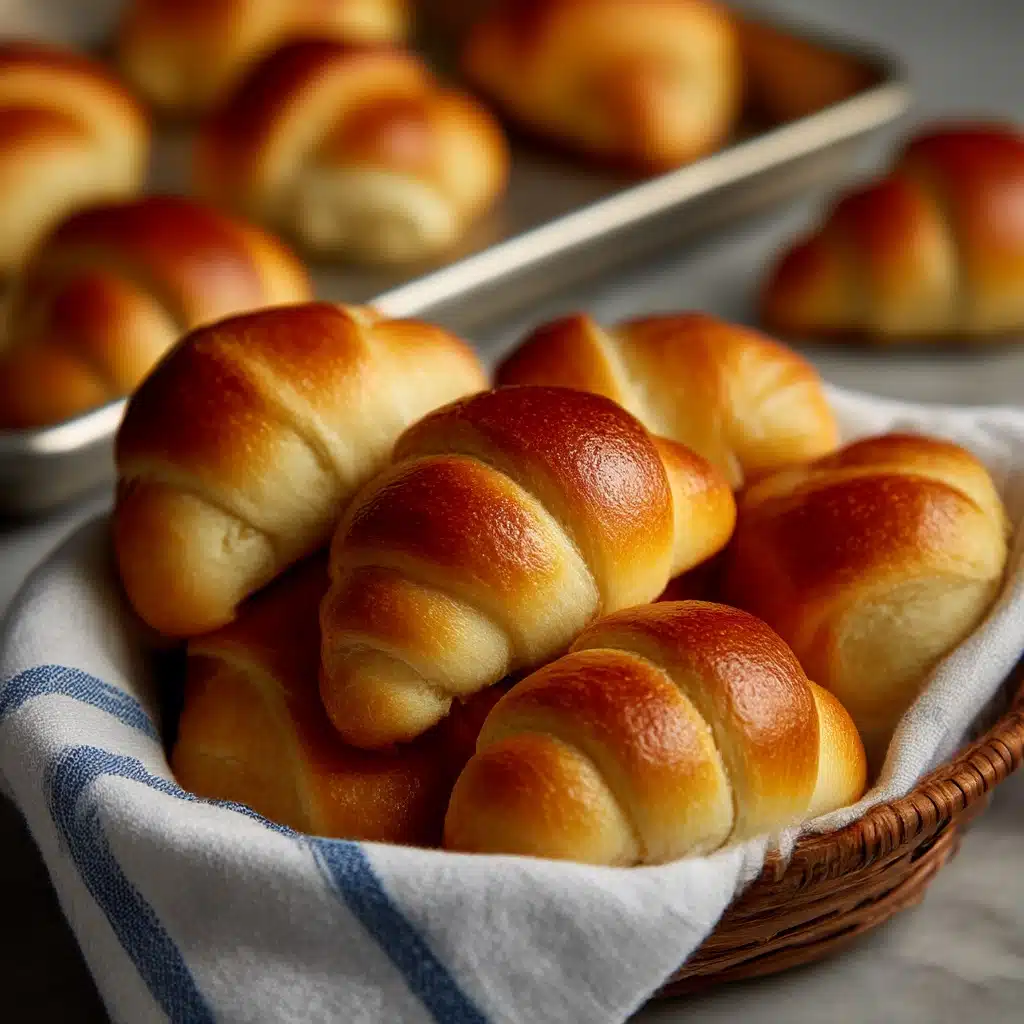
For special occasions, arrange your Homemade Crescent Rolls in a spiral on a round platter, or nestle them in a linen-lined bread basket. If you’re hosting brunch, try a butter board with flavored spreads—herb, honey, or cranberry butter. You can even slice leftover rolls and use them as sliders filled with ham, turkey, or roasted vegetables.
Make Ahead and Storage
Storing Leftovers
If you miraculously have leftover Homemade Crescent Rolls, let them cool completely, then transfer to an airtight container or zip-top bag. Stored at room temperature, they’ll stay fresh and soft for up to 2 days—though they’re at their best the day they’re baked.
Freezing
For longer storage, place cooled rolls in a freezer-safe bag, squeezing out excess air, and freeze for up to 3 months. Thaw overnight at room temperature or gently heat in a low oven for that just-baked taste.
Reheating
To bring Homemade Crescent Rolls back to life, warm them in the oven at 300°F (150°C) for about 8–10 minutes, or until heated through. A quick 10-second burst in the microwave works, too—though the oven recaptures that fresh-baked magic best.
FAQs
Why didn’t my rolls puff up?
This usually comes down to yeast activity or dough temperature. Always be sure your yeast is fresh and that your milk isn’t too hot or too cold; anything outside of the ideal range can prevent a good rise. Also, giving the dough ample time in a warm spot makes all the difference.
Can I prep the dough ahead of time?
Absolutely! After the first rise, you can cover the shaped rolls and refrigerate overnight. The next day, let them come to room temperature and puff up before baking as usual. This is perfect for holiday planning.
My dough is sticky—should I add more flour?
A little stickiness is actually a good sign and helps with softness, but if it’s unmanageable, add flour one tablespoon at a time. Be careful not to add too much, or your rolls could turn out dense.
How do I get those beautifully golden tops?
Brushing the rolls with melted butter before baking is key, and you can use an egg wash (1 egg whisked with a splash of milk) if you want an extra-glossy finish. Just don’t overbake, as that can dull the color and dry out your rolls.
Can I make these dairy-free or vegan?
With some substitutions, yes! Swap the milk for a non-dairy alternative, use vegan butter, and choose a plant-based egg replacement. The texture may vary slightly, but you can still enjoy delicious Homemade Crescent Rolls.
Final Thoughts
Few things say “welcome” quite like a basket brimming with warm, buttery Homemade Crescent Rolls. Whether you’re baking them for a holiday or just because, I promise each soft, golden swirl will earn you plenty of smiles. Try baking a batch soon—you might just find a new family tradition in your kitchen!
Print
Homemade Crescent Rolls Recipe
- Prep Time: 10 minutes
- Cook Time: 20 minutes
- Total Time: 30 minutes
- Yield: 4 servings
- Category: Main Course
- Method: Skillet
- Cuisine: Mediterranean
- Diet: Vegetarian
Description
These soft, buttery Homemade Crescent Rolls are delicately golden with a pillowy texture, perfect for any occasion from holiday feasts to casual dinners.
Ingredients
- 4 cups all-purpose flour
- 2 1/4 tsp active dry yeast
- 1 cup whole milk
- 1/4 cup granulated sugar
- 1/2 cup unsalted butter, melted (plus more for brushing)
- 2 large eggs
- 1 tsp salt
Instructions
- Warm the milk until just above body temperature, then stir in the yeast and a pinch of sugar. Let sit for 5–10 minutes until foamy.
- In a large bowl, mix flour, remaining sugar, and salt. Add the yeast mixture, melted butter, and eggs. Knead until smooth and elastic, about 8–10 minutes, adding flour as needed.
- Place the dough in a greased bowl, cover with a towel, and let rise in a warm place for 1–2 hours, until doubled in size.
- Punch down the dough and roll into a large circle. Cut into triangles and roll each from the wide end to form crescents, tucking the tip underneath.
- Place rolls on a parchment-lined baking sheet, point-side down. Let rise again for 45 minutes until puffy.
- Preheat oven to 375°F (190°C). Brush tops with melted butter. Bake for 12–15 minutes until golden brown. Cool slightly before serving.
Notes
- Brush with garlic butter or sprinkle with sea salt or herbs after baking for added flavor.
- Pairs well with soups, stews, roasts, or as a brunch side.
- Use leftovers for sliders or slice and toast for mini sandwiches.
- Store at room temperature for up to 2 days; freeze up to 3 months.
- Reheat in a 300°F oven for 8–10 minutes or microwave for 10 seconds.
- Dough can be shaped and refrigerated overnight before baking.

