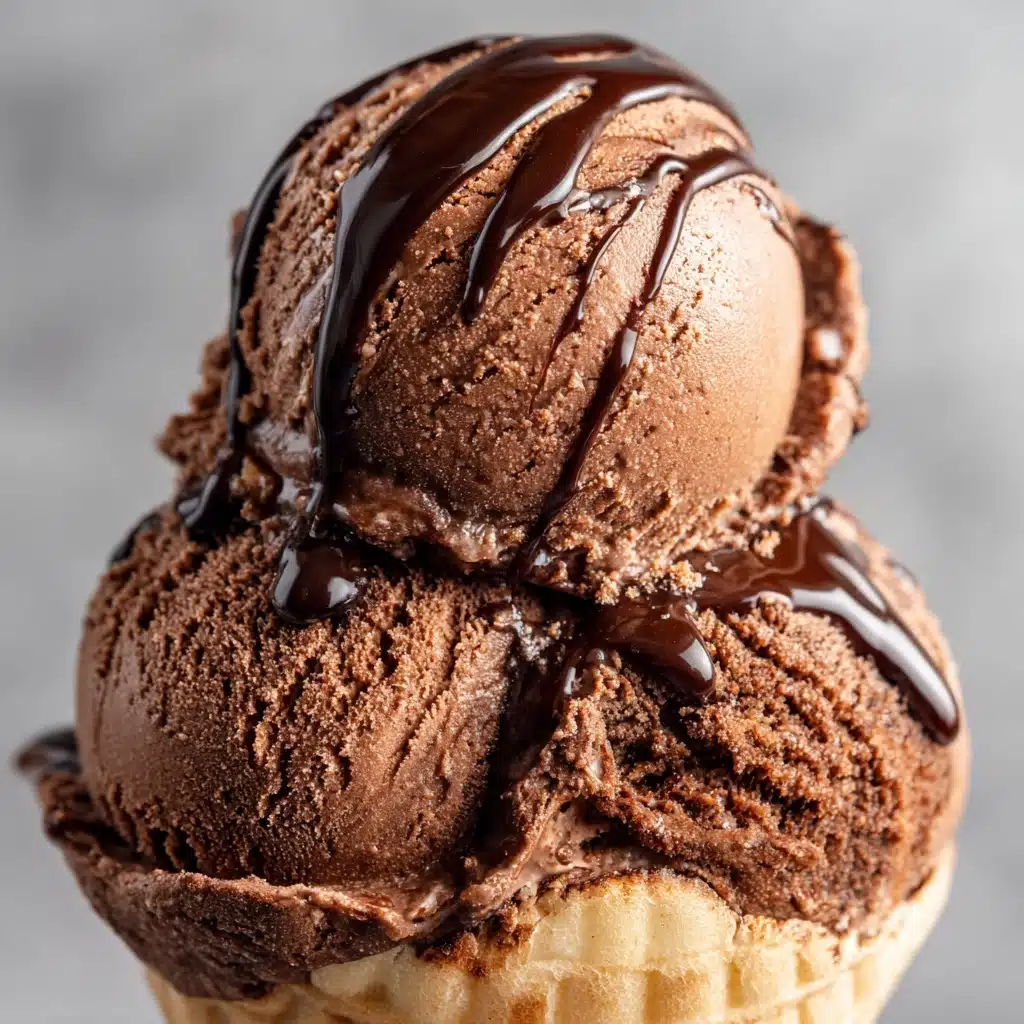
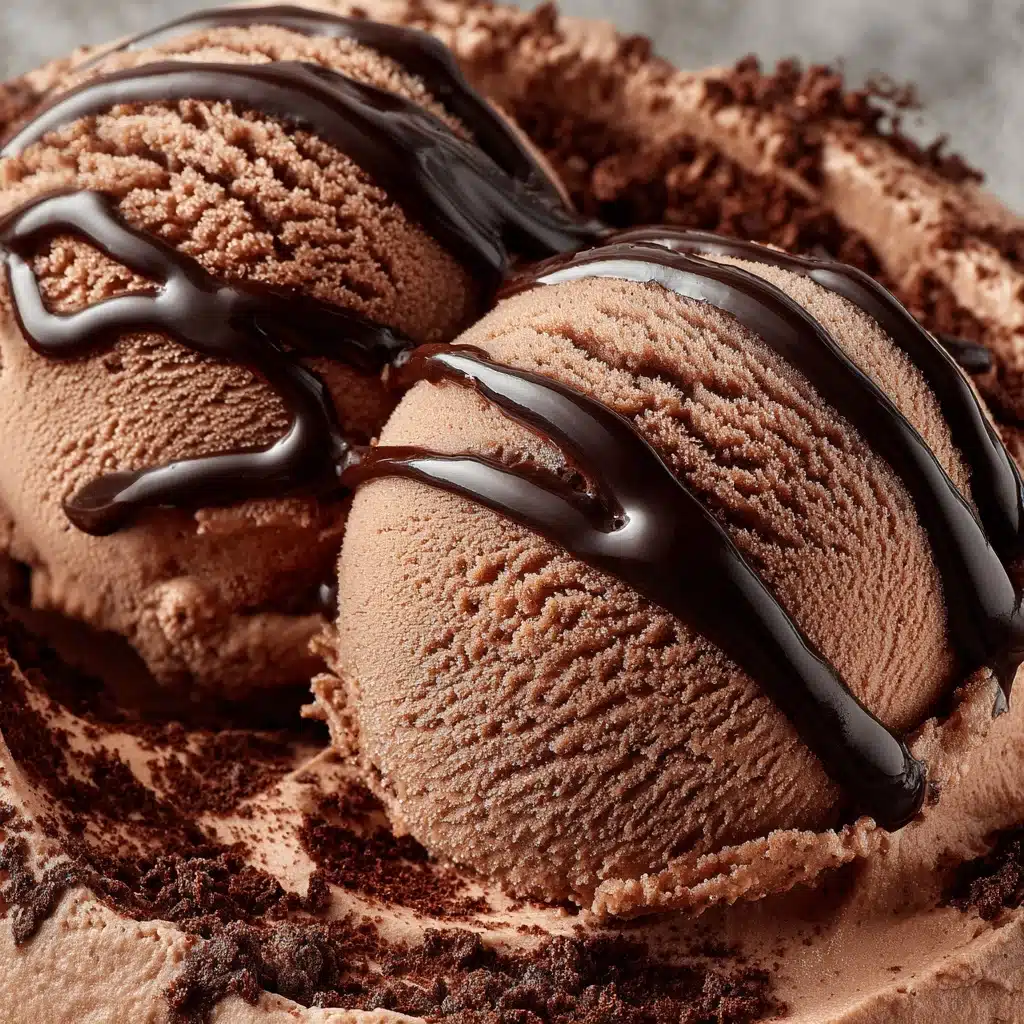
If you’re a true chocolate lover, prepare to fall head over heels for Homemade Chocolate Ice Cream. There’s nothing quite like the deep, velvety richness of real chocolate, churned into a creamy, dreamy frozen treat that’s made in your own kitchen. Every bite feels like a celebration of cocoa—intense, smooth, and perfectly balanced with sweetness. Whether scooped into a cone or shared at a family barbecue, this is a make-again-and-again classic you’ll want at every gathering and every midnight craving.
Ingredients You’ll Need
Homemade Chocolate Ice Cream shines because of how effortlessly these straightforward ingredients transform into something extraordinary. Each one brings its own touch, combining for the ultimate ice cream experience: silkiness, flavor depth, and supreme scoopability.
- Heavy cream: The foundation of creaminess, it makes your ice cream rich and luxurious.
- Whole milk: Balances the fat content, ensuring the ice cream is scoopable yet not overly dense.
- Granulated sugar: Apart from sweetening, it helps to keep the texture smooth and prevents icy crystals.
- Unsweetened cocoa powder: Intensifies the chocolate flavor with a slightly bitter note, delivering complexity.
- Semisweet or dark chocolate (finely chopped): Melts into the base for double chocolate decadence; choose your favorite for more or less intensity.
- Pure vanilla extract: A splash rounds out the flavors, enhancing the chocolate without overpowering it.
- Salt: Just a pinch brings out all the rich cocoa notes and balances the sweetness perfectly.
How to Make Homemade Chocolate Ice Cream
Step 1: Mix the Dry Ingredients
Begin by whisking together the cocoa powder, sugar, and salt in a medium saucepan. This ensures the cocoa disperses evenly, preventing lumps and guaranteeing that every spoonful is deeply chocolatey—setting the stage for an irresistibly smooth homemade chocolate ice cream base.
Step 2: Add the Milk and Heat
Pour in the whole milk and set the pan over medium heat. Whisk constantly as the mix warms up. Keep a close eye—let it get hot and steamy (but not boiling!) and watch as everything dissolves into a glossy, unified mixture. This step is key for developing a silky texture.
Step 3: Stir in the Chocolate
Remove the pan from the heat. Immediately add the finely chopped semisweet or dark chocolate. Stir until completely melted and smooth—the moment the chocolate melts, the aroma will make you giddy with anticipation. This double dose of chocolate is what gives homemade chocolate ice cream its extraordinary richness.
Step 4: Cool and Add the Cream and Vanilla
Let your chocolate mixture cool for a few minutes (so you don’t curdle the cream). Then, pour in the heavy cream and pure vanilla extract. Stir gently—you’ll see the mixture thicken, turning even silkier. This combination is the secret behind its ultra-creamy consistency.
Step 5: Chill Thoroughly
Cover the bowl and refrigerate the mixture for at least 4 hours, or even overnight if you like planning ahead. Proper chilling is crucial for the magic of churning: it allows the flavors to meld and gives the ice cream a better texture when frozen.
Step 6: Churn Until Creamy
Once chilled, pour the mixture into your ice cream maker. Churn according to the manufacturer’s instructions—usually about 20 to 25 minutes. Watch as it transforms from a liquid into a creamy, soft-serve consistency. This is when homemade chocolate ice cream starts looking and tasting like pure heaven!
Step 7: Freeze until Firm
Transfer your freshly churned ice cream into a freezer-safe container, smoothing the top. Pop it in the freezer for at least 2 hours—this final step allows the ice cream to achieve that beautiful, scoopable texture. After freezing, you’re ready to dig in!
How to Serve Homemade Chocolate Ice Cream
Garnishes
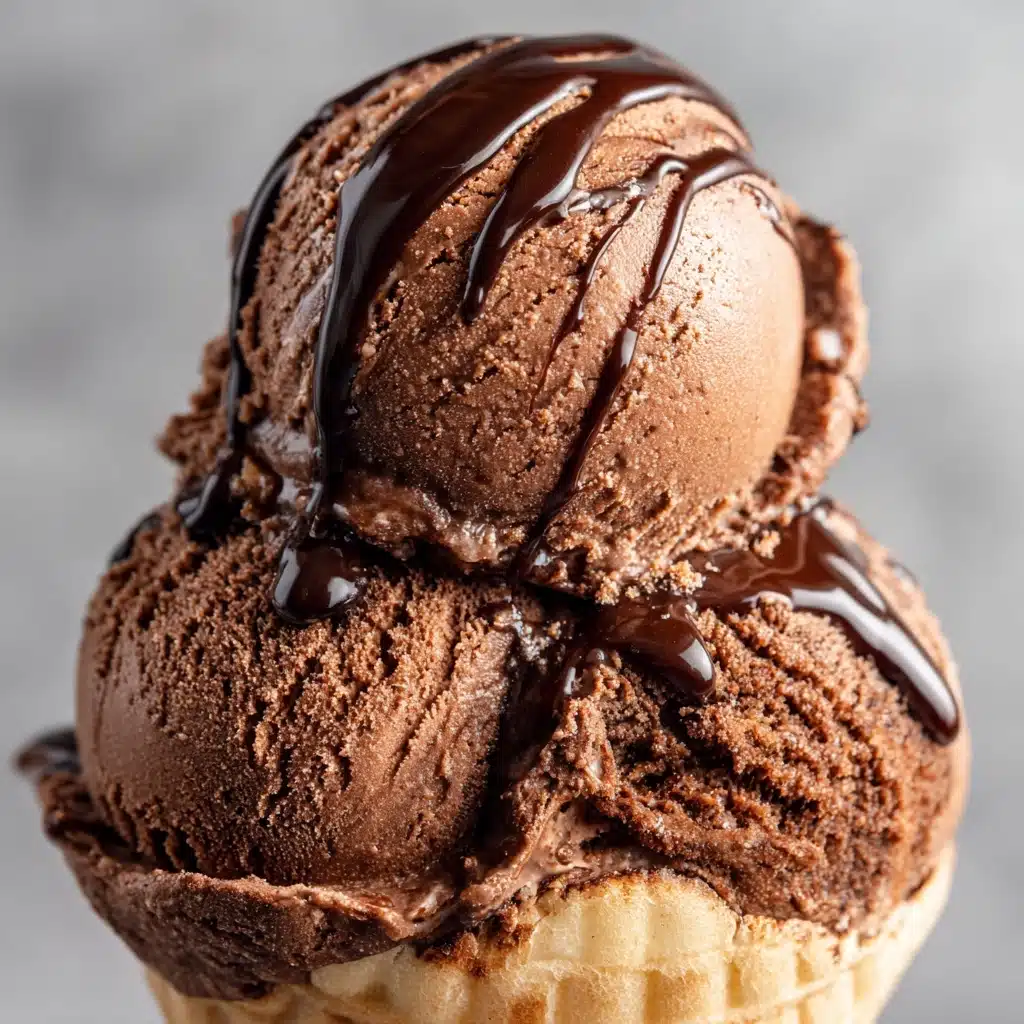
Homemade Chocolate Ice Cream is a natural canvas for your favorite toppings. Try a sprinkle of mini chocolate chips for crunch, a cloud of whipped cream, or fresh berries for a pop of color and tang. Even a dusting of flaky sea salt or a drizzle of warm fudge can take each scoop to pure dessert bliss.
Side Dishes
This ice cream pairs beautifully with everything from crisp waffle cones and chewy brownies to classic sugar cookies. For a refreshing contrast, serve alongside fruit like strawberries or bananas, or tuck a scoop between two chocolate chip cookies for the ultimate sandwich treat.
Creative Ways to Present
Go beyond the bowl! Layer a scoop into a sundae glass with marshmallows and nuts, or build a mini ice cream pie in a cookie crumb crust. Or, for a showstopper, serve between homemade macarons or use it as the base for milkshakes—homemade chocolate ice cream is surprisingly versatile!
Make Ahead and Storage
Storing Leftovers
Store any leftover homemade chocolate ice cream in a freezer-safe, airtight container. For best texture, press a piece of parchment or plastic wrap directly onto the surface to help ward off freezer burn and preserve that freshly churned smoothness.
Freezing
Homemade chocolate ice cream keeps best when frozen at the back of your freezer, where the temperature is most consistent. It should stay fresh for up to 2 weeks—though let’s be honest, it rarely lasts that long before someone scoops it all!
Reheating
Ice cream is best enjoyed frozen, but if it’s a bit hard, let the container sit at room temperature for about 5-10 minutes before scooping. No need to reheat, just a little patience for the perfect texture.
FAQs
Can I make homemade chocolate ice cream without an ice cream maker?
Absolutely! You can pour the chilled mixture into a shallow dish, freeze while stirring every 30 minutes for 2 to 3 hours. The texture may not be as creamy, but it’ll still be delicious and satisfy those chocolate cravings.
Can I use milk alternatives for a dairy-free version?
Yes, you can substitute coconut milk and coconut cream, or your preferred plant-based milk, for both the cream and milk. Keep in mind that flavor and creaminess may slightly change, but it will still be a wonderful frozen treat.
How do I enhance the chocolate flavor?
Use a high-quality cocoa powder and your favorite dark chocolate. You can even add a shot of espresso or a pinch of instant coffee to really deepen those chocolate undertones—coffee enhances chocolate in the best possible way.
What mix-ins can I add?
Get creative! Stir in mini chocolate chips, swirls of peanut butter or fudge, chopped nuts, or even chunks of brownie right after churning for an extra-special batch of homemade chocolate ice cream.
How long does it take for the ice cream to set in the freezer?
Plan on at least 2 hours in the freezer after churning for a firmer, scoopable texture. For soft-serve, you can enjoy it almost immediately, but for classic firmness, a little extra patience pays off.
Final Thoughts
There’s just something magical about making homemade chocolate ice cream in your own kitchen—watching simple ingredients turn into pure chocolate bliss. Whether you’re new to homemade desserts or a seasoned ice cream enthusiast, give this recipe a try and treat yourself (and your lucky friends) to a scoop of true happiness!
Print
Homemade Chocolate Ice Cream Recipe
- Prep Time: 15 minutes (plus chilling and freezing time)
- Cook Time: 10 minutes
- Total Time: 25 minutes (active)
- Yield: 1 quart (8 servings)
- Category: Dessert
- Method: Churned
- Cuisine: American
- Diet: Vegetarian
Description
Indulge in the rich and creamy goodness of Homemade Chocolate Ice Cream with this easy-to-follow recipe. Made with simple ingredients, this decadent treat is perfect for satisfying your sweet tooth on a hot day.
Ingredients
Ice Cream Base:
- 2 cups heavy cream
- 1 cup whole milk
- 3/4 cup granulated sugar
- 1/2 cup unsweetened cocoa powder
- 1/4 teaspoon salt
Additional Ingredients:
- 4 ounces semisweet or dark chocolate (finely chopped)
- 1 teaspoon pure vanilla extract
Instructions
- Prepare the Base: In a saucepan, whisk cocoa powder, sugar, and salt. Heat with milk until smooth. Add chopped chocolate, then cool and mix in cream and vanilla.
- Chill the Mixture: Refrigerate for at least 4 hours or overnight.
- Churn the Ice Cream: Pour the chilled mixture into an ice cream maker and churn for 20-25 minutes.
- Freeze: Transfer to a container and freeze for 2 hours until firm.
- Serve: Scoop and enjoy!
Notes
- For a richer texture, use half-and-half instead of whole milk.
- Customize with chocolate chips, brownie chunks, or fudge swirls after churning.

