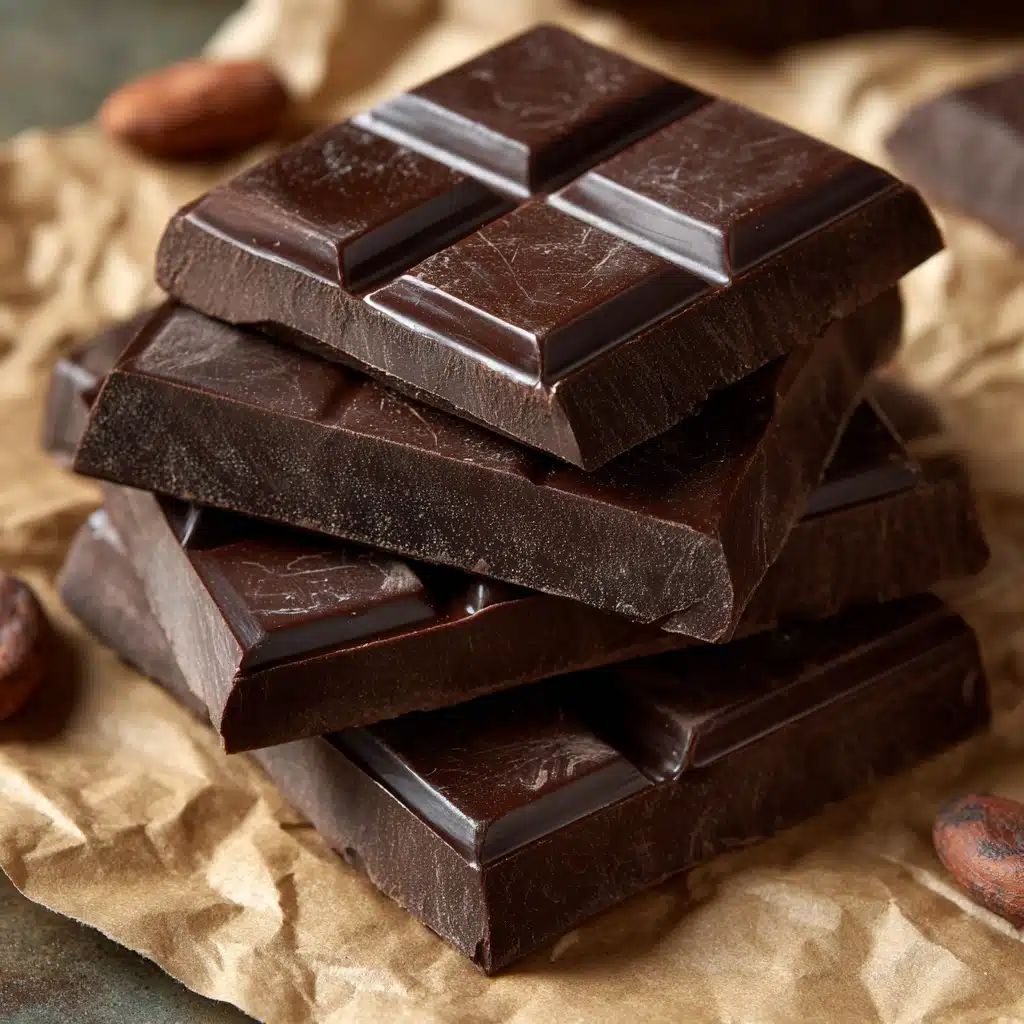
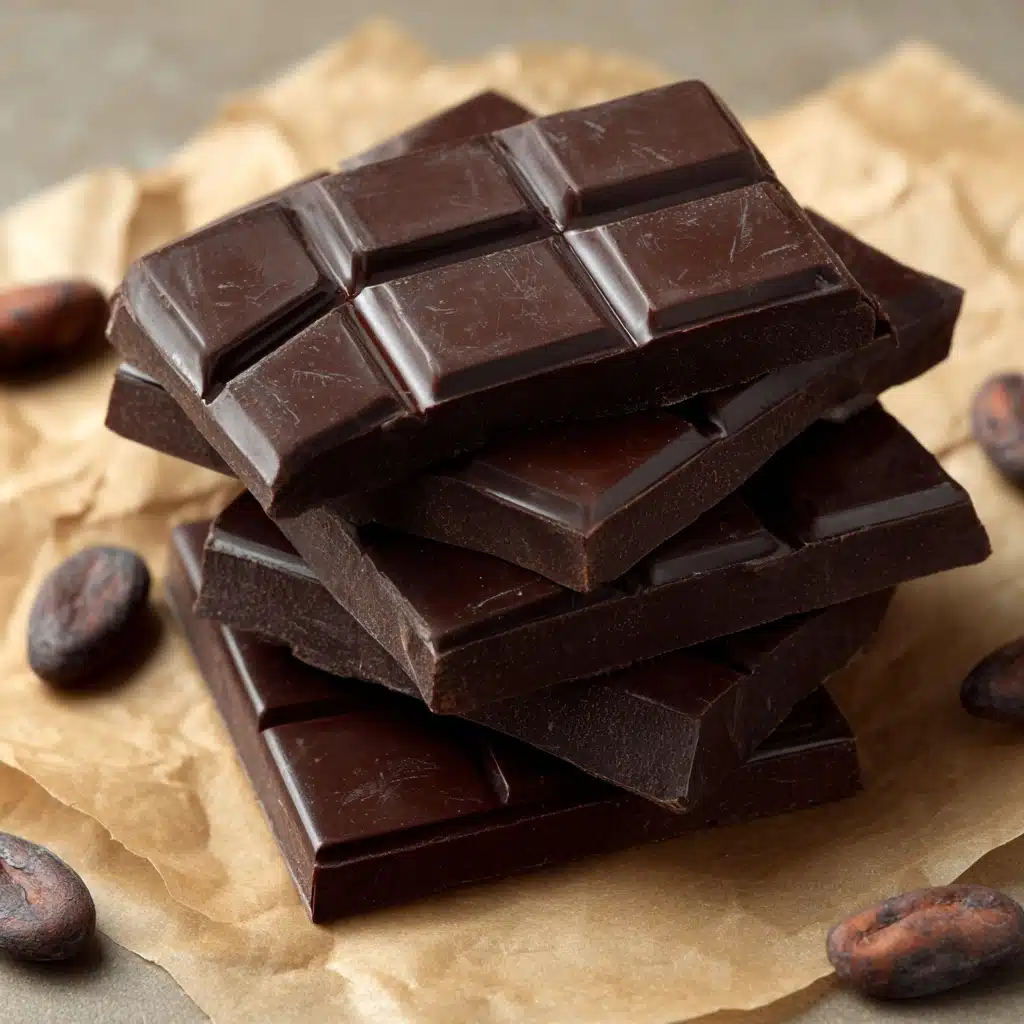
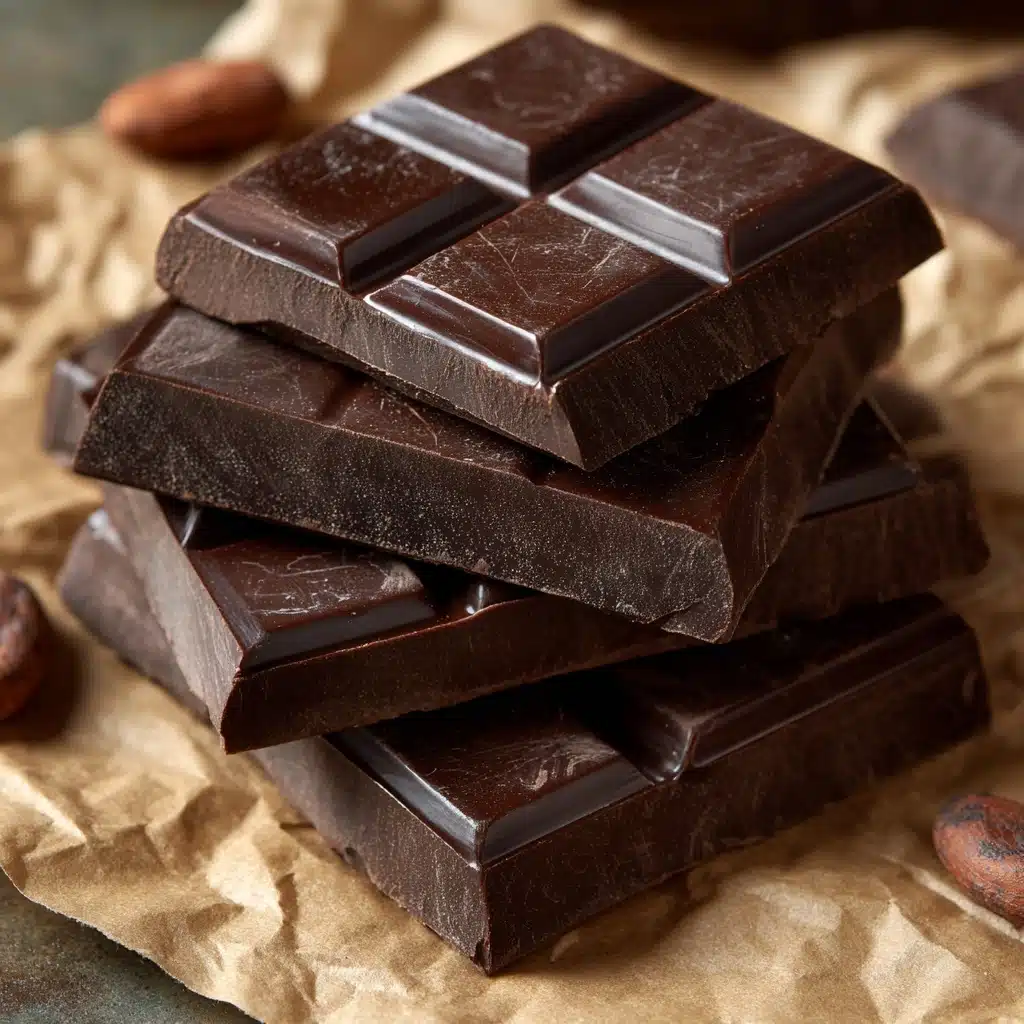
If you’ve ever wished you could whip up decadent, glossy chocolate that melts in your mouth—without any hard-to-find ingredients or hours of tempering fuss—let me introduce you to Homemade Chocolate Bars. This recipe skips the hard work but delivers pure cocoa bliss: fudgy, rich, easily customizable bars that are naturally sweetened and take just minutes to pull together. Whether you want to satisfy a chocolate craving, prep healthy snacks, or get creative with toppings, making these gems is pure joy from start to finish.
Ingredients You’ll Need
Every component in Homemade Chocolate Bars is chosen for maximum deliciousness with minimal effort. These simple, whole ingredients shine in their roles, providing luscious mouthfeel, deep flavor, and the perfect snap once chilled.
- Coconut oil: This is the magic that keeps everything silky and holds the bars together — just don’t skip refrigerating, since it’s what gives the chocolate its structure!
- Unsweetened cocoa powder: Choose a high-quality cocoa for dark, intense flavor and a velvety, classic chocolate color.
- Maple syrup or honey: Your choice of sweetener brings just the right touch of natural sweetness while keeping things clean and approachable for most diets.
- Vanilla extract: A splash of vanilla rounds out the chocolate’s richness with fragrant depth. Don’t be tempted to leave this out — it makes a world of difference!
- Pinch of salt: Just a pinch brings out every nuance of the cocoa and enhances overall flavor.
- Optional toppings (chopped nuts, shredded coconut, dried fruit, sea salt flakes): Mix and match your favorites for extra crunch, color, and personality. Toppings make each batch new and exciting.
How to Make Homemade Chocolate Bars
Step 1: Melt and Infuse the Coconut Oil
Start by adding the coconut oil to a medium saucepan and place it over low heat. It only takes a minute or two to melt completely, and you want it fully liquid—but not hot or bubbling. Let the gentle heat do its work; this sets the stage for silky smooth bars.
Step 2: Whisk in Cocoa, Sweetener, Vanilla, and Salt
Once your coconut oil is melted, remove the pan from heat. Quickly whisk in the unsweetened cocoa powder, maple syrup or honey, vanilla extract, and a pinch of salt. The mixture should come together in a glossy, pourable batter. Take a little taste and adjust the sweetness if you want a darker or sweeter bar.
Step 3: Pour and Shape
Grab your silicone chocolate mold or line a loaf pan with parchment paper. Pour the warm mixture evenly into your prepared mold; use a spatula to smooth the surface if needed. Gently tap the mold on the counter a few times to pop any air bubbles lurking below.
Step 4: Add Your Favorite Toppings
Now for the fun part: Sprinkle chopped nuts, coconut, chewy bits of dried fruit, or a flurry of sea salt flakes over the top. The sky’s the limit here—get playful with textures and flavors that make your Homemade Chocolate Bars uniquely yours.
Step 5: Freeze to Set
Slide the whole tray into your freezer and wait 20–30 minutes. It’s a quick chill, but essential! When the bars are completely firm, pop them out of the molds or lift them out of the loaf pan and slice into bars.
How to Serve Homemade Chocolate Bars
Garnishes
For a special finishing touch, lightly drizzle extra melted chocolate over the set bars, or add an extra dusting of cocoa powder, coconut flakes, or even a few edible flowers. A neat sprinkle of flaky sea salt intensifies the cocoa notes and looks absolutely stunning on a serving tray.
Side Dishes
Pair your Homemade Chocolate Bars with a cold glass of almond or oat milk, fresh espresso, or even a fruity sorbet for contrast. They also make heavenly companions to a bowl of fresh strawberries, or can step in as a sweet finish after a light salad or brunch.
Creative Ways to Present
Wrap your bars in wax paper with a ribbon for gifts, or layer cut pieces in little jars for party favors. Build a homemade dessert board with mini bars, nuts, dried fruits, and pretzels for a festive, interactive treat. These also make fun DIY projects with kids—let everyone pick their own toppings and design their dream chocolate bar.
Make Ahead and Storage
Storing Leftovers
Homemade Chocolate Bars are happiest when kept in an airtight container in the refrigerator. Chilled, they hold their shape beautifully and stay delicious for up to two weeks. Just remember: room temperature turns them soft, thanks to that coconut oil base!
Freezing
Want to save some for later? These bars are made for the freezer. Just layer them with parchment to prevent sticking, seal well, and freeze for up to three months. Grab a bar straight from the freezer whenever a chocolate craving strikes!
Reheating
No classic reheating needed here—your bars are best enjoyed chilled. However, if you want a slightly softer texture, let a bar sit at room temperature for a few minutes before eating. Just don’t leave them out too long, or you’ll end up with more of a chocolate puddle than a bar!
FAQs
Can I use a different oil if I don’t have coconut oil?
It’s best to stick with coconut oil, since it solidifies when cold and gives these bars their firm, snappy texture. Other oils (like olive or vegetable) stay liquid at fridge temps and just won’t set the chocolate properly.
Is it possible to make Homemade Chocolate Bars completely sugar-free?
Yes! Swap maple syrup or honey for a liquid sugar-free sweetener like monk fruit syrup or stevia drops to taste. Just keep in mind that the sweetener should fully dissolve for a smooth final bar.
What’s the best way to add nut butter for extra creaminess?
If you want extra-creamy Homemade Chocolate Bars, whisk in 1–2 tablespoons of your favorite nut butter (like almond or cashew) right after the cocoa powder is added. This gives the bars a hint of richness and a lovely fudgy bite.
Can I double or halve the recipe?
Absolutely! This recipe is versatile and forgiving. Double it for a crowd or halve for a smaller batch; just watch the chill time if your bars are extra thick.
Are these bars suitable for kids with food allergies?
These Homemade Chocolate Bars are naturally gluten-free and dairy-free. To make nut-free bars, skip nut toppings and be sure your coconut ingredients are allergy-safe. Always check labels and consult with your healthcare professional if food allergies are a concern.
Final Thoughts
Once you see how quick and easy it is to whip up Homemade Chocolate Bars, you may never want to buy packaged treats again. With room for endless creativity and ingredients you can actually feel good about, there’s just no reason not to treat yourself. So cue up your favorite toppings and dive in; your friends and family will be delighted you did!
Print
Homemade Chocolate Bars Recipe
- Prep Time: 5 minutes
- Cook Time: 5 minutes
- Total Time: 30 minutes
- Yield: 6 bars
- Category: Dessert
- Method: No-Cook
- Cuisine: American
- Diet: Vegan
Description
Indulge in these homemade chocolate bars that are not only delicious but also vegan, gluten-free, and dairy-free. Made with just a few simple ingredients, these clean chocolate bars are a guilt-free treat perfect for satisfying your sweet tooth.
Ingredients
Main Ingredients:
- 1/2 cup coconut oil
- 1/2 cup unsweetened cocoa powder
- 1/4 cup maple syrup or honey
- 1/2 teaspoon vanilla extract
- pinch of salt
Optional Toppings:
- chopped nuts
- shredded coconut
- dried fruit
- sea salt flakes
Instructions
- Melt Coconut Oil: In a medium saucepan over low heat, melt the coconut oil.
- Mix Ingredients: Whisk in the cocoa powder, maple syrup or honey, vanilla extract, and salt until smooth and fully combined.
- Pour and Set: Remove from heat, pour the mixture into a mold, tap to release air bubbles, add toppings, freeze for 20–30 minutes until set.
- Store: Once firm, remove from the mold and store in the refrigerator or freezer until ready to eat.
Notes
- Keep bars chilled as they melt easily at room temperature due to coconut oil.
- Adjust sweetness by varying maple syrup or honey.
- For creamier texture, add nut butter to the mix.

