

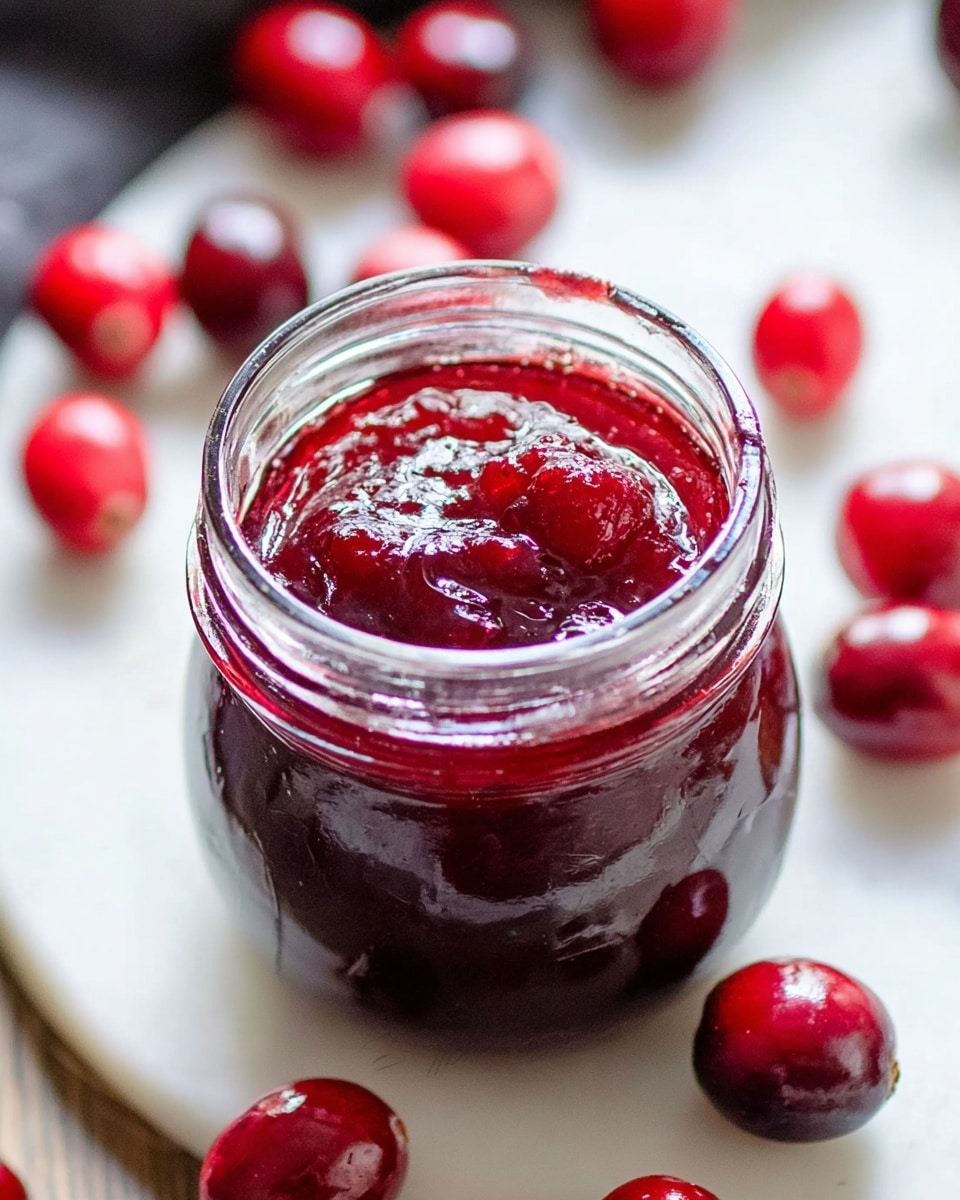
If you love capturing the vibrant flavors of summer fruit, you are going to adore this Homemade Cherry Jam Recipe. Imagine spooning bright, luscious cherries spread across your morning toast, or dolloping that sweet-tart goodness onto your favorite desserts. This recipe is a heartfelt way to bring a burst of fresh cherry flavor into your kitchen with simple ingredients and straightforward steps that transform humble cherries into a velvety, jammy treasure. Whether you’re new to preserving or a seasoned jam maker, this Homemade Cherry Jam Recipe promises to fill your pantry—and your heart—with joy.

Ingredients You’ll Need
Getting started with this jam means gathering a handful of everyday ingredients, each playing a special role in the final flavor, texture, and color. They keep the jam bright, balanced, and perfectly spreadable.
- 4 cups fresh cherries (pitted): The star of the show, fresh cherries provide natural sweetness and vibrant color that makes this jam shine.
- 1 ½ cups granulated sugar: Essential for sweetness and helps the jam set to that classic, smooth consistency.
- 2 tablespoons lemon juice (freshly squeezed): Adds brightness and helps balance the sweetness while aiding the pectin’s gelling power.
- 1 package (1.75 oz) fruit pectin: The magical ingredient that helps your jam reach the perfect thickness quickly and reliably.
How to Make Homemade Cherry Jam Recipe
Step 1: Prepare the Cherries
Start by washing your cherries thoroughly and removing the pits. A cherry pitter is handy if you have one, but cutting them in half with a paring knife works just as well. This step ensures that you get all the juicy fruit flavors without any pits getting in the way of your jam experience.
Step 2: Combine and Macerate
In a large pot, gently combine the pitted cherries, granulated sugar, and freshly squeezed lemon juice. Stir everything together well, then let the mixture sit for about 30 minutes. This resting time allows the cherries to release their beautiful juices, creating a syrupy base that’s bursting with fresh flavor.
Step 3: Heat Until Boiling
Place your pot over medium heat and warm the cherry mixture, stirring often to prevent sticking or burning. Wait until it reaches a full, rolling boil where bubbles are spilling over vigorously—it’s the sign that your jam is on its way to a perfect set.
Step 4: Add the Pectin
Once boiling, it’s time to stir in the fruit pectin according to the package directions. Keep cooking and stirring until the mixture returns to a rolling boil. This step activates the pectin, giving your jam the ideal thickness that spreads nicely without being runny.
Step 5: Test for Doneness
To check if your jam is ready, perform the reliable cold plate test. Spoon a little jam onto a chilled plate and give it a gentle push with your finger. If the surface wrinkles and doesn’t flood back, you know you’ve nailed that perfect jammy consistency.
Step 6: Jar and Preserve
Carefully ladle the hot jam into sterilized jars, leaving a small bit of headspace. Seal them tightly and process in a boiling water bath for 5 to 10 minutes to ensure safety and preserve freshness. Once cooled, your homemade cherry jam is ready to be enjoyed or stored.
How to Serve Homemade Cherry Jam Recipe
Garnishes
Sprinkle a few fresh mint leaves or a light dusting of powdered sugar over a spoonful of this cherry jam to elevate its presentation. The fresh mint adds a hint of herbal brightness that contrasts beautifully with the sweet cherry flavors.
Side Dishes
This cherry jam pairs wonderfully with warm buttered toast or crisp crackers. It’s also incredible alongside creamy cheeses like brie or cream cheese, creating the perfect balance between sweet and savory.
Creative Ways to Present
Try swirling the cherry jam into Greek yogurt or oatmeal for a naturally sweet breakfast upgrade. You can also spoon it over vanilla ice cream, or use it as a filling for thumbprint cookies or layer cakes, turning your desserts into eye-catching delights.
Make Ahead and Storage
Storing Leftovers
Keep your homemade cherry jam in a cool, dark place if sealed properly. After opening, store it in the refrigerator and consume within a month for the best flavor and quality.
Freezing
If you want to enjoy the jam well beyond cherry season, consider freezing it. Use freezer-safe containers, leaving some headspace to allow for expansion, and thaw in the refrigerator when ready to use.
Reheating
When reheating jam for recipes or spreading, warm it gently over low heat or briefly microwave it. Avoid overheating to preserve the vibrant color and fresh cherry taste.
FAQs
Can I use frozen cherries to make this jam?
Yes! Frozen cherries work well if fresh ones are unavailable. Just make sure to thaw and drain any excess liquid before starting the recipe to maintain the right consistency.
What if I don’t have fruit pectin?
Pectin helps the jam set quickly, but you can try making jam without it by cooking the cherries longer—about 45 minutes to an hour—to naturally thicken. The texture will be a bit different, but still delicious.
Is it necessary to process the jam in a boiling water bath?
Processing jars in a boiling water bath ensures long-term preservation and prevents spoilage. If you plan to consume the jam quickly and keep it refrigerated, you can skip this step.
How sweet is this cherry jam?
This recipe creates a balanced sweetness with a hint of tartness from the lemon juice, celebrating the cherries’ natural flavor without being overly sugary.
Can I use this jam in baking?
Absolutely! Use this cherry jam as a filling for cakes, pastries, or thumbprint cookies. It also makes a fantastic swirl ingredient in muffins and quick breads.
Final Thoughts
There is something truly heartwarming about making your own preserves, and this Homemade Cherry Jam Recipe is a delightful place to start. It’s simple, flavorful, and bursting with that fresh-summer-cherry magic you just can’t find in store-bought jars. I encourage you to gather those fresh cherries and try your hand at making this jam—it’s a delicious way to keep summer flavors close all year round.
Print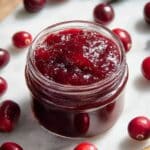
Homemade Cherry Jam Recipe
- Prep Time: 30 minutes
- Cook Time: 15 minutes
- Total Time: 45 minutes
- Yield: Approximately 2 cups (about 32 servings)
- Category: Condiment
- Method: Stovetop
- Cuisine: American
Description
This homemade cherry jam recipe yields a sweet and tangy spread made from fresh cherries, sugar, lemon juice, and fruit pectin. It’s perfect for preserving seasonal cherries and can be enjoyed on toast, pastries, or as a dessert topping. The process involves simmering the ingredients on the stovetop and finishing with water bath canning for safe storage.
Ingredients
Jam Ingredients
- 4 cups fresh cherries (pitted)
- 1 ½ cups granulated sugar
- 2 tablespoons lemon juice (freshly squeezed)
- 1 package (1.75 oz) fruit pectin
Instructions
- Prepare Cherries: Wash the fresh cherries thoroughly and remove the pits using a cherry pitter or by cutting them in half carefully.
- Combine Ingredients: In a large pot, mix the pitted cherries, granulated sugar, and freshly squeezed lemon juice. Stir the mixture well and allow it to sit for 30 minutes so the cherries release their natural juices.
- Heat the Mixture: Place the pot over medium heat and heat the mixture until it starts to boil, stirring frequently to prevent sticking and burning.
- Add Pectin: Once boiling, add the fruit pectin according to the package instructions. Continue cooking until the mixture achieves a rolling boil again, ensuring the pectin activates properly for setting.
- Test for Doneness: Perform the cold plate test by dropping a small amount of jam on a cold plate; if it wrinkles when pushed with a finger, the jam is ready.
- Jar the Jam: Ladle the hot jam into sterilized jars, seal them tightly, and process the jars in boiling water for 5 to 10 minutes to ensure safe preservation.
Notes
- Use fully ripe cherries for the best flavor and natural sweetness.
- Ensure jars are properly sterilized to avoid contamination.
- The cold plate test is critical to check jam consistency before jarring.
- Adjust sugar slightly if you want a less sweet or more tart jam.
- Process jars promptly after filling to maintain safety and preservation quality.
- Store sealed jars in a cool, dark place; refrigerate after opening.


