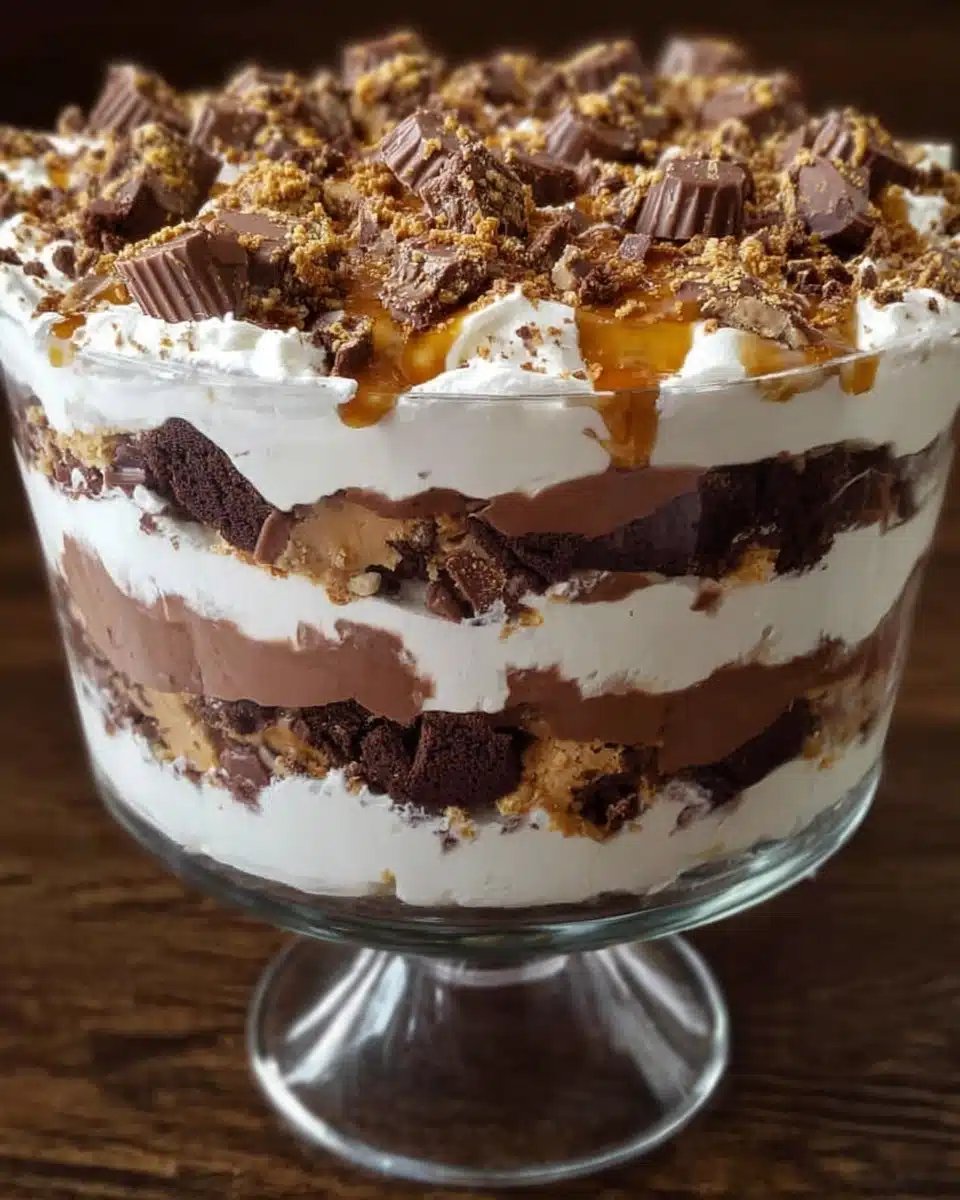
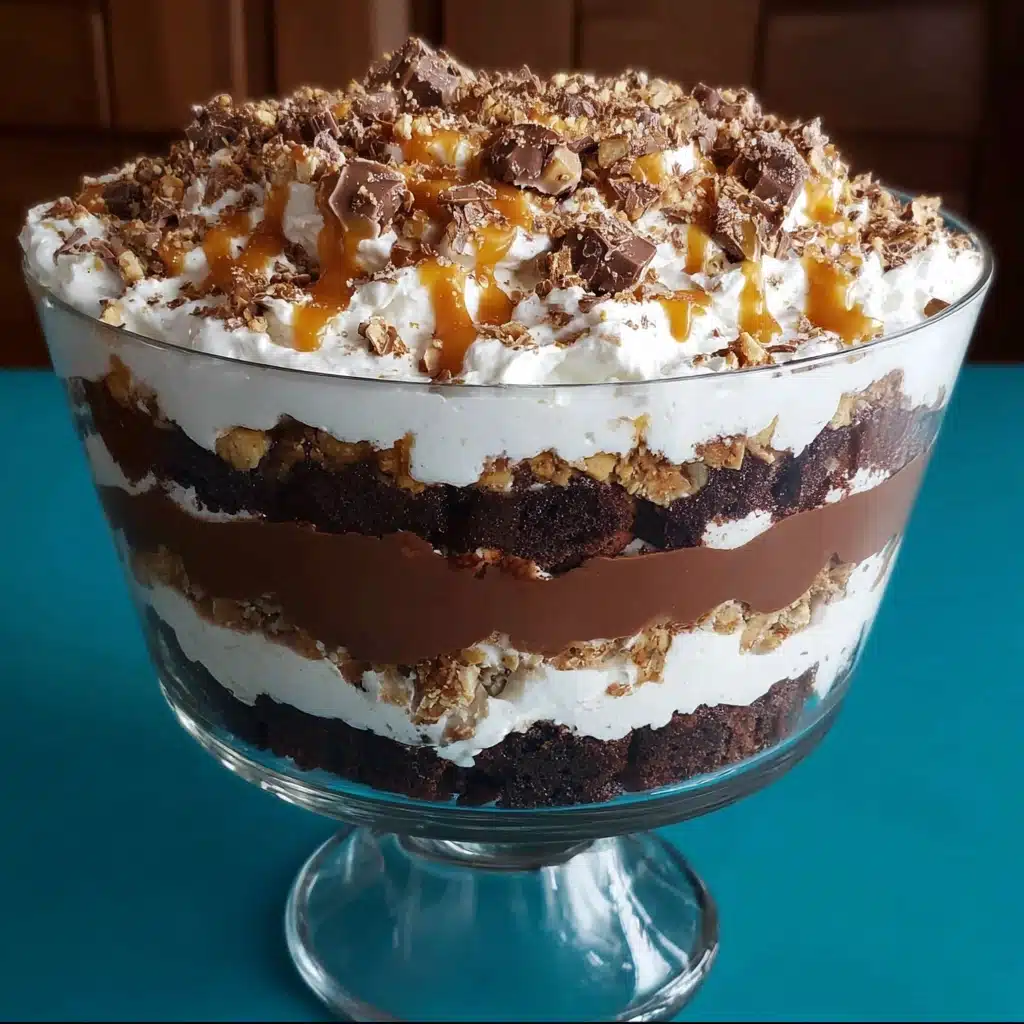
Imagine a dessert so lush, so perfectly layered with skyrocketing flavors and creamy-sweet goodness, it truly earns the name Heaven in a Bowl Recipe. This beloved creation isn’t just another trifle; it’s the ultimate crowd-pleaser for every occasion, thanks to its delicate harmony of cake, pudding, berries, and whipped cream. Whether you need an easy make-ahead showstopper or a comfort-filled treat for a cozy night in, every spoonful promises joy and a little bit of nostalgia.
Ingredients You’ll Need
The magic of the Heaven in a Bowl Recipe is how each humble ingredient transforms into something spectacular when assembled together. You’ll be delighted by how each element brings its own personality—some a burst of color, others a cloud-like creaminess, all of them working together in perfect harmony.
- Cake or Brownie Base: Choose a moist angel food cake, rich chocolate brownies, or pound cake for your foundation—cubed for easy layering and maximum absorption of flavors.
- Instant Pudding Mix: Vanilla or chocolate pudding provides luxurious creaminess and holds the layers together beautifully—prepare it according to the box, but consider using cold milk for the smoothest texture.
- Fresh Berries: Strawberries, blueberries, or raspberries offer juicy sweetness and vibrant pops of color, and their tartness perfectly balances the dessert’s richness.
- Whipped Topping (or Whipped Cream): Fluffy, light, and easy to spread, it crowns every layer, creating a dreamy topping—homemade is always amazing, but store-bought works too for busy days.
- Chocolate Chips or Shavings: Just a handful adds texture and an element of indulgence—miniature chips, curls, or even grated dark chocolate all work beautifully.
- Chopped Nuts: A sprinkle of toasted pecans or walnuts provides nutty crunch with every bite—skip for nut allergies or swap for toffee bits as a fun alternative.
How to Make Heaven in a Bowl Recipe
Step 1: Cube Your Cake or Brownies
Start by cutting your chosen cake or brownies into bite-size cubes. Uniform pieces ensure every forkful is balanced, so take your time slicing. If you’re going the brownie route, let them cool fully to prevent smudgy edges—a sharp knife does wonders here!
Step 2: Prepare the Pudding
Whisk together your instant pudding mix with cold milk as directed on the package. For the creamiest, most decadent results, let the pudding chill and fully set before using. This step is crucial for those thick, luscious layers that define Heaven in a Bowl Recipe.
Step 3: Layer the Goodness
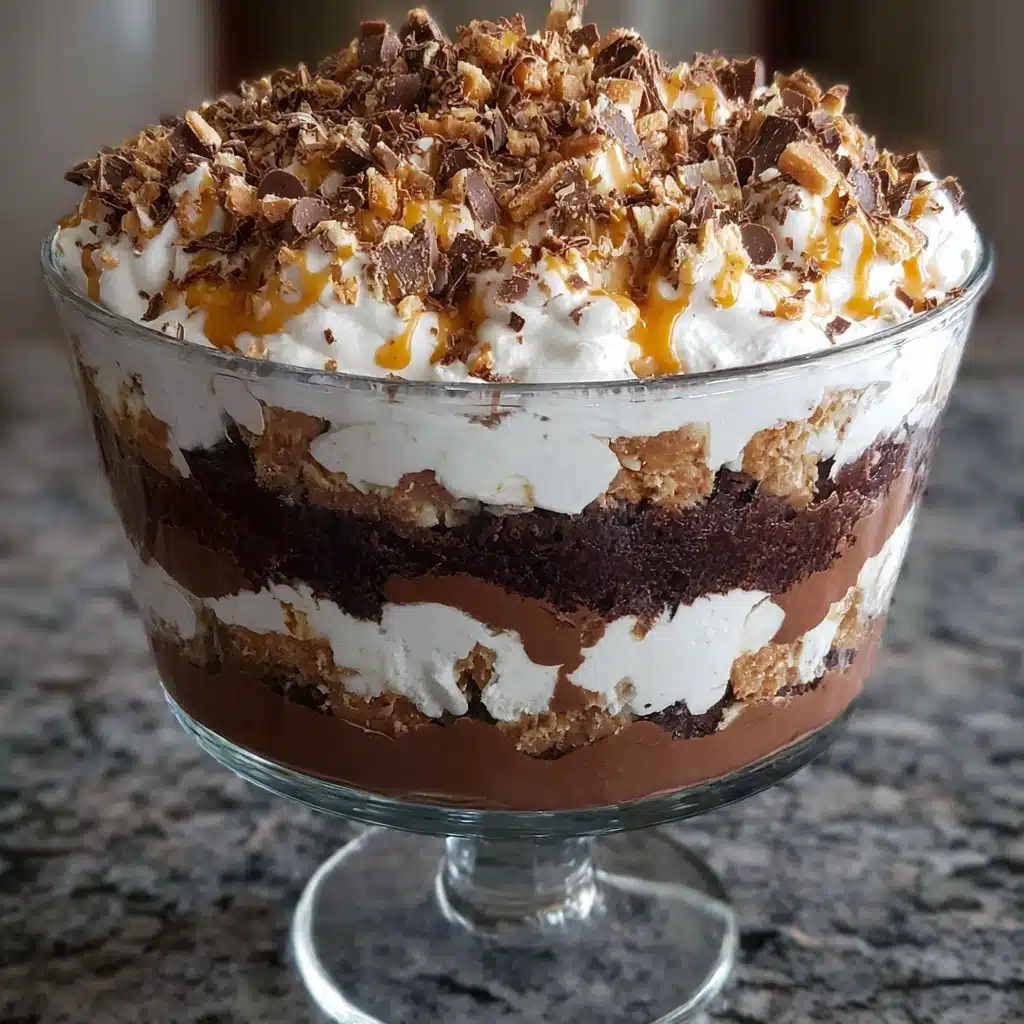
Time to build the showstopper! In a deep glass bowl or trifle dish, arrange half the cake cubes as your base. Spoon over half the pudding, followed by a generous layer of berries. Next, add a fluffy blanket of whipped topping. Repeat the layers for a stunning visual effect, finishing with whipped topping on top.
Step 4: Add Toppings
Scatter chocolate chips, shavings, and a handful of chopped nuts over the final whipped topping layer. This not only ups the wow-factor but delivers that irresistible crunch and chocolatey finish you’ll crave in every bite.
Step 5: Chill Before Serving
Pop your completed Heaven in a Bowl Recipe into the fridge for at least two hours. This resting time lets the layers meld together, ensuring the cake or brownies soak up all those dreamy flavors. When ready, it’ll slice and serve beautifully—patience pays off!
How to Serve Heaven in a Bowl Recipe
Garnishes
Crowning your trifle with fresh berries, mint sprigs, or an extra flourish of chocolate shavings ensures every spoonful is as beautiful as it is delicious. A final dusting of powdered sugar right before serving transforms it into a bona fide showpiece for your dessert table.
Side Dishes
Pairing the Heaven in a Bowl Recipe with light, crunchy biscotti, delicate sugar cookies, or even a tart sorbet creates a wonderful play of textures. Balance the decadence with something refreshing, like lemon sorbet or a cup of fruity tea, for a truly well-rounded dessert experience.
Creative Ways to Present
Don’t be afraid to swap the classic trifle bowl for individual glass jars, dessert cups, or even wine glasses for personal-sized treats—perfect for parties! You can also layer the trifle in a rectangular baking dish for easy scooping at potlucks or family gatherings.
Make Ahead and Storage
Storing Leftovers
Cover any remaining Heaven in a Bowl Recipe tightly with plastic wrap or a fitted lid and refrigerate. The dessert keeps beautifully for up to three days; just know that the cake gets even more flavored as it sits, though it may become a bit softer.
Freezing
While best enjoyed fresh, you can freeze Heaven in a Bowl Recipe, though the texture will change slightly. To freeze, portion servings into airtight containers. Thaw overnight in the fridge; the whipped topping may weep a bit, but the flavors will still wow you.
Reheating
This dessert is meant to be served cold, straight from the fridge. If it’s been frozen, let it thaw gently in the refrigerator before indulging. Reheating isn’t necessary, but if the pudding layer feels too firm, let it sit on the counter for 15 minutes for the perfect creamy bite.
FAQs
Can I make Heaven in a Bowl Recipe gluten-free?
Absolutely! Simply substitute your favorite gluten-free cake or brownie mix, ensuring all other ingredients (like the pudding and toppings) are gluten-free as well. It’s just as dreamy and safe for everyone to enjoy.
What fruits work best if berries aren’t available?
You can swap berries for sliced bananas, peaches, or even canned pineapple tidbits. Choose fruits that aren’t too watery to avoid a soggy trifle. Mixed tropical fruit adds a lovely twist for summer gatherings.
Can I assemble Heaven in a Bowl Recipe a day ahead?
Definitely! In fact, Heaven in a Bowl Recipe benefits from a little time in the fridge—the flavors blend and the texture softens just right. Assemble the night before and garnish just before serving for best presentation.
What if I don’t have a trifle bowl?
No trifle bowl? No problem! Use a large glass mixing bowl, a deep casserole dish, or create mini versions in mason jars. Clear containers show off those gorgeous layers and make serving easy.
Can I use homemade whipped cream instead of whipped topping?
Yes! Whip up some heavy cream with a bit of sugar and vanilla for a rich, homemade touch. Just remember to use it soon after whipping for the best volume and texture in your Heaven in a Bowl Recipe.
Final Thoughts
There’s nothing quite like sharing the Heaven in a Bowl Recipe with people you love. Every bite is a sweet celebration, and it’s easily tailored for any taste or occasion. Don’t wait—gather your ingredients, layer up, and experience the dessert world’s ultimate comfort in a bowl!

