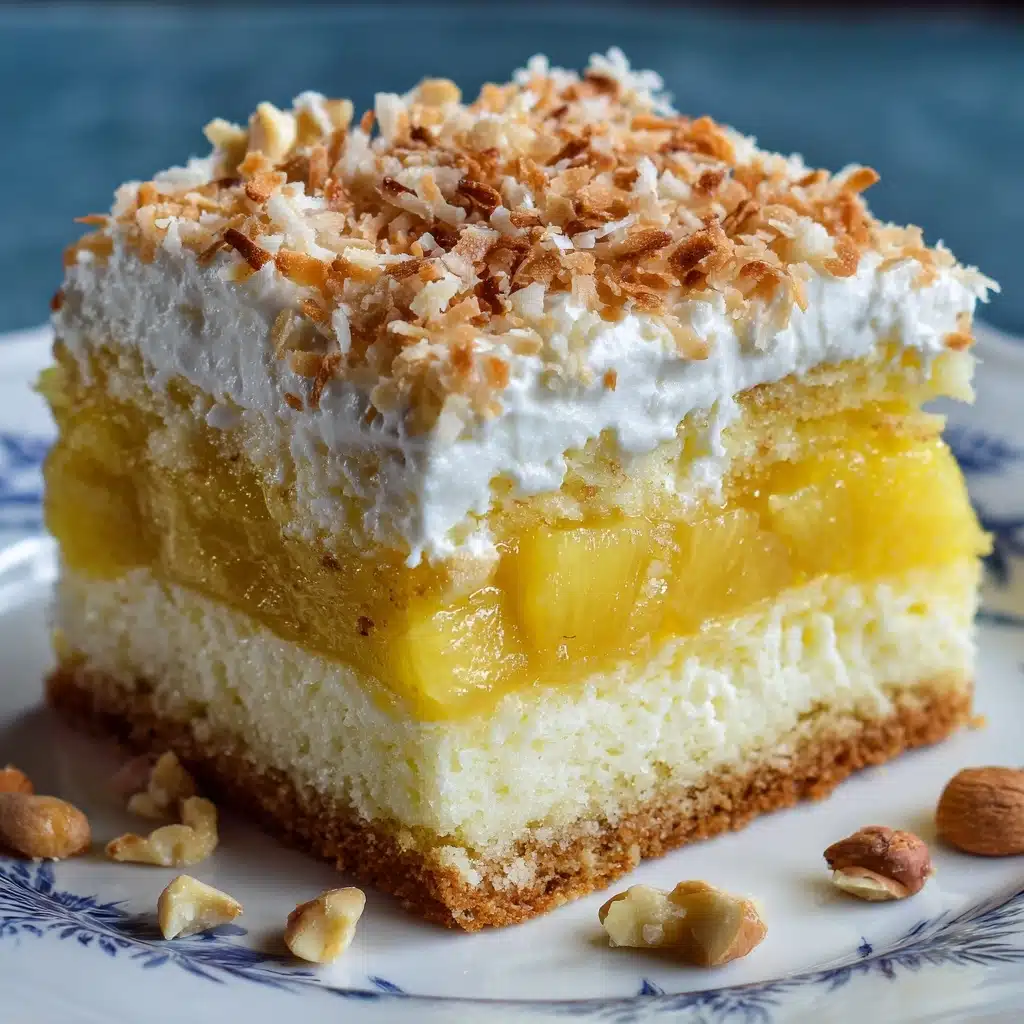
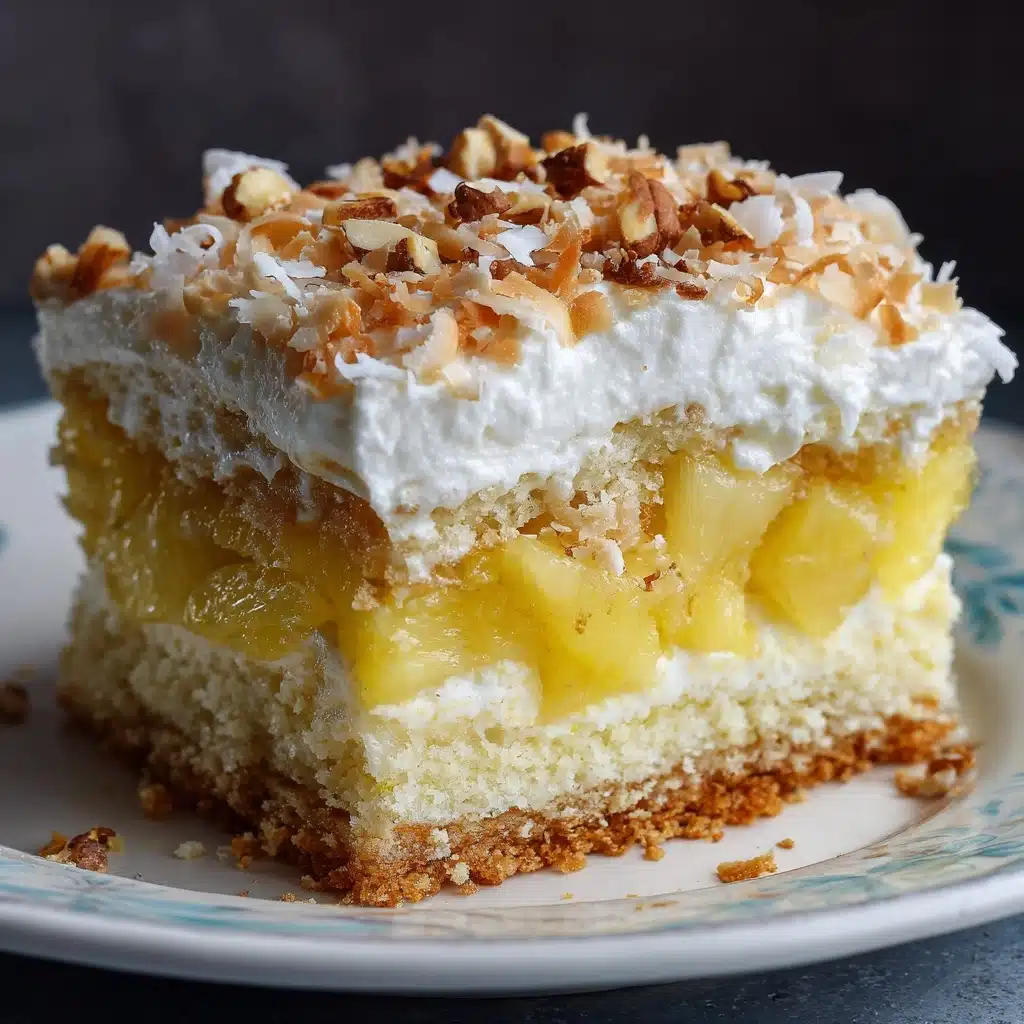
Sweet, moist, and bursting with a sunny tropical flavor, the Hawaiian Pineapple Cake is the ultimate treat for anyone who loves a dessert that’s as easy as it is scrumptious. Every bite is packed with juicy pineapple and topped with a dreamy, tangy cream cheese frosting—just the right balance of rich and refreshing. Whether you need a centerpiece for your next potluck or just want to surprise your family with something special, this cake promises to be your new go-to for celebrations, gatherings, and those days when you crave a little edible island getaway!
Ingredients You’ll Need
What makes this Hawaiian Pineapple Cake extra wonderful is just how accessible the ingredients are, yet together they create a cake that tastes like pure paradise. Each element plays a starring role—especially the pineapple, which gives the cake its signature flavor and keeps every bite perfectly moist.
- All-purpose flour: The sturdy, reliable base that gives the cake structure without being too heavy.
- Granulated sugar: Sweetens the cake and helps it stay moist and tender.
- Large eggs: Bind everything together and add a little richness.
- Baking soda: Makes the cake beautifully light and ensures a perfect rise.
- Salt: Just a pinch brightens all the other flavors.
- Vanilla extract: Adds warm aroma and depth, complementing the pineapple.
- Crushed pineapple in juice (20 ounces): Use both fruit and juice for the essential tropical burst and maximum moistness.
- Chopped walnuts or pecans (optional): Add a lovely crunch and nutty flavor—totally up to your preference.
- Cream cheese (8 ounces, softened): The star of the frosting—creamy, tangy, and irresistible.
- Unsalted butter (½ cup, softened): Creams together with the cheese for the silkiest topping.
- Powdered sugar: Sweetens and thickens the frosting for that glorious, spreadable texture.
- Vanilla extract (for frosting): Rounds out the icing’s flavor for a true bakery finish.
How to Make Hawaiian Pineapple Cake
Step 1: Prepare Your Pan and Oven
Begin your Hawaiian Pineapple Cake adventure by preheating your oven to 350°F (175°C). Meanwhile, lightly grease a 9×13-inch baking dish to prevent sticking and ensure your cake comes out cleanly. This step might seem basic, but it’s worth every second for cake that’s perfectly baked and easy to serve.
Step 2: Mix the Dry Ingredients
In a large mixing bowl, stir together the flour, granulated sugar, baking soda, and salt. Take a moment to evenly combine everything—this ensures that your cake has consistent sweetness, rise, and flavor from edge to edge.
Step 3: Add Eggs, Vanilla, and Pineapple
Crack in those two large eggs, pour in the vanilla extract, and empty the entire can of crushed pineapple (juice included) into the bowl. The eggs give your cake structure, the vanilla brings aroma, and the pineapple provides that unmistakable island flavor with moisture nobody can resist.
Step 4: Gently Combine and Add Nuts
Mix everything together just until combined—overmixing isn’t your friend here. If you’re opting for nuts, gently fold in the chopped walnuts or pecans now. These add a delightful crunch and make each bite a little more special.
Step 5: Pour and Bake
Transfer the batter to your greased pan and smooth out the top so it bakes evenly. Pop it into the oven for 30 to 35 minutes, or until a toothpick poked into the center emerges clean. The aroma filling your kitchen will transport you straight to a tropical paradise!
Step 6: Cool Completely
Once baked, remove the cake from the oven and let it cool fully in the pan. This step is crucial—frosting a warm cake will melt the topping. Patience pays off, and your Hawaiian Pineapple Cake will reward you with the perfect frosting layer.
Step 7: Make the Cream Cheese Frosting
While the cake cools, grab a medium bowl and beat the softened cream cheese and butter together until luxuriously smooth and creamy. Gradually add powdered sugar and vanilla, whipping until the frosting is light, fluffy, and ready for spreading.
Step 8: Frost and Chill
Spread the frosting generously over your cooled cake. For prettier slices and a firmer finish, chill the cake in the fridge for 15 to 20 minutes before serving. This sets the frosting perfectly and makes cutting super easy—no sticky mess, just clean, gorgeous layers.
How to Serve Hawaiian Pineapple Cake
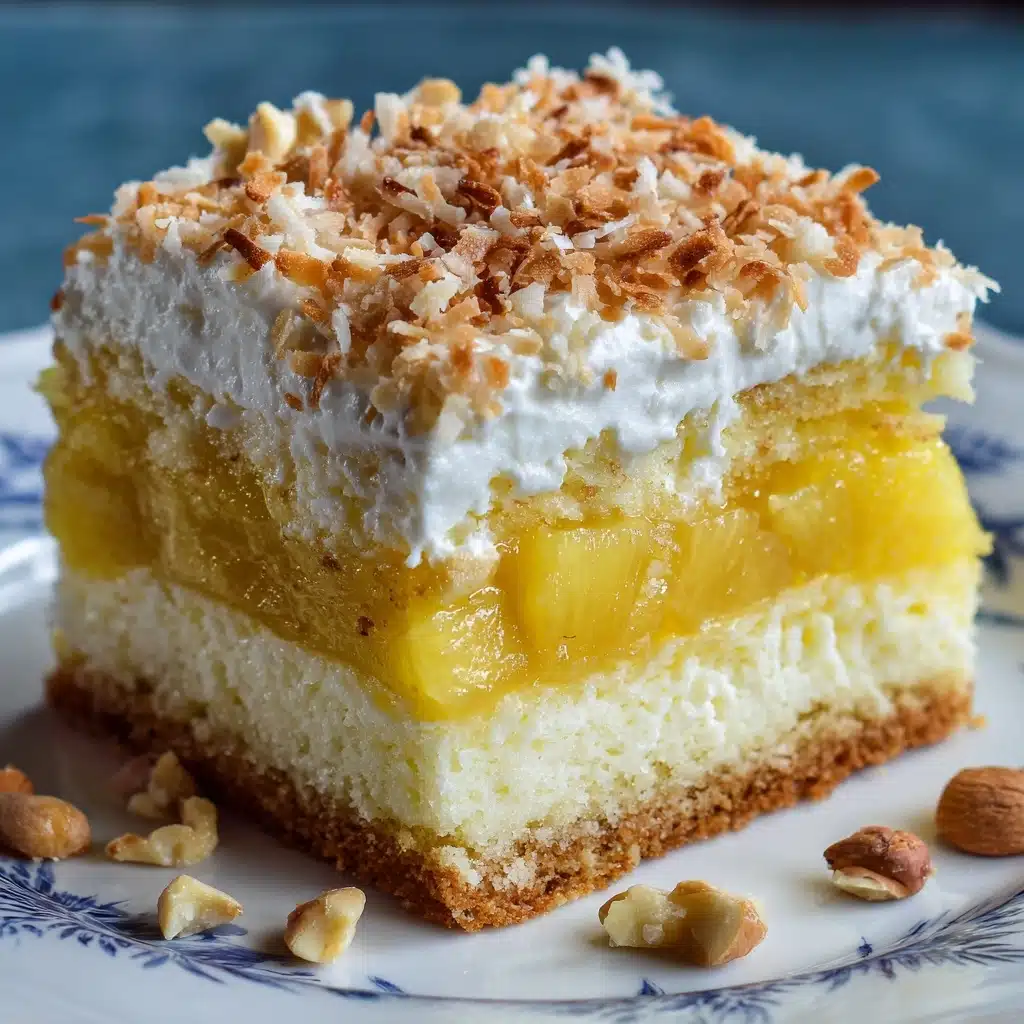
Garnishes
To make your Hawaiian Pineapple Cake pop, sprinkle the top with toasted coconut or a few extra pineapple tidbits. Not only does this add tropical flair, it gives a little texture and color that makes every slice feel truly celebratory.
Side Dishes
This cake plays so well with fresh fruit salads, lightly sweetened whipped cream, or even a scoop of vanilla ice cream. Coffee or a chilled glass of pineapple juice rounds out the tropical dessert experience for your guests.
Creative Ways to Present
For parties, try cutting the cake into bite-sized bars and serving on a platter with cocktail umbrellas or tiny wedges of pineapple for a whimsical touch. Individual squares garnished with mint leaves or edible flowers also give a gorgeous, island-inspired presentation that’s sure to impress.
Make Ahead and Storage
Storing Leftovers
Store any leftover Hawaiian Pineapple Cake in an airtight container in the fridge. Thanks to its moist crumb and luscious frosting, it stays fresh and delicious for up to five days. It’s irresistible straight from the fridge or after a few minutes at room temperature.
Freezing
If you’d like to freeze the cake, do so before frosting for best results. Wrap individual slices or the entire cake well in plastic wrap and then foil, and freeze for up to two months. When you’re ready to indulge, thaw in the fridge and frost freshly for that just-made texture.
Reheating
This cake is usually served chilled or at room temperature, but if you prefer it a bit warmer (unfrosted), pop a slice in the microwave for 10–15 seconds. If frosted, let it stand at room temperature for about 30 minutes for the creamiest, dreamiest bite.
FAQs
Can I use fresh pineapple instead of canned?
You absolutely can, but be sure to finely chop the pineapple and include the juice for maximum moisture. Fresh pineapple has a slightly brighter taste, making your Hawaiian Pineapple Cake even more vibrant.
Do I have to use nuts?
Not at all! The nuts are totally optional. If you’re serving a crowd with allergies or just prefer a nut-free cake, feel free to leave them out—the Hawaiian Pineapple Cake will still taste amazing.
Can I make this cake a day ahead?
Yes, in fact, the flavors develop beautifully overnight. Just cover and refrigerate, then allow the Hawaiian Pineapple Cake to sit at room temperature for about 15 minutes before serving for the best flavor and texture.
What’s the best way to frost this cake?
Spread the cream cheese frosting over the cake once it’s completely cooled. For those perfect, neat slices, chill the cake for about 20 minutes so the frosting firms up before cutting.
Is there a way to make this cake more tropical?
Absolutely! Top your Hawaiian Pineapple Cake with toasted coconut, sliced bananas, or even a drizzle of passion fruit glaze for a next-level island-inspired dessert.
Final Thoughts
If you’ve never tried homemade Hawaiian Pineapple Cake before, there’s no better time than now to give it a go! With its crowd-pleasing flavors, delightfully moist crumb, and luscious topping, this recipe is bound to earn a regular spot in your dessert rotation. Don’t be surprised if friends and family start asking for seconds—or the recipe!
Print
Hawaiian Pineapple Cake Recipe
- Prep Time: 15 minutes
- Cook Time: 35 minutes
- Total Time: 50 minutes
- Yield: 12 servings
- Category: Dessert
- Method: Baking
- Cuisine: Hawaiian-American
- Diet: Vegetarian
Description
Indulge in the tropical flavors with this delightful Hawaiian Pineapple Cake. Moist and flavorful, this sheet cake is topped with a luscious cream cheese frosting that perfectly complements the sweetness of crushed pineapple. A perfect dessert for gatherings or special occasions.
Ingredients
Cake:
- 2 cups all-purpose flour
- 2 cups granulated sugar
- 2 large eggs
- 1 teaspoon baking soda
- ½ teaspoon salt
- 1 teaspoon vanilla extract
- 1 can (20 ounces) crushed pineapple in juice, undrained
- ½ cup chopped walnuts or pecans (optional)
Frosting:
- 1 package (8 ounces) cream cheese, softened
- ½ cup unsalted butter, softened
- 2 cups powdered sugar
- 1 teaspoon vanilla extract
Instructions
- Preheat the oven: Preheat the oven to 350°F (175°C) and grease a 9×13-inch baking dish.
- Prepare the cake batter: In a large bowl, combine flour, sugar, baking soda, and salt. Stir in the eggs, vanilla extract, and entire can of crushed pineapple with juice. Mix until just combined. Fold in chopped nuts if using.
- Bake the cake: Pour the batter into the prepared pan and spread evenly. Bake for 30–35 minutes or until a toothpick inserted into the center comes out clean. Let the cake cool completely.
- Make the frosting: Beat the cream cheese and butter together until smooth and creamy. Add powdered sugar and vanilla and continue to beat until light and fluffy.
- Frost the cake: Spread the frosting over the cooled cake. Chill for 15–20 minutes before slicing for cleaner cuts.
Notes
- For a tropical twist, top with toasted coconut or a few pineapple tidbits.
- This cake can be made a day ahead and refrigerated for best flavor and texture.

