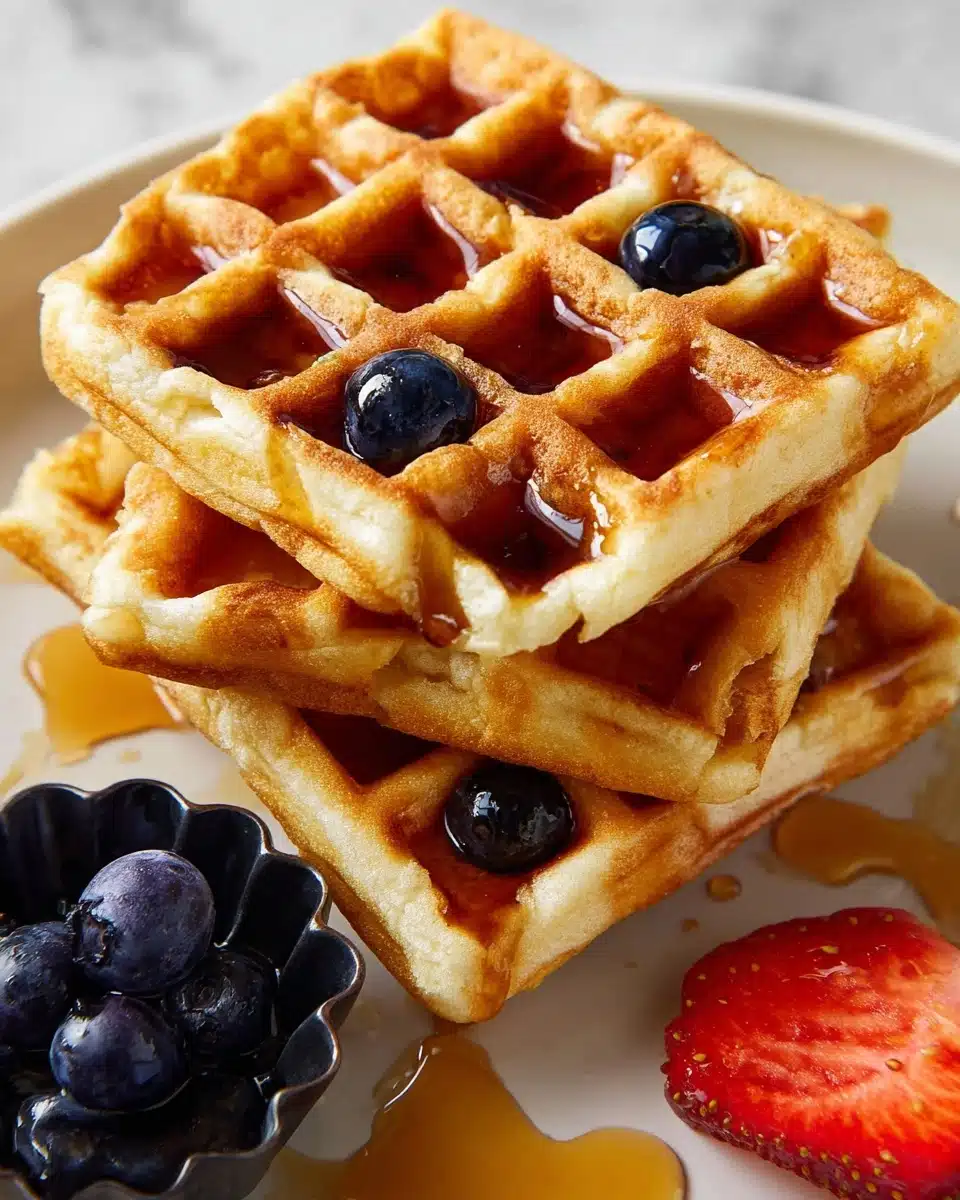
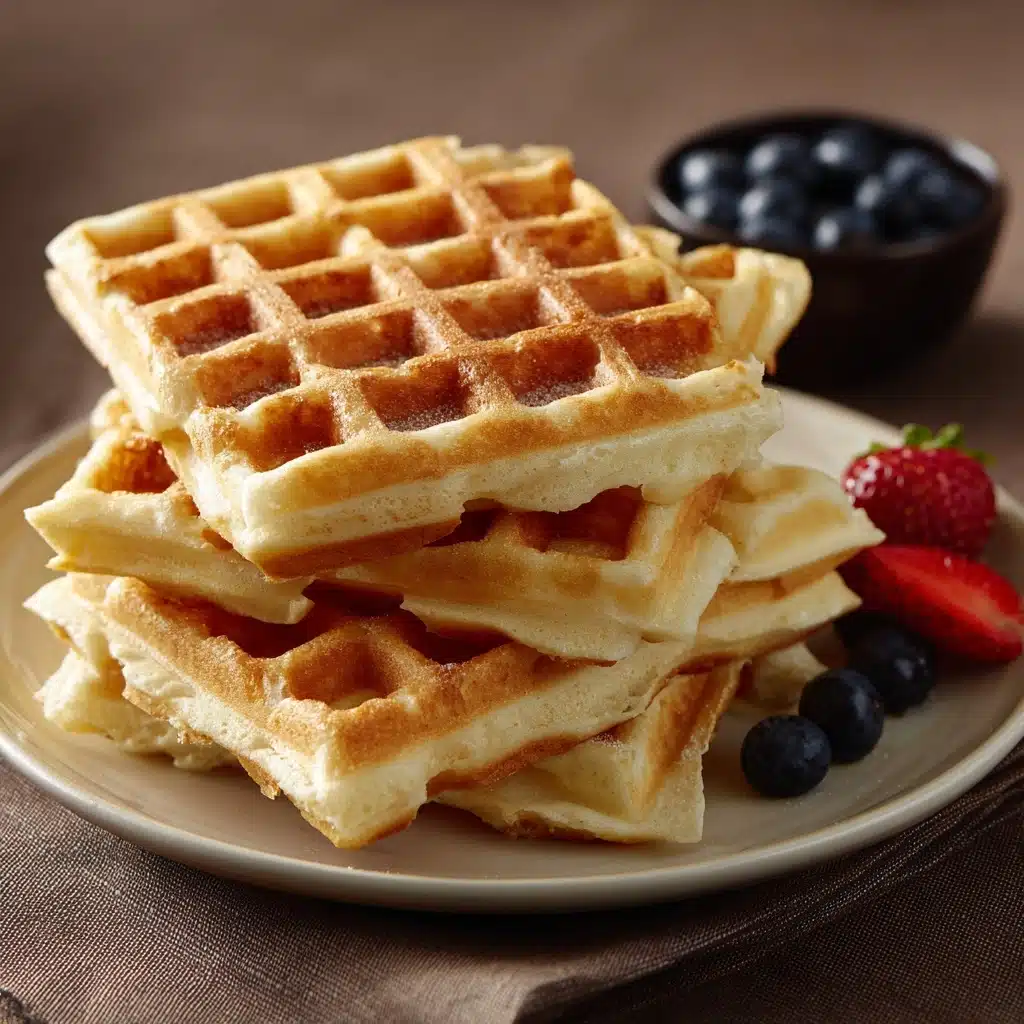
Get ready to wake up your mornings with a plateful of Gluten-Free Waffles! Light, crisp, and perfectly golden, these waffles are proof that being gluten-free doesn’t mean sacrificing on flavor or texture. Whether you’re catering to dietary needs or simply experimenting in the kitchen, this recipe brings everyone to the table with its classic yet modern approach to a brunch staple. Each bite is tender inside with just the right amount of crunch, making it the perfect canvas for your favorite toppings—from juicy berries to a snowfall of powdered sugar. Let’s dive in and find out how easy and rewarding gluten-free waffle-making can be!
Ingredients You’ll Need
The magic of these Gluten-Free Waffles comes from a handful of pantry staples, each chosen for its role in achieving that beautiful golden crispness and fluffy interior. Every ingredient matters to create waffles that are as inviting as their wheat-based cousins!
- Gluten-free all-purpose flour: It’s the backbone of our batter, offering a perfect structure without any gluten.
- Cornstarch: Adds lightness and gives the waffles their sought-after crispy edges.
- Baking powder: Helps the batter rise, making the waffles fluffy and soft.
- Sugar: A little sweetness balances flavor and promotes caramelization for golden waffles.
- Salt: Just enough to enhance all the other flavors.
- Eggs: They provide richness, binding, and help create a luscious texture.
- Milk (dairy or dairy-free): Moistens the batter and keeps things light—choose your favorite!
- Melted butter (or coconut oil): Adds subtle flavor and unforgettable tenderness.
- Vanilla extract: A splash for that classic, comforting aroma that makes waffles irresistible.
How to Make Gluten-Free Waffles
Step 1: Mix the Dry Ingredients
Grab a large mixing bowl and whisk together the gluten-free all-purpose flour, cornstarch, baking powder, sugar, and salt. Combining these ingredients well ensures a smooth batter and evenly risen waffles every time. The cornstarch really is your secret weapon for extra crispiness!
Step 2: Whisk the Wet Ingredients
In a separate bowl, beat together the eggs, milk, melted butter, and vanilla extract. Take a moment to make sure everything is fully combined; this helps distribute the vanilla and butter flavor throughout the batter, so no deliciousness is left behind.
Step 3: Bring It All Together
Pour the wet mixture into your dry ingredients. Gently whisk—just until you don’t see any more dry patches. If your batter looks a bit lumpy, that’s perfectly fine! Overmixing is the enemy of fluffy waffles, so keep it light and easy here.
Step 4: Preheat and Grease Your Waffle Iron
Turn on your waffle iron and let it reach full heat before getting started. Brush a little oil or melted butter over the plates to make sure your gluten-free waffles lift out cleanly and develop that beautiful golden crust.
Step 5: Cook the Waffles
Ladle the batter onto the center of your hot waffle iron, taking care not to overfill. Close the lid and cook according to your machine’s instructions—usually about 3–5 minutes. The fragrance will let you know you’re almost there! When the waffles are golden brown and crisp, they’re ready for your plate.
How to Serve Gluten-Free Waffles
Garnishes
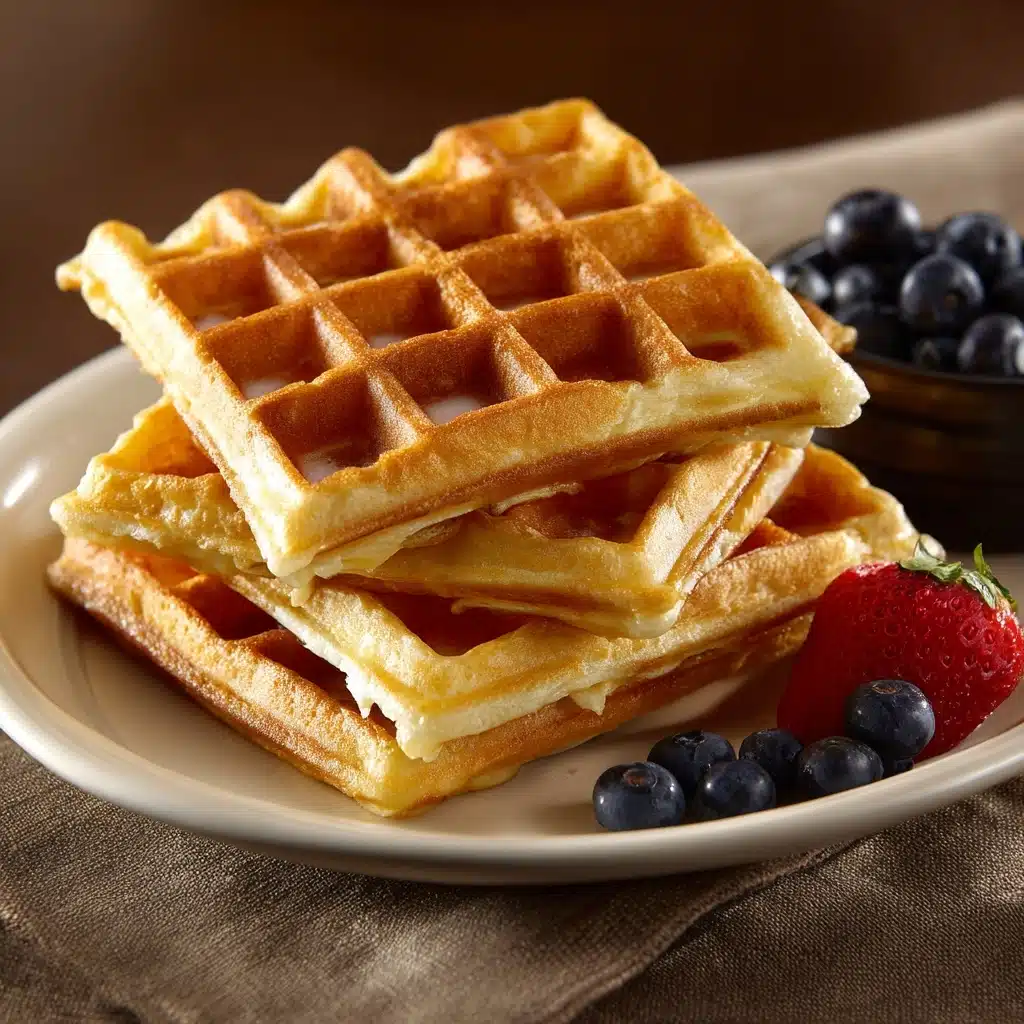
Now for the fun part: toppings! Classic maple syrup is always delicious, but why not pile on fresh berries, sliced bananas, or a dollop of tangy yogurt? A light dusting of powdered sugar or a scatter of toasted nuts adds crunch and beauty to your gluten-free waffles.
Side Dishes
Pairing your waffles with the right sides makes brunch feel extra special. Crisp bacon, scrambled eggs, or turkey sausage round out the meal, while a big bowl of seasonal fruit salad keeps things light and colorful.
Creative Ways to Present
Try making waffle sandwiches by spreading nut butter and sliced strawberries between two halves, or serve mini gluten-free waffles stacked high with skewers for a playful, party-friendly twist. Waffle “sticks” are a great option for dunking into melted chocolate or a fruity compote!
Make Ahead and Storage
Storing Leftovers
Store any leftover gluten-free waffles in an airtight container in the refrigerator for up to 3 days. Make sure they’re cooled completely before sealing to prevent sogginess, and place a piece of parchment between layers to keep them from sticking together.
Freezing
If you’d like to prep ahead, these waffles freeze beautifully. Simply arrange cooled waffles in a single layer on a tray, freeze until firm, and transfer them to a zip-top bag. They’ll keep fresh for up to 3 months—perfect for busy mornings or last-minute brunch plans.
Reheating
Pop refrigerated or frozen gluten-free waffles into the toaster or a hot oven for best results. This brings back their signature crispness and warms them through without making them tough or chewy. Avoid microwaving, which can make waffles soggy.
FAQs
Can I use almond flour or oat flour instead of gluten-free all-purpose flour?
While almond or oat flour can lend a delicious flavor and texture, they behave differently from all-purpose blends. For the best structure and classic result, stick with a 1:1 gluten-free all-purpose flour blend but don’t be shy about experimenting on a small batch!
How can I make these vegan as well as gluten-free?
Absolutely! Swap out eggs for flax eggs (1 tablespoon ground flaxseed mixed with 2.5 tablespoons water, per egg), use plant-based milk, and choose coconut oil instead of butter. You’ll still get wonderful gluten-free waffles with a light and fluffy bite.
Why do my gluten-free waffles sometimes stick to the waffle iron?
This is a common challenge. Make sure to preheat your waffle iron fully and always grease it well before cooking each batch. Some gluten-free flour blends also perform better than others, so don’t hesitate to try a trusted brand or add a little extra fat to the batter if sticking persists.
Can I add mix-ins like fruit or chocolate chips to the batter?
Of course! Blueberries, chocolate chips, or even a sprinkle of cinnamon can be folded gently into the batter before cooking. Just be mindful not to overload the batter—about half a cup of mix-ins works well for one batch.
Are these waffles suitable for meal prep?
Yes, gluten-free waffles are an excellent candidate for make-ahead breakfasts. Prepare a batch over the weekend, keep them chilled or frozen, and reheat them as needed for a quick, nourishing start to your day.
Final Thoughts
If you’ve never tried homemade Gluten-Free Waffles, now is the perfect moment to treat yourself! Whether it’s a leisurely weekend brunch or a cheerful weekday breakfast, they’re sure to become a beloved go-to. So break out your waffle iron, get creative with toppings, and savor every golden, crispy, gluten-free bite!
Print
Gluten-Free Waffles Recipe
- Prep Time: 10 minutes
- Cook Time: 15 minutes
- Total Time: 25 minutes
- Yield: 4 waffles
- Category: Breakfast
- Method: Waffle Iron
- Cuisine: American
- Diet: Gluten Free
Description
Light, crispy, and tender, these homemade Gluten‑Free Waffles prove that going gluten‑free doesn’t mean compromising on flavor or texture—perfect for brunch or breakfast any day of the week.
Ingredients
- 1 cup gluten‑free all‑purpose flour blend
- 1/4 cup cornstarch
- 1 Tbsp baking powder
- 2 Tbsp sugar
- 1/4 tsp salt
- 2 large eggs
- 1 cup milk (dairy or dairy‑free)
- 4 Tbsp melted butter or coconut oil
- 1 tsp vanilla extract
Instructions
- In a large bowl, whisk together flour blend, cornstarch, baking powder, sugar, and salt.
- In another bowl, beat eggs with milk, melted butter (or coconut oil), and vanilla until combined.
- Gently pour wet ingredients into the dry and stir just until no dry streaks remain; some lumps are fine.
- Preheat and lightly grease your waffle iron according to manufacturer’s directions.
- Pour batter onto hot waffle iron (enough to fill but not overflow), close lid, and cook 3–5 minutes or until waffles are golden and crisp.
- Remove waffles carefully and repeat with remaining batter, keeping cooked waffles warm in a low oven or towel.
Notes
- Top with maple syrup, fresh berries, bananas, yogurt, and powdered sugar for a delicious breakfast.
- Serve alongside bacon, scrambled eggs, or turkey sausage for a heartier meal.
- Make waffle sandwiches by layering nut butter and fruit between two waffles.
- Let waffles cool completely before storing to prevent sogginess.
- Refrigerate in an airtight container up to 3 days; freeze in a single layer then bag for up to 3 months.
- Reheat in toaster or oven to restore crispness—avoid microwaving.
- For vegan variation, use flax eggs (1 Tbsp ground flax + 2.5 Tbsp water per egg), plant‑based milk, and coconut oil.
- If waffles stick, ensure the iron is fully preheated and greased, or try a different flour blend.
- Add burrns of berries, chocolate chips, or cinnamon to the batter (about 1/2 cup) for creative flavor twists.
- Perfect for meal prep—make a big batch, freeze extras, and reheat as needed.

