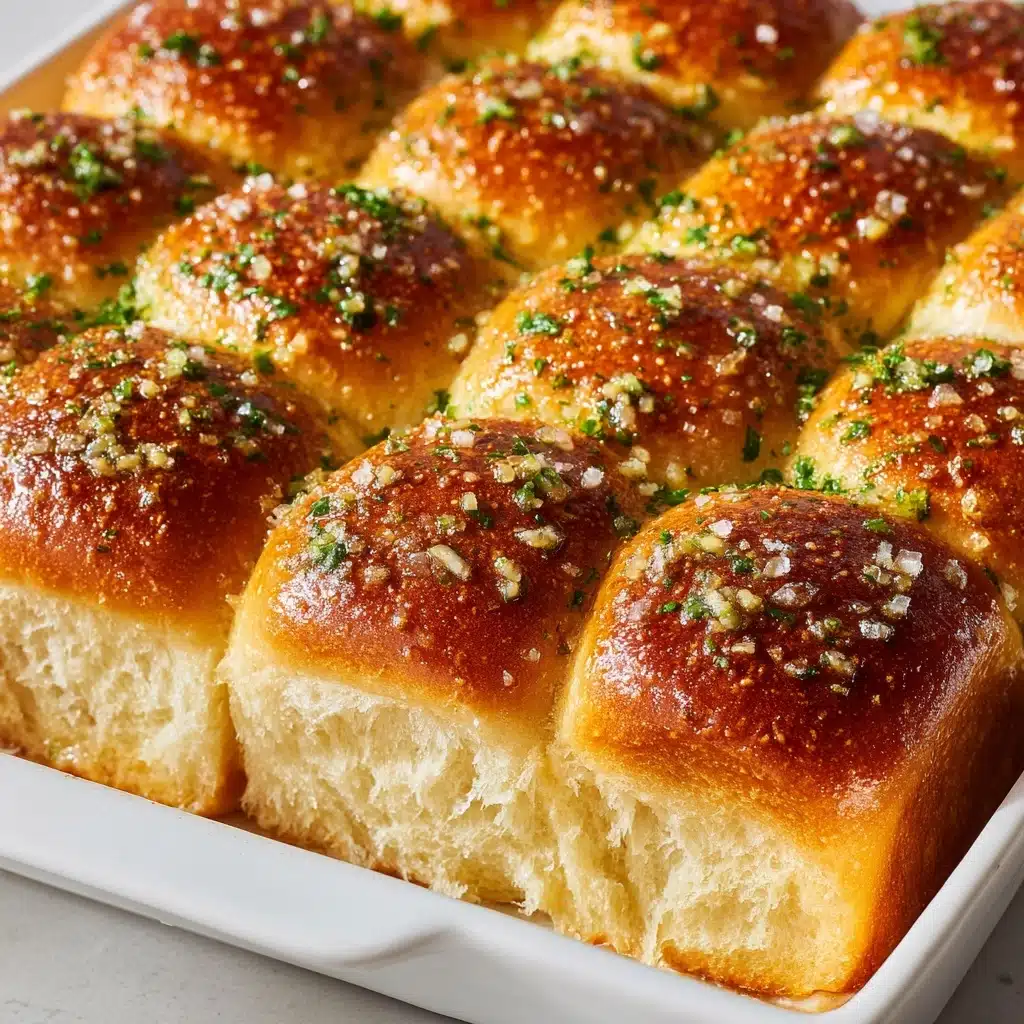
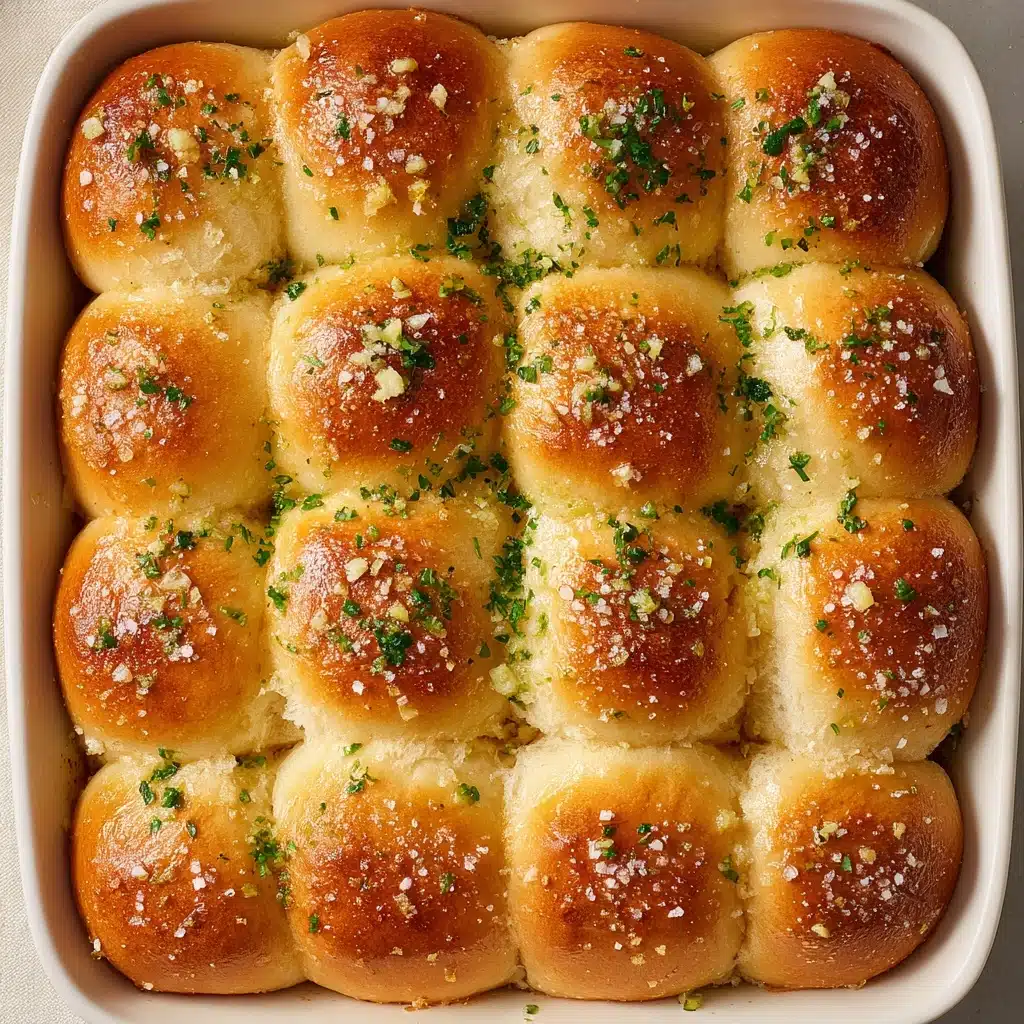
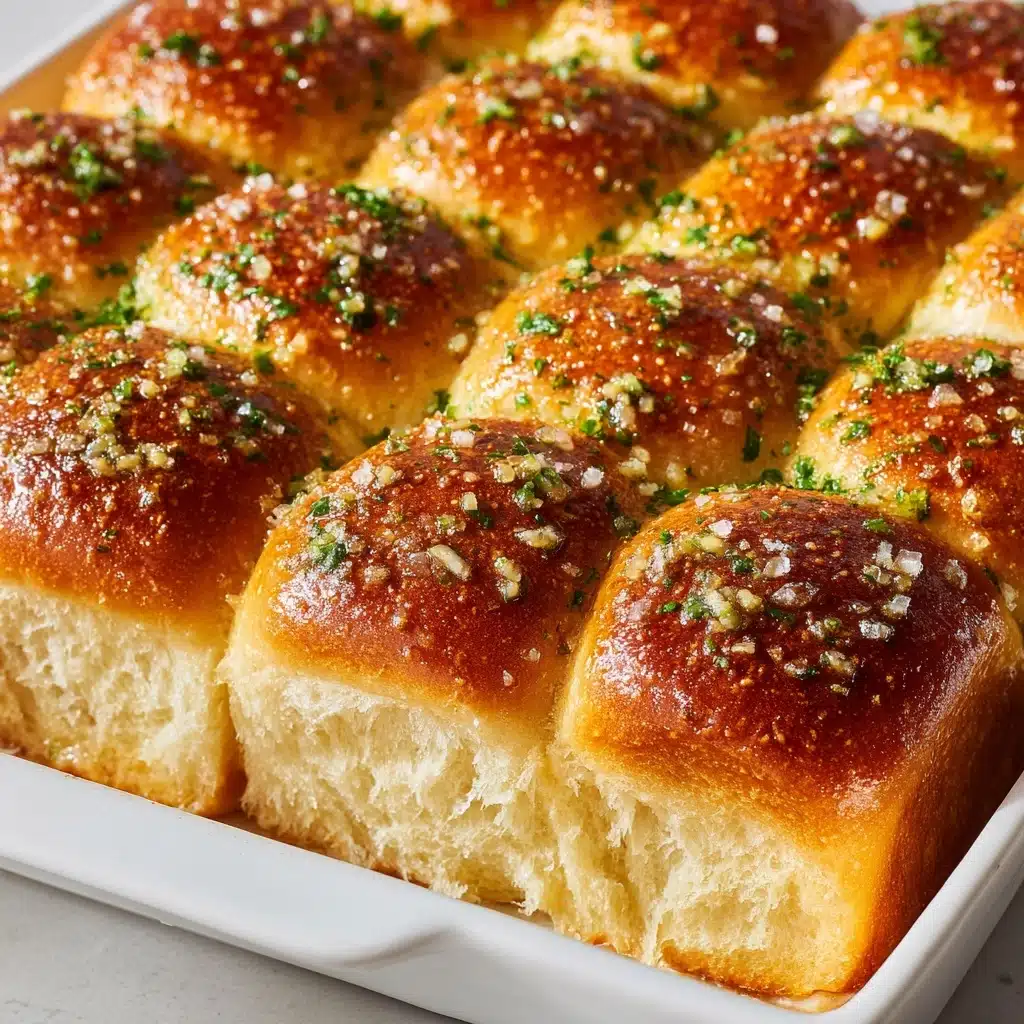
If there’s one irresistible treat that vanishes faster than you can make it, it’s Garlic Bread Rolls. Pillowy-soft, golden, and swirled with aromatic garlic butter, these rolls are what every bread lover dreams of. Bite into one and you get the perfect harmony of fluffy dough, savory melted butter, and hints of herby freshness. Whether you’re pairing them with a hearty pasta, serving them as a party snack, or just enjoying one (or three) warm from the oven, this recipe absolutely delivers on flavor and comfort.
Ingredients You’ll Need
The magic of these Garlic Bread Rolls comes from just a few superstar ingredients. Each one plays an essential role — some for fluffiness, others for bold flavor — so nothing is accidental in this lineup!
- All-purpose flour: This is the backbone of your rolls, yielding the perfect soft and chewy texture we all crave.
- Instant yeast: The secret to that light, airy rise; it helps your dough puff up beautifully every single time.
- Granulated sugar: Not just for sweetness, but also to help kickstart the yeast’s magic for a soft crumb.
- Salt: Essential for balance — it brings out the depth in both the bread and the garlic butter.
- Warm milk: Adds richness for a tender, extra-moist crumb that sets these apart from average rolls.
- Warm water: Combines with milk to create the ideal dough consistency (and a gentle rise).
- Olive oil: Adds subtle flavor and keeps the rolls supremely tender.
- Unsalted butter (melted): The golden touch — rich, creamy, and perfect for soaking up all that garlic goodness.
- Garlic (minced): The superstar of the show; infuses every bite with that unmistakable garlicky aroma and zing.
- Fresh parsley (chopped): For color, a pop of freshness, and a touch of herbal balance.
- Garlic powder: Boosts the garlic factor, making sure no one misses that savory punch.
- Grated Parmesan cheese (optional): Adds a salty, nutty crown on top if you want that extra wow.
How to Make Garlic Bread Rolls
Step 1: Mix the Dry Ingredients
Begin by grabbing your largest mixing bowl and adding the all-purpose flour, instant yeast, sugar, and salt. Give everything a quick whisk or stir — blending these first ensures the yeast and salt are evenly distributed for a perfect rise and even flavor.
Step 2: Add Wet Ingredients and Form the Dough
Next, pour the warm milk, warm water, and olive oil into the bowl. Start mixing with a sturdy spoon or your hands until a sticky-yet-pliable dough comes together. The dough will look a little shaggy at first, but don’t worry! It will smooth out as you knead.
Step 3: Knead Until Smooth and Elastic
Transfer the dough to a lightly floured surface and get kneading. Aim for about 8–10 minutes, or until the dough becomes smooth, stretchy, and just a bit bouncy to the touch. This step develops the gluten to give your Garlic Bread Rolls that heavenly, pillowy texture.
Step 4: First Rise
Pop the dough into a lightly oiled bowl, swirling it around to coat all sides. Cover the bowl with a damp towel or plastic wrap and find a cozy warm spot for it to rise. Let it rest for about 1 hour, or until it’s doubled in size — you’ll see it puff right up!
Step 5: Shape the Rolls
Once the dough has risen, punch it down gently to deflate, then divide it into 12 equal pieces. Roll each piece into a smooth ball. Arrange them on a baking sheet lined with parchment paper, leaving enough space between each roll for their second rise.
Step 6: Second Rise
Cover the shaped rolls and let them rise again for 30 minutes. They’ll get a little bigger and softer, ensuring each Garlic Bread Roll bakes up fluffy and tender.
Step 7: Prepare the Garlic Butter
While the rolls are puffing up, mix together the melted butter, minced garlic, parsley, and garlic powder in a small bowl. This mixture is fragrant and full of punchy flavor — the delicious secret behind the aroma that will soon fill your kitchen!
Step 8: Brush and Bake
Now comes the fun part: Generously brush each roll with the garlic butter mixture, ensuring each one is glistening and coated. If you’re feeling decadent, sprinkle with grated Parmesan. Bake in a preheated 375°F (190°C) oven for 15–18 minutes, until the tops are golden-brown and your kitchen smells like absolute heaven.
Step 9: Final Butter Brush
When the Garlic Bread Rolls come out of the oven, you can brush them once more with any leftover garlic butter. This extra step gives them irresistible shine and even more flavor. Serve them warm, ideally right away!
How to Serve Garlic Bread Rolls
Garnishes
A finishing sprinkle of chopped parsley or extra Parmesan cheese takes the presentation from homestyle to restaurant-worthy. You can also add a dash of flaky sea salt on top for that satisfying little crunch and a boost of flavor right as you take a bite.
Side Dishes
These rolls are born to accompany pasta — think creamy alfredo or saucy spaghetti. But don’t stop there: they soak up soups and stews beautifully, and they make a dreamy sidekick to salads, roasted veggies, or any main dish that needs a cozy carb boost.
Creative Ways to Present
If you want to have some fun, arrange the warm Garlic Bread Rolls in a basket lined with a linen napkin, or stack them high on a platter and drizzle with extra melted butter. For a twist, serve them pull-apart style or stuff them with mozzarella before baking for the ultimate cheesy surprise.
Make Ahead and Storage
Storing Leftovers
If you’re lucky enough to have leftovers, let the rolls cool completely before storing them in an airtight container or zip-top bag at room temperature. They’ll stay soft and fresh for up to 2 days, ready to warm up for another meal.
Freezing
These Garlic Bread Rolls freeze like a dream! Once baked and cooled, place them in a freezer-safe bag, squeeze out excess air, and freeze for up to 2 months. Thaw overnight at room temperature when you’re ready to enjoy them again.
Reheating
To bring leftover or thawed rolls back to life, wrap them in foil and warm in a 300°F (150°C) oven for about 10 minutes. For a quick fix, a few seconds in the microwave will also do the trick — just be sure not to overdo it so they stay soft, not chewy.
FAQs
Can I use active dry yeast instead of instant yeast?
Absolutely! Just dissolve the active dry yeast in the warm water and milk with the sugar, let it sit until foamy (about 5–10 minutes), then continue as directed. Your Garlic Bread Rolls will rise just as beautifully.
What if I don’t have fresh parsley?
No fresh parsley? No problem! Dried parsley works in a pinch, or you could swap in a tiny pinch of dried Italian herbs for extra depth. Just use less, as dried herbs are more concentrated in flavor.
How can I make these rolls even cheesier?
For ultimate cheesy goodness, wrap a small cube of mozzarella cheese inside each dough ball before shaping and baking. When you bite in, you’ll get a warm, gooey, irresistible surprise in the center!
Can I prepare the dough ahead of time?
Yes, you can! After the first rise, cover the dough and refrigerate it overnight. The next day, shape and continue with the second rise and baking. This actually helps deepen the flavor and makes baking day even easier.
Are these Garlic Bread Rolls vegetarian?
They sure are! Every ingredient here is vegetarian-friendly, so you can serve these rolls to just about anyone (unless there are dairy allergies, in which case try swapping the butter for a plant-based option).
Final Thoughts
There’s nothing quite like pulling apart a warm, fluffy Garlic Bread Roll and breathing in that heavenly aroma. Whether it’s for a big family dinner, a cozy night in, or just a treat for yourself, these rolls are pure comfort and so easy to make. I hope they steal the show at your table and become everyone’s new favorite. Go ahead — give Garlic Bread Rolls a try and watch them disappear!
Print
Garlic Bread Rolls Recipe
- Prep Time: 20 minutes (plus rising time)
- Cook Time: 18 minutes
- Total Time: 38 minutes active, about 1 hour 50 minutes total
- Yield: 12 rolls
- Category: Side Dish
- Method: Baking
- Cuisine: Italian-American
- Diet: Vegetarian
Description
These Garlic Bread Rolls are soft, fluffy, and packed with garlicky flavor. Perfect as a side dish or a tasty snack, these homemade rolls are sure to impress. With a cheesy option and a delicious garlic butter topping, they are a must-try for any bread lover.
Ingredients
Dough:
- 3 cups all-purpose flour
- 2 1/4 teaspoons instant yeast
- 1 tablespoon granulated sugar
- 1 teaspoon salt
- 3/4 cup warm milk
- 1/4 cup warm water
- 2 tablespoons olive oil
Garlic Butter Topping:
- 4 tablespoons unsalted butter, melted
- 3 cloves garlic, minced
- 1 tablespoon chopped fresh parsley
- 1/4 teaspoon garlic powder
- 1/4 cup grated Parmesan cheese (optional)
Instructions
- Dough Preparation: In a large mixing bowl, combine flour, instant yeast, sugar, and salt. Add warm milk, warm water, and olive oil, and mix until a soft dough forms.
- Kneading and Rising: Knead the dough on a floured surface for about 8–10 minutes until smooth. Let it rise for 1 hour until doubled in size.
- Shaping and Baking: Divide the dough into 12 pieces, shape into balls, and let rise for 30 minutes. Preheat oven to 375°F (190°C). Brush with garlic butter, sprinkle with Parmesan, and bake for 15–18 minutes.
- Serve: Enjoy warm, optionally brushing with more garlic butter after baking.
Notes
- You can prepare the dough ahead and refrigerate overnight for convenience.
- Add mozzarella inside each roll for a cheesy surprise.

