
If you’re searching for a dessert that perfectly balances sweet and tart with a delightfully crunchy topping, look no further than this Fresh Cherry Crisp Recipe. Bursting with juicy, ripe cherries and a buttery oat topping, this dish is a celebration of summer’s best fruit transformed into a cozy, comforting dessert that’s easy to make yet absolutely unforgettable. Every bite offers that satisfying contrast of tender fruit and crisp, nutty topping that will have you coming back for seconds—and maybe even thirds.

Ingredients You’ll Need
These ingredients are simple pantry staples and fresh, natural flavors that come together seamlessly. Each one plays a crucial role, from enhancing the cherry’s natural sweetness to adding a textured, golden crust topping that’s irresistibly crunchy.
- 3 pounds sweet ripe cherries, pitted: The juicy star of the dish, providing natural sweetness and vibrant color.
- 1/3 cup granulated sugar: Balances cherry tartness with subtle sweetness.
- 2 tablespoons cornstarch: Thickens the cherry juices to a luscious glaze.
- 1 tablespoon lemon juice: Adds brightness and accentuates the cherries’ flavor.
- 1 1/2 teaspoons vanilla extract: Brings warmth and depth to the filling.
- 1/4 teaspoon pure almond extract (optional): A subtle, nutty note that beautifully complements cherries.
- 2/3 cup all-purpose flour: The base for the crisp topping, providing structure.
- 1/3 cup packed light brown sugar: Adds caramel-like sweetness and moisture to the topping.
- 3 tablespoons granulated sugar: Enhances the topping’s sweetness and helps it crisp up.
- 2/3 cup old-fashioned rolled oats: Creates a hearty, chewy texture in the topping.
- 3/4 cup chopped pecans (optional): Adds a delightful crunch and nutty flavor.
- Zest of one lemon: Imparts a fragrant citrus lift to the topping.
- 1 teaspoon vanilla extract: Infuses the topping with gentle vanilla warmth.
- 1 teaspoon baking powder: Helps create a light and airy crumb.
- 1/2 teaspoon ground cinnamon: Adds subtle spice and depth.
- 1/4 teaspoon salt: Balances sweetness and enhances flavors.
- 8 tablespoons (1 stick) unsalted butter, melted: Binds and crisps the topping delightfully.
How to Make Fresh Cherry Crisp Recipe
Step 1: Prep the Oven and Dish
Start by preheating your oven to 350°F. Take an 8 by 11-inch baking dish, or a 9-inch square or round dish, and grease it thoroughly. This ensures your crisp won’t stick and makes clean-up a breeze.
Step 2: Prepare the Crisp Topping
In a large bowl, whisk together the flour, brown sugar, granulated sugar, oats, chopped pecans if you’re using them, lemon zest, vanilla extract, baking powder, cinnamon, and salt. Once everything is evenly mixed, pour in the melted butter and stir until the topping comes together. This mixture should be crumbly but hold slightly when pressed between your fingers. If you have the time, pop the topping in the freezer for up to 30 minutes to help it firm up and bake into perfect chunks.
Step 3: Prepare the Cherry Filling
Grab a medium bowl and toss the pitted cherries with sugar, cornstarch, lemon juice, vanilla extract, and almond extract if you’re including it. Stir gently so the cherries are fully coated—this combo turns into a beautifully thick and bubbly filling once baked.
Step 4: Add the Topping
Pour the cherry mixture into your prepared baking dish and spread it out evenly. Then evenly sprinkle the crisp topping over the cherries, covering them completely for that signature golden crunch.
Step 5: Bake the Crisp
Place your dish in the oven and bake uncovered for 35 to 45 minutes. You’ll know it’s done when the topping is a golden brown and you see the cherry juices bubbling happily around the edges—an irresistible sight.
Step 6: Cool and Serve
Once you’ve pulled the crisp from the oven, let it cool for about 10 minutes. This resting time helps the juices set slightly, making each spoonful perfectly balanced between tart, sweet, juicy cherries and crunchy topping. Serve warm by itself, or go all out with creamy vanilla ice cream or a cloud of freshly whipped cream—you really can’t go wrong.
How to Serve Fresh Cherry Crisp Recipe
Garnishes
While the Fresh Cherry Crisp Recipe is absolutely delicious on its own, adding a sprinkle of chopped toasted pecans or a few fresh mint leaves can add a lovely touch of color and texture that feels extra special. A drizzle of honey or a dusting of powdered sugar also brightens the presentation beautifully.
Side Dishes
This dessert pairs wonderfully with a scoop of vanilla bean ice cream, which melts into the warm cherry juices, creating a decadent contrast. You can also serve it alongside lightly sweetened whipped cream or a dollop of Greek yogurt for a lighter option that still feels indulgent.
Creative Ways to Present
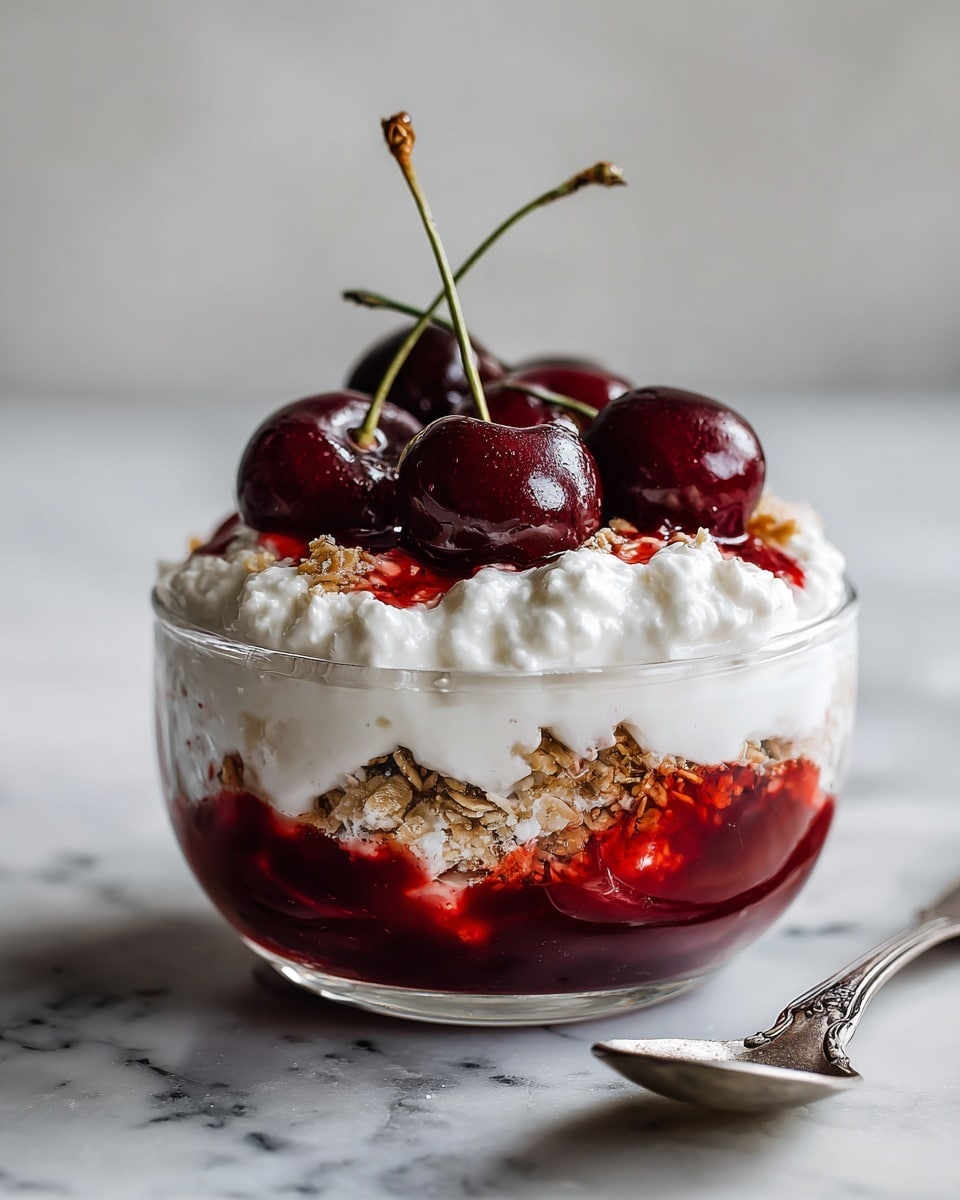
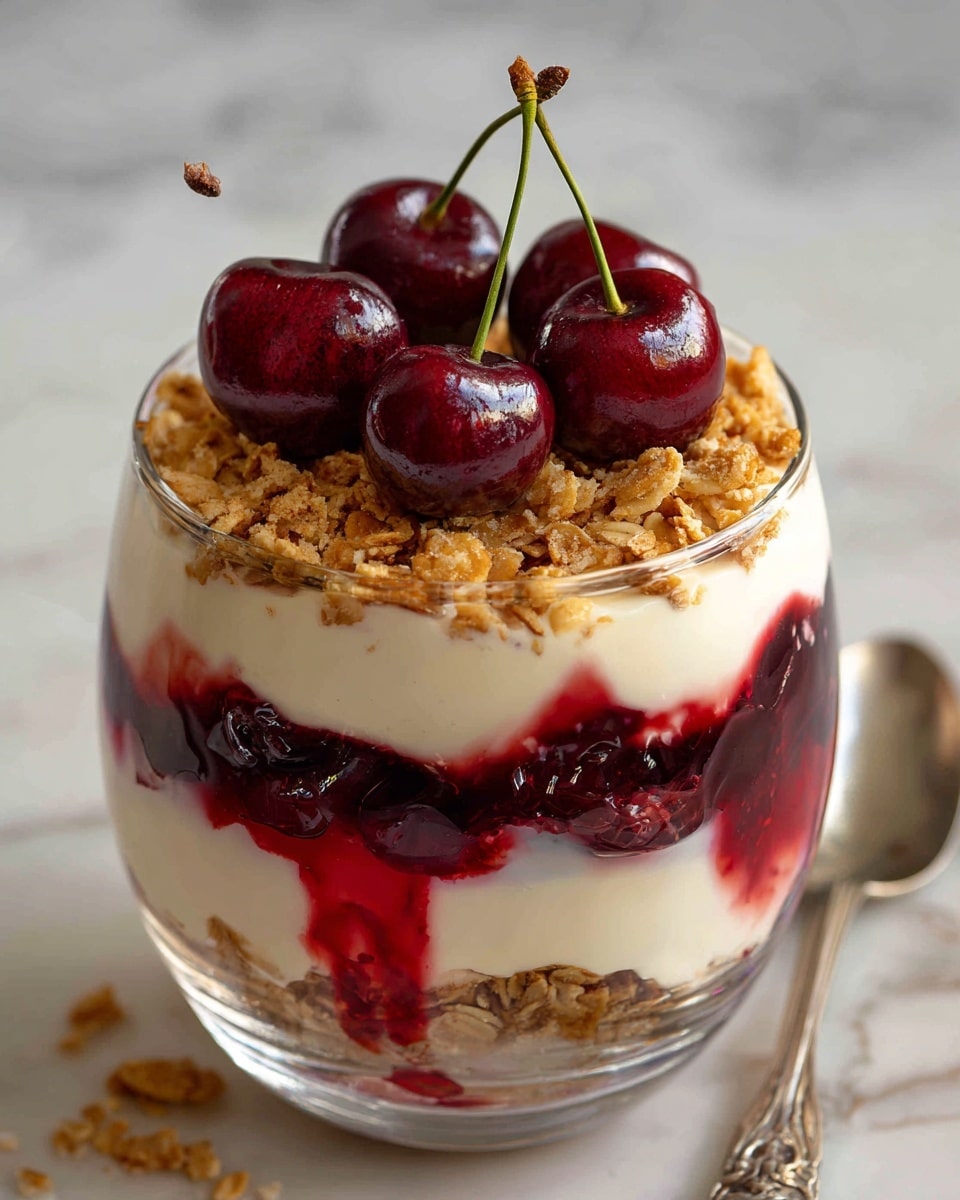
For a casual gathering, serve the crisp straight from the baking dish with spoons for everyone to dig in. If you’re looking to impress, scoop individual portions into pretty ramekins or dessert bowls and add a fresh cherry or two on top. You could even layer the cherry crisp with yogurt and granola in a glass for a parfait twist!
Make Ahead and Storage
Storing Leftovers
Leftover Fresh Cherry Crisp Recipe is just as delightful the next day. Cover it tightly with plastic wrap or foil and refrigerate leftovers for up to 3 days. The flavors continue to meld and the topping remains satisfyingly crisp when reheated gently.
Freezing
If you want to make this crisp ahead, it freezes beautifully. After assembling but before baking, cover the dish tightly with foil and freeze for up to 2 months. When you’re ready to enjoy, bake from frozen at 350°F for about an hour, or until the topping is golden and the filling bubbly.
Reheating
Reheat your wholesome leftover cherry crisp in a 350°F oven for about 15 minutes, uncovered, until warmed through and the topping regains a slight crunch. Avoid microwaving as it can make the topping soggy, and you’ll want that lovely texture intact.
FAQs
Can I use frozen cherries instead of fresh for this recipe?
Absolutely! Frozen cherries work well as a convenient year-round substitute. Just make sure to thaw and drain them to remove excess moisture for the best texture.
Is it possible to make the topping gluten-free?
Yes! Swap out the all-purpose flour for your favorite gluten-free flour blend and ensure your oats are certified gluten-free for a naturally gluten-free crisp topping.
Can I substitute the pecans with another nut?
Definitely. Walnuts or almonds are fantastic alternatives that will add a different but delicious crunch and flavor profile to the crisp topping.
How sweet will the crisp be? Can I reduce the sugar?
This Fresh Cherry Crisp Recipe is moderately sweet, balancing the cherries’ natural tartness. Feel free to reduce the sugars slightly if you prefer less sweetness, but keep in mind that sugar also helps thicken and caramelize the topping.
What’s the best way to pit cherries quickly?
Using a cherry pitter is the easiest and fastest method. If you don’t have one, simply push a sturdy straw or chopstick through the stem end to pop the pit out. It’s a bit messier but works well in a pinch.
Final Thoughts
This Fresh Cherry Crisp Recipe is truly a gem to have up your sleeve when you want to wow family and friends with minimal fuss and maximum flavor. The combination of succulent cherries, zesty lemon, and a crunchy, buttery topping makes for a dessert that feels nostalgic yet fresh. I can’t wait for you to try it and make it your own—ready to enjoy all year round but especially perfect for those warm, cherry-filled days.
Print
Fresh Cherry Crisp Recipe
- Prep Time: 25 minutes
- Cook Time: 40 minutes
- Total Time: 1 hour 5 minutes
- Yield: 8 servings
- Category: Dessert
- Method: Baking
- Cuisine: American
Description
This Fresh Cherry Crisp is a delightful dessert featuring sweet, ripe cherries baked under a crunchy oat and pecan topping with a hint of lemon and warm spices. Perfect for any season, it offers a beautifully balanced combination of juicy fruit and buttery crispness, ideal served warm with ice cream or whipped cream.
Ingredients
Cherry Filling
- 3 pounds sweet ripe cherries, pitted
- 1/3 cup granulated sugar
- 2 tablespoons cornstarch
- 1 tablespoon lemon juice
- 1 1/2 teaspoons vanilla extract
- 1/4 teaspoon pure almond extract (optional)
Crisp Topping
- 2/3 cup all-purpose flour
- 1/3 cup packed light brown sugar
- 3 tablespoons granulated sugar
- 2/3 cup old-fashioned rolled oats
- 3/4 cup chopped pecans (optional)
- Zest of one lemon
- 1 teaspoon vanilla extract
- 1 teaspoon baking powder
- 1/2 teaspoon ground cinnamon
- 1/4 teaspoon salt
- 8 tablespoons (1 stick) unsalted butter, melted
Instructions
- Prep the Oven and Dish: Preheat your oven to 350°F (175°C). Grease an 8×11-inch baking dish, a 9-inch square or round baking dish, or a 9-inch deep pie plate to prevent sticking.
- Prepare the Crisp Topping: In a large bowl, combine the flour, brown sugar, granulated sugar, oats, chopped pecans if using, lemon zest, vanilla extract, baking powder, cinnamon, and salt. Stir the mixture until evenly combined. Add the melted butter and mix thoroughly until all ingredients are well incorporated. Freeze this topping mixture for up to 30 minutes to help it hold its shape during baking.
- Prepare the Cherry Filling: In a separate bowl, mix the pitted cherries with granulated sugar, cornstarch, lemon juice, vanilla extract, and almond extract if using. Stir until the cherries are well-coated and the mixture is uniform.
- Add the Topping: Spread the cherry mixture evenly into the prepared baking dish. Then sprinkle the chilled crisp topping evenly over the cherries, ensuring an even layer for a perfect crisp texture.
- Bake the Crisp: Place the baking dish uncovered in the preheated oven and bake for 35-45 minutes, or until the topping is golden brown and the cherry juices are bubbling around the edges, signaling the filling is cooked through.
- Cool and Serve: Remove the cherry crisp from the oven and let it cool for about 10 minutes before serving. It’s delicious served warm with a scoop of ice cream, a dollop of whipped cream, or simply on its own.
Notes
- Freezing the topping before baking helps maintain a crumbly texture during cooking.
- Optionally, pecans can be omitted for a nut-free version.
- Serve warm for best flavor and texture.
- Leftovers can be stored covered in the refrigerator for up to 3 days and reheated before serving.


