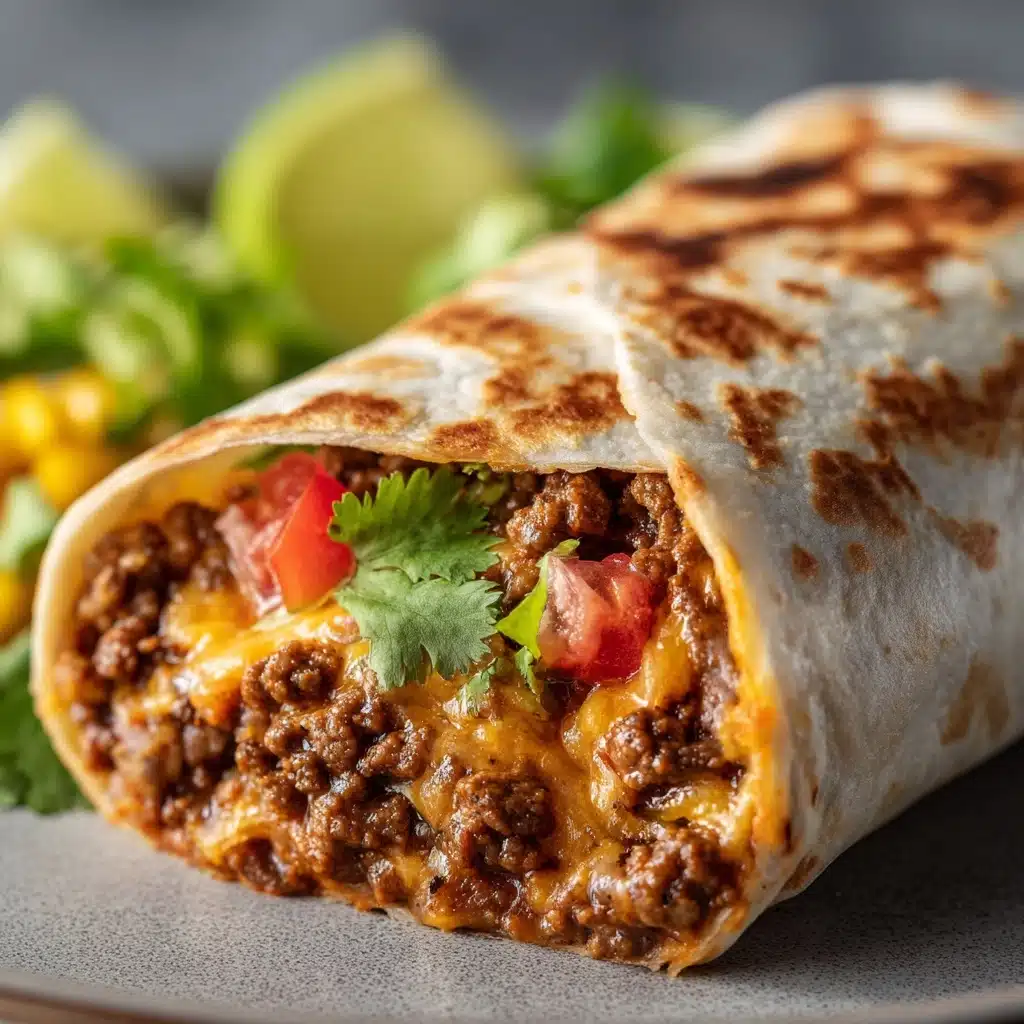
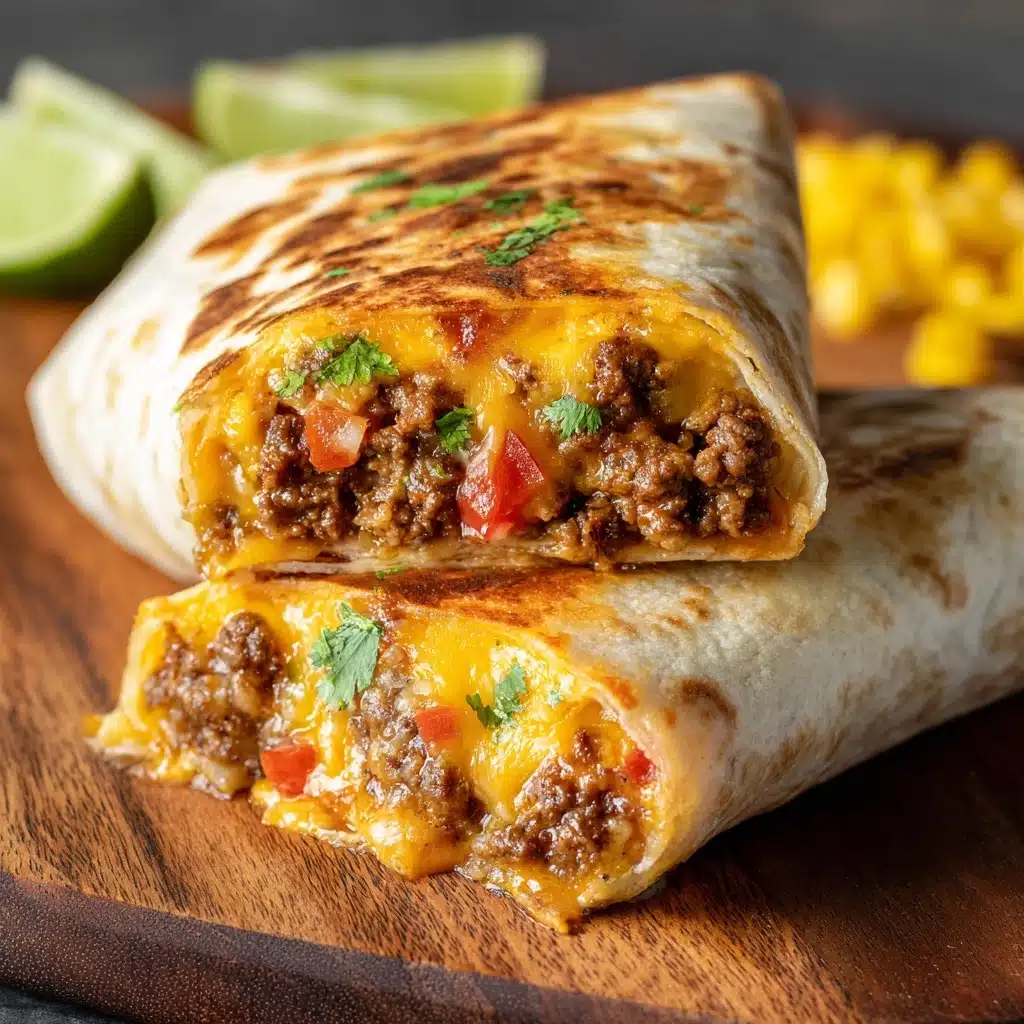
If you’re looking for a hot, hearty meal that’s just as easy to make ahead as it is to enjoy on a busy weeknight, these Freezer-Friendly Beef Burritos are about to become your new secret weapon! Wrapped up in a soft flour tortilla, every bite bursts with flavorful seasoned beef, creamy black beans, tangy salsa, gooey cheese, and just the right blend of spices. Best of all, you can stash these beauties in your freezer for up to three months, making them the ultimate grab-and-go option. Whether you’re planning for meal prep, feeding a crowd, or just craving warm comfort food without the hassle, this recipe delivers maximum satisfaction with minimal fuss.
Ingredients You’ll Need
Each ingredient here has a special purpose, and together they create magic! Don’t worry about complicated shopping—these simple, everyday items come together for classic flavor, comforting textures, and big dinnertime smiles.
- Ground Beef: Lean and juicy, it’s the star protein that gives these Freezer-Friendly Beef Burritos their satisfying heartiness.
- Onion: Fresh diced onion adds sweetness and a savory depth to balance the spice.
- Garlic: Minced garlic punches up the flavor and makes the filling irresistible.
- Chili Powder: This key spice brings mellow heat and authentic burrito zest.
- Ground Cumin: Earthy and warm, cumin rounds out the Tex-Mex profile beautifully.
- Paprika: Adds a gorgeous color and quiet smokiness to every bite.
- Salt: Enhances all the ingredients and ties the flavors together.
- Black Pepper: A little heat and sharpness to wake up your palate.
- Black Beans: Creamy, fiber-rich beans that bulk up the filling while adding flavor.
- Cooked Rice: Stretches the filling and soaks up all those delicious spices.
- Shredded Cheddar or Mexican Blend Cheese: Melts into gooey perfection and holds everything together.
- Salsa: Brings a bit of tangy acidity and juiciness to cut through the richness.
- Sour Cream (optional): Adds creaminess and that classic burrito coolness if you want a little extra indulgence.
- Large Flour Tortillas: Soft, flexible, and perfect for wrapping up all this goodness without splitting or tearing.
How to Make Freezer-Friendly Beef Burritos
Step 1: Cook the Beef and Aromatics
Start by placing a large skillet over medium heat—it’s the perfect vessel to brown your ground beef and caramelize those lovely onions. You’ll want to stir occasionally and break up any clumps to ensure even browning. In about 7–9 minutes, your kitchen will smell amazing, and your beef will be beautifully cooked. If there’s excess fat, drain it off so your burritos stay fresh and not greasy.
Step 2: Spice It Up
Next, stir in the minced garlic, chili powder, cumin, paprika, salt, and black pepper. This step is all about building flavor, so let the spices get toasty and fragrant with the beef for another minute or two. The transformation as everything mingles together is seriously mouthwatering—don’t rush this part!
Step 3: Mix in the Fillings
Once the beef is seasoned, take the pan off the heat and add the drained black beans, cooked rice, shredded cheese, and salsa. Stir lovingly until the cheese is melty and everything is evenly combined. This magical filling combines savory, creamy, and tangy notes—you’ll want to sneak a bite! Let it cool a bit so it’s easy to handle when assembling your Freezer-Friendly Beef Burritos.
Step 4: Warm and Fill the Tortillas
Pop your stack of tortillas in the microwave for 20 to 30 seconds. This quick warming trick keeps them soft and pliable—no more frustrating rips! Lay out a tortilla, spoon a generous three-quarters cup of the beef mixture down the center, and don’t forget a dollop of sour cream if you’re feeling fancy.
Step 5: Roll Up Your Burritos
Time to wrap things up! Fold the sides over the filling, then roll up tightly from the bottom. A snug roll ensures you get all the tasty filling in every bite and prevents any mishaps while reheating later. Repeat with the rest of your tortillas and filling.
Step 6: Freeze for Later
For true Freezer-Friendly Beef Burritos magic, wrap each assembled burrito in foil or plastic wrap and place them in a freezer-safe bag or container. Label and date if you’re the organized type Main Course.
How to Serve Freezer-Friendly Beef Burritos
Garnishes
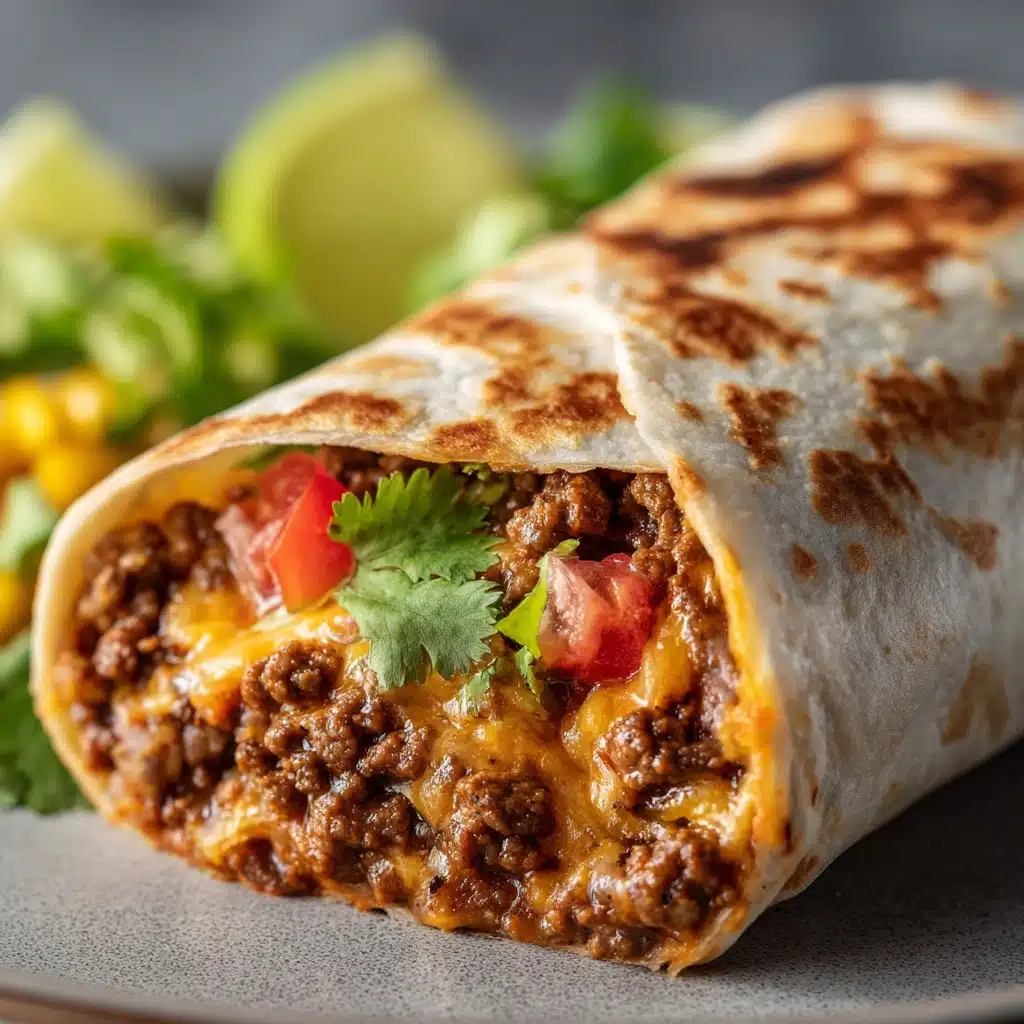
Dress up your burritos with a sprinkle of chopped cilantro, extra cheese, or a quick squeeze of fresh lime for brightness. You can also spoon on extra salsa, drizzle with hot sauce, or top with dollops of sour cream or guacamole for that restaurant-style finish. The possibilities are endless and oh-so-delicious!
Side Dishes
Serve your Freezer-Friendly Beef Burritos alongside a crisp green salad, crunchy tortilla chips, or a bowl of seasoned corn. Rice and beans are a classic, but roasted vegetables or a zesty cabbage slaw add a fresh, colorful touch too. Don’t forget a frosty beverage—sparkling water with lime works wonders!
Creative Ways to Present
For parties or family dinners, slice each burrito in half and arrange on a platter, then offer little bowls of salsa, pico de gallo, or sliced jalapenos for dipping. Or turn them into “wet burritos” by laying out in a baking dish, topping with enchilada sauce and cheese, then baking until bubbly. Meal prep just gained some serious style points!
Make Ahead and Storage
Storing Leftovers
If you have leftover burritos that aren’t frozen, store them well-wrapped in the fridge for up to three days. The flavors continue to meld for even tastier bites—the rice and beans soak up the salsa, and the cheese gets even creamier.
Freezing
This recipe is designed to shine as Freezer-Friendly Beef Burritos: after wrapping each burrito tightly, lay them flat in a freezer-safe bag or airtight container. For the best quality, enjoy within three months. This way, you’ll always have a hearty, homemade meal ready whenever you need it.
Reheating
When you’re ready to eat, remove burritos from their wrapping. Warm in the microwave for 2 to 3 minutes, flipping halfway through, or bake from frozen at 375°F for 25 to 30 minutes until hot all the way through. No thawing needed—just heat, eat, and repeat!
FAQs
Can I use ground turkey or chicken instead of beef?
Absolutely! Ground turkey or chicken are both great substitutions for beef in this recipe. You may want to add a splash of oil since they can be leaner, but otherwise, just follow the same flavorful steps for delicious results.
How spicy are these burritos?
Freezer-Friendly Beef Burritos as written are mildly spiced, suitable for most palates. If you love extra heat, add a pinch of cayenne, a chopped jalapeño, or a bit of hot sauce to the filling.
Can I add vegetables to the filling?
Definitely! Diced bell peppers, zucchini, or corn fold in seamlessly with the other ingredients and help sneak in extra nutrition—plus, they add lovely sweetness and color.
What’s the best way to wrap a burrito so it doesn’t fall apart?
The key is to warm the tortillas first to make them flexible, then fold in the sides tightly before rolling up from the bottom. Don’t overload with filling, and use foil or parchment to help hold their shape if needed.
Can I bake a whole batch of burritos instead of microwaving individually?
Yes! Arrange wrapped burritos on a baking sheet and heat at 375°F for 25–30 minutes straight from frozen, or until piping hot. Remove foil for the last few minutes for a toasty exterior.
Final Thoughts
If you’re craving an effortless meal that’s equal parts delicious, nourishing, and downright fun, these Freezer-Friendly Beef Burritos have your back. Give them a try, customize to your heart’s content, and watch your freezer (and your family!) fill with joy. Happy cooking!
Print
Freezer-Friendly Beef Burritos Recipe
- Prep Time: 20 minutes
- Cook Time: 10 minutes
- Total Time: 30 minutes
- Yield: 6 burritos
- Category: Main Course
- Method: Stovetop
- Cuisine: Mexican-Inspired
- Diet: Non-Vegetarian
Description
These freezer-friendly beef burritos are a convenient and delicious meal prep option. Packed with seasoned ground beef, black beans, rice, and cheese, they are easy to make in batches and freeze for later. Perfect for a quick lunch or dinner!
Ingredients
For the Beef Filling:
- 1 pound ground beef
- 1 small onion, diced
- 2 cloves garlic, minced
- 1 teaspoon chili powder
- 1 teaspoon ground cumin
- ½ teaspoon paprika
- ½ teaspoon salt
- ¼ teaspoon black pepper
- 1 can (15 oz) black beans, drained and rinsed
- 1 cup cooked rice
- 1 cup shredded cheddar or Mexican blend cheese
- ½ cup salsa
Additional Ingredients:
- ½ cup sour cream (optional)
- 6 large flour tortillas
Instructions
- Cook the Beef: In a large skillet over medium heat, cook the ground beef and onion until browned and fully cooked, about 7–9 minutes. Drain excess fat if needed.
- Add Seasonings: Stir in the garlic, chili powder, cumin, paprika, salt, and pepper. Cook for another 1–2 minutes until fragrant.
- Combine Ingredients: Remove from heat and stir in the black beans, cooked rice, cheese, and salsa. Let the mixture cool slightly.
- Assemble Burritos: Warm the tortillas in the microwave. Spoon about ¾ cup of the beef mixture into the center of each tortilla. Add a dollop of sour cream if using. Fold the sides over the filling, then roll up tightly into burritos.
- Freeze: Wrap each burrito tightly in foil or plastic wrap and place in a freezer-safe bag or container.
- Reheat: To reheat, unwrap and microwave for 2–3 minutes (or bake at 375°F for 25–30 minutes from frozen).
Notes
- Customize with corn, peppers, or hot sauce.
- These make a great grab-and-go lunch or dinner.
- Freeze for up to 3 months.

