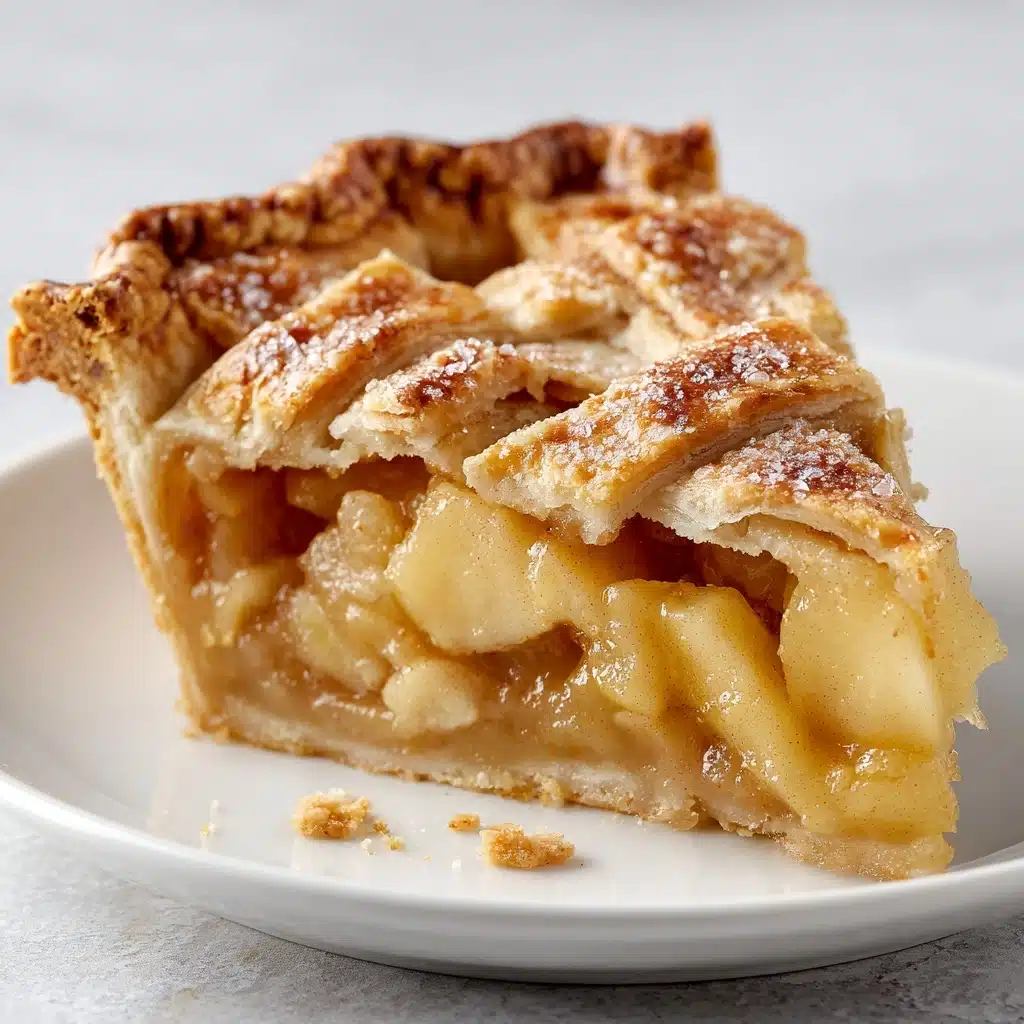
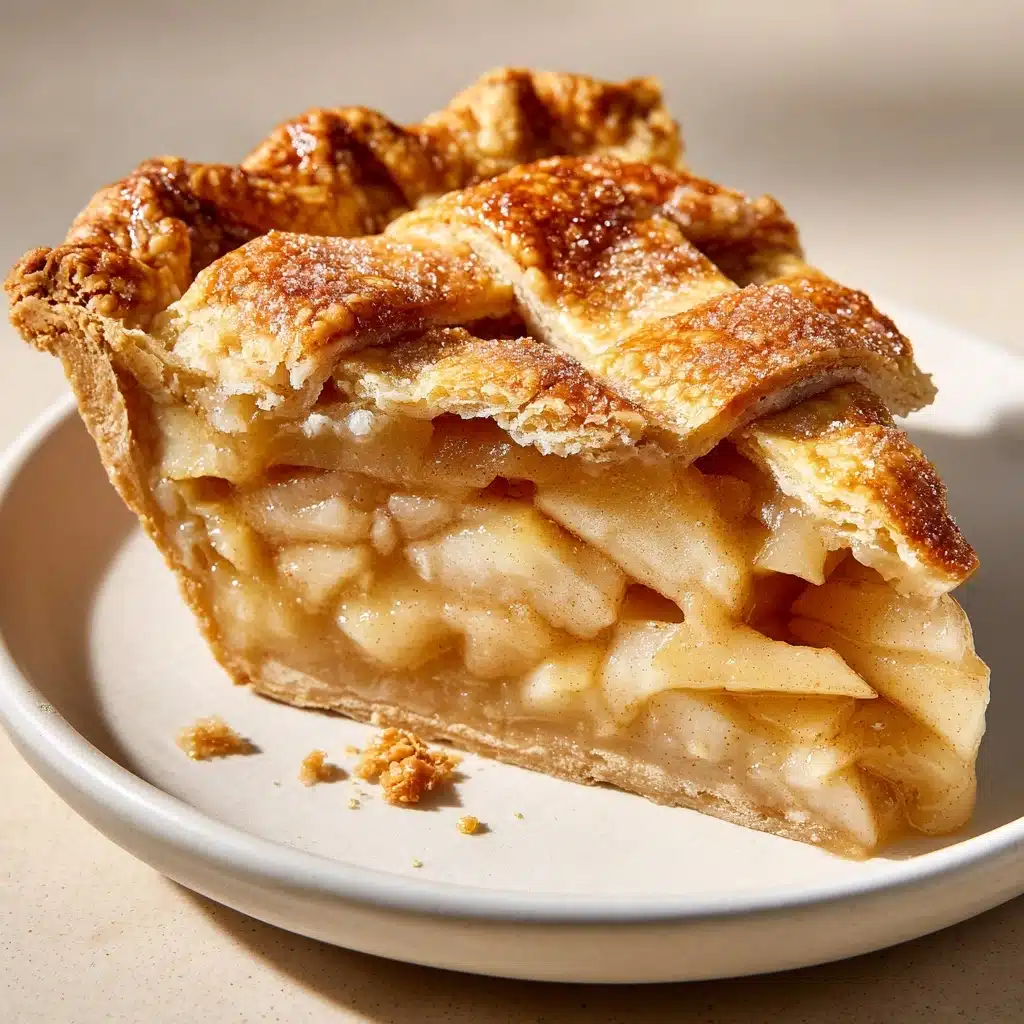
If you’ve ever wanted to master the art of the perfect Flaky Pie Crust, consider this your personal invitation! There’s something magical about transforming just a few humble ingredients into layers of buttery, golden goodness that shatter with every bite. Whether you’re planning to fill it with juicy summer fruit or your family’s favorite savory filling, a homemade Flaky Pie Crust turns any pie from good to unforgettable. Trust me, with a few tips and a little know-how, you’ll never settle for store-bought again.
Ingredients You’ll Need
Here’s the beauty of a classic Flaky Pie Crust: you don’t need much, but each ingredient plays a starring role. Use the best you can find, and you’ll taste the difference in every bite.
- All-purpose flour: The structure and body of your crust come from this pantry staple; spoon your flour into the cup to avoid a tough crust.
- Salt: Balances out the butter’s flavor and gives the crust depth; don’t skip it!
- Granulated sugar (optional): Adds just a touch of sweetness, especially nice for dessert pies.
- Unsalted butter, very cold and cut into cubes: Cold butter is the secret to a perfectly tender, flaky pie crust—keep it chilling until the last second.
- Ice water: The right amount helps the dough come together; keeping it icy ensures the butter doesn’t melt until it hits the oven.
How to Make Flaky Pie Crust
Step 1: Combine Your Dry Ingredients
Start by whisking together the flour, salt, and sugar (if using) in a large bowl. It might seem simple, but this step guarantees every bite of your Flaky Pie Crust is perfectly seasoned and slightly sweet if that’s what you’re after.
Step 2: Cut In the Butter
Add those ice-cold cubes of unsalted butter. Use a pastry cutter, two forks, or—my favorite—your fingertips, working quickly so your warm hands don’t melt the butter. You’re aiming for a crumbly mixture with visible pea-sized bits of butter. That’s your ticket to extra flakiness once your pie hits the oven.
Step 3: Add Ice Water
Sprinkle in 6 tablespoons of ice water, then toss the mixture gently with a fork. Keep adding water, a tablespoon at a time, just until the dough begins to come together. It should hold together if you pinch it, but it shouldn’t be sticky or wet. This gentle touch is key to a classic flaky pie crust texture.
Step 4: Shape and Chill
Divide the dough in half and shape each portion into a thick disk. Wrap each disk snugly in plastic wrap and refrigerate for at least an hour. This rest gives the gluten time to relax and keeps the butter cold so your crust bakes up extra flakey.
Step 5: Roll and Use
When you’re ready to bake, roll out a chilled disk on a lightly floured surface until it’s a little larger than your pie pan. Move gently to avoid tearing, and rotate the dough to maintain an even thickness. Carefully lift the rolled crust into your pan and you’re ready for your favorite filling!
How to Serve Flaky Pie Crust
Garnishes
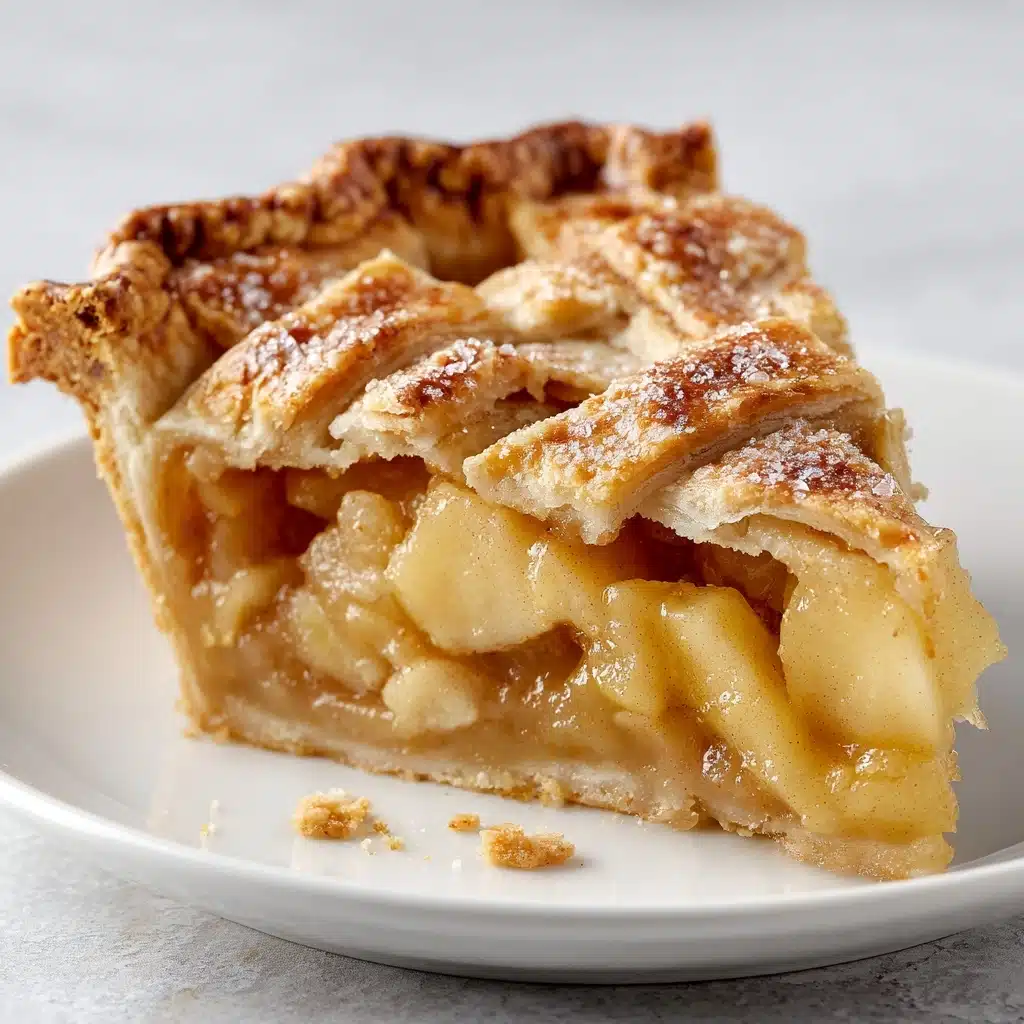
The secret to a show-stopping pie is all in the finishing touches. Brush your Flaky Pie Crust with a little heavy cream or beaten egg before baking for a glossy, golden finish. For dessert pies, a sprinkle of coarse sugar adds sweet crunch and irresistible sparkle.
Side Dishes
Pair sweet pies with a scoop of good vanilla ice cream or softly whipped cream—there’s nothing better. For savory pies, think about nice contrasts: a crisp green salad or some roasted veggies make the whole plate sing.
Creative Ways to Present
Don’t be afraid to have fun with your Flaky Pie Crust! Try cutting leaves or hearts from leftover dough to decorate the top, or weave a classic lattice over your filling. Serve mini pies or hand pies at a party for a charming, personal touch that always impresses.
Make Ahead and Storage
Storing Leftovers
If you find yourself with extra Flaky Pie Crust, wrap the dough disks tightly in plastic and pop them in the fridge. They’ll be perfect for up to three days, staying tender and ready for your next pie adventure at a moment’s notice.
Freezing
Want to get ahead for the holidays? Flaky Pie Crust freezes beautifully: keep the wrapped disks in a freezer bag for up to two months. Let them thaw overnight in the refrigerator before rolling out and baking. You’ll thank yourself later!
Reheating
If you have leftover baked pie, a quick trip in a moderate oven (about 350°F, for 10 minutes) refreshes the crust and brings back its signature flaky texture. Avoid the microwave, which can make the crust soggy.
FAQs
Why does the butter need to be so cold?
Cold butter is key for Flaky Pie Crust because as it melts in the oven, it creates steam, which forms those signature layers. Warm butter blends too much with flour and leads to a denser, less tender crust.
Can I use salted butter instead of unsalted?
You can use salted butter in a pinch! If you do, just reduce the added salt in the recipe by about half to keep your pie crust perfectly seasoned.
What if I don’t have a pastry cutter?
No worries! You can use two forks or your fingertips to break the cold butter into the flour. Some bakers even grate frozen butter for extra-easy mixing.
How do I keep the dough from sticking when I roll it out?
Lightly flour your work surface and your rolling pin, and rotate the dough as you go. If the dough starts to feel sticky or soft, pop it back in the fridge for a few minutes.
Can I make Flaky Pie Crust ahead of time?
Absolutely! You can make the dough up to three days in advance and keep it chilled, or freeze it up to two months—so your pie prep is flexible and stress-free.
Final Thoughts
I hope you feel inspired and ready to create your own unforgettable Flaky Pie Crust at home. It’s one of those little kitchen victories that makes every pie extra special. Give it a try, share it with loved ones, and let those golden, buttery layers steal the show!
Print
Flaky Pie Crust Recipe
- Prep Time: 15 minutes
- Cook Time: 0 minutes
- Total Time: 15 minutes (plus chilling time)
- Yield: 2 pie crusts (for two 9-inch pies or one double-crust pie)
- Category: Basics
- Method: No-Bake
- Cuisine: American
- Diet: Vegetarian
Description
Learn how to make the perfect flaky pie crust from scratch with this easy recipe. This buttery crust is versatile and can be used for sweet or savory pies.
Ingredients
Dry Ingredients:
- 2 1/2 cups all-purpose flour
- 1 teaspoon salt
- 1 tablespoon granulated sugar (optional)
Wet Ingredients:
- 1 cup (2 sticks) unsalted butter, very cold and cut into cubes
- 6–8 tablespoons ice water
Instructions
- Mix Dry Ingredients: In a large bowl, whisk together the flour, salt, and sugar if using.
- Cut in Butter: Add the cold butter cubes and use a pastry cutter or your fingertips to cut the butter into the flour until the mixture resembles coarse crumbs with pea-sized bits of butter.
- Add Water: Gradually add the ice water, starting with 6 tablespoons and adding more a little at a time, mixing just until the dough begins to come together.
- Chill and Roll: Divide the dough into two equal portions, shape each into a disk, wrap in plastic wrap, and refrigerate for at least 1 hour before using. When ready to use, roll out on a lightly floured surface to fit your pie pan.
Notes
- Keep all ingredients as cold as possible to ensure a tender, flaky crust.
- The dough can be made up to 3 days ahead or frozen for up to 2 months.

