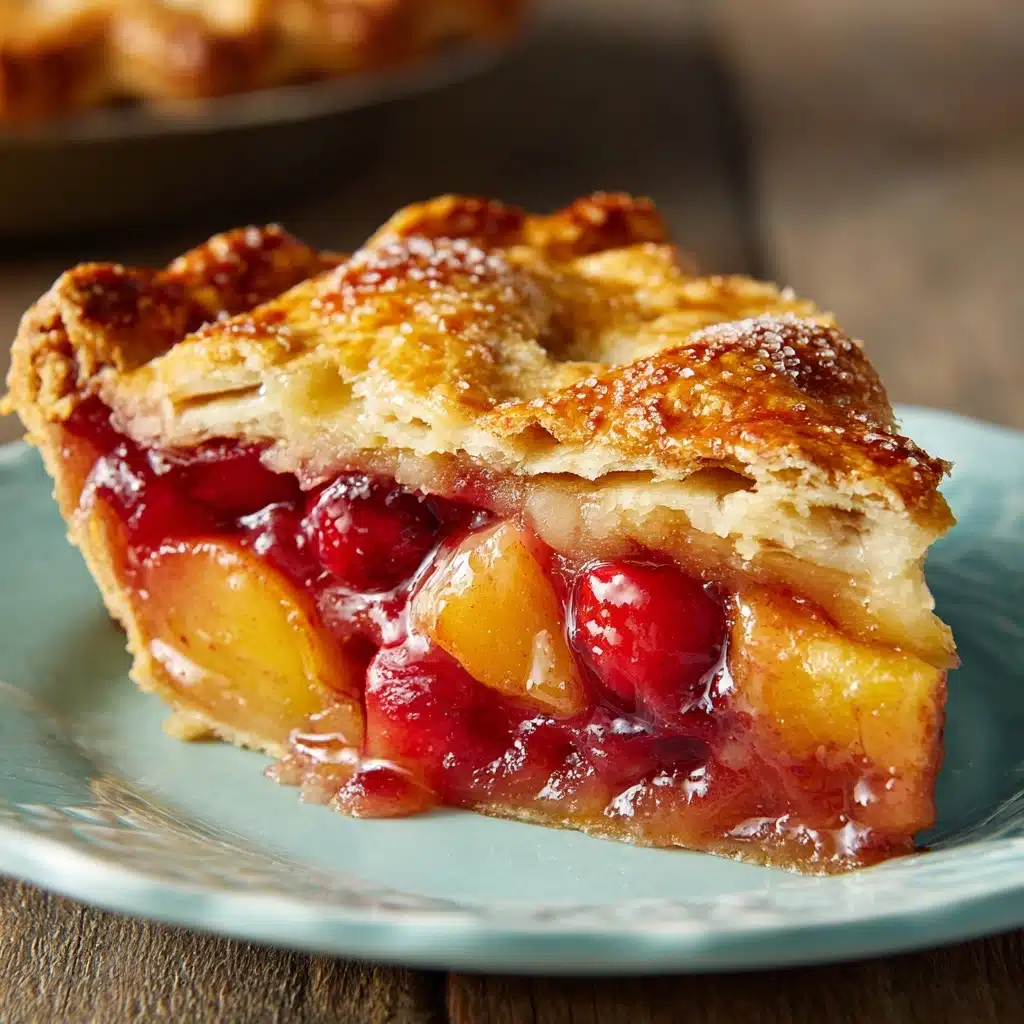
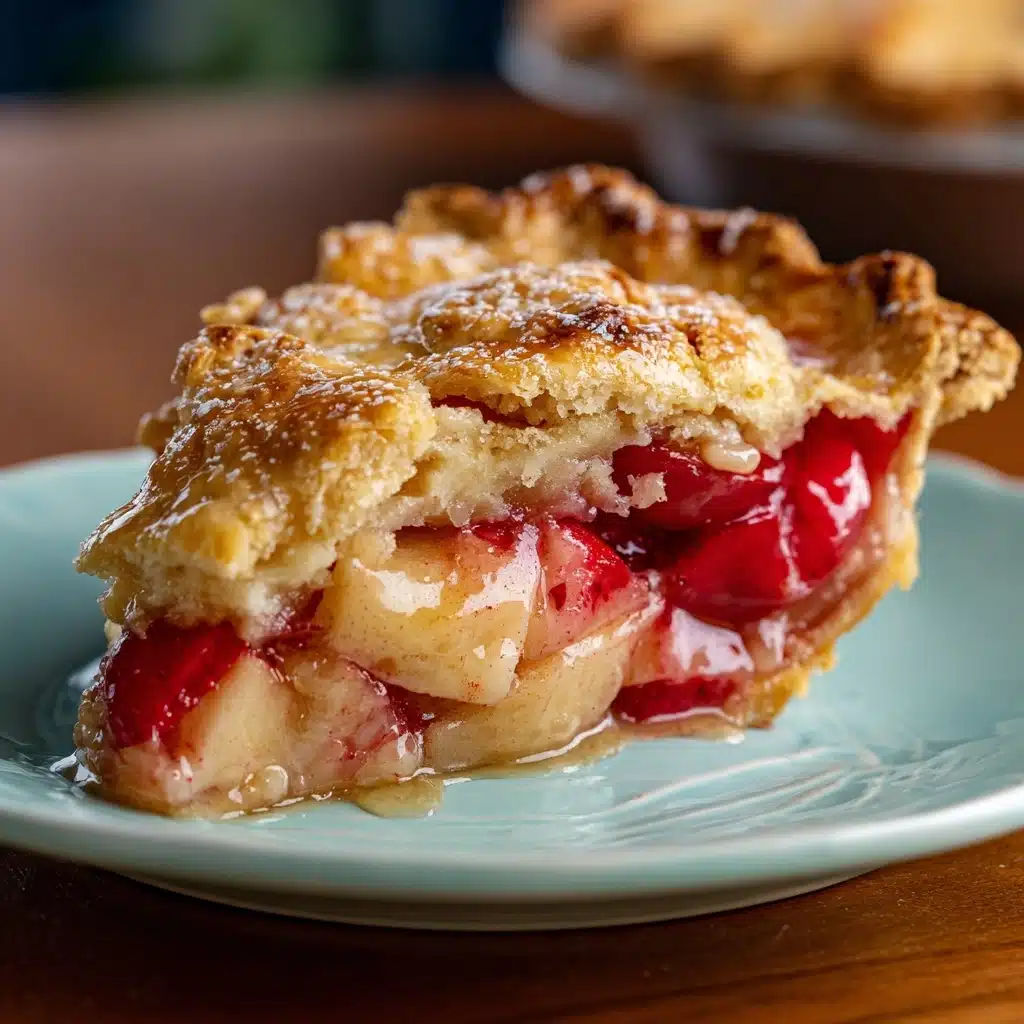
If you’ve ever wanted to master the art of the Flaky, Buttery Homemade Pie Crust, you’re in the right place. This is the kind of dough that makes every pie sing, with crisp, golden layers that shatter delicately under your fork. Creating your own crust is so much simpler than it seems, and the payoff is truly epic: a foundation for sweet or savory dreams. Let me walk you through every step, with plenty of tips and tricks I’ve picked up after years of pie-baking bliss!
Ingredients You’ll Need
The magic of a Flaky, Buttery Homemade Pie Crust lies in its humble, straightforward ingredients. Each one plays a starring role, so don’t skimp or substitute—fresh, quality components make all the difference to the taste, the texture, and that perfect golden color.
- All-purpose flour (2 1/2 cups): The backbone of your crust, its gluten structure gives just enough bite without being tough.
- Salt (1 teaspoon): Brings out the buttery flavors and balances sweetness in both sweet and savory pies.
- Granulated sugar (1 tablespoon, optional): A subtle touch that enhances browning and adds delicacy, especially for dessert pies.
- Unsalted butter, very cold and cut into cubes (1 cup or 2 sticks): The superstar that creates rich flavor and those signature flaky layers.
- Ice water (6–8 tablespoons): Keeps everything cold and helps the dough come together without overworking it—add just enough for a cohesive, not sticky, dough.
How to Make Flaky, Buttery Homemade Pie Crust
Step 1: Mix the Dry Ingredients
Start by whisking together your flour, salt, and sugar (if using) in a large mixing bowl. This helps distribute the salt and sugar evenly, so every bit of your Flaky, Buttery Homemade Pie Crust tastes just right. The tunnel of happiness begins here!
Step 2: Cut in the Butter
Drop in the cold, cubed butter. Using a pastry cutter or your chilly fingertips, blend the butter into the dry mixture. You’re aiming for pea-sized pockets—these will give your crust its classic flakiness. Work fast and don’t worry about perfection. Those imperfect lumps of butter are what make magic in the oven.
Step 3: Add the Ice Water
Gently drizzle your ice water into the mixture, starting with 6 tablespoons. Toss gently with a fork after each addition. Stop as soon as the dough starts sticking together when squeezed—overmixing can toughen your Flaky, Buttery Homemade Pie Crust. Don’t be afraid to add an extra tablespoon or two of water, as humidity and flour types vary.
Step 4: Form and Chill the Dough
Divide the dough in half and shape each section into a flat disk (flattening now makes rolling later a breeze). Wrap each disk in plastic wrap, then chill in the fridge for at least an hour—this time helps everything relax, yielding a tender and easy-to-roll dough.
Step 5: Roll Out and Use
Once chilled, sprinkle your work surface and rolling pin lightly with flour. Roll each disk from the center out, rotating to maintain a round shape. If your kitchen is warm, you may need to pop the dough back in the fridge for a few minutes—cold is always the secret to the best Flaky, Buttery Homemade Pie Crust. It’s now ready for any pie, sweet or savory!
How to Serve Flaky, Buttery Homemade Pie Crust
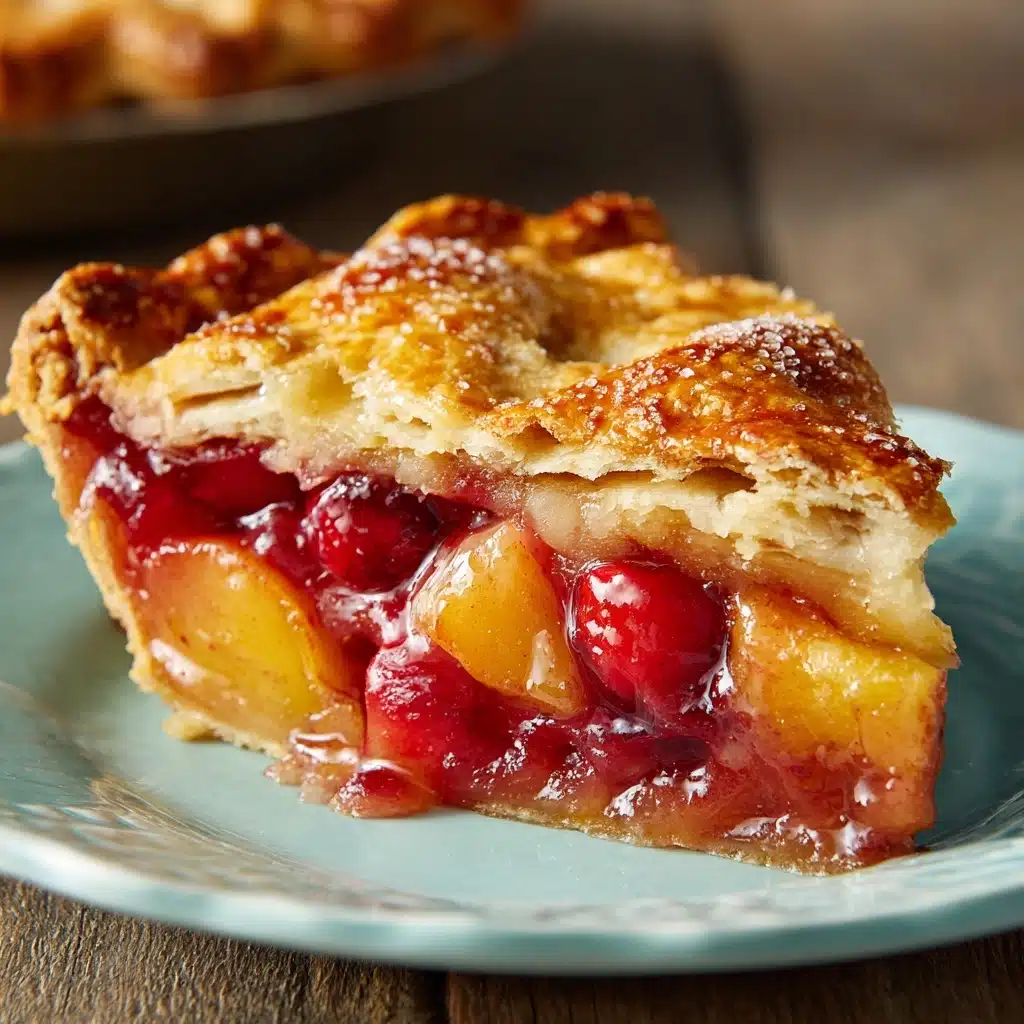
Garnishes
Bringing your pie to life is all about finishing touches! A light brush of cream or egg wash just before baking gives the crust a glorious, glossy sheen. For extra sparkle, sprinkle with coarse sugar for sweet pies, or flaky salt and grated hard cheese for savory creations.
Side Dishes
Pies made with this Flaky, Buttery Homemade Pie Crust are wonderfully versatile. Sweet fruit pies practically beg for a scoop of vanilla ice cream or a dollop of whipped cream. If you’ve gone the savory route, pair with a crisp salad or roasted vegetables to balance the richness.
Creative Ways to Present
Why not impress guests by using cookie cutters for fun crust shapes or weaving a lattice top? You can even cut out mini crusts for personal hand pies, or tuck dough scraps into decorative braids and twists around the pie edge. The Flaky, Buttery Homemade Pie Crust is as showstopping as it is delicious!
Make Ahead and Storage
Storing Leftovers
Leftover pie crust can be wrapped tightly in plastic wrap and stored in the refrigerator for up to 3 days. Be sure to keep it well-sealed to maintain that precious moisture and to prevent absorbing other fridge odors.
Freezing
This dough loves the freezer! Wrap each disk thoroughly and store in a freezer bag for up to 3 months. Thaw overnight in the fridge before rolling out as usual. You’ll love having the makings of a Flaky, Buttery Homemade Pie Crust on hand for any sudden pie cravings.
Reheating
If you’re reheating baked pie with this crust, a quick visit to a preheated 350°F oven (covered loosely with foil) restores the crust’s crispness. For unbaked, thawed dough, let it warm slightly at room temperature until just pliable before rolling out to prevent cracks.
FAQs
Why does everything need to be so cold?
Keeping your butter, water, and even utensils cold is the secret for a Flaky, Buttery Homemade Pie Crust. Cold butter forms layers in the dough that create flakiness as they melt and steam during baking.
Can I use salted butter instead of unsalted?
Yes, but reduce the added salt in the recipe by about half. Unsalted butter lets you control the saltiness more precisely, but salted will still give you delicious results.
What if my dough cracks while rolling?
This usually means the dough is still too cold or a little dry. Let it sit at room temperature for a few minutes, then gently press together any cracks or lightly sprinkle with water if needed.
Can I make this Flaky, Buttery Homemade Pie Crust gluten-free?
Yes! Substitute a high-quality 1:1 gluten-free flour blend for the all-purpose flour. The crust will still be tender and tasty, but may be slightly more fragile, so handle gently.
How do I prevent the crust from shrinking in the oven?
Always allow your crust to chill in the pie pan before baking; this lets the gluten relax and reduces shrinking. Weighing the crust down with parchment and pie weights during blind baking also helps keep it in shape.
Final Thoughts
There’s just nothing quite like the pride you’ll feel pulling a perfect Flaky, Buttery Homemade Pie Crust from your own kitchen. I hope you savor every buttery bite and use this recipe as your springboard for countless pie adventures. Give it a try, and don’t forget to share the love—and the pie—around your table!
Print
Flaky, Buttery Homemade Pie Crust Recipe
- Prep Time: 15 minutes
- Cook Time: 0 minutes
- Total Time: 1 hour 15 minutes (including chilling)
- Yield: 2 pie crusts
- Category: Baking
- Method: No-Bake (until filled and baked)
- Cuisine: American
- Diet: Vegetarian
Description
Learn how to make a flaky and buttery homemade pie crust that is perfect for all your pie-baking endeavors. This easy recipe yields a tender crust that pairs beautifully with sweet or savory fillings.
Ingredients
- 2 1/2 cups all-purpose flour
- 1 teaspoon salt
- 1 tablespoon granulated sugar (optional)
- 1 cup (2 sticks) unsalted butter, very cold and cut into cubes
- 6–8 tablespoons ice water
Dry Ingredients:
Wet Ingredients:
Instructions
- Mix Dry Ingredients: In a large mixing bowl, whisk together the flour, salt, and sugar if using.
- Cut in Butter: Add the cold butter cubes and use a pastry cutter or your fingers to cut the butter into the flour until the mixture resembles coarse crumbs with pea-sized pieces.
- Add Water: Drizzle in the ice water, starting with 6 tablespoons, mixing gently with a fork until the dough just begins to come together. Add more water a tablespoon at a time if needed.
- Chill and Roll: Divide the dough into two equal portions, flatten each into a disk, and wrap tightly in plastic wrap. Chill in the refrigerator for at least 1 hour before rolling out. When ready to use, roll out on a lightly floured surface to fit your pie dish.
Notes
- For extra flakiness, chill all ingredients and tools beforehand.
- Avoid overmixing to keep the crust tender.
- Dough can be made ahead and frozen for up to 3 months.

