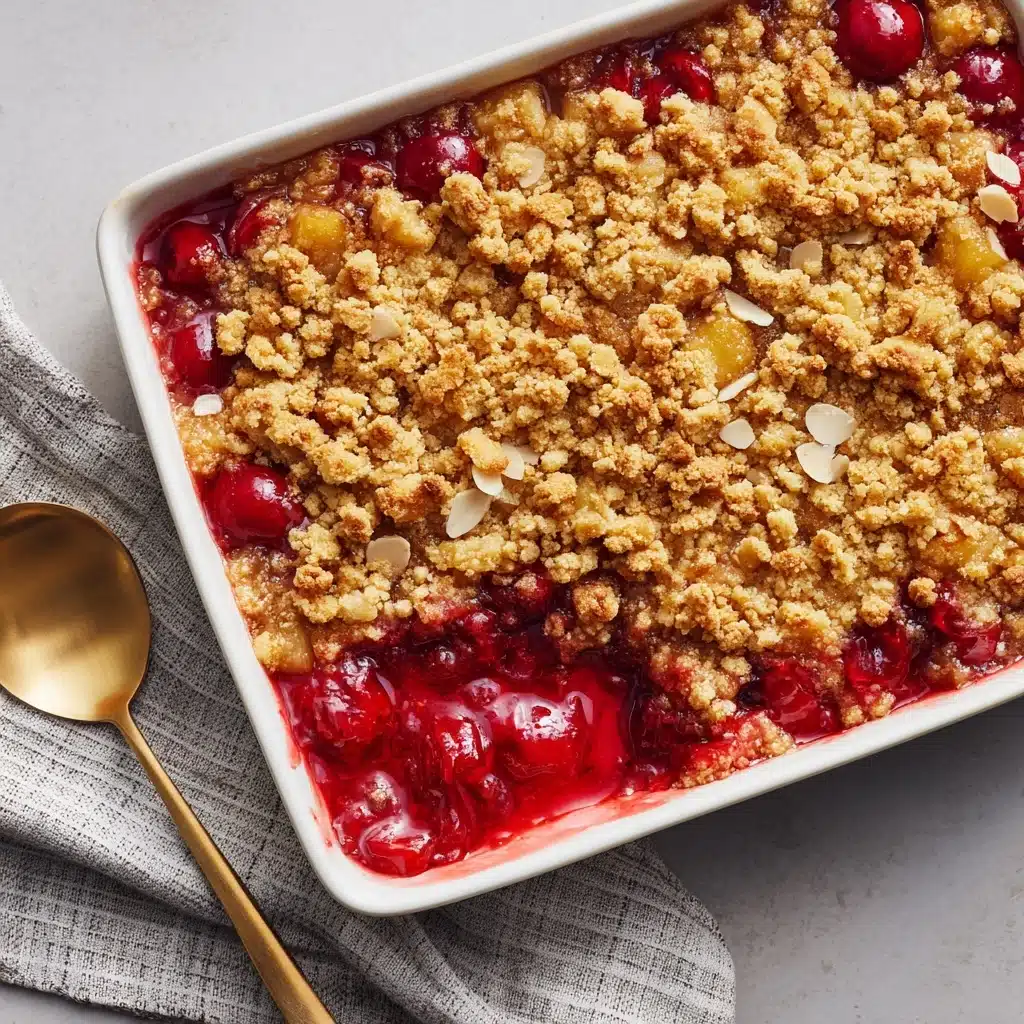
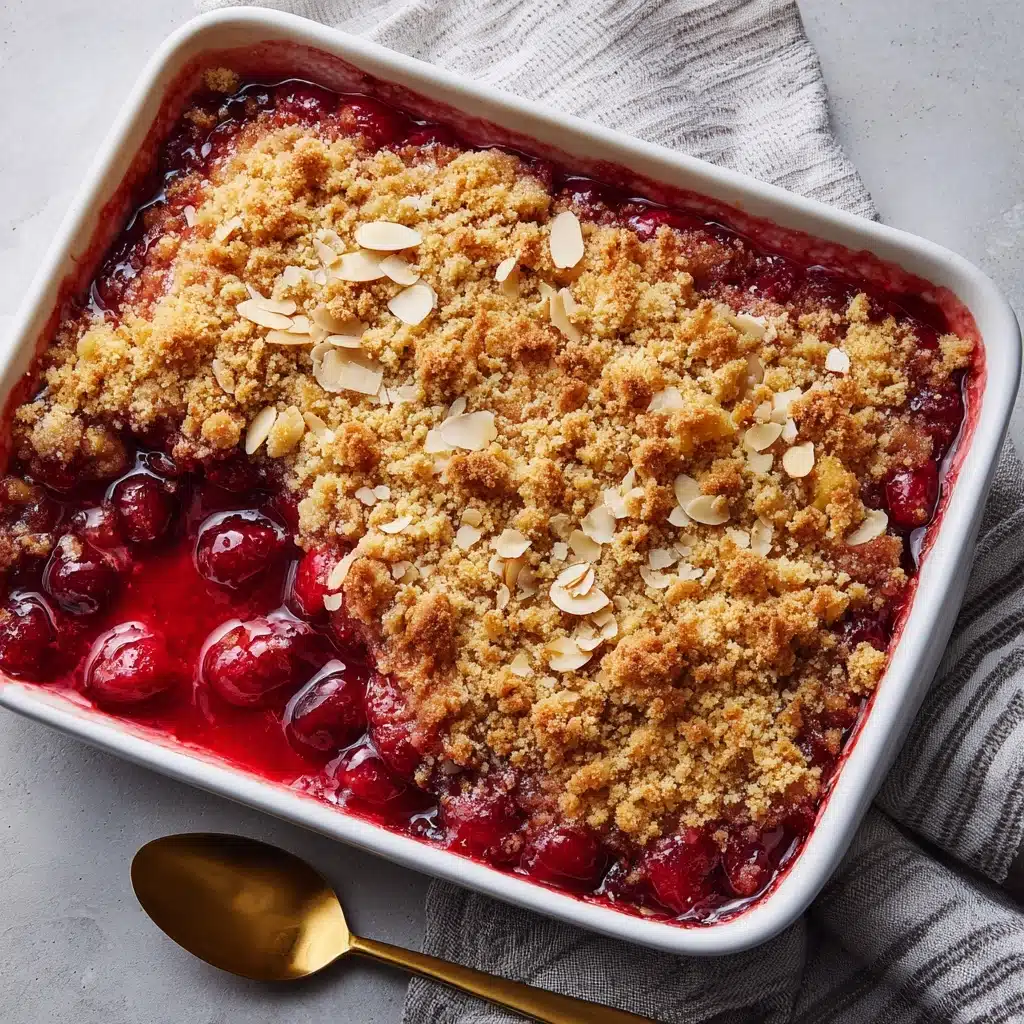
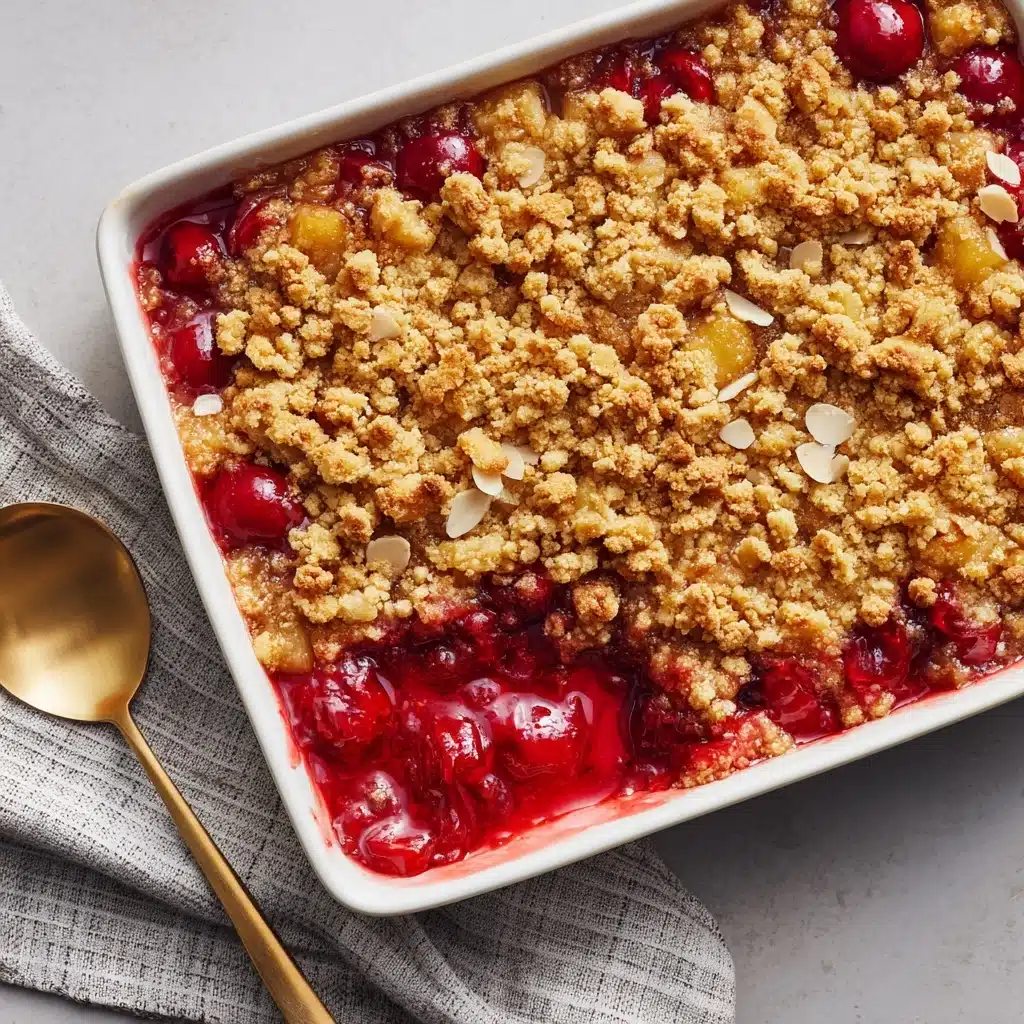
If you’re looking for a bright, smile-inducing dessert that’s as easy to make as it is delicious, Easy Pineapple Cherry Dump Cake is about to become your new go-to treat. This colorful classic bakes up golden and bubbly, and it starts with a few pantry staples that transform into a luscious, almost cobbler-like cake with juicy fruit and a buttery, crisp topping. Whether you’re baking for a potluck, a family dinner, or just because you’re craving something warm and sweet, the Easy Pineapple Cherry Dump Cake delivers effortless comfort and nostalgia with every spoonful.
Ingredients You’ll Need
This recipe celebrates simplicity, using just a handful of staple ingredients that each add something special—tangy pineapple, sweet cherries, buttery richness, and a golden cake topping. There are no fancy steps or hard-to-find items; each ingredient brings joyful color, texture, and flavor to the finished dish.
- Crushed pineapple (1 can, 20 oz): Provides moistness and tang, as well as a refreshing tropical sweetness that balances the dessert.
- Cherry pie filling (1 can, 21 oz): Adds vivid color and juicy bursts of cherry in every bite.
- Yellow cake mix (1 box, 15.25 oz): Creates the signature sweet, fluffy yet crisped cake layer atop the fruit.
- Unsalted butter (½ cup, sliced into thin pats): Melts down to form a golden, irresistible crust; slicing it ensures even coverage.
- Chopped walnuts or pecans (½ cup, optional): For added crunch and a nutty depth, perfect if you love some texture in your desserts.
How to Make Easy Pineapple Cherry Dump Cake
Step 1: Prep the Baking Dish
Start by preheating your oven to 350°F (175°C). Lightly grease a 9×13-inch baking dish with butter or non-stick spray. This simple step makes serving and cleanup a breeze, ensuring nothing sticks when you’re ready to dig in.
Step 2: Layer the Pineapple
Pour the entire can of crushed pineapple, juice and all, into the bottom of your prepared dish. Spread it out with a spoon to cover the surface evenly. The juice is key—it keeps the cake moist and helps blend all the flavors as it bakes.
Step 3: Add the Cherry Pie Filling
Next, spoon the cherry pie filling right over the pineapple layer. Try to distribute the cherries as evenly as possible without mixing them together. Resisting the urge to stir is crucial; those distinct layers are what make every bite of Easy Pineapple Cherry Dump Cake so fun and flavorful.
Step 4: Sprinkle the Cake Mix
Open up the dry yellow cake mix and sprinkle it evenly across the fruit layers. Use a gentle hand to cover every corner, as the dry mix will soak up the bubbling fruit juices as the dessert bakes, creating that signature cake-meets-crisp topping.
Step 5: Top with Butter and Nuts
Arrange your pats of butter all over the cake mix, covering as much of the surface as you can. If you’re using nuts, sprinkle them across the top now. The butter melts down as it bakes, helping the cake mix crisp into a golden-brown crown with nutty crunch—pure magic in every spoonful.
Step 6: Bake to Perfection
Slide your dish into the oven and bake for 45–50 minutes. The top should be beautifully golden and the juices bubbling up at the edges. Let it cool slightly before serving; the flavors settle as it rests, and it’s divine enjoyed warm.
How to Serve Easy Pineapple Cherry Dump Cake
Garnishes
For a little flair, dust your Easy Pineapple Cherry Dump Cake with a sprinkle of powdered sugar, or crown each portion with a dollop of whipped cream. If you want to elevate it to true dessert heaven, a scoop of vanilla ice cream melting into the warm cake is a classic move.
Side Dishes
This cake pairs well with fresh berries or a simple fruit salad for a refreshing contrast. If you’re serving for brunch, try it alongside coffee or strong black tea—its cozy sweetness is the perfect counterpoint to a good cup of joe.
Creative Ways to Present
Spoon the cake into pretty glass dishes or mason jars for individual servings, layering with extra fresh fruit or whipped cream for a trifle effect. Or bake your Easy Pineapple Cherry Dump Cake in muffin tins for portable, party-friendly treats that everyone will rave about.
Make Ahead and Storage
Storing Leftovers
Cover any leftover cake tightly with plastic wrap or transfer it to an airtight container. It’ll keep happily in the refrigerator for up to 4 days. The flavors deepen as it sits, so you might find you love the leftovers even more!
Freezing
You absolutely can freeze Easy Pineapple Cherry Dump Cake! Allow the cake to cool completely, then wrap tightly or portion into freezer containers. It will keep in the freezer for up to 3 months. Defrost overnight in the fridge before reheating.
Reheating
To reheat, pop a portion in the microwave for about 30 seconds, or warm larger quantities in a 300°F oven until heated through. For extra crispness, you can reheat uncovered in the oven for 10–15 minutes.
FAQs
Can I use fresh pineapple or cherries instead of canned?
Absolutely! Just make sure to include a bit of extra juice with your fruit so the cake keeps that wonderful, moist texture. Adjust sugar to taste if your fruit is less sweet than canned.
Do I have to use yellow cake mix?
Nope! White or butter cake mix both work beautifully. You can even experiment with spice cake mix for a different flavor profile in your Easy Pineapple Cherry Dump Cake.
Why shouldn’t I stir the cake batter and fruit layers?
The “dump and bake” method lets the layers set up distinctly: luscious fruit on the bottom and a crisp, golden cake on top. Stirring will muddle the textures and colors.
Can I make Easy Pineapple Cherry Dump Cake nut-free?
Of course. Just skip the walnuts or pecans entirely. The cake will still be delicious, and allergy-friendly too!
What’s the best way to transport this cake for potlucks?
Bake it right in the 9×13 pan with a secure lid or foil on top. It travels well, and you can serve it straight from the dish—no fuss required.
Final Thoughts
You don’t need to wait for a special occasion to whip up Easy Pineapple Cherry Dump Cake—every day is worthy of a warm, fruity, buttery treat like this. Give it a try and see why it’s a favorite in so many kitchens; your sweet tooth (and your friends) will thank you.
Print
Easy Pineapple Cherry Dump Cake Recipe
- Prep Time: 5 minutes
- Cook Time: 50 minutes
- Total Time: 55 minutes
- Yield: 12 servings
- Category: Dessert
- Method: Baking
- Cuisine: American
- Diet: Vegetarian
Description
This Easy Pineapple Cherry Dump Cake is a simple and delicious dessert that comes together quickly with just a few ingredients. Perfect for any occasion, this fruity cake is sure to be a crowd-pleaser!
Ingredients
Ingredients:
- 1 can (20 oz) crushed pineapple with juice
- 1 can (21 oz) cherry pie filling
- 1 box (15.25 oz) yellow cake mix
- ½ cup unsalted butter (sliced into thin pats)
- Optional: ½ cup chopped walnuts or pecans
Instructions
- Preheat the oven: Preheat the oven to 350°F (175°C) and lightly grease a 9×13-inch baking dish.
- Layer the ingredients: Pour the crushed pineapple with its juice into the bottom of the dish and spread evenly. Spoon the cherry pie filling over the pineapple layer. Sprinkle the dry yellow cake mix evenly over the fruit layers.
- Add toppings: Arrange the butter slices evenly over the top of the cake mix, covering as much of the surface as possible. If using, sprinkle chopped nuts over the top.
- Bake: Bake for 45–50 minutes or until the top is golden and bubbly.
- Serve: Let cool slightly before serving. Serve warm on its own or with a scoop of vanilla ice cream.
Notes
- You can substitute white or butter cake mix for yellow if preferred.
- For a crisper topping, use cold butter and space the pats evenly.
- Avoid stirring layers—this cake bakes best when assembled as a “dump and bake.”

