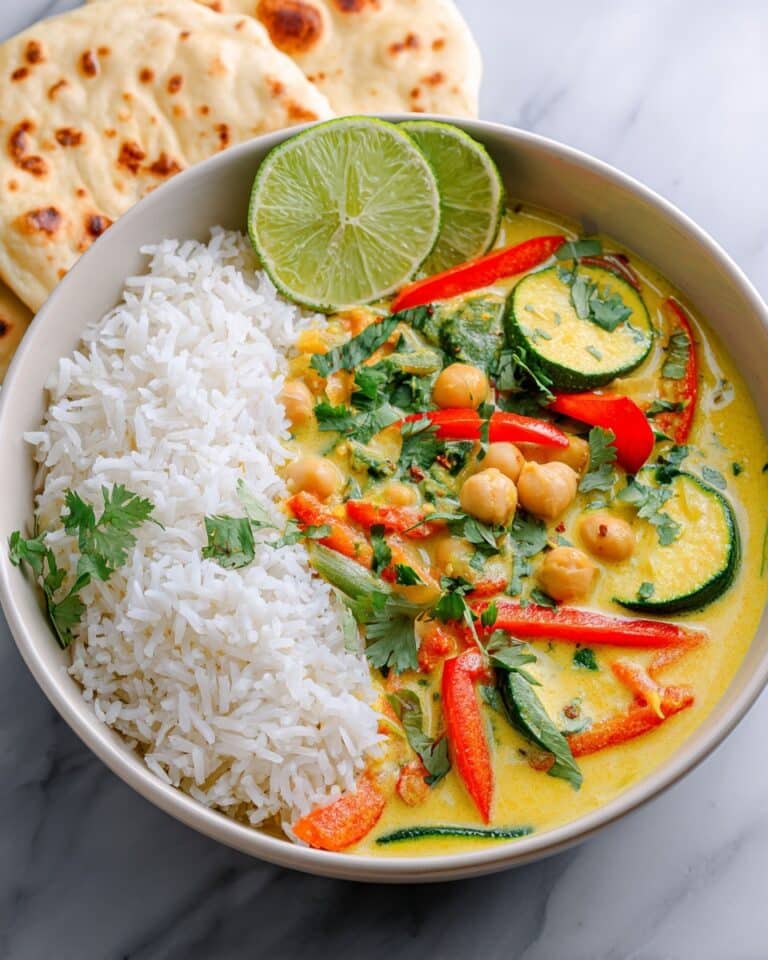
Nothing beats the warm comfort of freshly baked bread, especially when you can make it without firing up an oven. This no-oven Turkish bread recipe offers a simple and authentic way to enjoy traditional bread with just a stovetop and a few basic ingredients. You’ll love how quickly it comes together and how soft and fluffy the bread turns out.

Whether you’re new to making bread or just looking for a quick alternative, this no-oven Turkish bread is a fantastic addition to your homemade cooking repertoire. It pairs beautifully with dips, stews, or even on its own with a drizzle of olive oil.
Why You’ll Love This Recipe
- Quick and easy to prepare with minimal ingredients
- No need for an oven—just a stovetop skillet
- Soft, fluffy texture mimics traditional Turkish bread
- Perfect for meals or as a snack with dips and spreads
- Great for beginners and bread lovers alike
Ingredients
Gather these simple ingredients to make your own no-oven Turkish bread at home.
- 3 cups all-purpose flour
- 1 cup warm water (about 110°F)
- 2 teaspoons active dry yeast
- 1 teaspoon sugar
- 1 teaspoon salt
- 2 tablespoons olive oil, plus extra for cooking
- 1 tablespoon plain yogurt (optional, for extra softness)
- 1 tablespoon sesame seeds (optional, for topping)
Recipe Details
- Prep Time: 15 minutes
- Cook Time: 15 minutes
- Total Time: 1 hour (including rising)
- Servings: 6
- Calories: Approximately 180 per serving
How to Make No-Oven Turkish Bread
- In a small bowl, combine warm water, sugar, and yeast; let it activate for 5-7 minutes until frothy.
- In a large mixing bowl, whisk together the flour and salt. Add the activated yeast mixture, olive oil, and yogurt (if using).
- Mix the ingredients until a shaggy dough forms, then knead on a lightly floured surface for about 8-10 minutes until smooth and elastic.
- Place the dough in a lightly oiled bowl, cover with a clean cloth, and let it rise in a warm place for 45 minutes or until doubled in size.
- After rising, punch down the dough and divide it into 6 equal pieces. Shape each piece into a ball, then flatten gently into rounds about 1/2 inch thick.
- Heat a large non-stick skillet or cast iron pan over medium heat and brush lightly with olive oil.
- Cook each dough round for about 2-3 minutes on one side until golden and bubbly, then flip and cook the other side for another 2-3 minutes. Adjust heat as needed to avoid burning.
- If using, sprinkle sesame seeds on the bread during the last minute of cooking and press lightly so they stick.
- Remove from the skillet and let the breads cool slightly on a wire rack before serving warm.
Tips for the Best Results
- Use warm water to activate the yeast properly but not so hot that it kills it.
- Knead the dough well to develop gluten for a soft, elastic texture.
- Keep the skillet at medium heat to cook the bread evenly without burning.
- Cover the dough during rising to maintain humidity and help it puff up.
- If you like, brush finished breads with a bit of garlic olive oil for extra flavor.
Storage and Reheating
Store leftover no-oven Turkish bread in an airtight container at room temperature for up to 2 days or in the refrigerator for up to a week. For longer storage, freeze the bread wrapped tightly in plastic wrap and foil for up to 3 months.
To reheat, warm the bread in a dry skillet over low heat for a few minutes or briefly in a toaster oven. Avoid microwaving as it can make the bread chewy.
Frequently Asked Questions
Can I use whole wheat flour instead of all-purpose?
Yes, you can substitute whole wheat flour, but the bread will be denser and less fluffy. Try a 50/50 mix for a lighter texture while adding whole grain flavor.
Is yogurt necessary in this recipe?
Yogurt is optional but helps make the bread softer and adds a subtle tang. You can omit it and still get great results by adjusting the water slightly if needed.
How do I know if the yeast is still active?
If your yeast mixture becomes frothy and bubbly after 5-7 minutes in warm water, it’s active. If nothing happens, the yeast may be expired or the water temperature was too hot or cold.
Can I make larger or smaller breads?
Absolutely! Just adjust the size and thickness of the dough rounds and cook time accordingly. Larger breads will need slightly longer cooking on each side.