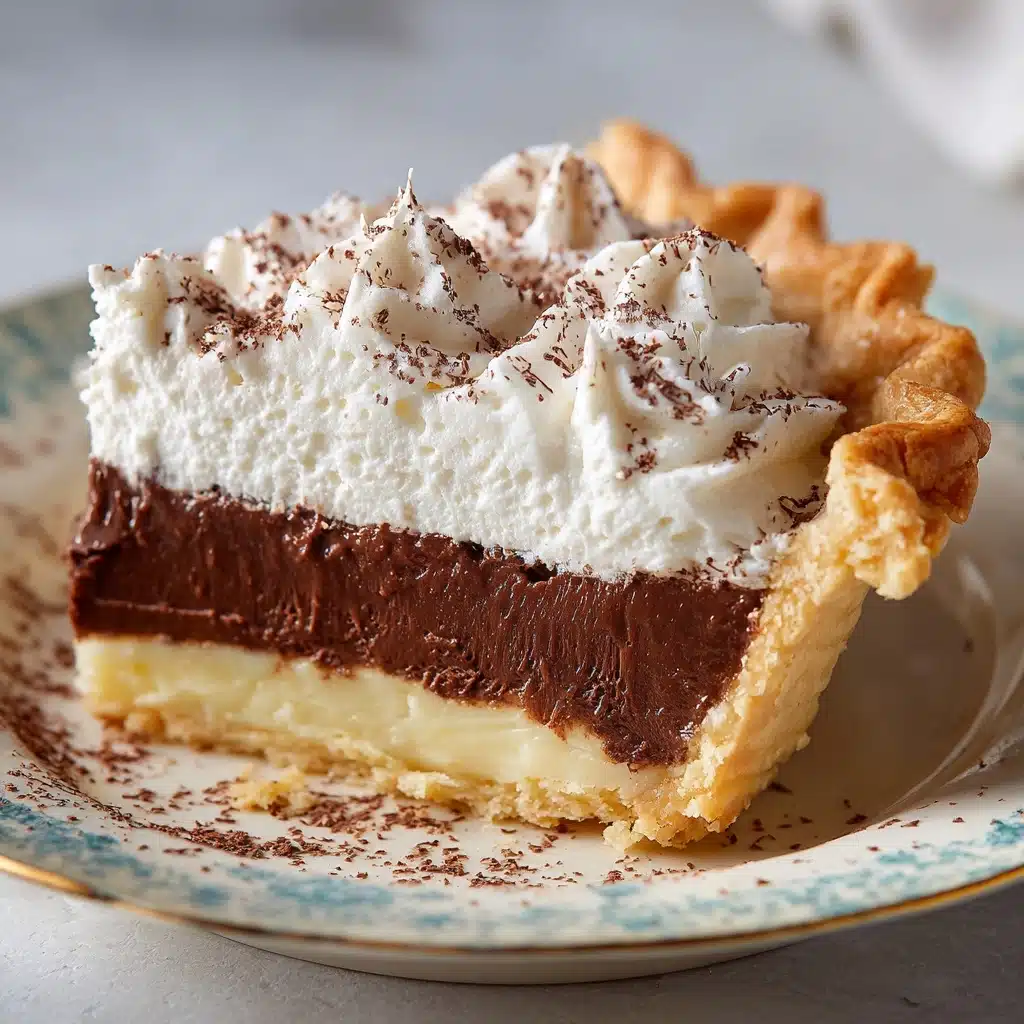
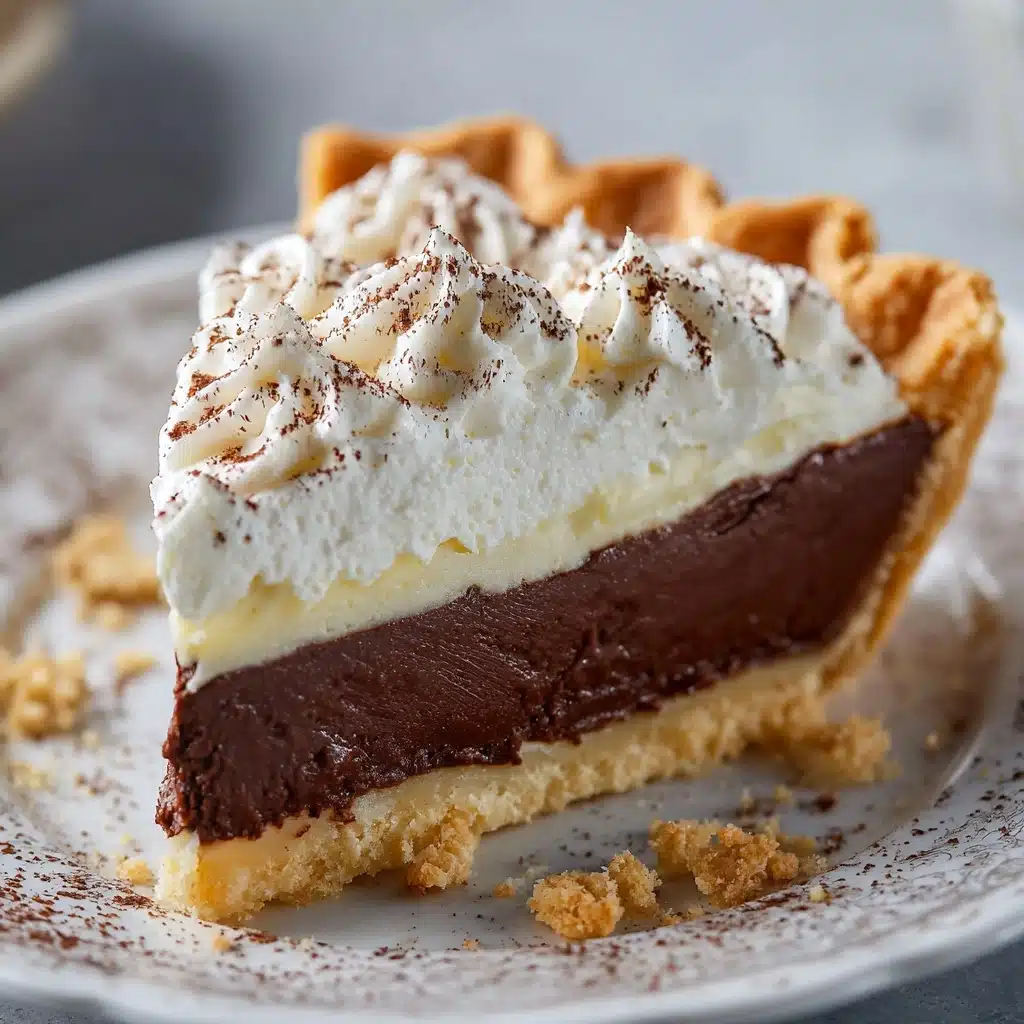
If you adore rich, creamy chocolate desserts but dread lengthy prep or oven time, then Easy Chocolate Pie is about to become your go-to solution! This luscious, no-bake pie combines silky chocolate filling and a buttery tart crust for a dessert that tastes like it came straight from a bakery—but comes together in minutes. Whether you need a last-minute treat for a gathering or want something special for yourself, this Easy Chocolate Pie is guaranteed to wow with every bite.
Ingredients You’ll Need
-
Pie:
- 1 (9-inch) pre-made graham cracker or chocolate pie crust
- 1 ½ cups semi-sweet chocolate chips
- 1 (14 oz) can sweetened condensed milk
- 2 tablespoons butter
- 1 teaspoon vanilla extract
- 1 ½ cups whipped topping (plus more for serving)
Optional Toppings:
- Chocolate shavings
- Crushed cookies
- Fresh berries
How to Make Easy Chocolate Pie
Step 1: Melt the Chocolate Mixture
In a medium saucepan over low heat, combine the semi-sweet chocolate chips, sweetened condensed milk, and butter. Stir this trio constantly—think of it as a gentle, loving swirl—until the chocolate is fully melted and the mixture is lusciously smooth. This step is where all the richness is born, so take your time and let the magic happen!
Step 2: Add the Vanilla and Cool
Once the mixture is silky and everything is melted, remove the pan from the heat. Stir in the vanilla extract for that divine aromatic touch. Allow the chocolate base to cool just slightly; you want it warm but not hot, so that the whipped topping won’t melt when you fold it in.
Step 3: Fold in the Whipped Topping
Now for the step that gives our Easy Chocolate Pie its dreamy, mousse-like texture! Gently fold the whipped topping into your cooled chocolate mixture. Go slowly: the goal is to combine without losing the fluffiness. By the end, you should have a light, chocolatey cloud that’s almost impossible not to taste-test.
Step 4: Fill the Pie Crust
Pour the chocolate filling straight into your prepared graham cracker or chocolate pie crust. Use a spatula to spread it out evenly and swirl the top to make it look extra inviting. This is where it transforms from mixture to masterpiece!
Step 5: Chill Until Firm
For the filling to set perfectly, refrigerate the pie for at least 4 hours. If you can make it the night before, even better! The chill time lets the flavors blend and the texture firm up to sliceable perfection.
Step 6: Decorate and Serve
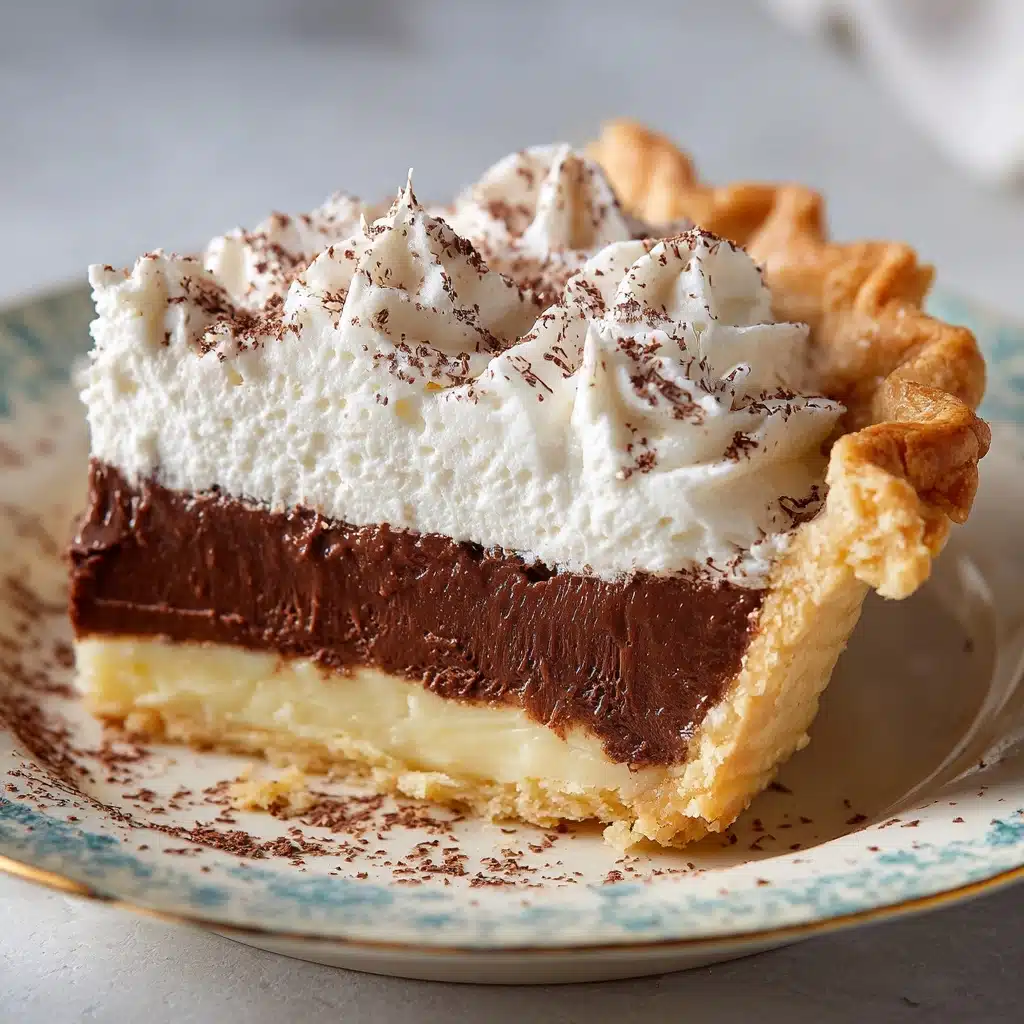
Just before serving, crown the pie with extra whipped topping and your choice of toppings—think chocolate shavings, crushed cookies, or fresh berries. Voila! Your Easy Chocolate Pie is ready to impress.
How to Serve Easy Chocolate Pie
Garnishes
Topping this pie is half the fun! Let your creativity run wild with clouds of whipped topping, curls of chocolate, sprinkles of cookie crumble, or jewels of fresh berries. Each little extra adds not only visual charm but a burst of texture and flavor that takes every slice over the top.
Side Dishes
This Easy Chocolate Pie is so rich and satisfying that it shines wonderfully on its own, but if you want to round out your dessert table, try pairing slices with coffee, a scoop of vanilla ice cream, or even a handful of sliced strawberries to brighten things up. The contrast of hot and cold, or chocolatey and fruity, is always a crowd-pleaser.
Creative Ways to Present
For parties or potlucks, try cutting the pie into small squares or wedges and serving them in cupcake liners for a poppable, mini-dessert twist. If you’re feeling extra playful, layer cubes of Easy Chocolate Pie in parfait glasses with whipped topping and berries for a gorgeous, deconstructed dessert that looks every bit as enticing as it tastes.
Make Ahead and Storage
Storing Leftovers
Leftover Easy Chocolate Pie stores like a dream. Simply cover the pie tightly with plastic wrap or aluminum foil and keep it in the refrigerator for up to 3 days. The flavor actually deepens after a day, so don’t hesitate to savor every last slice!
Freezing
If you’d like to make this dessert even further in advance, slice the pie and wrap each piece individually (or cover the whole pie well) before freezing. When you’re ready to enjoy, let the slices thaw in the fridge for a few hours or overnight. The texture stays surprisingly silky, and it makes a fantastic frozen treat on a hot day.
Reheating
This pie is meant to be chilled and enjoyed cold, so reheating isn’t usually necessary! If your pie has gotten a bit too firm in the freezer, just let it sit at room temperature for 10–15 minutes before serving to bring back that irresistibly smooth consistency.
FAQs
Can I use dark chocolate chips instead of semi-sweet?
Absolutely! Using dark chocolate chips will give your Easy Chocolate Pie an even deeper cocoa flavor, perfect for dedicated chocolate lovers. Just note that it may be a bit less sweet, so taste as you go if you’re adjusting.
Is it possible to make this pie dairy-free?
You can experiment with dairy-free chocolate chips, vegan butter, and plant-based sweetened condensed milk (now available in many stores). Swap the whipped topping for a coconut-based whipped topping, and you’ll have a delicious dairy-free version!
Can the pie crust be homemade?
Of course! If you love homemade touches, feel free to make your own graham cracker or chocolate cookie crust. It only takes a few extra minutes and lets you adjust the thickness or sweetness to your liking.
How can I avoid a runny filling?
The key is to melt the chocolate mixture thoroughly, let it cool slightly, and be sure to refrigerate the filled pie for at least 4 hours. Rushing the set time is the most common culprit of a runny pie!
Is this pie safe to make ahead for parties?
Yes, in fact, Easy Chocolate Pie was practically made for make-ahead convenience! Prep it the night before, leave it to chill, and all you need to do is add the finishing touches before serving.
Final Thoughts
If quick, crowd-pleasing desserts are your jam, you just can’t pass up this Easy Chocolate Pie. It’s foolproof, fuss-free, and delivers that decadent chocolatey goodness everyone craves. Don’t be surprised if you’re asked for the recipe (again and again) once your friends get that first forkful. Give it a try—you deserve a little sweetness!
Print
Easy Chocolate Pie Recipe
- Prep Time: 10 minutes
- Cook Time: 5 minutes
- Total Time: 4 hours 15 minutes (including chilling time)
- Yield: 8 slices
- Category: Dessert
- Method: No-Bake, Stovetop
- Cuisine: American
- Diet: Non-Vegetarian
Description
Indulge in the rich and creamy goodness of this Easy Chocolate Pie. A no-bake dessert that’s a chocolate lover’s dream!
Ingredients
Pie:
- 1 (9-inch) pre-made graham cracker or chocolate pie crust
- 1 ½ cups semi-sweet chocolate chips
- 1 (14 oz) can sweetened condensed milk
- 2 tablespoons butter
- 1 teaspoon vanilla extract
- 1 ½ cups whipped topping (plus more for serving)
Optional Toppings:
- Chocolate shavings
- Crushed cookies
- Fresh berries
Instructions
- Melt Chocolate: In a medium saucepan over low heat, combine chocolate chips, sweetened condensed milk, and butter. Stir until smooth.
- Add Flavor: Remove from heat, stir in vanilla extract. Cool slightly.
- Combine: Fold in whipped topping until fluffy. Pour into pie crust.
- Chill: Refrigerate for at least 4 hours until firm.
- Serve: Top with whipped topping and desired garnishes before serving.
Notes
- This pie can be made ahead and stored in the fridge for up to 3 days.
- For a richer flavor, use dark chocolate chips.

