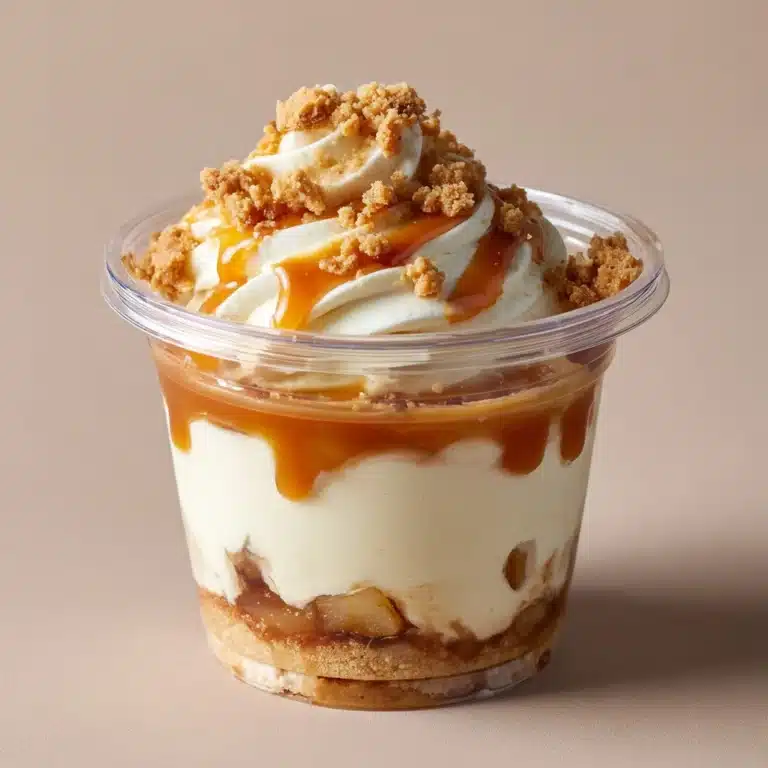
If you’re craving a dessert that’s easy to prepare yet irresistibly delicious, this brownie refrigerator cake is exactly what you need. This no-bake treat combines rich chocolate brownies, creamy layers, and a luscious topping, making it perfect for any occasion.

You’ll love how simple it is to whip up a brownie refrigerator cake without turning on the oven, while still enjoying all the fudgy goodness. Follow this easy step-by-step guide to impress your family and friends with minimal effort and maximum flavor.
Why You’ll Love This Recipe
- Easy no-bake dessert requiring minimal prep
- Rich, fudgy brownie layers combined with creamy filling
- Perfect make-ahead treat that chills in the fridge
- Customizable toppings to suit your taste
- Great for parties, potlucks, or anytime chocolate craving
Ingredients
Gather these simple ingredients to build your delicious brownie refrigerator cake.
- 12 ounces of fudgy brownie, homemade or store-bought, cut into small cubes
- 2 cups heavy whipping cream
- 1/4 cup powdered sugar
- 1 teaspoon vanilla extract
- 8 ounces cream cheese, softened
- 1/2 cup granulated sugar
- 1/4 cup unsweetened cocoa powder
- 1 cup semi-sweet chocolate chips, melted and slightly cooled
- Fresh raspberries or strawberries for garnish (optional)
- Mint leaves for garnish (optional)
Recipe Details
- Prep Time: 25 minutes
- Cook Time: 0 minutes
- Total Time: 4 hours 25 minutes (includes chilling time)
- Servings: 8
- Calories: Approximately 380 per serving
How to Make brownie refrigerator cake easy step by step guide 🍫
- Prepare the brownie cubes by cutting your favorite brownies into approximately 1-inch pieces; set aside.
- In a large bowl, whip the heavy cream with powdered sugar and vanilla extract until stiff peaks form, about 3-4 minutes using a hand mixer.
- In another bowl, beat softened cream cheese with granulated sugar and cocoa powder until smooth and creamy.
- Gently fold the whipped cream into the cream cheese mixture until well combined and smooth.
- Line a 9×5-inch loaf pan with plastic wrap, leaving overhang on the sides for easy removal.
- Layer one-third of the brownie cubes into the pan, then spread half of the cream cheese mixture over the brownies evenly.
- Drizzle half of the melted chocolate chips over the cream layer, then repeat with another brownie layer and the remaining cream mixture.
- Add the last brownie layer on top and drizzle with the remaining melted chocolate.
- Cover the pan with plastic wrap and refrigerate for at least 4 hours or overnight to set and allow flavors to meld.
Tips for the Best Results
- Use dense, fudgy brownies for the best texture; cakey brownies won’t hold as well.
- Make sure cream cheese is at room temperature to avoid lumps during mixing.
- Whip the cream just right; avoid over-whipping to keep a smooth, creamy filling.
- Allow the melted chocolate to cool slightly before drizzling to prevent melting the cream layer.
- For extra flavor, add a splash of espresso or coffee to the melted chocolate before drizzling.
Storage and Reheating
This brownie refrigerator cake is best stored in the fridge, wrapped tightly in plastic wrap or kept in an airtight container. It will stay fresh for up to 4 days, making it an excellent make-ahead dessert.
If you want to keep it longer, freeze the cake for up to 2 months. Thaw overnight in the refrigerator before serving. Because it’s a cold dessert, reheating is not recommended.
Frequently Asked Questions
Can I use store-bought brownies for this recipe?
Absolutely! Store-bought brownies save time and work perfectly in this recipe. Just be sure to choose fudgy brownies for the best texture and flavor.
Is this dessert gluten-free?
It depends on the brownies you use. If you select gluten-free brownies, then this recipe can be gluten-free. Otherwise, it contains gluten due to the brownie base.
Can I substitute cream cheese with mascarpone?
Yes, mascarpone can be used as a substitute for cream cheese. It will give the filling a slightly richer and creamier texture with a milder tang.
How long does the brownie refrigerator cake need to set?
For best results, chill the cake for at least 4 hours, but overnight is ideal. This allows the layers to firm up and flavors to blend beautifully.