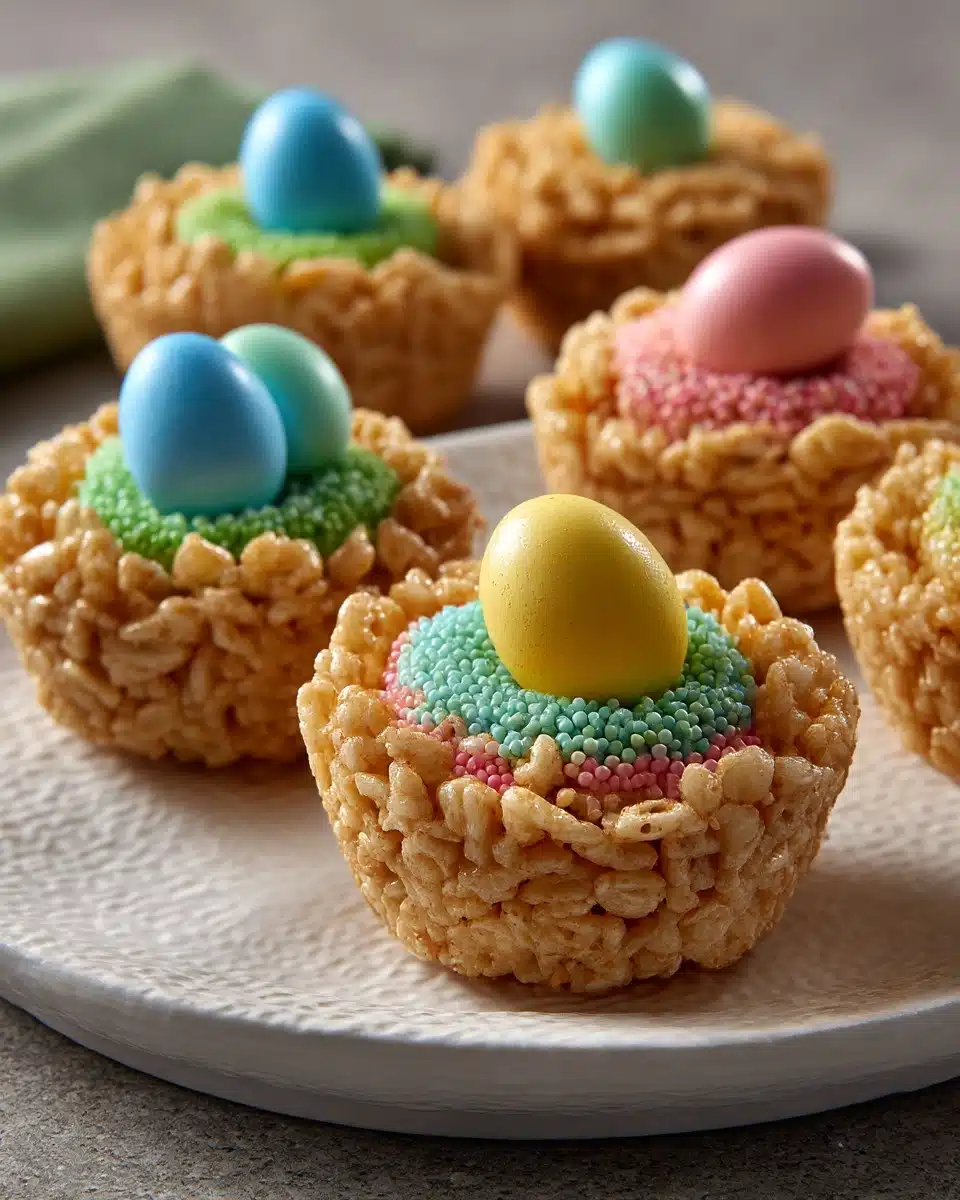
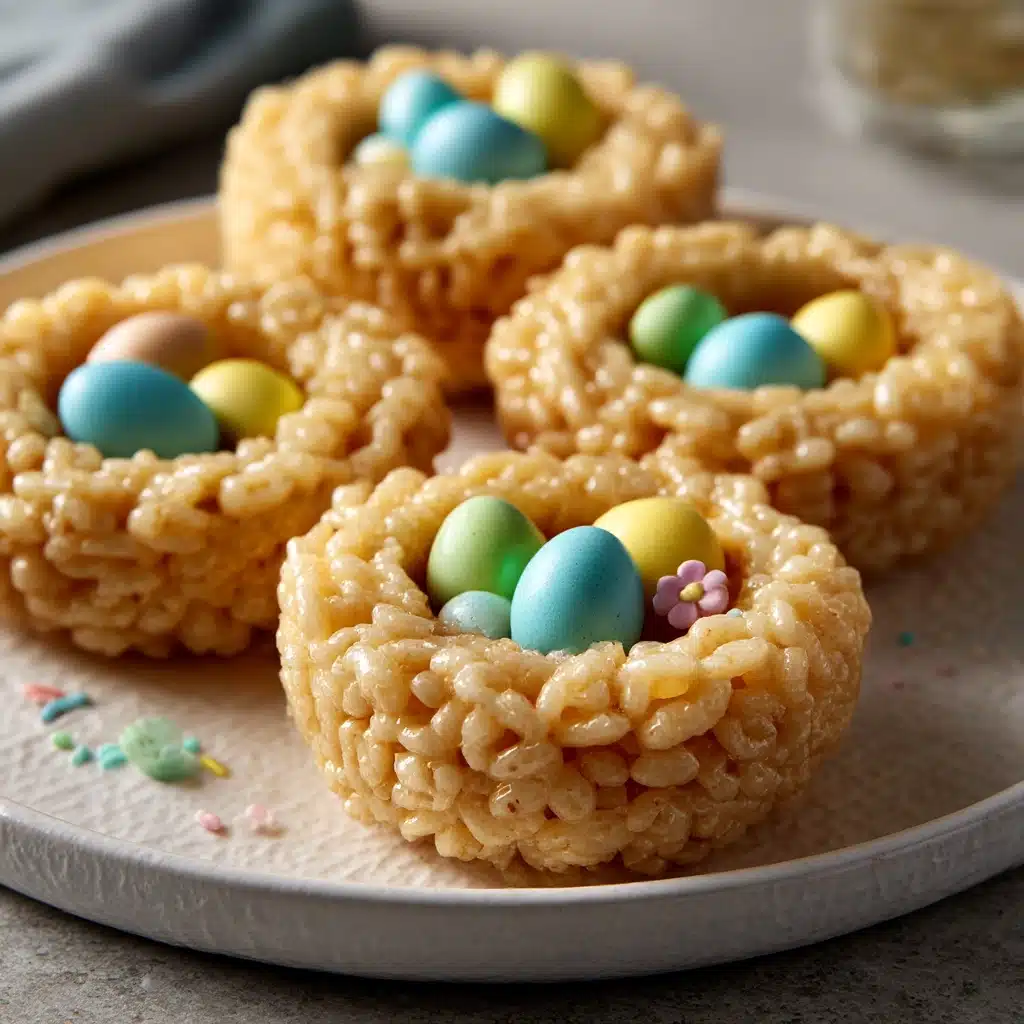
If you’re searching for a fun, festive treat that brings together gooey marshmallow, crispy cereal, and everyone’s favorite pastel candies, look no further than these irresistible Easter Rice Krispie & Chocolate Mini Egg Nests! This adorable no-bake dessert is incredibly easy to whip up, making it perfect for holiday parties, school events, or simply a sweet time together in your own kitchen. Each nest is as delightful to make as it is to eat—kid-approved, nostalgic, and guaranteed to add a pop of color (and joy) to your Easter table.
Ingredients You’ll Need
With only a handful of pantry staples and a sprinkle of creativity, you can pull together these Easter Rice Krispie & Chocolate Mini Egg Nests in no time. Each ingredient has a starring role, whether it’s boosting flavor, giving structure, or bringing swoon-worthy color to the finished nest.
- Rice Krispies cereal: Light, crispy, and the perfect base for the nests—make sure to measure so every nest holds together!
- Mini marshmallows: These create the gooey magic that binds the cereal and adds that iconic chewy sweetness.
- Unsalted butter: Melts with the marshmallows for rich flavor; opt for unsalted so you control the balance.
- Chocolate mini eggs: The eye-catching, crunchy jewels of every nest—choose a pastel mix for classic Easter vibes.
- Milk chocolate chips: Melted and drizzled over nests for an extra chocolatey upgrade.
- Cooking spray or butter: To keep messy hands (and muffin tins) clean, grease up before shaping!
How to Make Easter Rice Krispie & Chocolate Mini Egg Nests
Step 1: Melt the Butter and Marshmallows
Start by grabbing your largest, heavy-bottomed pot and melting the butter gently over low heat. Once it’s melted and beginning to sizzle, add your mini marshmallows, stirring constantly. Keep the heat low so your marshmallows melt smoothly without scorching. When it’s glossy and lump-free, you’re ready for action!
Step 2: Stir in the Rice Krispies
Remove the pot from the heat and pour in the Rice Krispies cereal right away. Using a spatula (lightly greased to avoid stickiness), gently fold the cereal into the marshmallow mixture. Work quickly—once combined, you’ll want to move fast before it sets.
Step 3: Shape the Nests
Coat your muffin tin with cooking spray or a little butter and spoon a generous scoop of the mixture into each cup. Use the back of a spoon (or your fingers, lightly greased) to press down the center and up the sides, making a nest shape. Don’t worry about perfection—rustic, uneven nests look the most charming!
Step 4: Add the Chocolate Mini Eggs
While your nests are still a bit tacky, nestle three or four chocolate mini eggs right into the center of each one. The warmth from the cereal molds them in place with a gentle press—but not so hard you squish those shells!
Step 5: Drizzle with Melted Chocolate
In a microwave or over a double boiler, melt the milk chocolate chips until smooth and glossy. Use a spoon to drizzle the melted chocolate over the tops of the nests and mini eggs. Not only does this secure the eggs, but it gives a decadent finish and a bit of chocolate shine.
How to Serve Easter Rice Krispie & Chocolate Mini Egg Nests
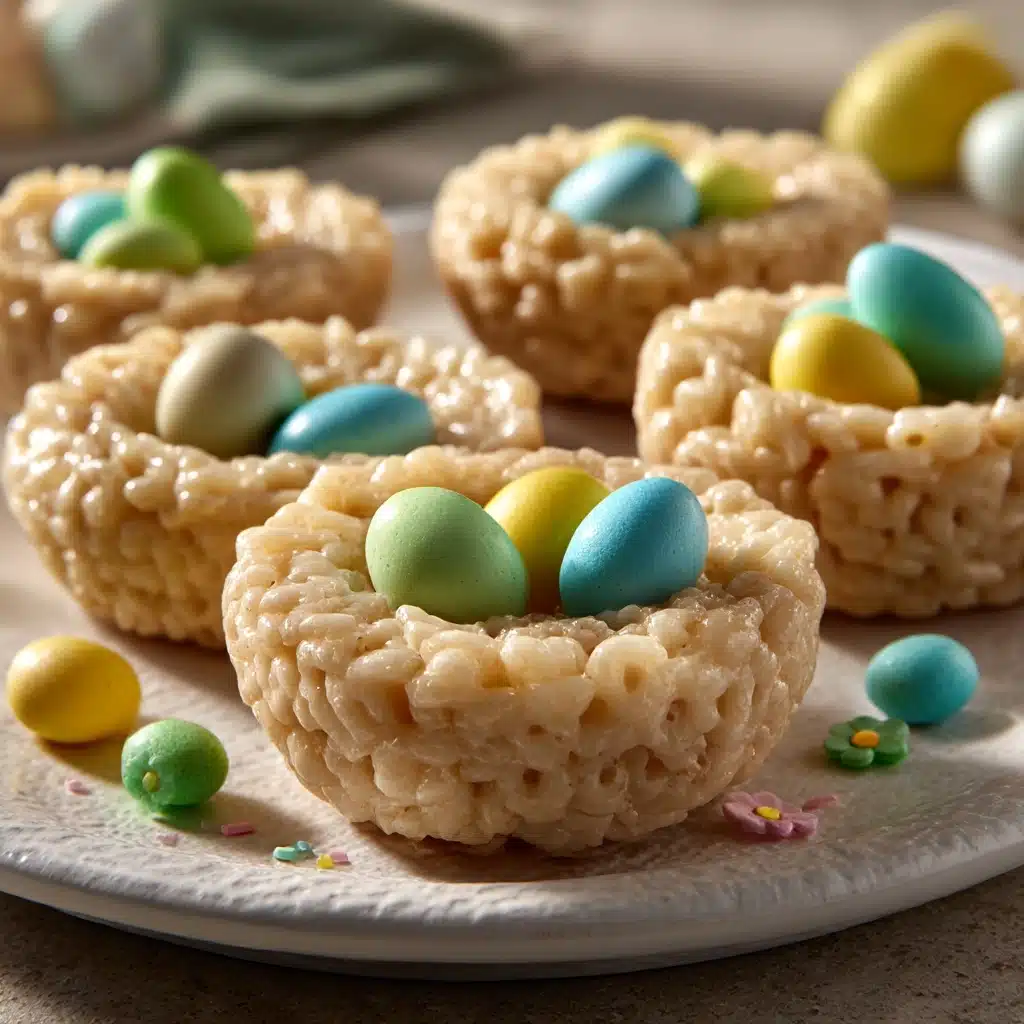
Garnishes
Add a handful of edible flowers, pretty sprinkles, or a sprinkle of shredded coconut “grass” around each nest for a fresh, springtime flourish. Edible glitter, pastel sugar pearls, or even a tiny bunny candy also make delightful toppers.
Side Dishes
Pair your nests with a fruit salad bursting with berries, or a platter of carrot sticks and sweet dip for a colorful balance. At an Easter brunch, nestle them among deviled eggs and hot cross buns for a spread that celebrates both sweet and savory.
Creative Ways to Present
Display these Easter Rice Krispie & Chocolate Mini Egg Nests on a cake stand lined with paper grass, or tuck them into colorful cupcake wrappers for easy gifting. For party favors, wrap each nest in cellophane with a cheerful ribbon—kids and adults alike will be thrilled!
Make Ahead and Storage
Storing Leftovers
Once your Easter Rice Krispie & Chocolate Mini Egg Nests are fully set, pop them in an airtight container at room temperature. They’ll stay deliciously fresh for up to 3 days, retaining their satisfying crunch and gooey texture. Separate layers with parchment so the chocolate drizzle doesn’t stick the nests together.
Freezing
You can make these treats ahead! Freeze the undecorated nests by laying them flat in a single layer in a freezer-safe bag or container. Thaw at room temperature, then add fresh mini eggs and chocolate drizzle just before serving for the best look and texture.
Reheating
There’s no true need to reheat these no-bake delights, but if you want to soften them slightly, let the nests sit at room temperature for 10 to 15 minutes. Avoid microwaving, as the marshmallow base can become too soft and the chocolate can melt messily.
FAQs
Can I use large marshmallows instead of mini?
Absolutely! Just chop them into smaller pieces so they melt faster and more evenly. If possible, weigh your marshmallows to match the recipe, as “cup” measurements can be less precise with big ones.
How do I keep the mixture from sticking to my hands?
Lightly grease your hands with cooking spray or a bit of butter before shaping the nests. A little moisture will keep things from getting too sticky and help mold those perfect nest shapes!
Can I use a different cereal for the base?
You sure can! Try cocoa-flavored rice cereal for a chocolatey twist, or experiment with cornflakes or crispy wheat cereals if you want more crunch and a slightly different texture.
Are these Easter Rice Krispie & Chocolate Mini Egg Nests gluten-free?
Standard Rice Krispies contain malt flavoring made from barley, which isn’t gluten-free. Look for a certified gluten-free crisp rice cereal and double-check your mini eggs and chocolate chips to ensure the whole treat is safe for those avoiding gluten.
Can kids help make this recipe?
Definitely! This is a fantastic project for small hands—kids love shaping the nests and adding the colorful mini eggs. Just help with melting and stirring, as those steps need adult supervision.
Final Thoughts
Bright, whimsical, and easy enough for even young bakers, these Easter Rice Krispie & Chocolate Mini Egg Nests are a confetti of flavor and fun for all ages. Whether you’re sharing them with family, friends, or as a cheerful treat for yourself, they’re sure to spark smiles and sweet memories. Give them a try this Easter—you’ll want to make them a holiday tradition!
Print
Easter Rice Krispie & Chocolate Mini Egg Nests Recipe
- Prep Time: 10 minutes
- Cook Time: 20 minutes
- Total Time: 30 minutes
- Yield: 4 servings
- Category: Main Course
- Method: Skillet
- Cuisine: Mediterranean
- Diet: Vegetarian
Description
These festive Easter Rice Krispie & Chocolate Mini Egg Nests combine gooey marshmallow, crispy cereal, and pastel chocolate eggs for a fun, no-bake holiday treat.
Ingredients
- 4 cups Rice Krispies cereal
- 3 cups mini marshmallows
- 3 tbsp unsalted butter
- 1 cup chocolate mini eggs
- 1/2 cup milk chocolate chips
- Cooking spray or additional butter (for greasing)
Instructions
- Melt butter in a large pot over low heat. Add mini marshmallows and stir constantly until melted and smooth. Remove from heat.
- Immediately stir in the Rice Krispies cereal, folding until fully coated with the marshmallow mixture.
- Grease a muffin tin with cooking spray or butter. Spoon the cereal mixture into each cup and shape into nests by pressing the center down and pushing mixture up the sides.
- While nests are still tacky, press 3–4 mini chocolate eggs into the center of each nest.
- Melt chocolate chips in a microwave-safe bowl or over a double boiler. Drizzle melted chocolate over the nests and mini eggs.
- Allow nests to set at room temperature. Once firm, remove from tin and serve or store.
Notes
- Garnish with sprinkles, shredded coconut, or edible glitter for extra flair.
- Serve with fruit salad or other Easter brunch favorites for a colorful spread.
- Wrap in cupcake liners or cellophane for gifting.
- Store in an airtight container at room temperature for up to 3 days.
- Freeze undecorated nests and add toppings just before serving.
- Let sit at room temp to soften slightly before eating if stored.

