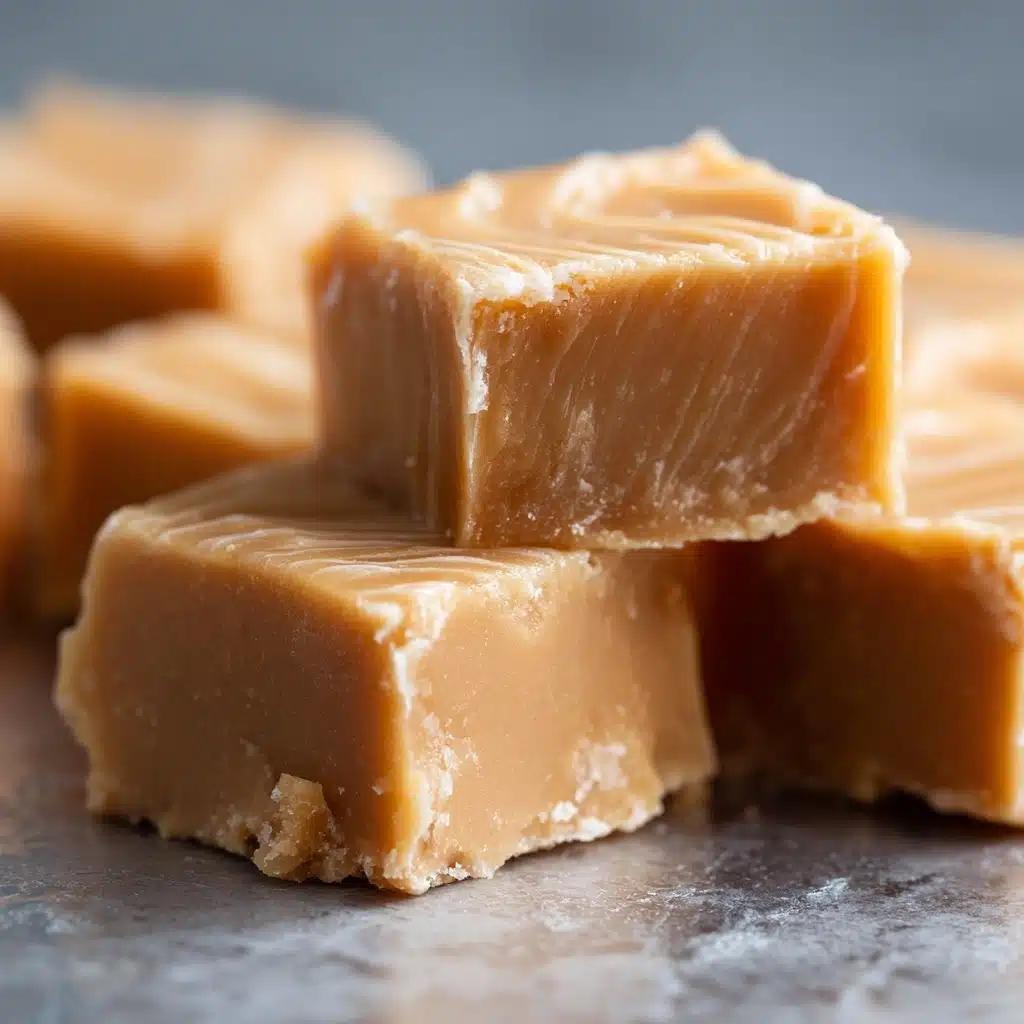
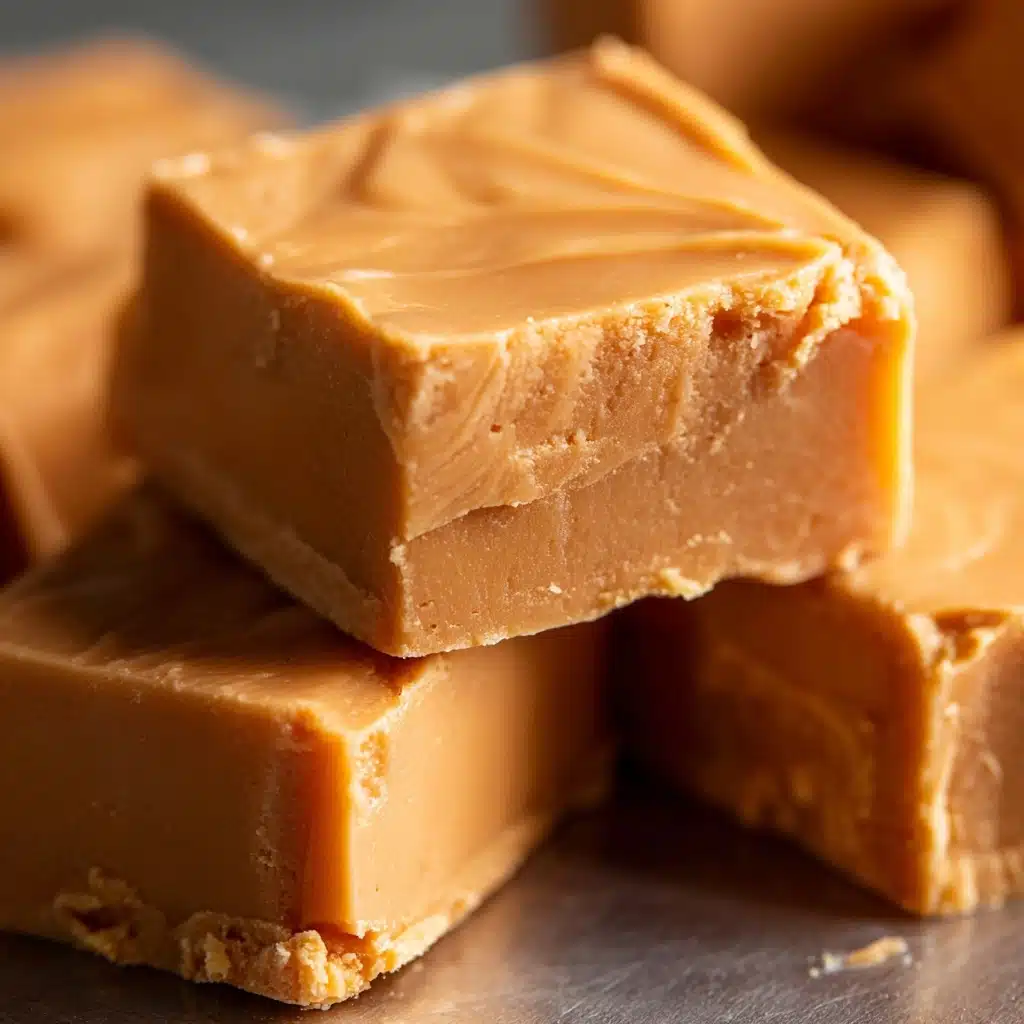
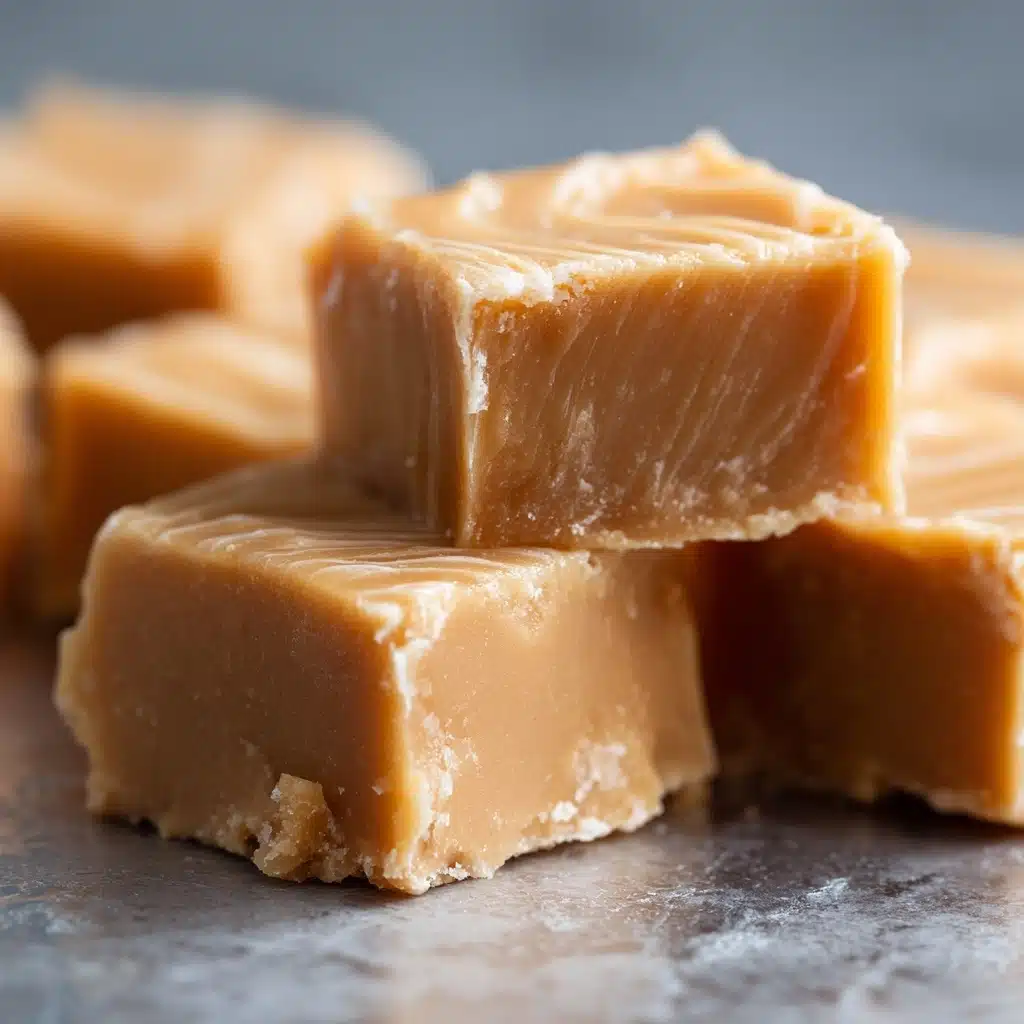
If you’re craving a truly dreamy, melt-in-your-mouth treat that’s just as easy to make as it is to share, let me introduce you to the Easiest Peanut Butter Fudge. Perfect for beginner bakers, busy parents, or anyone in need of a quick dessert fix, this classic confection comes together with just five pantry staples. The fudge turns out rich, creamy, and irresistibly peanut buttery every single time—it’s the sort of recipe you’ll want to print out and tack to your fridge. Once you try it, this fudge will definitely find its way into your regular dessert rotation.
Ingredients You’ll Need
The beauty of the Easiest Peanut Butter Fudge is in its simplicity—every ingredient pulls its weight and makes the finished fudge shine. Here’s how each one brings something special to the table:
- Unsalted Butter: Creamy and rich, this is the backbone for both flavor and that luscious, silky texture.
- Creamy Peanut Butter: The star of the show—opt for classic creamy for the smoothest fudge, but you can get playful with crunchy if you like a little texture.
- Vanilla Extract: A small splash rounds out the flavors and adds a lovely warmth to every bite.
- Salt: Just a pinch brings out the peanut butteriness, making all the flavors pop.
- Powdered Sugar: It’s what transforms the creamy mixture into silky, fudge-like squares. Sift it for the smoothest results!
How to Make Easiest Peanut Butter Fudge
Step 1: Prep Your Pan
Start by lining an 8×8-inch pan with parchment paper—leave a little overhang so you can lift the fudge out later, or simply lightly grease the pan if you prefer. This step ensures your finished fudge will come out cleanly and with minimal fuss.
Step 2: Melt Butter and Peanut Butter
In a medium saucepan over medium heat, combine your butter and peanut butter. Stir them together lovingly until the mixture is beautifully smooth and fully blended, with no streaks of butter or lumps of peanut butter left behind.
Step 3: Add Vanilla and Salt
With the pan off the heat, stir in the vanilla extract and salt. This is the moment where everything gets fragrant—you’ll want to lean in for a whiff!
Step 4: Incorporate the Powdered Sugar
Gradually add in the powdered sugar, stirring as you go. Don’t rush—pour in it bit by bit to avoid lumps. Soon you’ll have a thick, glossy mixture that’s almost frosting-like in its decadence. Stop mixing as soon as it’s fully combined and smooth.
Step 5: Pour and Chill
Transfer the fudge mixture into your prepared pan and gently spread it into an even layer. Use a spatula or the back of a spoon to smooth the top. For extra elegance, sprinkle with a pinch of flaky sea salt or a delicate drizzle of melted chocolate. Pop the pan in the fridge for at least 2 hours until the fudge is set, firm, and ready for slicing.
Step 6: Slice and Serve
Once the Easiest Peanut Butter Fudge is chilled and set, lift it out of the pan using the parchment overhang and transfer to a cutting board. Slice into 36 small squares (or larger if you prefer generous bites), and get ready to watch it disappear!
How to Serve Easiest Peanut Butter Fudge
Garnishes
To make every bite extra special, top your fudge with a sprinkle of flaky sea salt, a swirl of melted chocolate, or even a handful of crushed peanuts. Not only does this add flavor and texture, but it also makes each square look irresistibly inviting.
Side Dishes
The Easiest Peanut Butter Fudge pairs beautifully with a cold glass of milk, a hot cup of coffee, or a scoop of vanilla ice cream. Serve it on a dessert platter alongside fresh berries for color and contrast, or next to pretzels for a sweet and salty combo.
Creative Ways to Present
For a fun twist, package the fudge in cellophane bags and tie with colorful ribbons for homemade gifts. Arrange on a pretty tray for parties, or stack in mason jars as charming lunchbox treats—this fudge is always a welcome surprise, no matter how you share it.
Make Ahead and Storage
Storing Leftovers
Store any remaining Easiest Peanut Butter Fudge in an airtight container in the refrigerator, where it will stay fresh and delicious for up to one week. The cold helps the fudge stay perfectly set and creamy.
Freezing
If you want to squirrel away a batch for later, wrap the fudge pieces individually in parchment and place in a freezer bag. Frozen fudge will keep beautifully for up to three months—just thaw overnight in the fridge when you’re ready for a treat.
Reheating
While fudge doesn’t require reheating, if you love it a bit softer, let it sit at room temperature for 10–15 minutes before serving. This makes the texture ultra creamy and oh-so-satisfying.
FAQs
Can I use natural peanut butter for this fudge?
You definitely can, but for the smoothest and most consistent results, classic creamy peanut butter works best—natural varieties tend to be oilier and may result in a slightly different texture. If you do use natural, stir it thoroughly before measuring to evenly distribute the oils.
Is the Easiest Peanut Butter Fudge gluten-free?
Yes, the basic recipe is naturally gluten-free! Just double-check labels on your peanut butter and vanilla extract to ensure they’re processed in a gluten-free facility, especially if you’re serving to someone with celiac or severe gluten sensitivities.
Can I double the recipe?
Absolutely! This recipe doubles beautifully—just use a 9×13-inch pan for the perfect thickness and increase the chilling time slightly to make sure the larger batch sets firmly.
Why is my fudge crumbly or dry?
Crumbly fudge can be the result of too much powdered sugar or over-mixing. Make sure to measure accurately and stop stirring once everything is combined and smooth. Adding a splash of milk can help bring it together if needed!
Can I add chocolate to the Easiest Peanut Butter Fudge?
Yes! You can mix in chocolate chips, swirl melted chocolate on top, or layer it in between for a heavenly chocolate-peanut butter combo. The possibilities are fun and only add to this already delicious treat.
Final Thoughts
Every time I whip up a batch of Easiest Peanut Butter Fudge, I’m reminded why simple recipes often bring the most joy. Whether you need a last-minute dessert, a sweet homemade gift, or just a nostalgic treat to savor, this fudge is the answer. Go ahead and give it a try—you’ll be amazed at how quickly it comes together and how loved it becomes in your kitchen!
Print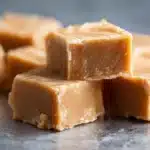
Easiest Peanut Butter Fudge Recipe
- Prep Time: 10 minutes
- Cook Time: 5 minutes
- Total Time: 2 hours 15 minutes
- Yield: 36 small squares
- Category: Dessert
- Method: No-Bake
- Cuisine: American
- Diet: Gluten-Free, Vegetarian
Description
Indulge in the creamy goodness of this Easiest Peanut Butter Fudge that requires minimal effort and time to prepare. Perfect for satisfying those sweet cravings!
Ingredients
Ingredients:
- 1 cup unsalted butter
- 1 cup creamy peanut butter
- 1 teaspoon vanilla extract
- 1/4 teaspoon salt
- 3 1/2 cups powdered sugar
Instructions
- Prepare Pan: Line an 8×8-inch pan with parchment paper or lightly grease it.
- Melt Butter and Peanut Butter: In a medium saucepan over medium heat, melt the butter and peanut butter together until smooth.
- Combine Ingredients: Remove from heat, stir in vanilla extract and salt. Gradually add powdered sugar, mixing until smooth.
- Chill: Pour mixture into the pan, spread evenly. Chill in the refrigerator for at least 2 hours until firm.
- Serve: Once set, cut into squares and enjoy!
Notes
- Store fudge in an airtight container in the refrigerator for up to 1 week or freeze for longer storage.
- For added flavor, sprinkle with sea salt or drizzle with melted chocolate before chilling.

