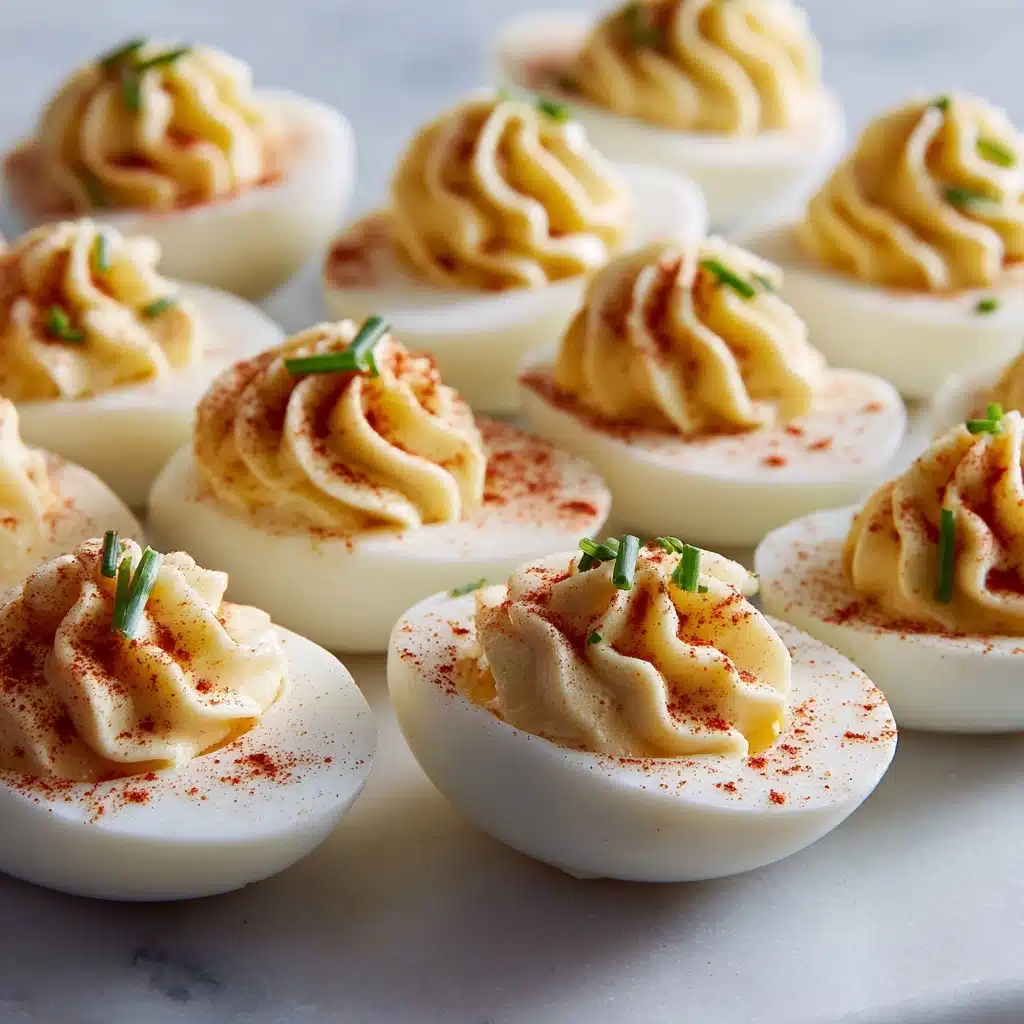
If you’re looking for the ultimate party pleaser, look no further than these classic Deviled Eggs. Creamy, tangy, and sprinkled with just the right touch of paprika, this retro appetizer is beloved for its simplicity and flavor. Whether you’re hosting brunch, a backyard barbecue, or an elegant cocktail party, Deviled Eggs bring a touch of nostalgia and irresistible taste that disappears in minutes. With just a handful of easy-to-find ingredients, anyone can whip up a platter of these bite-sized wonders—even at the last minute!
Ingredients You’ll Need
The beauty of Deviled Eggs lies in their simplicity: just a few ingredients, each playing a starring role in the final taste and texture. Here’s why these basics matter and how they come together for that classic, irresistible flavor.
- 6 large eggs: The foundation of the whole dish; fresh eggs give you a creamier yolk and firmer whites for perfect stuffing.
- 3 tablespoons mayonnaise: This is what transforms the yolk filling into a luxuriously smooth and creamy bite.
- 1 teaspoon yellow mustard: Adds classic tang and a bit of sharpness—swap for Dijon if you want a spicier twist.
- ½ teaspoon white vinegar: A little bit goes a long way in making the flavors pop with bright acidity.
- ⅛ teaspoon salt: Don’t skip this! It brings all the flavors together so nothing falls flat.
- ⅛ teaspoon black pepper: For just a hint of warmth and depth in every bite.
- Paprika for garnish: Not just for looks—a dusting of paprika adds subtle smokiness and that signature Deviled Egg finish.
How to Make Deviled Eggs
Step 1: Boil the Eggs
Place your eggs carefully in a saucepan and cover them with cold water. Bring to a boil over medium-high heat, then let the water bubble away. Once boiling, cover the pan and take it off the heat, letting the eggs sit in the hot water for 10 to 12 minutes. This “off-heat” cooking is my trick for perfectly tender whites and creamy yolks—no green rings here!
Step 2: Chill and Peel
Transfer those hot eggs straight into a bowl of ice water and let them cool for five minutes. The cold shock makes the eggs easier to peel and stops the cooking instantly, ensuring the yolks stay bright and the texture just right. Once cooled, gently peel the eggs and marvel at your handiwork.
Step 3: Slice and Separate
Carefully slice each egg lengthwise, revealing those golden yolks inside. Remove the yolks with a spoon, being gentle so the whites remain intact—they’re your elegant serving vessels for the creamy filling. Set the whites aside and transfer all the yolks to a mixing bowl.
Step 4: Make the Filling
Time to get mixing! Mash the yolks with a fork until they’re crumbly, then blend in the mayonnaise, mustard, vinegar, salt, and pepper. Keep mixing until the filling is silky smooth and dreamy. Now’s your chance to taste and tweak—add a pinch of garlic powder or adjust the mustard for even more punch, if you like.
Step 5: Fill and Garnish
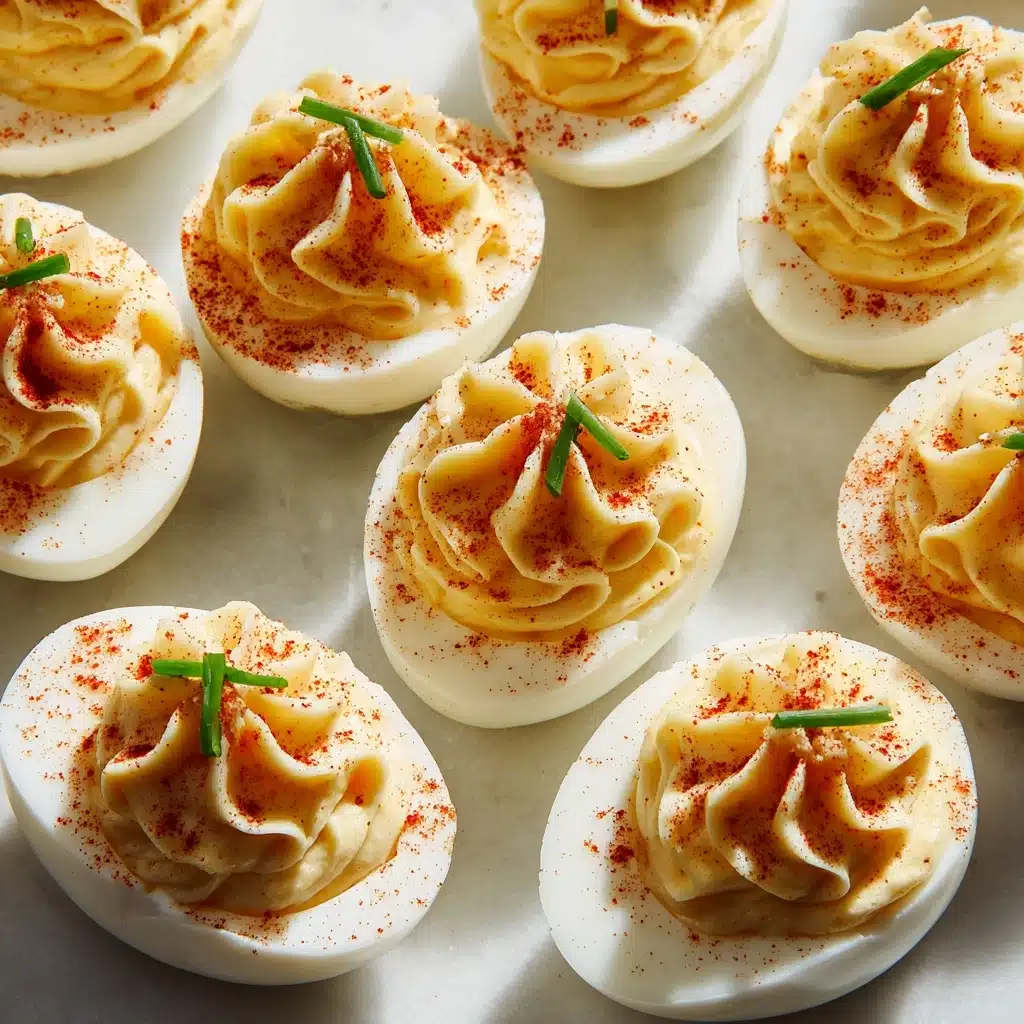
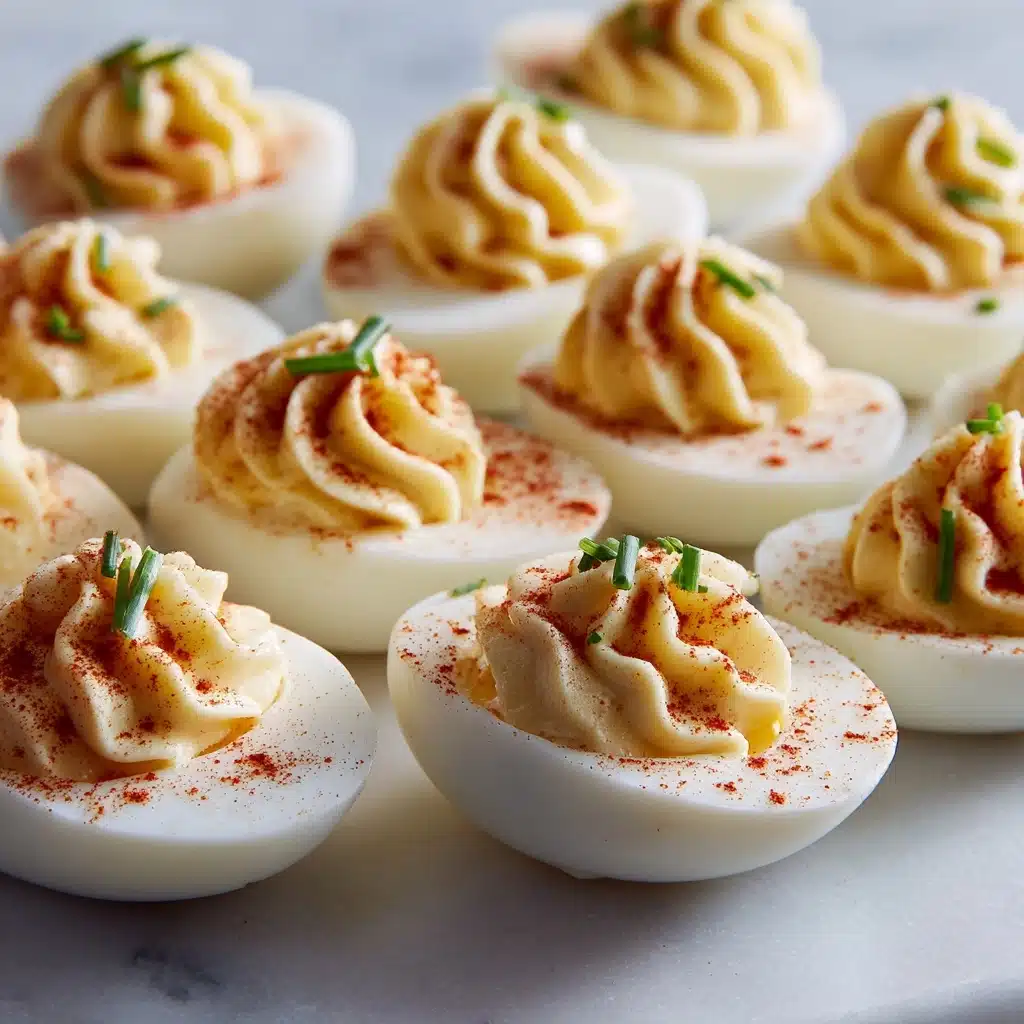
Spoon the yolk filling generously back into the egg white halves, or if you’re feeling fancy, use a piping bag for extra flair. Finish with a pretty sprinkle of paprika—this little touch adds color and just the right hint of spice. Your Deviled Eggs are ready to thrill the crowd!
How to Serve Deviled Eggs
Garnishes
While paprika is traditional (and gorgeous), don’t stop there: try chives, dill, crisp bacon bits, or a touch of hot sauce on top. Each adds a unique flavor dimension and a pop of color. Get creative—the classic Deviled Egg is the perfect blank canvas for your favorite finishing touches!
Side Dishes
Deviled Eggs are wonderfully versatile, pairing perfectly with everything from fresh green salads and crisp veggies to grilled meats and light finger foods. They shine on a spring picnic spread or add retro flair to a holiday appetizer table. Serve them alongside sparkling drinks and watch them vanish before your eyes.
Creative Ways to Present
If you want your Deviled Eggs to truly stand out, arrange them on a bed of greens, nestle them in mini phyllo cups, or even top each egg with a tiny shrimp. For extra color, use a mix of paprika (smoked or sweet), edible flowers, or pickled onions—guests will be lining up for seconds and thirds.
Make Ahead and Storage
Storing Leftovers
If you happen to have leftovers (unlikely, but possible!), store your Deviled Eggs in an airtight container in the refrigerator. They’ll stay fresh and delicious for up to two days. To keep them looking their best, separate layers with parchment so the tops don’t smudge.
Freezing
Deviled Eggs don’t freeze well—the creamy yolk filling can separate and the whites become rubbery. For best results, only make as many as you’ll enjoy within a couple days. If you need to prep ahead, hard-boil the eggs in advance and fill them right before serving.
Reheating
Deviled Eggs are meant to be served chilled or at cool room temperature, so reheating isn’t necessary. Simply remove them from the fridge about 10–15 minutes before serving for perfect, creamy bites that melt in your mouth.
FAQs
Can I make Deviled Eggs ahead of time?
Absolutely! You can boil, peel, and prepare the eggs and yolk filling up to one day in advance. Store the whites and filling separately, then stuff and garnish just before serving for the freshest taste and look.
What’s the best method for peeling eggs easily?
The ice water bath makes all the difference! Cooling the eggs quickly helps the membrane loosen from the shell, making peeling simple and frustration-free. Start peeling from the wider end, where you’ll often find a small air pocket for your fingers.
Can I add extra flavors to the yolk filling?
Definitely! Try a pinch of garlic or onion powder, swap in Dijon mustard, or fold in finely chopped pickles for a little crunch. Deviled Eggs are endlessly customizable, so don’t hesitate to experiment with your favorite herbs and spices.
How do I keep Deviled Eggs from tipping over?
Slice a tiny bit off the rounded side of each egg white half to create a flat base. If you’re serving on a platter, a bed of greens or even a sprinkle of rice helps keep the eggs snug and upright.
How long can Deviled Eggs sit out at room temperature?
For food safety, try not to leave Deviled Eggs out for more than two hours. If you’re serving them outdoors or at a party, keep them chilled on a platter set over ice for optimal freshness.
Final Thoughts
There’s just something special about a tray of Deviled Eggs—classic, creamy, always a crowd favorite. If you’ve never tried making them at home, let this be your nudge! With such simple steps and spectacular results, you’ll find yourself looking for reasons to make another batch. Happy deviling!
Print
Deviled Eggs Recipe
- Prep Time: 10 minutes
- Cook Time: 12 minutes
- Total Time: 22 minutes
- Yield: 12 deviled eggs
- Category: Appetizer
- Method: Boiling
- Cuisine: American
- Diet: Gluten Free, Vegetarian
Description
These classic deviled eggs are a perfect appetizer for any occasion. Creamy, tangy, and beautifully seasoned, they are sure to be a hit at your next gathering.
Ingredients
Eggs:
- 6 large eggs
Filling:
- 3 tablespoons mayonnaise
- 1 teaspoon yellow mustard
- ½ teaspoon white vinegar
- ⅛ teaspoon salt
- ⅛ teaspoon black pepper
Garnish:
- paprika for garnish
Instructions
- Boil the Eggs: Place the eggs in a saucepan, cover with cold water, and bring to a boil. Remove from heat, cover, and let sit for 10–12 minutes. Transfer to ice water to cool.
- Prepare the Filling: Peel the eggs, slice in half, and remove yolks. Mash yolks with mayonnaise, mustard, vinegar, salt, and pepper until smooth.
- Fill the Eggs: Spoon or pipe yolk mixture back into egg whites. Sprinkle with paprika before serving.
Notes
- Add a pinch of garlic powder or swap yellow mustard for Dijon for a flavor twist.
- These can be made a day ahead and kept chilled.

