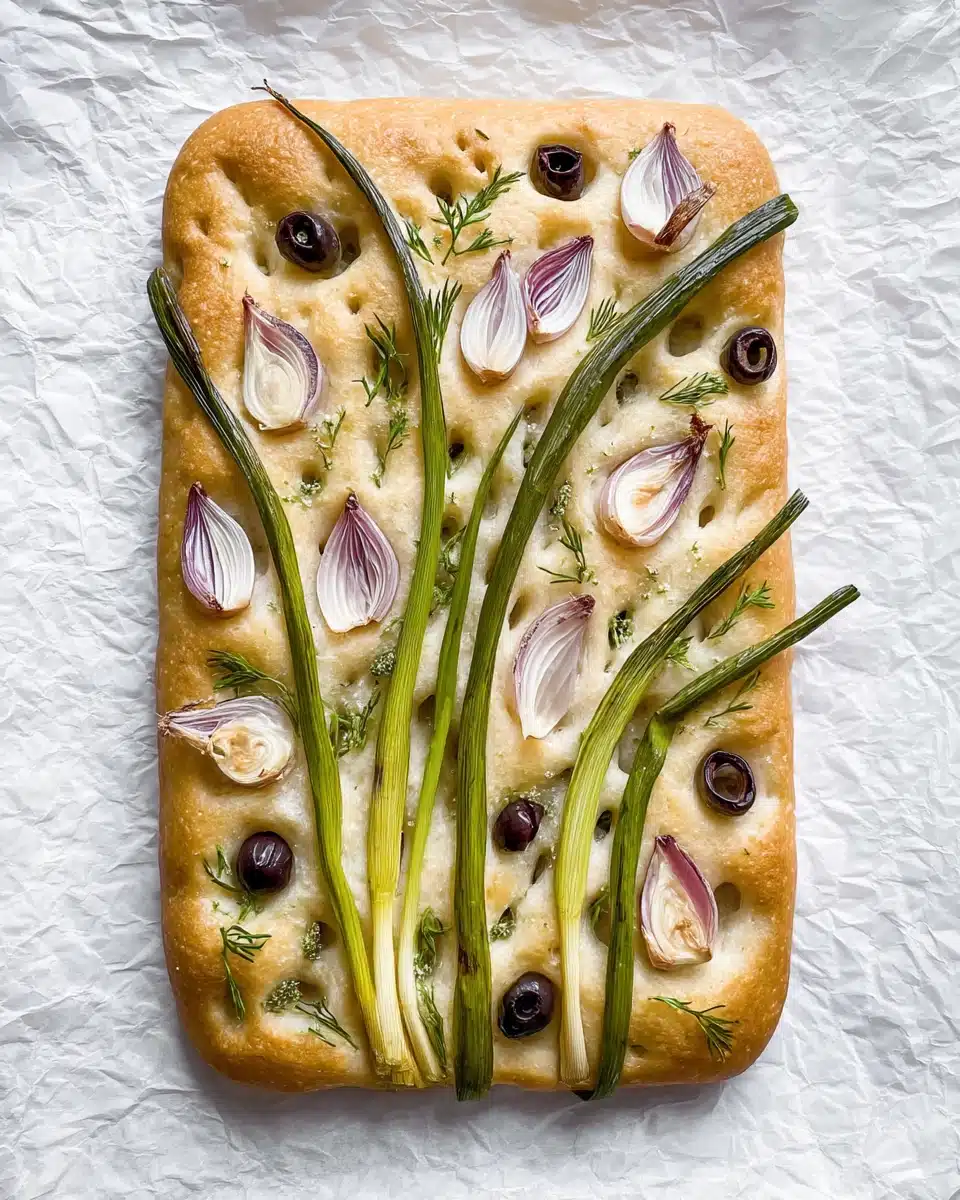
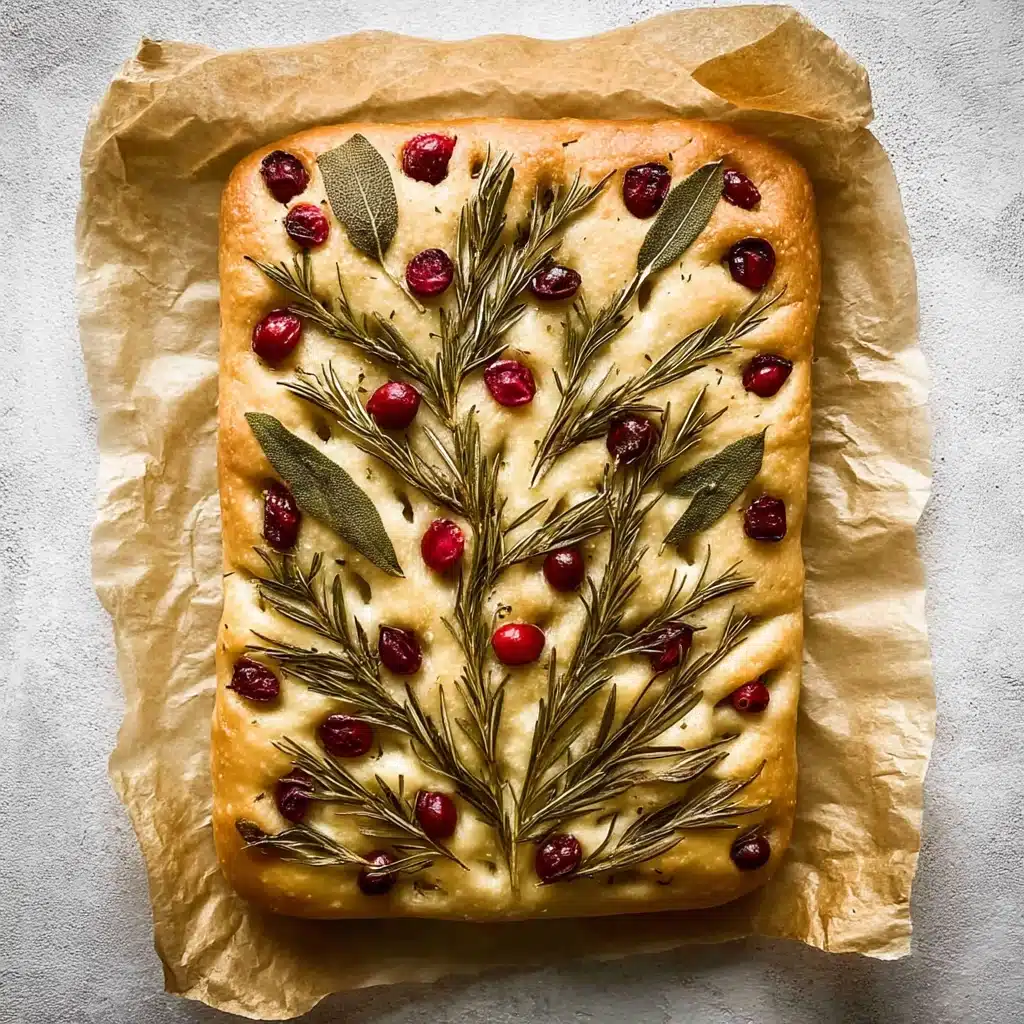
If you’re looking for a showstopping centerpiece that tastes every bit as good as it looks, you need to try this Decorated Focaccia Bread Recipe. Imagine golden, airy bread adorned with a garden of colorful vegetables and herbs — each bite is both a feast for the eyes and a delight for your taste buds! Whether you’re a bread-making pro or just ready to play with some dough and pretty toppings, this is a recipe that transforms humble ingredients into edible art, perfect for impressing guests or treating yourself to something beautiful.
Ingredients You’ll Need
This Decorated Focaccia Bread Recipe uses everyday ingredients that each have a starring role. Let’s take a moment to appreciate how these pantry basics work together to create crusty, airy bread you’ll want to decorate again and again!
- Bread flour: Gives the focaccia its delightful chew and structure, perfect for holding your veggie decorations.
- Instant yeast: Ensures a fluffy rise without much fuss — the key to a pillowy crumb.
- Warm water: Helps activate the yeast and hydrate the dough for a springy texture.
- Olive oil: Adds richness, moisture, and that classic focaccia flavor — don’t be shy with it!
- Kosher salt: Balances the flavor of the dough and compliments the toppings.
- Cherry tomatoes: Their juicy pop and vibrant color turn your bread into a real showpiece.
- Red onion: Thinly sliced, it brings lovely color contrast and sweet-savory depth.
- Bell peppers: Use a mix of colors, thinly sliced, to create gorgeous “flowers” or “leaves.”
- Fresh herbs (rosemary, chives, parsley): These become your edible paintbrushes — aromatic and perfect for adding fine details.
- Black olives: Halved or sliced, they make the cutest “stones” or centerpieces for your floral designs.
- Flaky sea salt: A finishing sprinkle for irresistible crunch and flavor sparkle.
How to Make Decorated Focaccia Bread Recipe
Step 1: Mix and Knead the Dough
Start by combining bread flour, instant yeast, and kosher salt in a large mixing bowl. Add warm water and olive oil, then stir until a shaggy dough forms. Turn the dough out onto a lightly floured surface and knead for about 8-10 minutes until smooth and elastic. This step is crucial — the dough needs time to develop the gluten strands that give focaccia its famous chewiness.
Step 2: First Rise
Lightly oil a clean bowl and place your dough inside, turning it once to coat the surface. Cover with a clean towel or plastic wrap and let it rise somewhere warm for roughly 1-1.5 hours, until doubled in size. Watching the dough puff up never gets old — there’s something magical about this transformation!
Step 3: Shape and Second Rise
Transfer the risen dough to a generously greased baking sheet or pan. Using your fingertips, gently stretch it out towards the edges — don’t force it, let gravity and patience do the trick! Dimple the surface all over with your fingers (this is classic focaccia texture), drizzle with more olive oil, then cover and let it rise again for another 30-45 minutes.
Step 4: Decorate with Veggies and Herbs
Here’s where the fun begins! Arrange your sliced cherry tomatoes, bell peppers, onions, olives, and herbs in beautiful shapes and patterns — think flowers, stems, or abstract color bursts. Gently press the toppings into the dough just enough so they stick but don’t flatten. Drizzle a little olive oil on top to keep everything glossy, and sprinkle with flaky sea salt for the final flourish.
Step 5: Bake and Enjoy
Bake the focaccia in a preheated 425°F (220°C) oven for 20-25 minutes until golden brown, the edges crisp, and your kitchen smells heavenly. Let the bread cool slightly before transferring to a wire rack. Slice, admire your artistic handiwork, and bask in the praise — you’ve just mastered the Decorated Focaccia Bread Recipe.
How to Serve Decorated Focaccia Bread Recipe
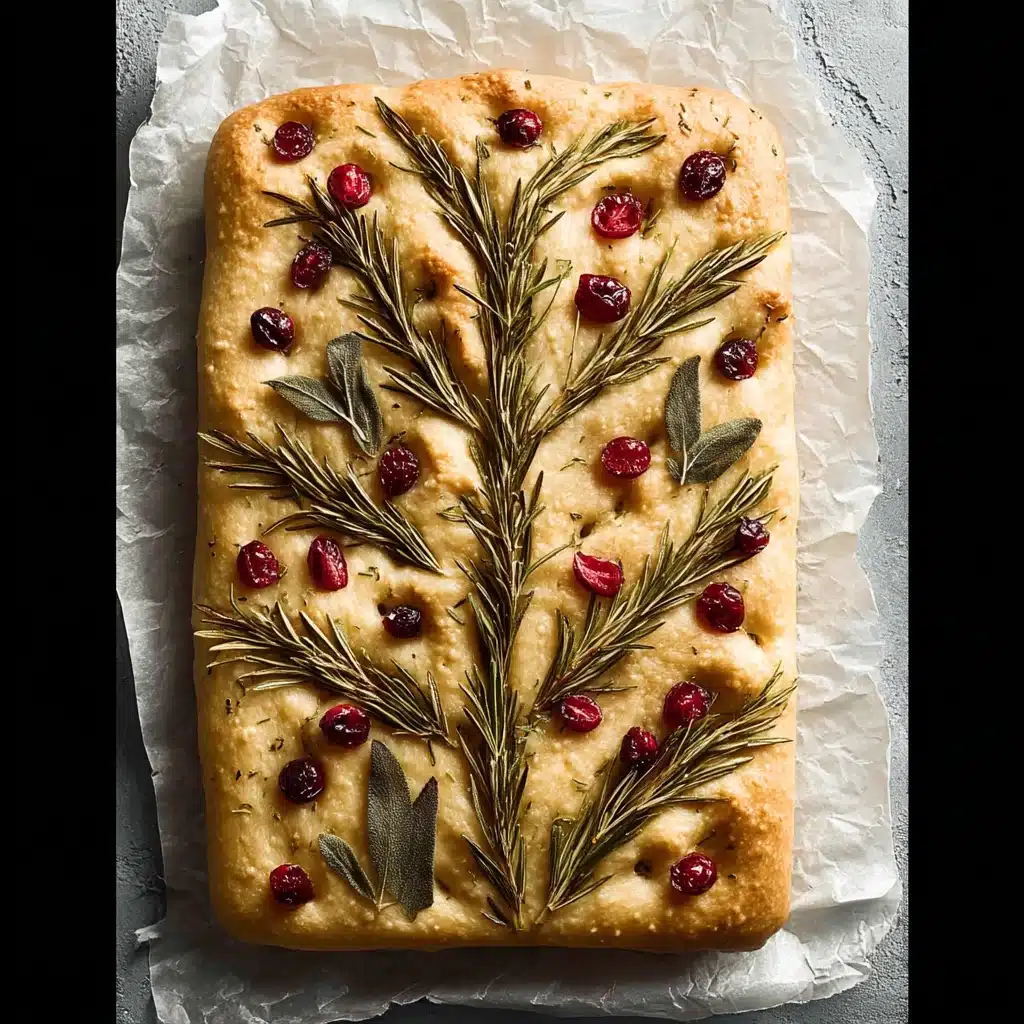
Garnishes
Just before serving, a sprinkle of more fresh herbs or a dusting of extra flaky sea salt can really make your Decorated Focaccia Bread Recipe come alive. You can also add a swirl of good-quality olive oil or a touch of lemon zest if you want to amp up the flavor and visual appeal.
Side Dishes
This bread loves company! Serve slices alongside a fresh green salad, a bowl of hearty soup, or an antipasti platter piled high with cheeses, cured meats, and marinated veggies. The light, airy texture of focaccia is the perfect match for bright, tangy, and creamy flavors at your table.
Creative Ways to Present
Show off your Decorated Focaccia Bread Recipe by slicing it into strips or squares and arranging them on a wooden board for a rustic bakery vibe. For a party, serve mini slices as finger food, or wrap up wedges as edible gifts to brighten a friend’s day — these works of bread art are perfect for sharing!
Make Ahead and Storage
Storing Leftovers
If you find yourself with leftover focaccia (a rare occurrence!), wrap it in foil or parchment and store at room temperature for up to two days. The toppings will keep their vibrance, and the bread remains tender and flavorful.
Freezing
To freeze, let your decorated focaccia cool completely, then wrap tightly in plastic wrap followed by aluminum foil. Freeze for up to three months. When you’re ready to enjoy it again, simply thaw at room temperature or reheat directly from frozen.
Reheating
To recapture that freshly baked magic, warm slices in a 350°F (175°C) oven for 8-10 minutes. The crust will turn crisp again, the toppings perk up, and the aroma will make your kitchen feel like an Italian bakery!
FAQs
Can I use all-purpose flour instead of bread flour?
Yes, you can use all-purpose flour in this Decorated Focaccia Bread Recipe, though your bread may be slightly less chewy. Bread flour gives the best results, but don’t let a lack of it stop you from making this beautiful bread!
What are the best vegetables to use for decorating?
Choose veggies that are colorful and hold their shape when baked, like cherry tomatoes, bell peppers, red onion, and olives. You can get creative — thin carrot slices or zucchini ribbons also work beautifully!
How do I keep the vegetables from burning?
Slice the vegetables thinly and brush a little olive oil on top before baking. Keep an eye on the bread as it bakes, and if the edges of any toppings begin to darken too much, just tent that part with foil.
Can I make the dough in advance?
Absolutely! After the first rise, you can refrigerate the dough overnight. The next day, let it come to room temperature, shape, decorate, and bake as instructed. This can even boost the flavor for an even tastier Decorated Focaccia Bread Recipe.
Why is my focaccia dense instead of airy?
This usually happens if the dough hasn’t risen long enough or if the water wasn’t warm enough to activate the yeast. Make sure you let each rise happen in a warm spot and give your dough plenty of time to puff up.
Final Thoughts
Bringing a Decorated Focaccia Bread Recipe to life is a joyful blend of creativity and comfort, and every loaf is unique to you! Whether you’re baking for a crowd or just adding some color to your everyday table, this bread is sure to draw raves and smiles. Don’t hesitate to roll up your sleeves and give this stunning recipe a try — you might just find your new favorite way to bake and create!
Print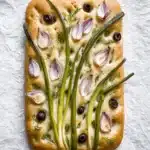
Decorated Focaccia Bread Recipe
- Prep Time: 25 minutes
- Cook Time: 25 minutes
- Total Time: 2.5 hours (including rising time)
- Yield: 1 large focaccia (12 servings)
- Category: Bread
- Method: Oven
- Cuisine: Italian
- Diet: Vegetarian
Description
A beautiful, airy focaccia adorned with colorful vegetables and herbs, this Decorated Focaccia Bread is as delightful to look at as it is to eat—perfect for gatherings, gifting, or creative kitchen fun!
Ingredients
- 4 cups bread flour
- 2¼ tsp instant yeast (1 packet)
- 1½ tsp kosher salt
- 1½ cups warm water
- 1/4 cup olive oil (plus more for drizzling)
- Cherry tomatoes, halved
- Red onion, thinly sliced
- Bell peppers (red, yellow, orange), thinly sliced
- Fresh herbs (rosemary, parsley, chives)
- Black olives, halved or sliced
- Flaky sea salt for finishing
Instructions
- In a large bowl, mix flour, yeast, and salt. Add warm water and 2 tbsp olive oil. Stir until a shaggy dough forms. Knead on a floured surface for 8–10 minutes until smooth and elastic.
- Place dough in a lightly oiled bowl, cover, and let rise in a warm place until doubled, 1–1.5 hours.
- Transfer dough to a greased baking sheet. Stretch it gently to fit, dimple with your fingers, drizzle with olive oil, and let rise again for 30–45 minutes.
- Decorate with veggies and herbs in floral or abstract patterns. Press toppings gently into the dough. Drizzle with more olive oil and sprinkle flaky salt on top.
- Bake at 425°F (220°C) for 20–25 minutes until golden brown. Cool slightly before transferring to a wire rack. Slice and serve warm or at room temperature.
Notes
- Use all-purpose flour if bread flour is unavailable, but expect a slightly softer texture.
- Thin veggie slices and an olive oil drizzle help prevent toppings from burning.
- Store leftovers at room temperature for up to 2 days or freeze for longer storage.

