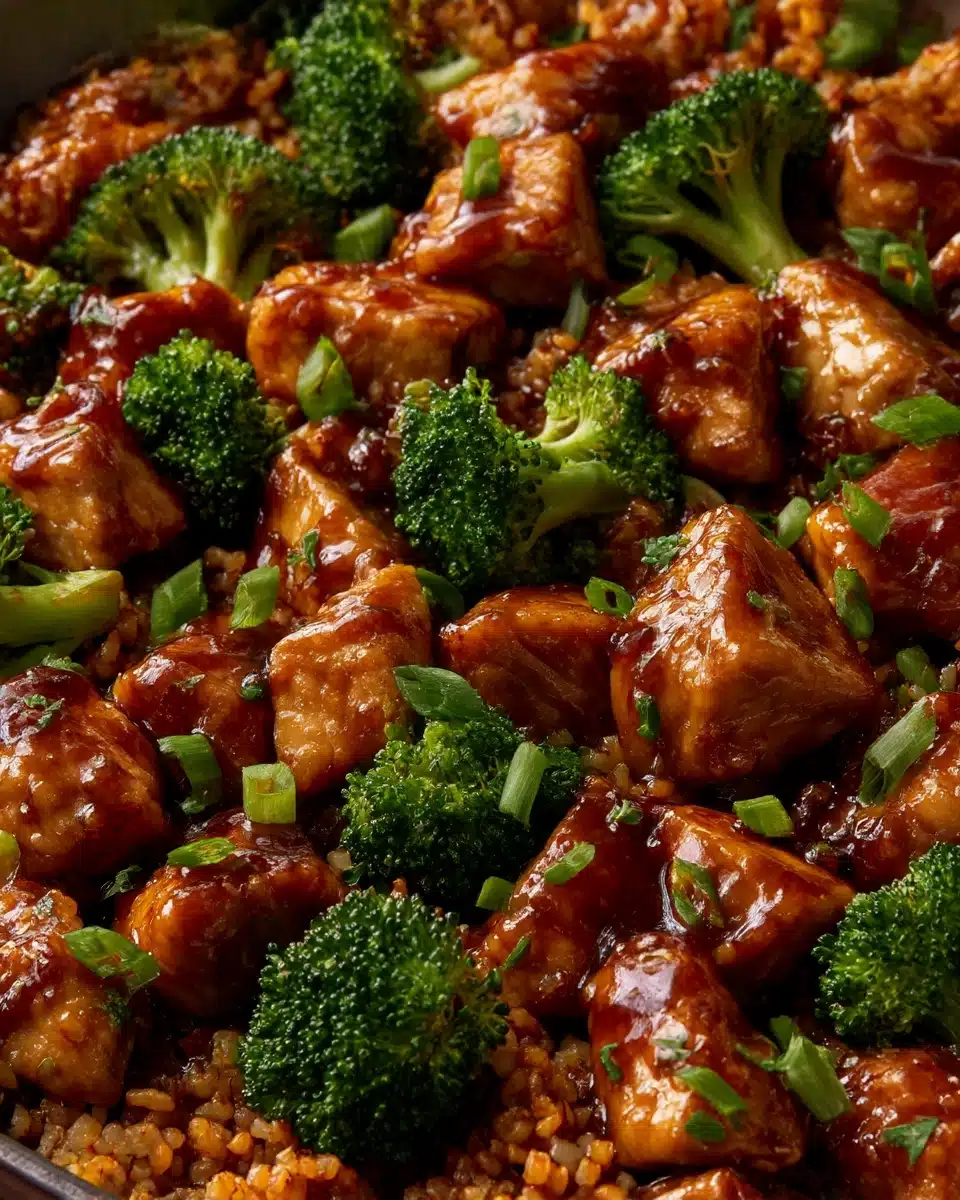
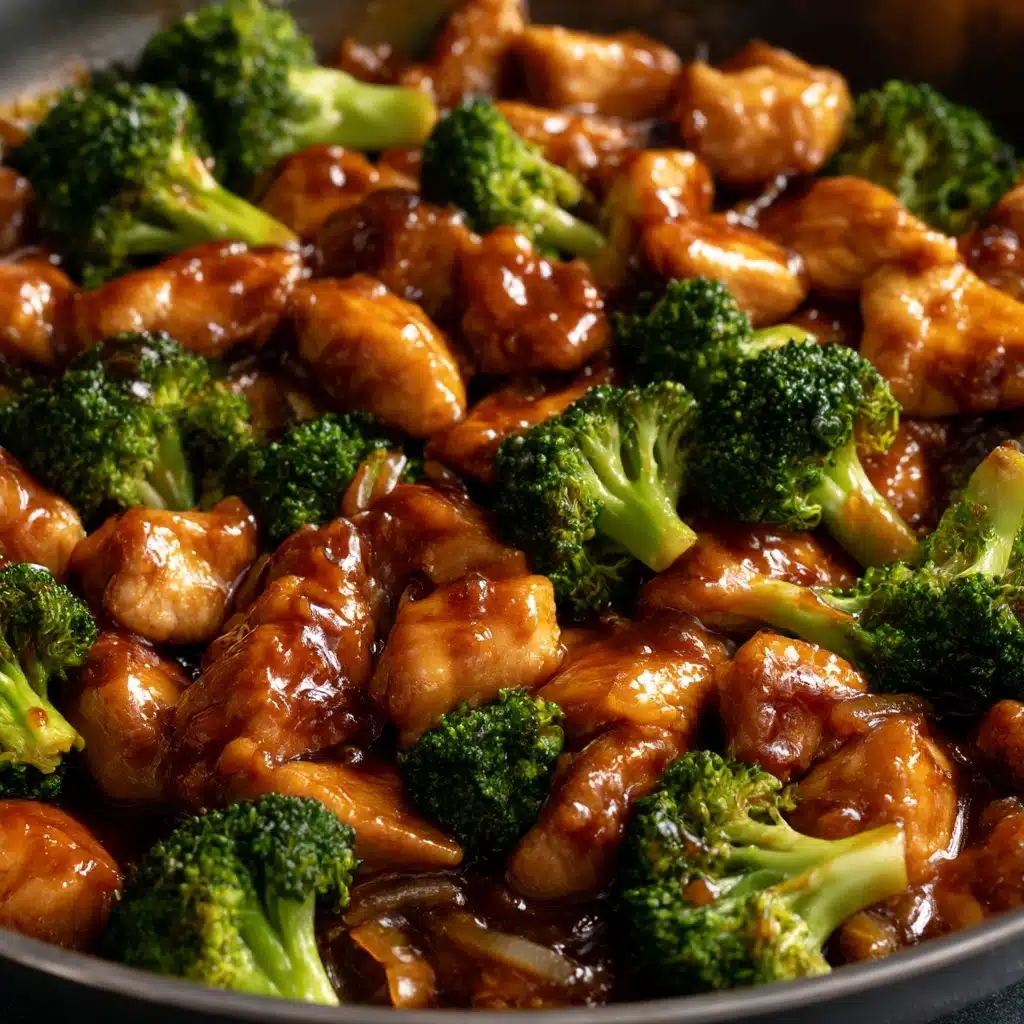
If you’re searching for a flavor-packed dinner that gets crispy without a deep fryer and bursts with zesty, garlicky goodness, you’ve found a winner: Crispy Orange Garlic Chicken. Imagine juicy pieces of golden chicken, perfectly crunchy on the outside, coated in a glossy glaze of fresh orange juice and savory garlic with just a touch of honeyed sweetness. This dish is my go-to for those nights when I want to wow guests—or just my own taste buds—with something easy, outrageously delicious, and universally loved. Once you try this Crispy Orange Garlic Chicken, you’ll understand why it’s a staple in my kitchen!
Ingredients You’ll Need
Don’t let the ingredient list fool you—each element here is simple and easy to find, but plays a crucial role in creating the perfect balance of flavor, texture, and color in your Crispy Orange Garlic Chicken. Let’s break down why each one matters!
- Chicken breasts or thighs: Use boneless, skinless chicken for ultimate tenderness and juiciness.
- All-purpose flour: Lays down the first layer of crunch and helps the coating stick to the chicken.
- Garlic powder: Infuses the chicken with that signature, irresistible garlic flavor right in the crust.
- Onion powder: Adds a subtle depth and savory base note.
- Paprika: Gives warmth and a pop of color to the crispy coating.
- Salt and pepper: Essential for seasoning every layer and waking up all the flavors.
- Eggs: Help the coating adhere and add richness to the crust.
- Cornstarch: The secret to an extra-light, crunchy finish—don’t skip it!
- Vegetable oil: Provides the high heat needed for fry-crisping without overpowering flavors.
- Freshly squeezed orange juice: Delivers bright, natural citrus flavor—far superior to bottled juice.
- Soy sauce: Rounds out the sauce with umami and saltiness (use tamari for gluten-free).
- Honey or maple syrup: A touch of sweetness tames the tang and ties the sauce together.
- Minced garlic: Bold and punchy, it’s the star alongside orange in the signature sauce.
- Rice vinegar or white vinegar: Adds just enough acidity to keep the flavors lively.
- Grated ginger (optional): For extra zing and a subtle Asian flair.
- Crushed red pepper flakes (optional): For a hint of heat if you love a little kick.
- Cornstarch-water slurry: Thickens the sauce to the perfect, glossy consistency.
How to Make Crispy Orange Garlic Chicken
Step 1: Prepare the Chicken Coating
Start by whisking together the flour, garlic powder, onion powder, paprika, salt, and pepper in a shallow dish. In a second dish, beat your eggs until smooth. In a third, combine cornstarch with just a pinch of salt. This three-step breading process sets you up for supremely crisp chicken with every single bite.
Step 2: Dredge and Coat
Dip each chicken piece first in the seasoned flour, ensuring every surface is covered. Next, give it a dunk in the beaten eggs—this helps the final layer stick. Finally, roll it in the cornstarch so it’s fully coated. Each layer adds an extra dimension of crunch!
Step 3: Fry the Chicken
Heat the vegetable oil in a large skillet over medium-high heat. Once it’s shimmering and hot, lay in your chicken pieces. Cook for 5 to 7 minutes per side, until they’re sizzling, golden, and crispy. Drain the cooked chicken on paper towels to keep them light and crunchy for your Crispy Orange Garlic Chicken.
Step 4: Make the Orange Garlic Sauce
With the chicken resting, use the same skillet (minus most of the oil) for big flavor. Add the minced garlic and let it sizzle just until fragrant—don’t let it brown. Stir in the orange juice, soy sauce, honey or maple syrup, vinegar, and ginger if you like. Let the mixture come to a lively simmer so all the flavors fuse together.
Step 5: Thicken the Sauce
Now, pour in the cornstarch slurry while stirring vigorously. You’ll see your sauce go from thin to glossy and just thick enough to coat the back of a spoon. If you like some heat, add the crushed red pepper flakes now.
Step 6: Toss Chicken in the Sauce
Return your crispy chicken to the skillet, gently tossing so each piece is bathed in that shiny, aromatic glaze. Let it cook for an additional 2 to 3 minutes, so the coating soaks up a little sauce and every bite bursts with the best of citrus and garlic.
How to Serve Crispy Orange Garlic Chicken
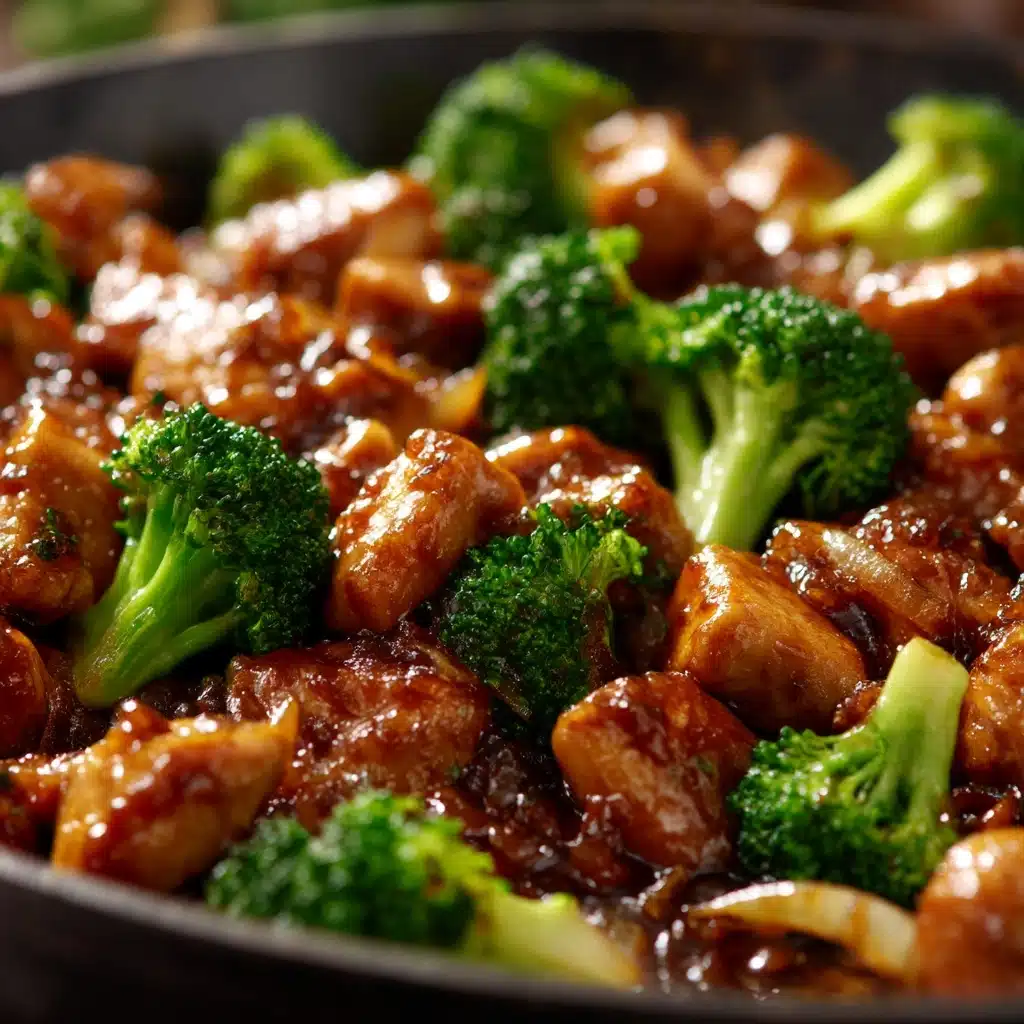
Garnishes
The finishing touches can take your Crispy Orange Garlic Chicken from great to truly stunning. I love sprinkling on fresh parsley for a burst of color or a handful of sesame seeds for a bit of nutty flavor. Even a touch of grated orange zest can add another pop of brightness. Don’t forget a final crack of black pepper—it makes everything look and taste professional.
Side Dishes
This chicken is fabulous over fluffy steamed rice, which sops up every drop of the luscious sauce. Try pairing it with simple steamed broccoli or snap peas for crunch and balance. If you’re feeling fancy, a side of fried rice or stir-fried vegetables rounds out the meal perfectly, making every plate bright, bold, and comforting.
Creative Ways to Present
For a party-ready twist, slice your Crispy Orange Garlic Chicken into strips and serve over a bed of shredded lettuce for a salad-meets-main effect. Or, stuff the chicken and some rice into steamed bao buns for a playful, hand-held treat. Mini skewers with a drizzle of extra sauce also make fantastic appetizers—watch them disappear in no time!
Make Ahead and Storage
Storing Leftovers
If you find yourself with leftovers (let’s be real, it’s rare!), store your Crispy Orange Garlic Chicken in an airtight container in the fridge for up to 3 days. Keep the sauce and chicken separate if possible—this helps preserve that crave-worthy texture.
Freezing
For longer storage, freeze the chicken pieces on a baking sheet until solid, then transfer to a zip-top bag or container. The sauce can also be frozen separately. Thaw both overnight in the fridge when you’re ready to enjoy again. While the chicken may lose a bit of crunch after freezing, a quick oven reheat brings some of that crispiness back.
Reheating
To recapture the chicken’s signature crunch, reheat in a preheated 375°F oven for 10 to 12 minutes, flipping halfway through. Warm the sauce on the stovetop or in the microwave and toss everything together just before serving. Avoid microwaving the chicken alone, as it can get a little soggy.
FAQs
Can I make Crispy Orange Garlic Chicken gluten-free?
Absolutely! Just swap the soy sauce for tamari and use a gluten-free flour blend in place of the all-purpose flour. The cornstarch is naturally gluten free, so you’re good to go for a safe and satisfying meal.
What’s the best cut of chicken to use?
Both chicken breasts and thighs work beautifully for Crispy Orange Garlic Chicken. Breasts offer a leaner bite, while thighs are slightly juicier and more forgiving if you’re new to frying. Pick whichever you prefer or have on hand!
Can I bake the chicken instead of frying?
Yes, you can! Place the coated chicken on a wire rack set over a baking sheet and bake at 425°F until golden, about 18-22 minutes, flipping halfway. The result is a bit less crispy but still totally tasty and lighter in fat.
How can I adjust the sauce to be less sweet or less tangy?
For a less sweet sauce, simply reduce the honey or maple syrup by up to half. If you want less tang, cut back slightly on the vinegar or increase the orange juice. Taste as you go to find your ideal blend!
What’s the best way to prep this dish ahead for guests?
You can bread and fry the chicken a few hours in advance, storing the cooked pieces in a warm oven (200°F) until guests arrive. Prep the sauce ahead and finish the dish by warming the sauce and tossing everything together right before serving for maximum crunch.
Final Thoughts
If you’re ready for a dish that combines irresistible crunch, zesty orange, and the kick of garlicky goodness, you owe it to yourself to make Crispy Orange Garlic Chicken. It’s one of those memorable recipes that brings people together—simple yet show-stopping. Give it a try, and don’t be surprised if it finds its way onto your regular dinner rotation!
Print
Crispy Orange Garlic Chicken Recipe
- Prep Time: 15 minutes
- Cook Time: 20 minutes
- Total Time: 35 minutes
- Yield: 4 servings
- Category: Main Course
- Method: Pan-frying
- Cuisine: American, Asian Fusion
- Diet: Gluten-Free
Description
This Crispy Orange Garlic Chicken recipe combines tender, crispy chicken pieces with a flavorful orange garlic sauce. Perfect for a simple and delicious dinner that the whole family will love!
Ingredients
For the Chicken:
- 4 boneless, skinless chicken breasts or thighs
- 1 cup all-purpose flour
- 1 tsp garlic powder
- 1/2 tsp onion powder
- 1/2 tsp paprika
- Salt and pepper to taste
- 2 large eggs, beaten
- 1/4 cup cornstarch
- 1/2 cup vegetable oil (for frying)
For the Orange Garlic Sauce:
- 1/2 cup freshly squeezed orange juice (about 2 oranges)
- 1/4 cup soy sauce
- 2 tbsp honey or maple syrup
- 2 cloves garlic, minced
- 1 tbsp rice vinegar or white vinegar
- 1/2 tsp grated ginger (optional)
- 1/4 tsp crushed red pepper flakes (optional, for heat)
- 1 tbsp cornstarch mixed with 2 tbsp water (for thickening)
Instructions
- In a shallow dish, mix the flour, garlic powder, onion powder, paprika, salt, and pepper. Dredge each piece of chicken first in the seasoned flour.
- In another shallow dish, place the beaten eggs. Dip the floured chicken into the beaten eggs.
- In a third dish, combine the cornstarch with a pinch of salt. Coat the egged chicken with the cornstarch.
- Heat vegetable oil in a skillet. Fry chicken until golden and crispy, then drain on paper towels.
- Cook minced garlic, then add orange juice, soy sauce, honey, vinegar, and ginger. Simmer and thicken with cornstarch mixture.
- Return chicken to the skillet, toss in the sauce, and cook briefly. Serve with desired garnishes.
Notes
- You can substitute soy sauce with tamari for a gluten-free version.
- For extra crunch, consider double coating the chicken with flour and cornstarch before frying.
- You can adjust the sweetness of the sauce by adding more or less honey depending on your preference.

