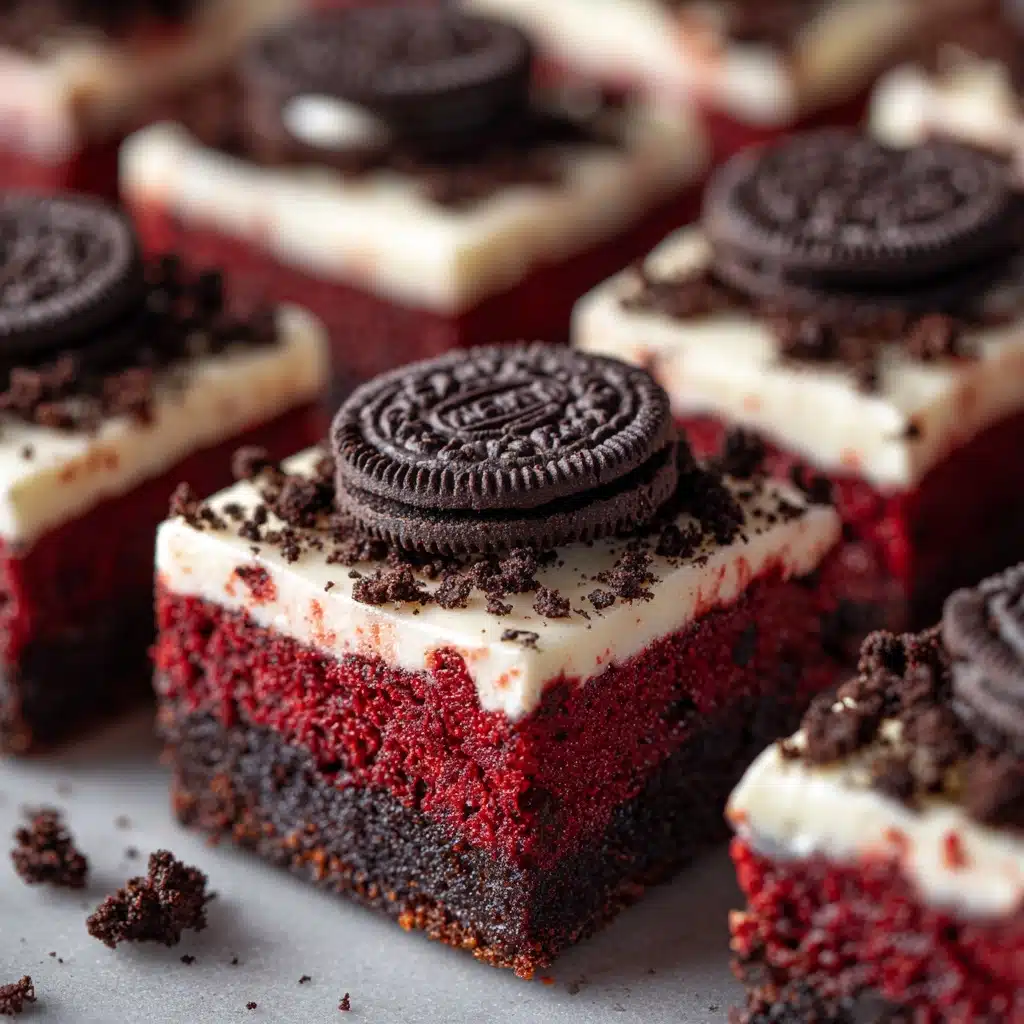
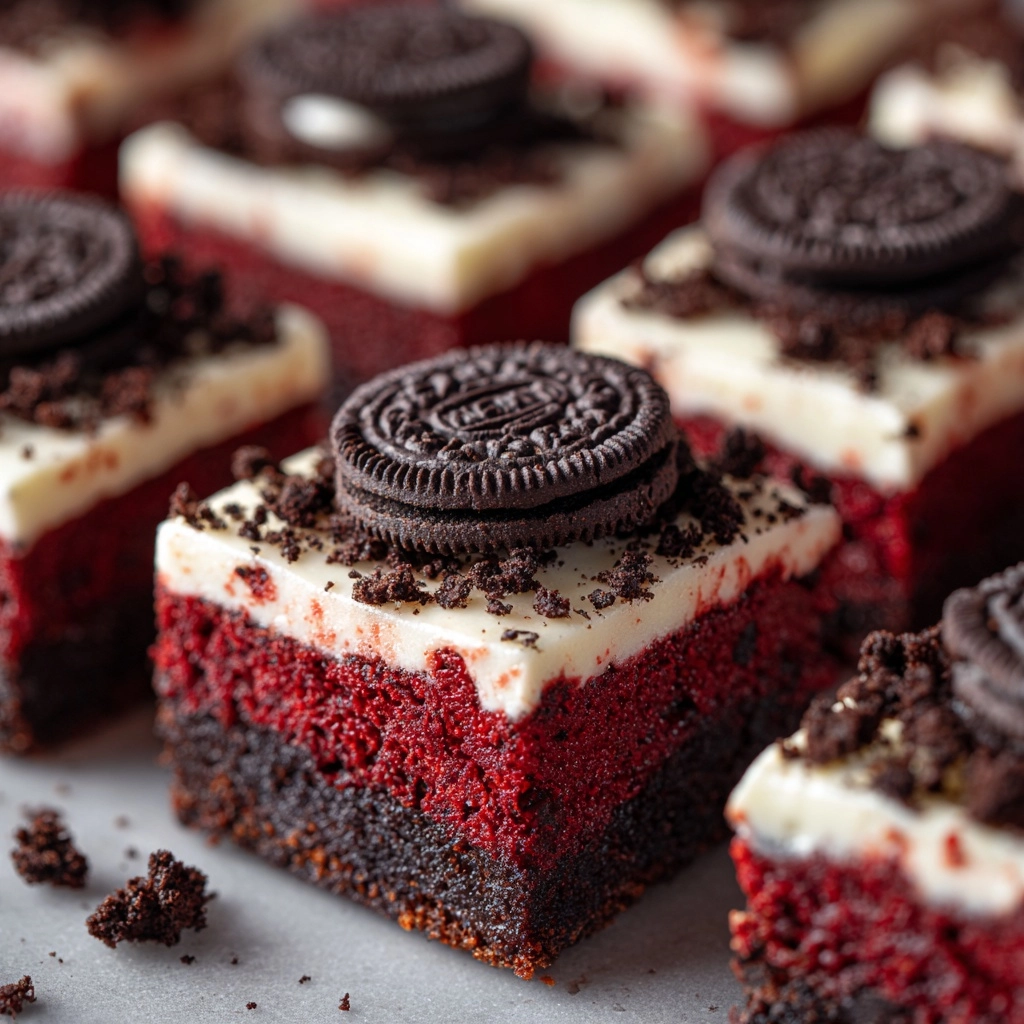
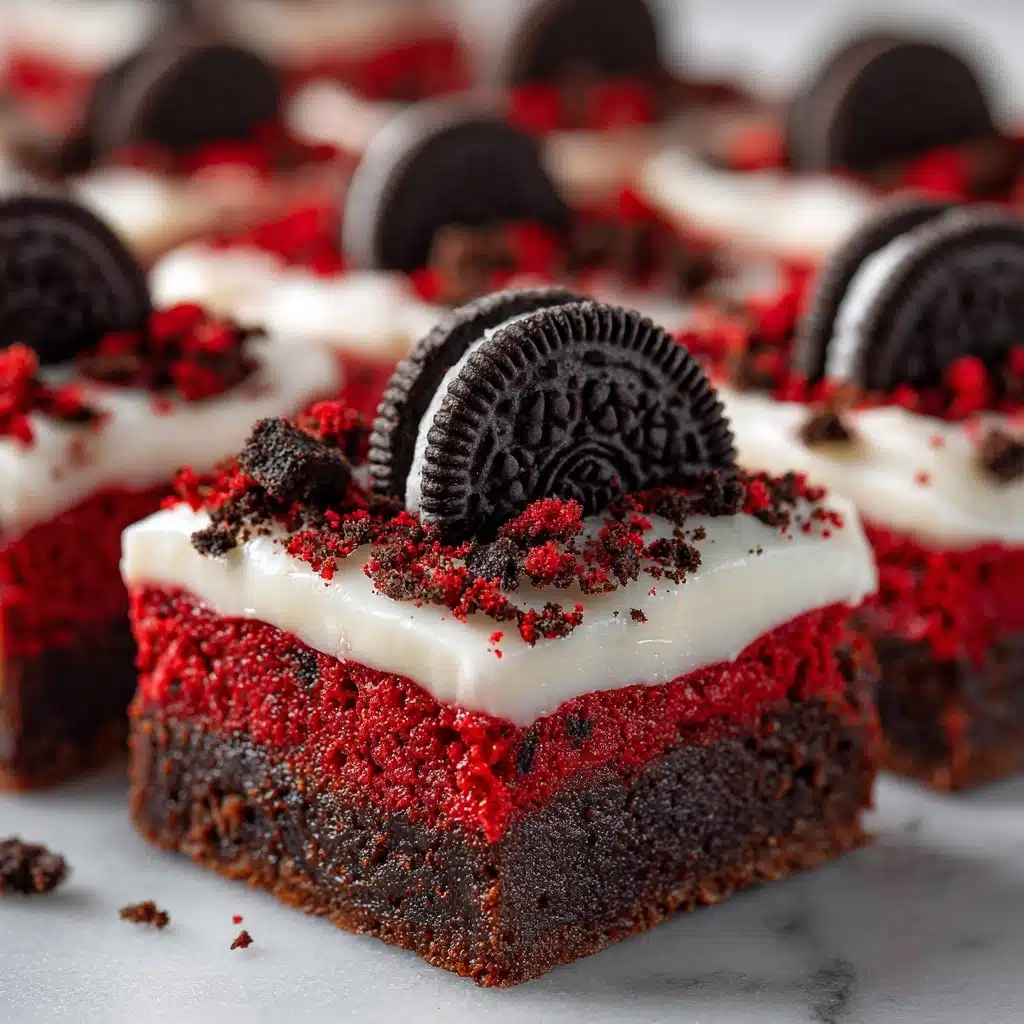
Ready to fall head over heels for a dessert that’s the very definition of indulgence? Cookies & Cream Red Velvet Brownies bring together all the things we love about decadent, fudgy brownies — right down to their soft, crimson crumb speckled with chocolate sandwich cookies and swirled with creamy white chocolate chips. With a gorgeous red hue, bursts of cookies, and a chocolatey backbone, these brownies are a showstopper and a crowd-pleaser, perfect for bake sales, birthday parties, or—let’s be honest—just a cozy night in.
Ingredients You’ll Need
Baking magic truly starts with the simplest ingredients, and that’s especially true here. Each star on this short list plays an important role—giving Cookies & Cream Red Velvet Brownies their signature color, supreme fudginess, or irresistible pops of crunchy cookie. Gather everything together, and you’ll be set!
- Unsalted butter (1/2 cup, melted): Gives the brownies their rich, melt-in-your-mouth base and deep moisture.
- Granulated sugar (1 cup): Sweetens and helps achieve that classic shiny brownie top.
- Large eggs (2): Provide structure and help bind everything together for that perfect brownie bite.
- Vanilla extract (1 teaspoon): Adds warm flavor depth that balances out all the chocolatey goodness.
- Red food coloring (1 tablespoon): Creates the irresistible red velvet color—gel coloring gives extra pop!
- Unsweetened cocoa powder (1/4 cup): The heart of chocolate richness, essential for the “velvet” taste.
- All-purpose flour (3/4 cup): Just enough to bind and give structure while keeping brownies fudgy.
- Salt (1/4 teaspoon): Rounds out flavors and enhances the chocolatey notes.
- Chocolate sandwich cookies (10, roughly chopped): Adds signature cookies & cream crunch and nostalgia.
- White chocolate chips (1/2 cup, optional): For pockets of creamy sweetness and extra visual flair.
How to Make Cookies & Cream Red Velvet Brownies
Step 1: Prep Your Pan
Start by preheating your oven to 350°F (175°C) and lining an 8×8-inch baking pan with parchment paper. This little bit of prep makes brownie removal (and cleanup!) a breeze, so don’t skip it. The parchment also encourages those beautiful clean-edged squares—just right for sharing or stacking on a dessert tray.
Step 2: Mix the Wet Ingredients
In a large bowl, whisk together the melted butter and granulated sugar until the mixture looks light and glossy. Then, add the eggs, vanilla extract, and all that vibrant red food coloring. Whisk until everything is fully combined and you have a gorgeous scarlet base that’s practically begging to become brownies.
Step 3: Stir In Dry Ingredients
Sprinkle in the unsweetened cocoa powder, flour, and salt. Stir with a spatula or wooden spoon until no dry streaks remain, and a thick, luscious batter forms. The cocoa powder is key for bringing out the “red velvet” flavors while flour gives the perfect chew.
Step 4: Add the Cookies & Cream
Fold in the chopped chocolate sandwich cookies and white chocolate chips (if using) so that every bite gets a pop of crunch and creamy sweetness. For that bona fide “Cookies & Cream Red Velvet Brownies” wow-factor, press a few extra cookie pieces on top of the batter once it’s in the pan.
Step 5: Bake to Perfection
Spread the batter evenly into your prepared pan, then slide it into the oven. Bake for 25 to 30 minutes until a toothpick inserted near the center comes out with a few moist crumbs (not clean—moist crumbs mean fudgy brownies!). Cool the brownies completely in the pan before removing and slicing them into beautiful, tempting squares.
How to Serve Cookies & Cream Red Velvet Brownies

Garnishes
The finishing touches are what turn homemade treats into bakery-worthy masterpieces. For Cookies & Cream Red Velvet Brownies, a light dusting of powdered sugar, a drizzle of melted white chocolate, or an extra sprinkle of crumbled cookies makes every square irresistible on the plate.
Side Dishes
If you really want to go above and beyond, serve these brownies with a scoop of vanilla bean ice cream or a dollop of freshly whipped cream. Fresh berries make a delightful, tangy contrast, while a glass of cold milk brings out the nostalgic, cookies & cream vibe.
Creative Ways to Present
Looking to impress? Stack the sliced brownies into a striking tower, package them in colorful bakery boxes for gifting, or serve them in jumbo cupcake wrappers for easy grab-and-go desserts at parties. Cutting them into mini bite-sized squares creates an adorable dessert board centerpiece with Cookies & Cream Red Velvet Brownies as the star.
Make Ahead and Storage
Storing Leftovers
Keep any leftover brownies in an airtight container at room temperature for up to 4 days. Their fudgy texture actually gets even better with time, as the flavors deepen and meld together. If you’re storing multiple layers, place parchment paper between each to avoid sticking.
Freezing
For longer storage, you can absolutely freeze Cookies & Cream Red Velvet Brownies. Wrap each cooled square tightly in plastic wrap, then place in a freezer-safe bag or container. They’ll keep their flavor and texture for up to 2 months—just don’t forget to label and date!
Reheating
Want that just-baked magic again? Pop a single brownie in the microwave for 10-15 seconds to revive its gooey, fudgy center. If reheating from frozen, let the brownie thaw at room temperature before warming briefly for the best results.
FAQs
Can I use natural food coloring for the red velvet color?
Absolutely! While gel food coloring gives a vivid hue, you can experiment with natural alternatives like beet juice or powdered freeze-dried raspberries. Just note that the color may be softer and slightly less intense.
What kind of chocolate sandwich cookies work best?
Classic chocolate sandwich cookies (like Oreo) are traditional and always delicious, but you can play with different flavors—double-stuf, golden, or even seasonal varieties add a unique twist to your Cookies & Cream Red Velvet Brownies.
Are the white chocolate chips necessary?
Not at all—these are optional, but they do give extra creamy pockets and a pretty contrast against the red velvet. Feel free to leave them out if you prefer “classic” flavor or substitute with milk or dark chocolate chips.
How do I know when the brownies are done?
Check by inserting a toothpick near the center; you want to see a few moist crumbs, indicating that the brownies are still fudgy. Avoid overbaking, as this can make them dry instead of perfectly gooey.
Can I double this recipe?
Definitely! Simply double all ingredients and use a 9×13-inch pan. Keep an eye on the baking time—start checking around 35-38 minutes, but don’t hesitate to adjust as needed for your oven.
Final Thoughts
If you’re craving something festive, unforgettable, and downright scrumptious, you can’t go wrong with Cookies & Cream Red Velvet Brownies. They’re guaranteed to make you the hero at any gathering (or to simply sweeten a solo treat-yourself moment). Give these a try—you’ll want to bake them again and again!
Print
Cookies & Cream Red Velvet Brownies Recipe
- Prep Time: 10 minutes
- Cook Time: 30 minutes
- Total Time: 40 minutes
- Yield: 9 brownies
- Category: Dessert
- Method: Baking
- Cuisine: American
- Diet: Vegetarian
Description
Indulge in the decadent goodness of Cookies & Cream Red Velvet Brownies – a delightful fusion of classic red velvet flavor with the added crunch of chocolate sandwich cookies. These fudgy treats are perfect for satisfying your sweet tooth!
Ingredients
Brownie:
- 1/2 cup unsalted butter (melted)
- 1 cup granulated sugar
- 2 large eggs
- 1 teaspoon vanilla extract
- 1 tablespoon red food coloring
- 1/4 cup unsweetened cocoa powder
- 3/4 cup all-purpose flour
- 1/4 teaspoon salt
Add-Ins:
- 10 chocolate sandwich cookies (roughly chopped)
- 1/2 cup white chocolate chips (optional)
Instructions
- Preheat oven and prepare pan: Preheat oven to 350°F (175°C) and line an 8×8-inch baking pan with parchment paper.
- Mix wet ingredients: In a large bowl, whisk together melted butter and sugar until smooth. Add eggs, vanilla extract, and red food coloring, and whisk until fully combined.
- Add dry ingredients: Stir in cocoa powder, flour, and salt until a thick batter forms.
- Fold in mix-ins: Fold in chopped chocolate sandwich cookies and white chocolate chips, if using.
- Bake: Pour batter into the prepared pan, spread evenly, and press extra cookie pieces on top. Bake for 25–30 minutes until a toothpick comes out with a few moist crumbs.
- Cool and slice: Cool completely in the pan before slicing into squares.
Notes
- Use gel food coloring for a richer red hue.
- These brownies are extra fudgy and taste even better the next day.
- Store in an airtight container at room temperature for up to 4 days.


