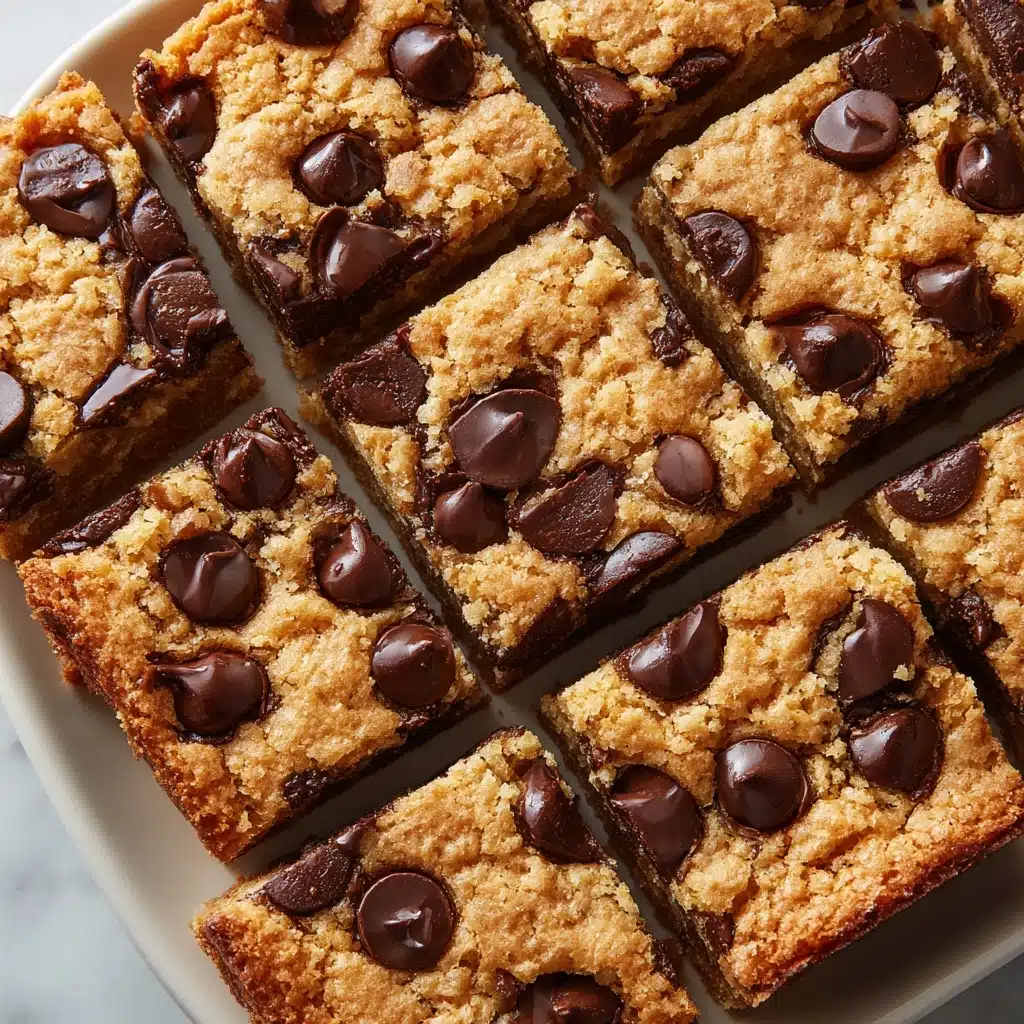
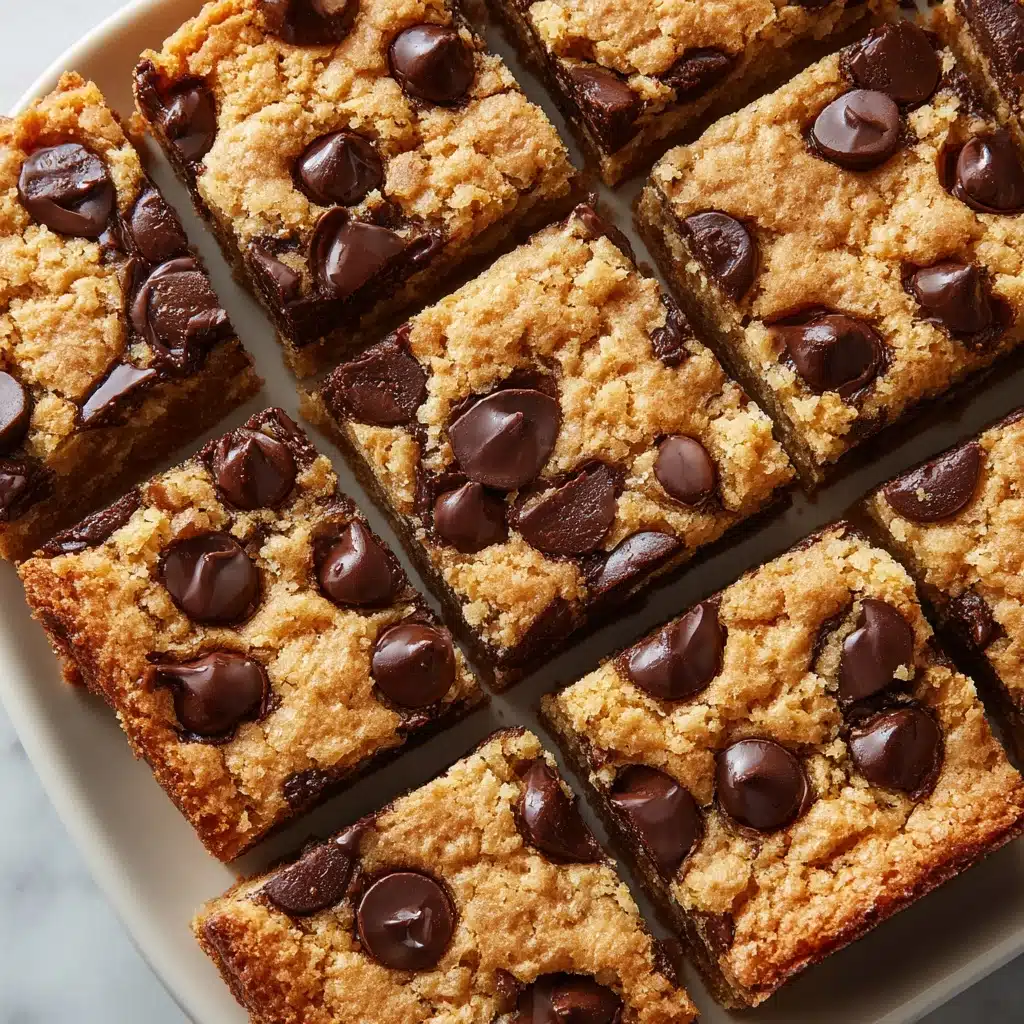
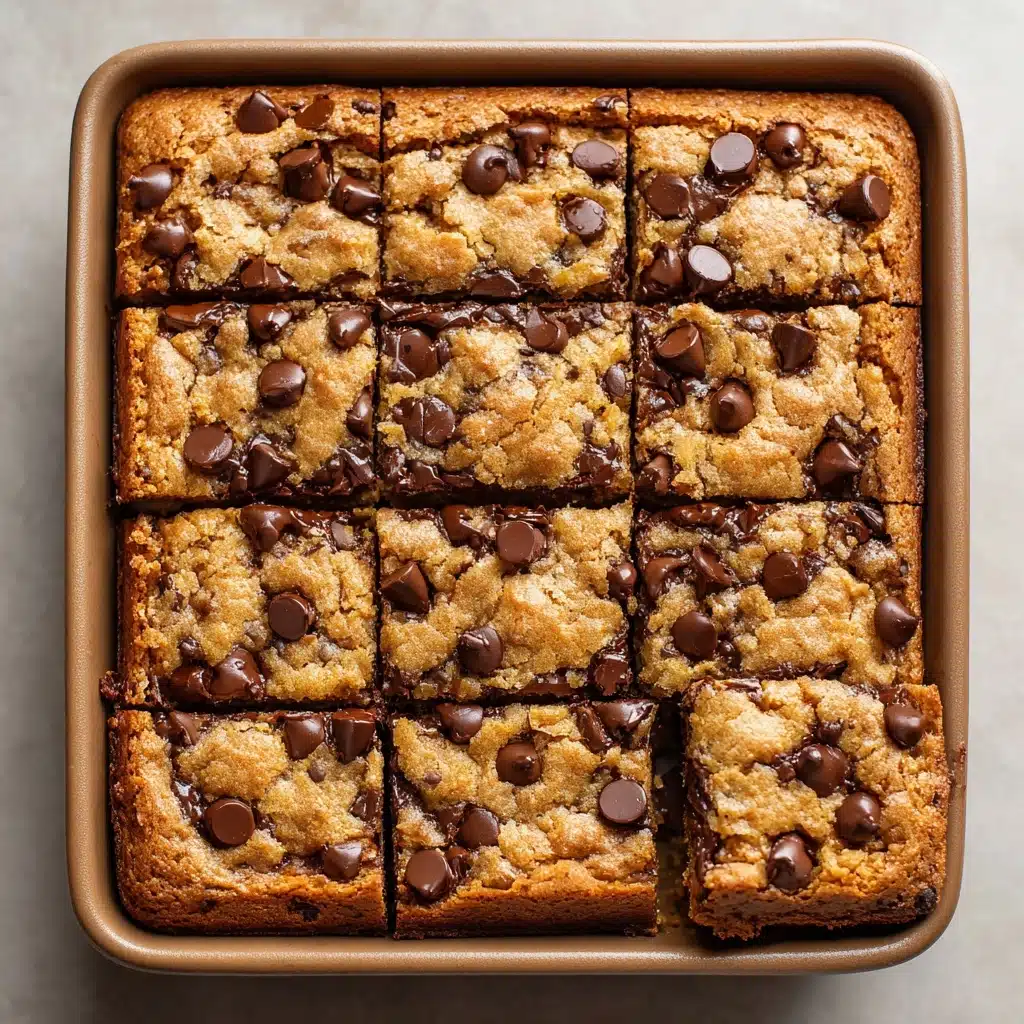
There is just something special about Cookie Bars—these irresistible squares bring together the rich, buttery goodness of classic cookies with the convenience and fun of a bar. Perfectly chewy with golden edges and pockets of melty chocolate chips, Cookie Bars are ideal for quick weeknight desserts, bake sales, or a little afternoon treat. Whether you’re sharing with friends or keeping a secret stash for yourself, trust me: one batch of these will never feel like enough!
Ingredients You’ll Need
What I love most about Cookie Bars is how they transform a few simple pantry staples into something extraordinary. Each ingredient plays an important role, from creating that soft, chewy bite to giving you deep, caramel-like flavors.
- Unsalted butter (1 cup, softened): Serves as the rich, creamy base and helps achieve that perfect chewy, tender crumb.
- Granulated sugar (1 cup): Adds sweetness and helps crisp the edges for those golden, irresistible corners.
- Packed brown sugar (1 cup): Infuses each bar with caramel notes and keeps the texture extra moist.
- Large eggs (2): Bind everything together while adding a little lift for fluffiness.
- Vanilla extract (2 tsp): Rounds out the flavors with a warm, cozy aroma and classic cookie taste.
- All-purpose flour (2 1/2 cups): Provides the structure so your bars hold together beautifully when sliced.
- Baking soda (1 tsp): Helps the bars rise slightly and creates that irresistible soft texture.
- Salt (1/2 tsp): Balances sweetness and enhances all the other flavors in the batch.
- Semisweet chocolate chips (2 cups): Every bite has gooey pockets of chocolate—definitely not optional for Cookie Bars!
How to Make Cookie Bars
Step 1: Prep Your Pan and Oven
Start by preheating your oven to 350°F (175°C), then lightly grease a 9×13-inch baking pan. This step sets you up for easy bar removal and those beautifully golden edges—don’t skip the greasing!
Step 2: Cream the Butter and Sugars
In a large bowl, cream together the softened butter, granulated sugar, and brown sugar until the mixture is light and fluffy. This is the secret to that soft, chewy texture—it incorporates air and gives your bars the right lift.
Step 3: Add Eggs and Vanilla
Add the eggs one at a time, mixing well after each addition, then pour in the vanilla extract. Taking a moment to fully blend each egg ensures your cookie bars stay perfectly tender and rich.
Step 4: Combine the Dry Ingredients
In a separate bowl, whisk together the flour, baking soda, and salt. Mixing these dry ingredients together first helps ensure even distribution in the dough—no salty surprises or uneven texture here!
Step 5: Bring It All Together
Gradually add the dry mixture to the wet ingredients, stirring until just combined. Overmixing at this point is a no-go—it can make the bars tough. Stop as soon as the flour disappears for the best result.
Step 6: Fold in Chocolate Chips
Gently fold in those glorious chocolate chips, spreading them as evenly as possible throughout the dough. Go ahead and steal a taste; it’s tradition!
Step 7: Bake to Perfection
Spread the dough evenly in your greased pan, smoothing the top out as best you can. Bake for 25–30 minutes, watching for a golden-brown surface. A toothpick inserted into the center should come out with just a few moist crumbs (not wet batter) for that signature Cookie Bar chew.
Step 8: Cool and Slice
Let the bars cool in the pan—a step worth the wait, trust me—before slicing into neat squares. This helps them set up perfectly for clean, satisfying cuts (and fewer crumbs!).
How to Serve Cookie Bars

Garnishes
While Cookie Bars are delicious all on their own, a little extra flair never hurts. Try a light dusting of powdered sugar, a drizzle of melted chocolate, or even a scoop of vanilla ice cream for the ultimate dessert moment. Fresh berries also pair beautifully, adding a pop of color and tartness.
Side Dishes
Think beyond just dessert! Serve Cookie Bars with mugs of hot chocolate or homemade lattes for a cozy gathering. If you want a contrasting flavor, offer a platter of fresh fruit, tangy frozen yogurt, or even salted nuts—these options help balance out the sweetness.
Creative Ways to Present
Stack them high on a rustic wooden board for a casual look, package individual bars in parchment for a bake sale, or arrange them in a ring on a pretty cake stand for parties. Cookie Bars are also perfect as edible gifts: wrap in cellophane with ribbon, and you have a homemade treat everyone will remember.
Make Ahead and Storage
Storing Leftovers
If you have any leftovers (a big if!), keep Cookie Bars in an airtight container at room temperature for up to 5 days. They stay soft, but you can also slip a slice of bread into the container to help maintain that perfect chewy texture.
Freezing
Cookie Bars freeze like a dream! Once fully cooled, wrap each bar tightly in plastic wrap or foil, place in a freezer bag, and label. They’ll stay fresh for up to 3 months—just pull out a bar or two whenever you need a quick and fabulous treat.
Reheating
Enjoy bars straight from the freezer, or for a just-baked taste, microwave a Cookie Bar for about 10–15 seconds. The chocolate will get perfectly melty and the bar delightfully soft—almost like it’s fresh from the oven.
FAQs
Can I substitute chocolate chips with other mix-ins?
Absolutely! White chocolate, peanut butter chips, or chopped nuts are all fantastic additions. Mix and match your favorites for a unique batch every time.
What if I only have salted butter?
You can still make Cookie Bars! Just reduce the added salt in the recipe to a pinch, and you’ll be good to go—your bars will be a little more robust in flavor but still delicious.
Can I make these gluten-free?
Yes! Simply swap the all-purpose flour with a reliable 1:1 gluten-free blend. Check the package for xanthan gum, which helps mimic the texture of regular flour.
How do I get super soft Cookie Bars?
Aim to slightly underbake your bars—take them out when the center is just set and still looks a tiny bit glossy. Let them finish setting up as they cool for an ultra-soft, chewy treat.
Why did my bars turn out dry?
Overbaking is usually the culprit. Ovens can vary, so keep a close eye on your Cookie Bars in the last five minutes, and always check with a toothpick for the perfect soft crumb.
Final Thoughts
Homemade Cookie Bars are pure comfort—easy, satisfying, and downright crave-worthy. I hope you give this recipe a whirl! Whether you’re baking for loved ones or just for yourself, let these bars become your go-to sweet treat. Happy baking!
Print
Cookie Bars Recipe
- Prep Time: 15 minutes
- Cook Time: 30 minutes
- Total Time: 45 minutes
- Yield: 24 bars
- Category: Dessert
- Method: Baking
- Cuisine: American
- Diet: Vegetarian
Description
These delicious cookie bars are a perfect treat for any occasion. Chewy and packed with chocolate chips, they are easy to make and even easier to enjoy. Whip up a batch for your next gathering or as a sweet snack for the family.
Ingredients
Cookie Bars:
- 1 cup unsalted butter (softened)
- 1 cup granulated sugar
- 1 cup packed brown sugar
- 2 large eggs
- 2 tsp vanilla extract
- 2 1/2 cups all-purpose flour
- 1 tsp baking soda
- 1/2 tsp salt
- 2 cups semisweet chocolate chips
Instructions
- Preheat and Prepare: Preheat the oven to 350°F (175°C) and grease a 9×13-inch baking pan.
- Cream Butter and Sugars: In a large bowl, cream together the softened butter, granulated sugar, and brown sugar until light and fluffy.
- Add Eggs and Vanilla: Add the eggs one at a time, mixing well after each addition, then stir in the vanilla extract.
- Combine Dry Ingredients: In a separate bowl, whisk together the flour, baking soda, and salt. Gradually add the dry ingredients to the wet mixture until just combined.
- Fold in Chocolate Chips: Fold in the chocolate chips.
- Bake: Spread the dough evenly into the prepared baking pan. Bake for 25–30 minutes, or until the top is golden brown and a toothpick inserted in the center comes out clean.
- Cool and Serve: Let cool before cutting into bars.
Notes
- Feel free to swap in white chocolate chips, peanut butter chips, or add chopped nuts for variation.
- Store in an airtight container for up to 5 days.


