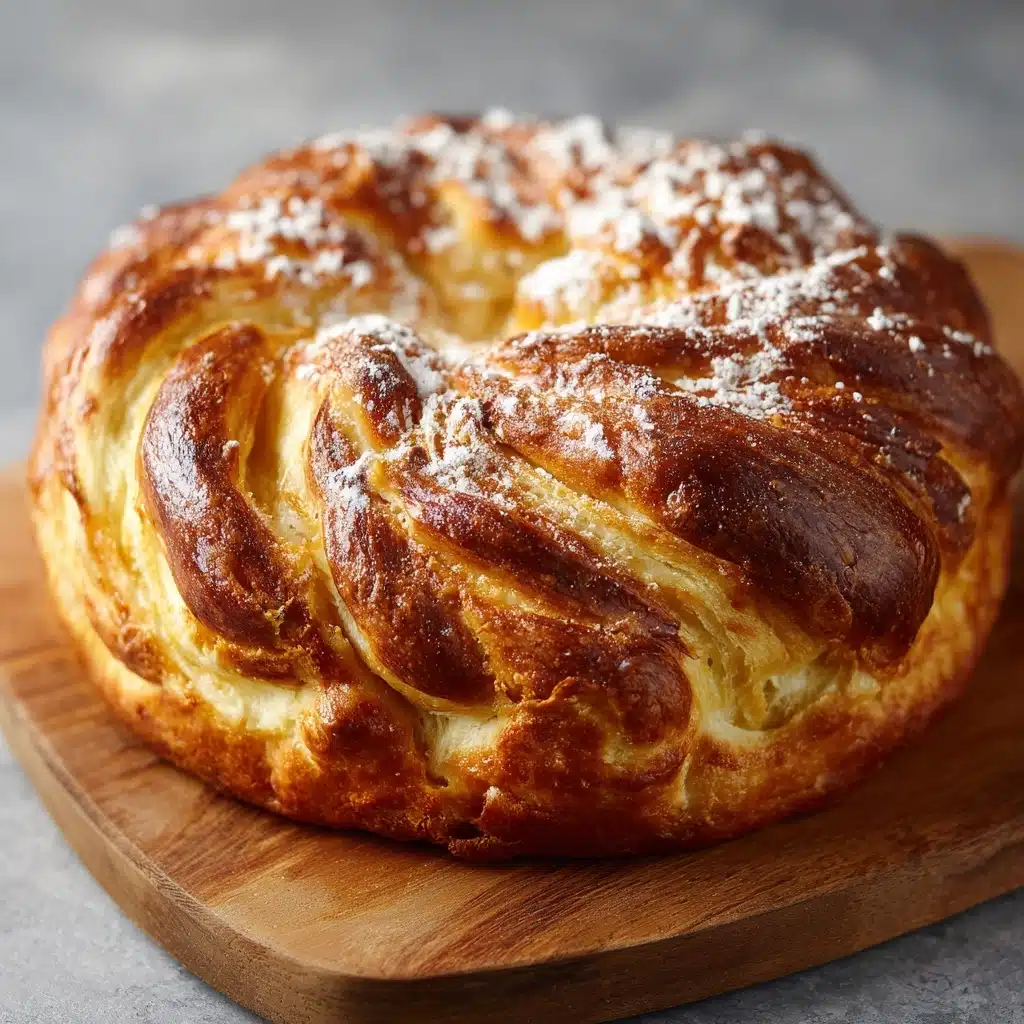
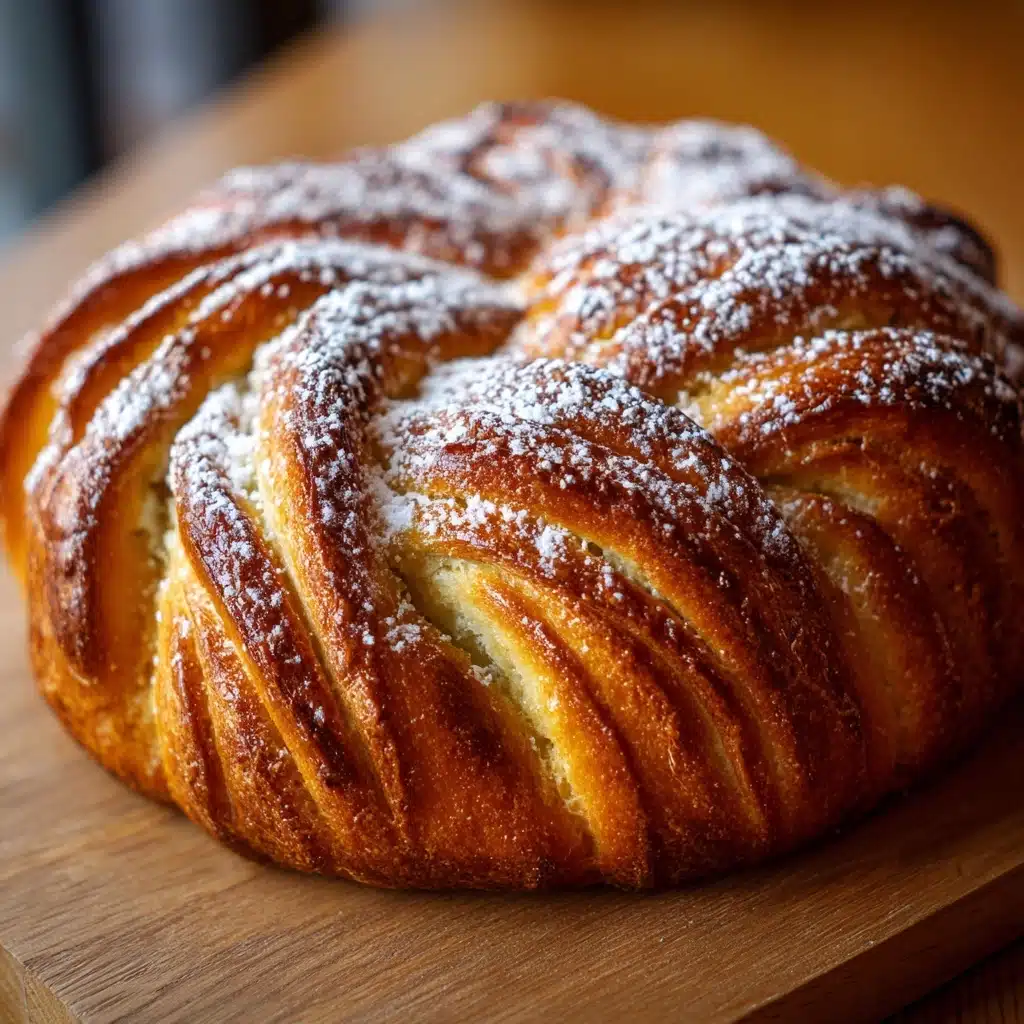
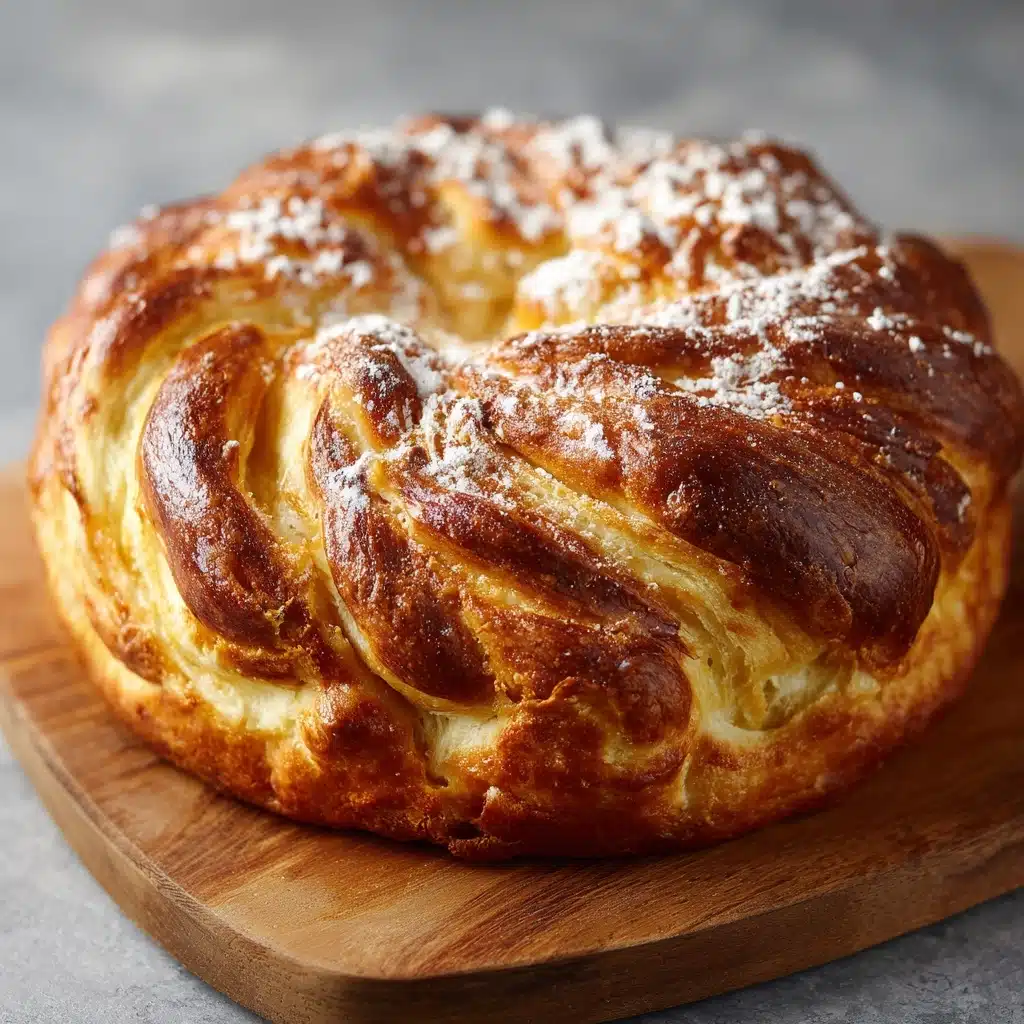
If you haven’t had Classic Ensaymada Bread before, you’re in for an absolute treat! This iconic Filipino sweet bread is outrageously soft, buttery, and fluffy, topped with lashings of creamy butter, a snowfall of sugar, and, best of all, a generous mountain of cheddar cheese. Whether it’s enjoyed with hot chocolate for merienda, given as a holiday gift, or devoured warm straight from the pan, Classic Ensaymada Bread always delivers the coziest comfort and a magical combination of sweet and salty flavors that never gets old.
Ingredients You’ll Need
The ingredients for Classic Ensaymada Bread are simple, but each one adds its own touch of richness, tenderness, or signature flavor. Don’t skip or skimp—the right ingredients are a must for that authentic, melt-in-your-mouth experience!
- All-purpose flour: The sturdy base that gives Classic Ensaymada Bread its structure and pillowy softness.
- Granulated sugar: Adds sweetness and helps feed the yeast for a high, airy rise.
- Salt: Balances sweetness and deepens the bread’s overall flavor.
- Active dry yeast: Makes the dough rise high and light—look for the foamy bubbles to know it’s alive and well!
- Warm milk: Adds tenderness, gives a subtly creamy flavor, and activates the yeast.
- Large egg yolks: Make the crumb extra rich and yellow—classic ensaymada magic!
- Unsalted butter (softened): Enriches the dough and ensures every bite tastes deliciously buttery.
- Water: Hydrates the dough just enough for perfect mixing and kneading.
- Butter (softened, for topping): The crowning glory—absolutely slather it on top once baked for a luscious finish.
- Granulated sugar (for topping): Adds sparkle and crunch that contrast beautifully with the soft bread.
- Grated cheddar cheese (for topping): The signature, bold, tangy-salty finish that balances the sweetness.
How to Make Classic Ensaymada Bread
Step 1: Activate the Yeast
Start by combining your warm milk and active dry yeast in a small bowl. Give it a quick stir and let it sit for 5 to 10 minutes. When you see lots of foam and bubbles form, you know your yeast is awake and raring to go—this step guarantees your Classic Ensaymada Bread will be extra fluffy and light.
Step 2: Mix the Dough
In a large mixing bowl, whisk together the flour, sugar, and salt. Now add your egg yolks, softened butter, and the bubbly yeast mixture from earlier. Mix everything together using a sturdy spoon or your hands, gradually drizzling in water as needed, until a soft, slightly sticky dough develops. This is where your bread starts to take life!
Step 3: Knead Until Smooth
Turn the dough onto a floured surface and knead for about 10 minutes, or just 5 minutes using a stand mixer with a dough hook. The dough should end up elastic and oh-so-smooth—this long kneading window is worth it for the perfect Classic Ensaymada Bread texture. If it sticks too much, add a sprinkle of flour as you go, but keep things soft.
Step 4: Let It Rise (First Proof)
Pop the dough into a greased bowl, cover it with a cloth or plastic wrap, and let it rise somewhere cozy for 1 to 1.5 hours. This is when all those tiny yeast bubbles create a billowy, doubled-in-size dough. Check in midway for the satisfying “puff” you’re hoping for!
Step 5: Shape the Ensaymada
Gently punch down the risen dough to release excess air, then divide it into 8 equal portions. Working one at a time, roll each into a long rope and coil it into a classic spiral or snail shell shape. This is how Classic Ensaymada Bread gets its signature, irresistible swirl!
Step 6: Second Rise
Arrange the shaped rolls on a greased or parchment-lined baking sheet, giving them room to puff up. Cover loosely and allow them to rise a second time for 30 to 45 minutes. This final rise ensures your bread bakes up ultra-soft and light inside.
Step 7: Bake to Golden Perfection
Preheat your oven to 350°F while the dough is finishing its final proof. Bake the rolls for 15 to 18 minutes, just until the tops are lightly golden and the kitchen smells amazing. A touch of color is perfect—these shouldn’t turn too dark.
Step 8: Butter, Sugar & Cheese Topping
As soon as the rolls have cooled slightly but are still a little warm, spread each one generously with softened butter. Sprinkle a snowy layer of granulated sugar over the tops, then let it rain with as much grated cheddar cheese as your heart desires. This is where the magic of Classic Ensaymada Bread truly comes alive!
How to Serve Classic Ensaymada Bread
Garnishes
For extra flair, consider adding a tiny sprinkle of powdered sugar or a few extra shards of sharp cheddar to the very top. If you’re feeling decadent, a dot of whipped butter can make every bite even more luxurious. No matter what, generous cheese is an absolute must for Authentic Classic Ensaymada Bread!
Side Dishes
Classic Ensaymada Bread pairs beautifully with rich hot chocolate, a piping hot cup of coffee, or even alongside sweet fruits like mangoes or bananas for a Filipino-style merienda. If you’re serving it for a celebration, try offering a platter with ham and queso de bola—the savory-sweet combos are out of this world.
Creative Ways to Present
Serve each ensaymada nestled in a pretty cupcake wrapper or wrap them up in parchment paper tied with twine for charming edible gifts. You can even make mini versions for parties or stack them high on a cake stand as an eye-catching brunch centerpiece. No matter how you display it, Classic Ensaymada Bread always steals the show!
Make Ahead and Storage
Storing Leftovers
Place any leftover Classic Ensaymada Bread in an airtight container at room temperature. They’ll stay soft for up to two days—just keep them covered and away from direct sunlight. The sugar and cheese toppings can melt or harden over time, but a quick warm-up brings the magic right back!
Freezing
Yes, you can freeze Classic Ensaymada Bread! Once fully cooled, wrap each roll tightly in plastic wrap and pop them into a freezer bag. They’ll keep happily for up to a month. When cravings strike, just thaw at room temperature or give them a gentle reheat for bakery-fresh results.
Reheating
To bring your Classic Ensaymada Bread back to its irresistibly warm and fluffy best, gently microwave a roll for about 10 to 15 seconds, or warm it in a low oven wrapped in foil. If the cheese topping looks a bit flat, sprinkle a little extra fresh cheese before reheating—the aroma alone is worth it!
FAQs
Can I use instant yeast instead of active dry yeast?
Absolutely! Instant yeast can be swapped in without blooming first, but you’ll still want to follow the same mixing and rising instructions. Keep an eye on the dough—sometimes instant yeast speeds things along, so your rises may be a touch quicker.
What’s the best substitute for Filipino-style cheddar cheese?
If you don’t have access to Filipino cheddar, try any sharp or aged cheddar. The key is to choose a cheese with robust flavor and good melting quality to capture the true spirit of Classic Ensaymada Bread.
Why is my dough so sticky?
This dough is naturally on the soft and sticky side—that’s the secret to its dreamy texture! If it’s really unworkable, add a sprinkle of flour, but be careful: too much flour can make the bread dense. Light greasing on your hands helps, too.
Can I shape these differently?
Yes! While the traditional swirl is classic, you can braid, knot, or even tuck little pieces of cheese into the center before rolling. The shape is all about fun and tradition, so feel free to make it your own.
Is it possible to make Classic Ensaymada Bread ahead of time?
Definitely! Shape the dough and refrigerate overnight for the second rise. The next morning, let them return to room temperature and rise fully, then bake as directed. This makes hosting or gifting super easy and stress-free.
Final Thoughts
There’s just something purely joyful about a tray of Classic Ensaymada Bread—every swirl, every buttery bite conjures the true spirit of Filipino comfort. Whether you’re new to this treat or reviving an old favorite, I hope you enjoy the process as much as the results. Gather your loved ones, brew some coffee, and let the aroma of baking ensaymada fill your home. You’re about to make something truly special!
Print
Classic Ensaymada Bread Recipe
- Prep Time: 25 minutes
- Cook Time: 18 minutes
- Total Time: 2 hours 30 minutes
- Yield: 8 pieces
- Category: Dessert
- Method: Baking
- Cuisine: Filipino
- Diet: Vegetarian
Description
Indulge in the classic Filipino sweet bread, Ensaymada, with its soft, buttery dough and generous toppings of cheese and sugar. This recipe guides you through making these delightful bread rolls from scratch.
Ingredients
Dough:
- 3 cups all-purpose flour
- 1/4 cup granulated sugar
- 1/2 teaspoon salt
- 2 1/4 teaspoons active dry yeast (1 packet)
- 1/2 cup warm milk
- 3 large egg yolks
- 1/4 cup unsalted butter, softened
- 1/4 cup water
Topping:
- 1/2 cup butter, softened (for topping)
- 1/2 cup granulated sugar (for topping)
- 1/2 cup grated cheddar cheese (for topping)
Instructions
- Making the Dough: In a small bowl, combine warm milk and yeast. Let sit for 5–10 minutes until foamy. In a large mixing bowl, combine flour, sugar, and salt. Add the egg yolks, softened butter, and yeast mixture. Knead until a soft dough forms, adding water as needed.
- Rising and Shaping: Let the dough rise for 1–1.5 hours, then divide into 8 portions. Roll each into a log, coil into a spiral shape, and place on a baking sheet. Let rise again for 30–45 minutes.
- Baking: Preheat oven to 350°F. Bake the rolls for 15–18 minutes until golden. Top with butter, sugar, and cheddar cheese.
Notes
- Traditional Ensaymada uses Filipino-style cheddar for its signature flavor.
- For a richer dough, use evaporated milk instead of water.
- Best enjoyed warm and can be reheated before serving.

