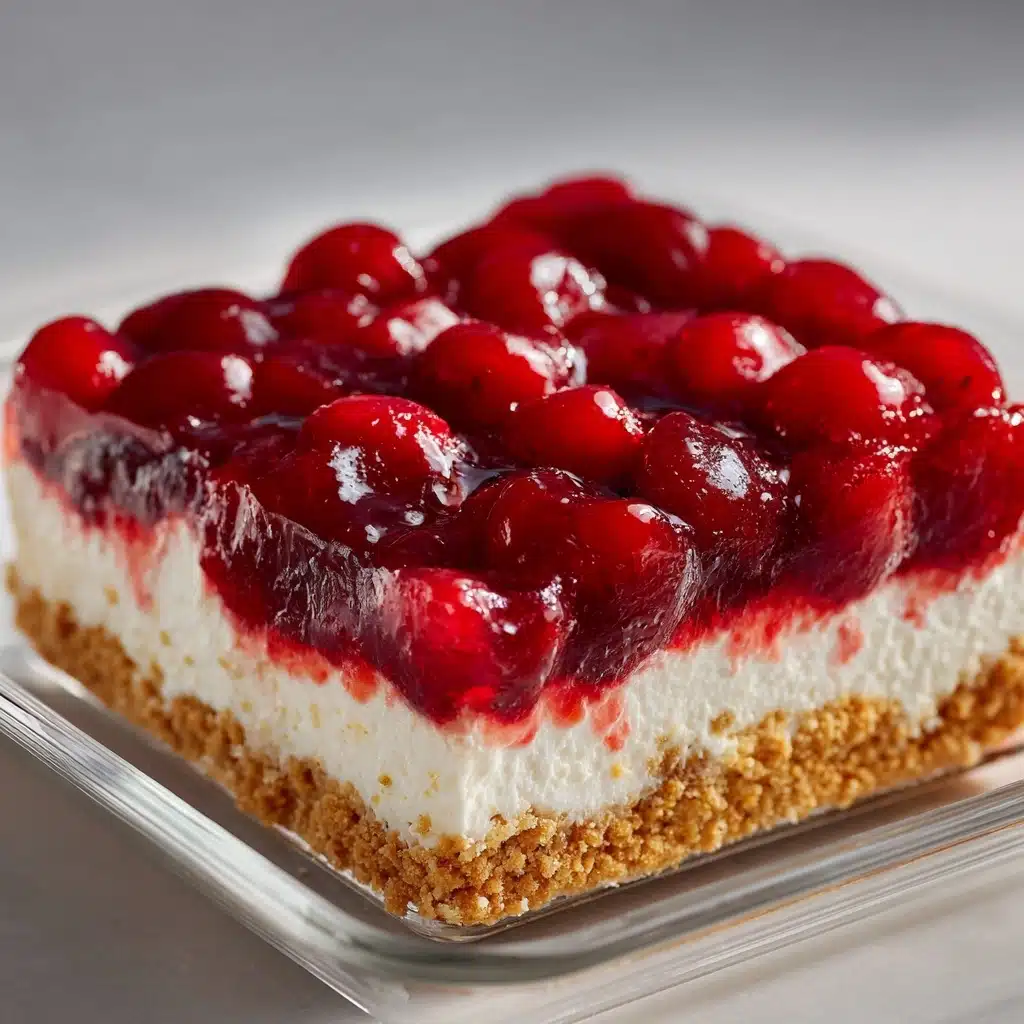
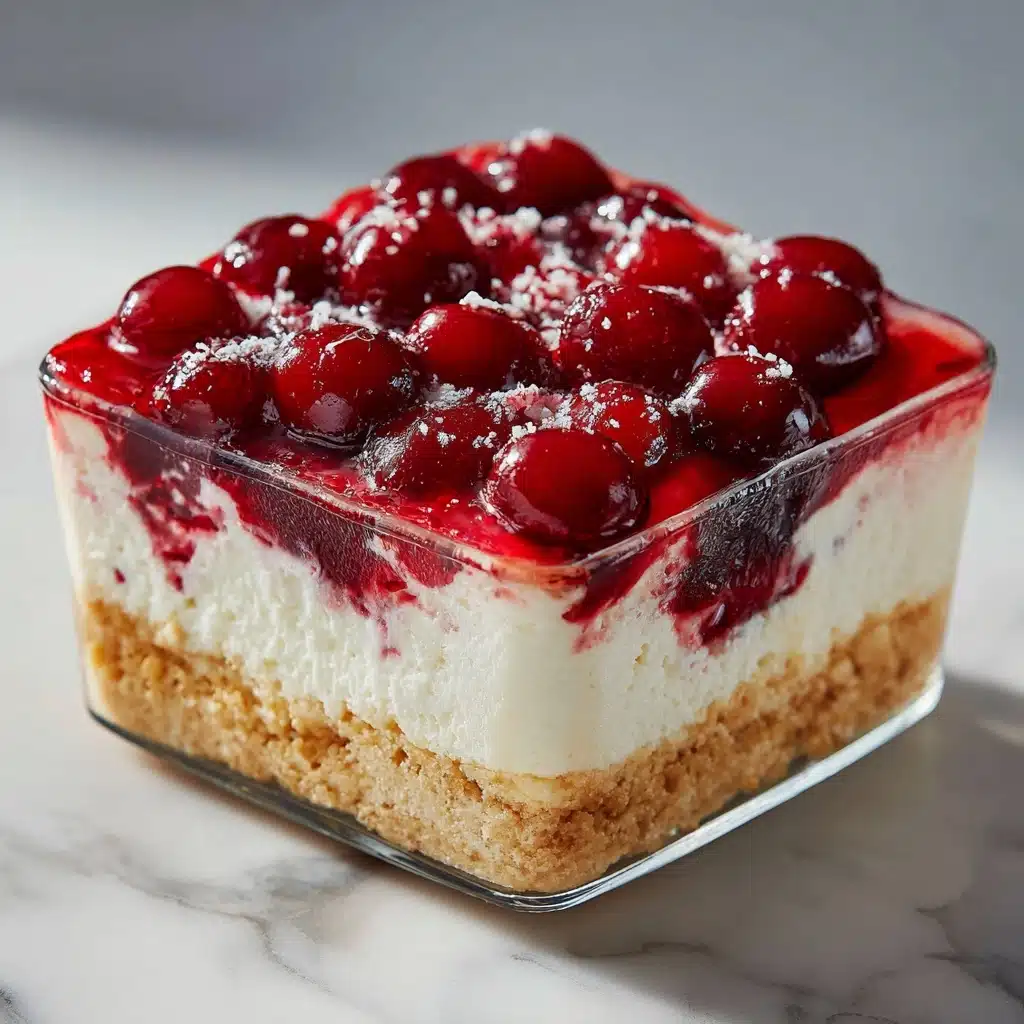
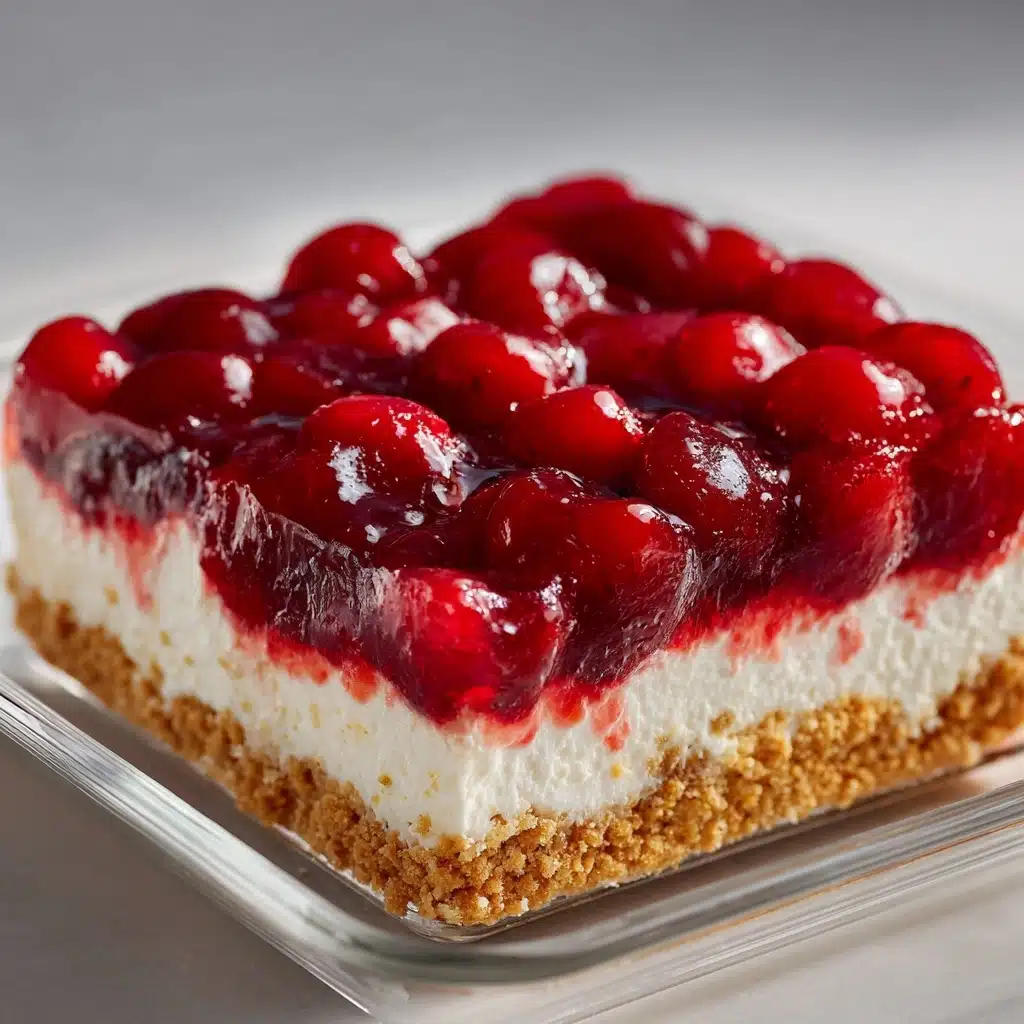
If you’re searching for a dessert that brings pure nostalgia to the table, look no further than Classic Cherry Delight. This brilliant no-bake treat features a buttery graham cracker crust, a silky, lemon-kissed cream cheese filling, and a glistening crown of cherry pie filling. Each layer comes together with ease, offering a vibrant, crowd-pleasing dessert perfect for potlucks, holidays, or anytime you crave something timeless and sweet.
Ingredients You’ll Need
Gather a handful of simple yet essential staples, because every ingredient in Classic Cherry Delight plays a role in making each bite unforgettable. This is proof that you don’t need fancy or hard-to-find items—just the good stuff that makes every scoop feel like a warm hug.
- Graham cracker crumbs: The toasty, sweet base that creates a sturdy yet tender foundation for all the layers.
- Unsalted butter, melted: Binds the crumbs and adds rich, buttery flavor to the crust.
- Granulated sugar: Just a touch is all you need to heighten the graham cracker sweetness and caramelize the crust slightly.
- Cream cheese, softened: The star of the filling, delivering tangy, creamy smoothness.
- Sweetened condensed milk: Ensures the filling is decadently sweet, lush, and silky with zero graininess.
- Lemon juice: Infuses a fresh zing to balance sweetness and brighten the flavor of the filling.
- Vanilla extract: Adds an inviting warmth and rounds out the creamy notes in the filling.
- Whipped topping (like Cool Whip): Folds into the filling for a light, cloud-like texture that’s easy to slice and serve.
- Cherry pie filling: The grand finale—providing jewel-toned color, juicy cherries, and that classic sweet-tart finish on top.
How to Make Classic Cherry Delight
Step 1: Mix the Graham Cracker Crust
In a medium bowl, combine the graham cracker crumbs, melted butter, and granulated sugar. Use a fork or your hands to mix until all the crumbs are evenly coated and the texture feels like wet sand—this helps the crust remain sturdy once chilled.
Step 2: Press the Crust
Pour the crumb mixture into a 9×13-inch baking dish. Press it down firmly and evenly using the bottom of a measuring cup or glass. Getting an even, compact base is key to ensuring the dessert holds up beautifully when sliced.
Step 3: Whip the Cream Cheese Filling
In a large bowl, beat the softened cream cheese until light and fluffy. Add in the sweetened condensed milk, lemon juice, and vanilla extract, then continue to beat until everything is seamlessly combined and looks glossy and smooth—aim for silkiness here so your filling melts perfectly in your mouth.
Step 4: Fold in the Whipped Topping
Gently fold the whipped topping into the cream cheese mixture. Take your time with this step; slow folding ensures the filling is airy and smooth, never heavy. It should look billowy and evenly blended with no streaks left behind.
Step 5: Assemble and Chill
Spread the cream cheese filling evenly over the prepared crust. Next, carefully spoon the cherry pie filling over the top, ensuring cherries and syrup are distributed in an inviting, ruby-red layer. Cover your dish, then chill in the refrigerator for at least 4 hours (overnight if you can wait!), so every bite is perfectly set.
How to Serve Classic Cherry Delight
Garnishes
Top each slice with a crown of extra whipped topping, a sprinkle of graham cracker crumbs, or even a fresh cherry for that restaurant-style flourish. A little dusting of lemon zest also does wonders to bring out the brightness in the filling.
Side Dishes
Serve Classic Cherry Delight alongside a light espresso or a glass of cold milk for contrast. If you want to build a sweet table, match it with other no-bake delights or fresh fruit salad for a popping color contrast and palate cleanser.
Creative Ways to Present
Try making individual mini delights by layering the crust, cream cheese filling, and cherry topping in small mason jars or clear cups. These portable treats look elegant on a dessert table and are perfect for picnics or parties—plus, everyone loves their own personal portion!
Make Ahead and Storage
Storing Leftovers
Keep leftover Classic Cherry Delight tightly covered in the refrigerator. It stays beautifully fresh and delicious for up to 4 days. The flavors meld even more as it chills, making the next-day slices extra dreamy.
Freezing
You can freeze the assembled dessert (without the cherry layer if desired) for up to one month. Thaw in the refrigerator and add the cherry topping just before serving for the freshest flavor and appearance.
Reheating
This dessert is best enjoyed cold—no reheating necessary! If it’s been in the freezer, give it a few hours in the fridge to thaw gently for the creamiest result.
FAQs
Can I use fresh cherries instead of canned pie filling?
Absolutely! You can cook down fresh cherries with a bit of sugar and lemon juice to create your homemade topping, which tastes incredible and adds a personal touch to your Classic Cherry Delight.
Is there a way to make this dessert lighter?
For a lighter take, consider using light cream cheese, low-fat sweetened condensed milk, and a lite version of whipped topping. It still comes out creamy and satisfying, with fewer calories.
What can I use instead of graham cracker crumbs?
If graham crackers aren’t on hand, crushed digestive biscuits, vanilla wafers, or even shortbread cookies make a fantastic swap for the crust of Classic Cherry Delight.
Can I make Classic Cherry Delight ahead of time?
Yes! This dessert is perfect for making a day or two ahead—just keep it chilled and wait to add garnishes until before serving for the best presentation.
Will the crust get soggy if left overnight?
No worries! The butter and sugar in the crust help keep it crisp for several days when refrigerated, so Classic Cherry Delight holds up beautifully even after being made in advance.
Final Thoughts
If you’re after a reliable, old-fashioned treat that’s as easy as it is crowd-pleasing, you simply can’t go wrong with Classic Cherry Delight. From its buttery base to the dreamy cream and juicy cherries, it’s a dessert that truly deserves a spot in everyone’s recipe collection. Give it a try and let it sweeten up your next gathering!
Print
Classic Cherry Delight Recipe
- Prep Time: 15 minutes
- Cook Time: 0 minutes
- Total Time: 4 hours 15 minutes (including chilling time)
- Yield: 12 servings
- Category: Dessert
- Method: No-Bake
- Cuisine: American
- Diet: Non-Vegetarian
Description
Indulge in the creamy, fruity goodness of this Classic Cherry Delight dessert! A luscious no-bake treat with a graham cracker crust, velvety cream cheese filling, and a vibrant cherry topping.
Ingredients
Graham Cracker Crust:
- 1 1/2 cups graham cracker crumbs
- 1/2 cup unsalted butter, melted
- 1/4 cup granulated sugar
Creamy Filling:
- 1 (8 oz) package cream cheese, softened
- 1 (14 oz) can sweetened condensed milk
- 1/4 cup lemon juice
- 1 teaspoon vanilla extract
- 1 (8 oz) container whipped topping (like Cool Whip)
Topping:
- 1 (21 oz) can cherry pie filling
Instructions
- Prepare the Crust: Combine graham cracker crumbs, melted butter, and sugar. Press into a 9×13-inch dish.
- Make the Filling: Beat cream cheese until smooth. Add condensed milk, lemon juice, and vanilla. Fold in whipped topping.
- Assemble: Spread filling over crust. Top with cherry pie filling.
- Chill and Serve: Refrigerate for at least 4 hours before slicing.
Notes
- Experiment with different pie fillings like blueberry or strawberry for variety.
- Layer the dessert in individual cups for a fun presentation.

