

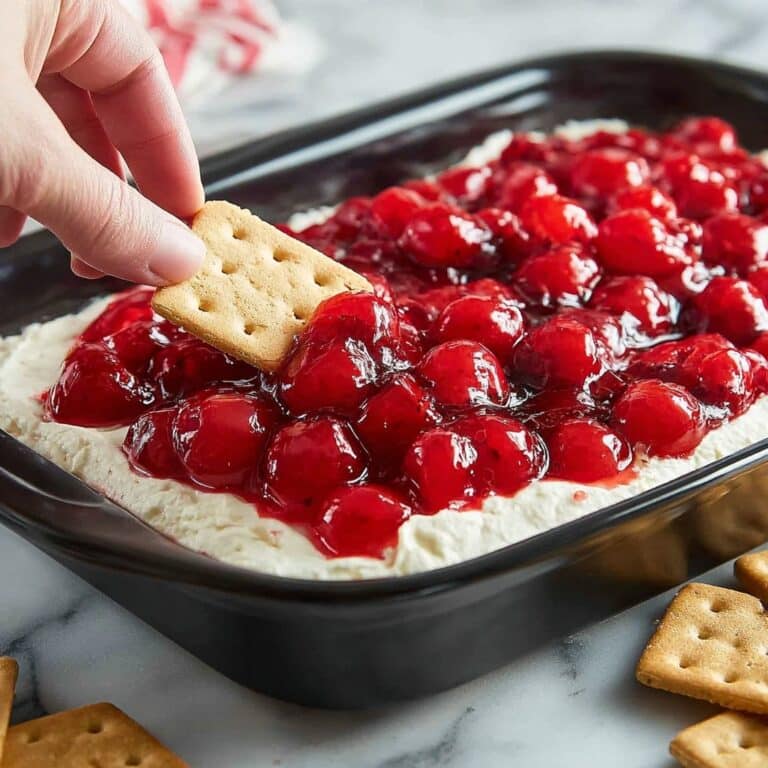
Let me tell you, if there’s one dessert guaranteed to be the highlight of your holiday table, it’s the Christmas Poke Cake. This easy, festive cake is a showstopper with its vibrant swirls of red and green, hidden beneath a fluffy layer of whipped topping. Every colorful slice is as merry as it is delicious, with bites of tangy gelatin and sweet, moist cake that perfectly capture the flavors—and joy!—of Christmas. Whether you’re baking with family or need something impressive yet simple for a gathering, this cake will instantly become a new seasonal tradition.

Ingredients You’ll Need
The beauty of this Christmas Poke Cake is how just a handful of simple ingredients combine to create pure magic. Each one helps build layers of flavor, color, and the signature poke cake texture everyone loves.
- 1 box white cake mix (plus ingredients on box): The base for our festive cake—delicate, fluffy, and the perfect canvas for those bright gelatin colors.
- 1 (3 oz) box red gelatin (strawberry or cherry): Adds a bold pop of holiday color and sweet berry flavor throughout half the cake.
- 1 (3 oz) box green gelatin (lime): Brings a zesty, tangy twist and eye-catching green to the other side of the cake.
- 2 cups boiling water (divided): Essential to dissolve each gelatin mix so it seeps beautifully into the cake holes.
- 1 cup cold water (divided): Helps set the gelatin so the cake gets that signature, moist-yet-firm texture.
- 1 (8 oz) tub whipped topping (like Cool Whip): Cool, creamy, and cloud-like, this layer brings the festive cake together.
- Red and green sprinkles or crushed peppermint for garnish: A finishing touch that makes each slice look and taste extra special—let your creativity shine here!
How to Make Christmas Poke Cake
Step 1: Prepare and Bake the Cake
First things first: Mix up your white cake batter according to the instructions on the box, using the recommended eggs, oil, and water. Pour this into a greased 9×13-inch baking dish, then bake until golden and springy. This base should be light and neutral so our festive colors really pop!
Step 2: Cool and Poke
Let the cake cool for about 15 to 20 minutes. Once it’s cool enough to handle but still slightly warm, use the handle of a wooden spoon to poke holes all across the cake, spacing them about an inch apart. Don’t hold back—it’s these holes that soak up the gelatin and create that signature Christmas Poke Cake look!
Step 3: Make and Pour the Gelatin
While the cake is cooling, prepare the gelatin in separate bowls. Stir 1 cup boiling water into each gelatin flavor, mixing until dissolved. Then add 1/2 cup cold water to both bowls. Carefully spoon the red gelatin over half the holes and the green over the other half, using your spoon to control placement so you get that lovely color contrast.
Step 4: Chill to Set the Colors
Place the cake in the fridge for at least 2 hours. This crucial downtime lets the gelatin set in those pockets you created, transforming an ordinary cake into a marbled masterpiece! Try not to peek—you want the colors to really settle in.
Step 5: Top with Whipped Topping
When the cake is fully chilled, it’s time for the best part: the cloud of whipped topping. Dollop the whipped topping across the cake, then gently spread it into an even, airy layer that covers every inch.
Step 6: Decorate and Serve
Sprinkle on a generous handful of red and green sprinkles, or go festive with crushed peppermint candies right before serving. This not only boosts the holiday spirit but also adds a subtle crunch. Slice and reveal the surprise inside—get ready for oohs and aahs!
How to Serve Christmas Poke Cake

Garnishes
This cake begs for a little flourish! I love scattering red and green sprinkles over the whipped topping for sparkle, but crushed peppermint, chocolate curls, or even edible glitter make beautiful alternatives. The right garnish makes your Christmas Poke Cake both festive and fun.
Side Dishes
Because the cake is sweet, pair it with something light. A fruit salad—think tart kiwi and mandarin oranges—or a platter of fresh berries complement every bite. For a cozy touch, serve with mugs of hot cocoa or peppermint tea.
Creative Ways to Present
If you want to wow your guests, try cutting the cake into bite-sized cubes and layering them with extra whipped topping in mini trifle glasses. Or use Christmas cutters to make holiday-shaped pieces! However you serve it, the colors will shine through.
Make Ahead and Storage
Storing Leftovers
Cover any leftover cake tightly with plastic wrap or a lid and refrigerate. It’ll stay moist and delicious for up to four days—perfect for easy holiday snacking straight from the fridge!
Freezing
You can freeze Christmas Poke Cake for up to two months. Wrap individual pieces tightly, preferably before adding the whipped topping. Thaw in the refrigerator overnight, then top with whipped topping and fresh garnishes before serving to preserve the best texture.
Reheating
No reheating necessary! This cake is meant to be served chilled, straight from the fridge. If you’ve just frozen and thawed it, give it a little time to chill so it’s pleasantly cool but not icy.
FAQs
Can I use different flavors of gelatin?
Absolutely! Feel free to swap in raspberry, orange, or blue raspberry for other holidays or personal preferences. Just keep with the theme for the look you want—the traditional Christmas Poke Cake relies on its red and green hues.
Is it possible to make Christmas Poke Cake from scratch instead of a mix?
Yes, you can bake a homemade white cake if you prefer! Just prepare your favorite white cake recipe in a 9×13-inch dish, then continue with the rest of the poke cake steps as outlined.
Can I use fresh whipped cream instead of whipped topping?
For sure—freshly whipped cream (stabilized with a little powdered sugar and vanilla) is a wonderful upgrade. It won’t last quite as long as store-bought topping, so cover and serve within a day or two for best results.
How do I get the gelatin colors to look sharp and vivid?
Take your time spooning the gelatin mixtures into the cake holes. Use a piping bag for extra precision or a steady spoon for crisp, colorful stripes—it’s fun to see the colors come alive when you cut the cake!
Can I decorate Christmas Poke Cake in advance?
You can spread on the whipped topping up to a day ahead, but save sprinkles and peppermint candy for just before serving. This way, your garnishes will stay bright and crunchy, not soft or melty.
Final Thoughts
This Christmas Poke Cake is pure holiday cheer on a plate, combining nostalgic flavors with a modern, show-stopping look. I hope you and your loved ones make delicious memories with this easy, incredibly fun dessert. If you try it, let your creativity run wild and enjoy every colorful, festive slice!
Print
Christmas Poke Cake Recipe
- Prep Time: 20 minutes
- Cook Time: 30 minutes
- Total Time: 2 hours 50 minutes (including chilling)
- Yield: 12 servings
- Category: Dessert
- Method: Baking
- Cuisine: American
- Diet: Non-Vegetarian
Description
Celebrate the holidays with this festive Christmas Poke Cake. A colorful and delicious dessert that’s perfect for spreading cheer at your holiday gatherings.
Ingredients
White Cake:
- 1 box white cake mix (plus ingredients on box)
Gelatin Layers:
- 1 (3 oz) box red gelatin (strawberry or cherry)
- 1 (3 oz) box green gelatin (lime)
- 2 cups boiling water (divided)
- 1 cup cold water (divided)
Topping:
- 1 (8 oz) tub whipped topping (like Cool Whip)
- Red and green sprinkles or crushed peppermint for garnish
Instructions
- Prepare the White Cake: Prepare the white cake mix according to package instructions and bake in a greased 9×13-inch baking dish. Allow the cake to cool for 15–20 minutes.
- Poke Holes: Using the handle of a wooden spoon, poke holes all over the cake, spacing about an inch apart.
- Prepare Gelatin: In separate bowls, mix each gelatin flavor with 1 cup of boiling water, stirring until dissolved. Add 1/2 cup cold water to each.
- Add Gelatin to Cake: Carefully pour the red gelatin mixture over half the holes and the green gelatin over the other half, using a spoon to help control the placement. Refrigerate the cake for at least 2 hours to set.
- Add Topping: Once chilled, spread whipped topping evenly over the cake. Decorate with red and green sprinkles or crushed peppermint candies just before serving.
Notes
- Use a piping bag for more precise gelatin placement if desired.
- Store covered in the refrigerator for up to 4 days.


