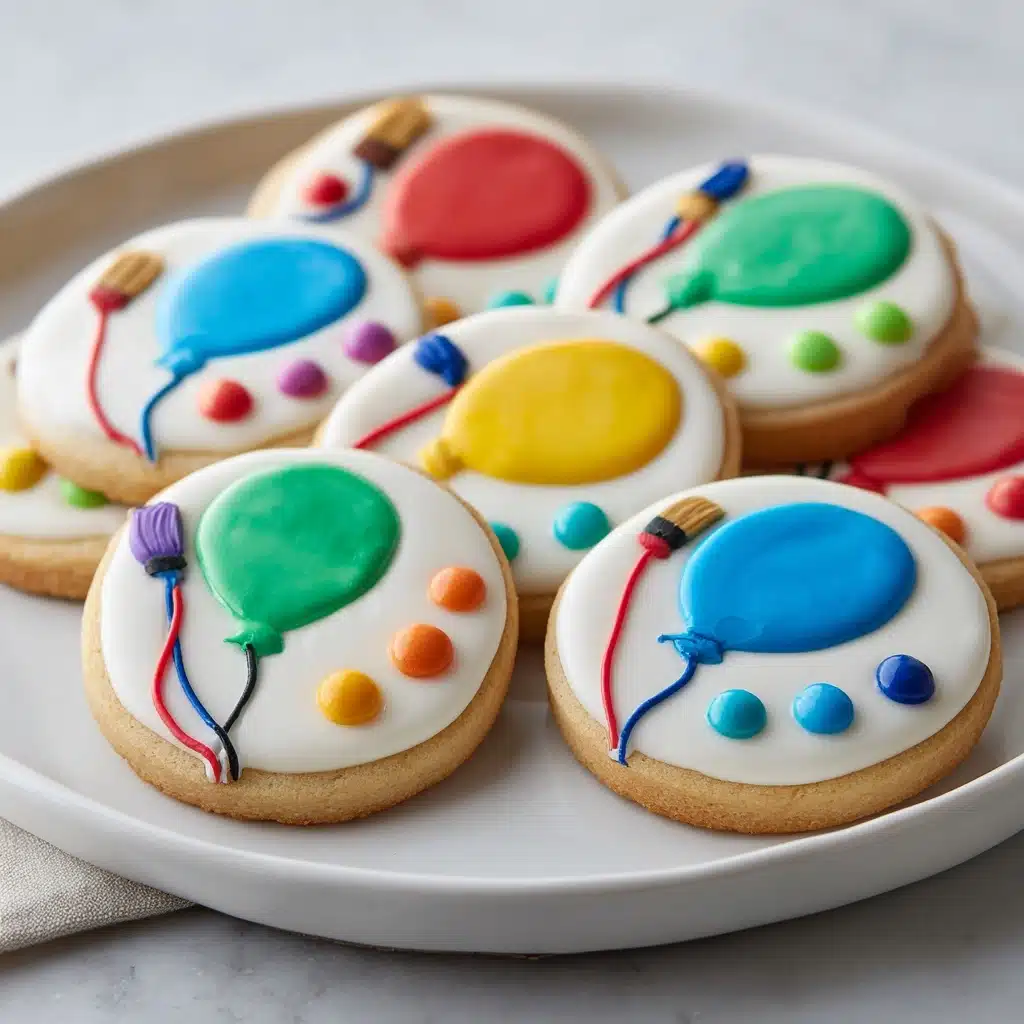
If the holidays had a signature sweet, Christmas Lights Royal Icing Sugar Cookies would be it! Imagine a sugar cookie base that’s both tender and buttery, topped with glossy royal icing and tiny, colorful “lights” twinkling across the top. These cookies are as fun to make as they are to eat and they instantly brighten any holiday table. Even if you’ve never piped a design before, you’ll soon discover just how easy (and delightfully rewarding) it is to transform simple ingredients into pure Christmas joy.
Ingredients You’ll Need
The magic of Christmas Lights Royal Icing Sugar Cookies starts with pantry staples, but each ingredient truly shines in its role. Together, they create a cookie that’s soft, flavorful, and perfect for decorating. Here’s what you’ll need and why you’ll love using each one:
- All-purpose flour: The backbone of the cookie, gives structure and just the right amount of chewiness.
- Baking powder: Adds a subtle lift for a slightly puffy cookie that holds its shape.
- Salt: Just enough to balance the sweetness and bring all the flavors together.
- Unsalted butter (softened): Creamy and rich, it creates a melt-in-your-mouth texture and delicious flavor.
- Granulated sugar: Sweetens the dough and helps give cookies those delicately golden edges.
- Large egg: Binds everything together while adding tenderness.
- Vanilla extract: Adds classic holiday warmth and aroma.
- Almond extract: A touch of nutty depth that takes the flavor up a notch.
- Powdered sugar: Essential for a smooth, glossy royal icing that hardens perfectly for decorating.
- Meringue powder: Gives structure and shine to the icing, so decorations hold up beautifully.
- Water: Adjusts the icing’s consistency just right for outlining and flooding.
- Gel food coloring (various colors): For lights that pop and a truly festive look—gel gives vibrant color without thinning the icing.
- Black food coloring or edible marker: For that signature “string” that ties the whole design together with a playful touch.
How to Make Christmas Lights Royal Icing Sugar Cookies
Step 1: Mix the Dry Ingredients
Start by whisking together the flour, baking powder, and salt in a medium bowl. It may seem like a basic step, but this simple action ensures your cookies bake up nice and even, and prevents dry pockets in your dough—it’s worth the extra minute!
Step 2: Cream the Butter and Sugar
In a large bowl, cream together your softened butter and granulated sugar until light and fluffy. This is where the irresistible texture of these Christmas Lights Royal Icing Sugar Cookies begins—take a couple extra minutes to mix until the butter is almost pale and airy.
Step 3: Add Flavors and Egg
Beat in the egg, vanilla extract, and almond extract until everything is silky smooth. The vanilla smells like pure holiday spirit, while the almond adds an extra pop of bakery-style flavor that really sets these cookies apart.
Step 4: Combine the Wet and Dry Mixes
Gradually add the dry ingredients to the butter mixture. Stir until a soft dough forms, scraping down the sides so nothing is left behind. The dough should be easy to work with and not sticky—if it feels too soft, a quick chill in the fridge will help!
Step 5: Chill and Shape the Dough
Divide the dough into two disks, wrap them in plastic wrap, and chill for at least an hour. This step is the secret to crisp edges and easy cutting. Once chilled, roll the dough out to about 1/4 inch thick on a floured surface and cut into your favorite bulb or oval shapes.
Step 6: Bake to Perfection
Transfer the cookies to a parchment-lined baking sheet and bake at 350°F (175°C) for about 8–10 minutes, just until the edges are barely golden. Don’t overbake—these cookies should stay soft and pale. Let them cool completely before you unleash your inner decorator!
Step 7: Make and Color the Royal Icing
While the cookies cool, whip up the royal icing by beating powdered sugar, meringue powder, and water together. Start slow, then kick up the speed and beat until it holds stiff peaks (about 5 minutes). Divide the icing into separate bowls and tint each with gel food coloring for your lights and a small portion black for the string.
Step 8: Decorate Like a Pro
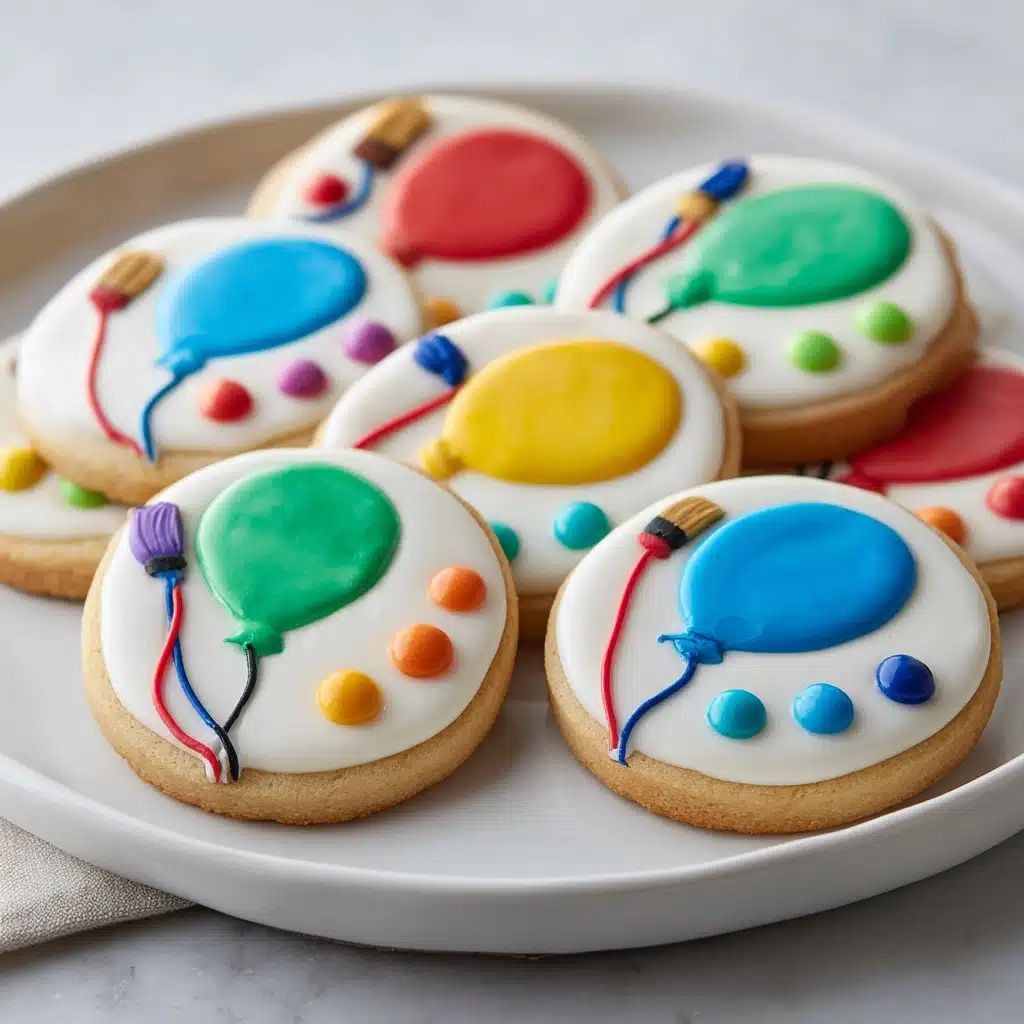
Outline and flood your cookies with a base layer of white icing—patience is key here, let this layer dry completely for a smooth canvas. Pipe or draw a black “string” across each cookie, then dot on colorful “lights” using your tinted royal icing. You can use small round sprinkles instead of icing dots for a quick, playful look. Leave the decorated cookies out for several hours or overnight to completely dry before stacking or packaging.
How to Serve Christmas Lights Royal Icing Sugar Cookies
Garnishes
For a magical holiday effect, a gentle dusting of edible glitter or sparkling sugar over the surface of your finished cookies brings out the twinkle factor. Mini gold star sprinkles beside a few lights add a sweet celestial touch, making your Christmas Lights Royal Icing Sugar Cookies truly look like they belong at the North Pole.
Side Dishes
These cookies pair so beautifully with mugs of hot cocoa, spicy chai, or a cozy cup of coffee. For a full dessert display, arrange them alongside peppermint bark, chocolate fudge, or other festive treats for a Christmas cookie platter that guests will rave about all season.
Creative Ways to Present
Get playful with presentation! Place your Christmas Lights Royal Icing Sugar Cookies in cellophane bags tied with colorful ribbon for sweet edible gifts. Stack them in a clear jar for a homemade hostess present, or create a dazzling centerpiece by arranging the cookies on a cake stand surrounded by mini ornaments and pine branches.
Make Ahead and Storage
Storing Leftovers
Once fully dry, your cookies can be stored in an airtight container at room temperature for up to a week. Layer sheets of parchment paper between them to keep the icing beautiful and un-smudged—these cookies are excellent for making ahead before the holiday rush!
Freezing
Both undecorated cookies and finished, fully dried Christmas Lights Royal Icing Sugar Cookies freeze wonderfully. Place them in a single layer on a baking sheet to freeze, then transfer to airtight bags or containers with parchment between layers. Thaw at room temperature, uncovered, for best results.
Reheating
You don’t need to reheat these cookies, but if you want to refresh their texture, a quick 10 seconds in the microwave (undecorated cookies only) brings back some softness. For decorated cookies, just let them thaw at room temperature and enjoy their irresistible, homemade charm.
FAQs
Can I make the dough ahead of time?
Absolutely! The dough for Christmas Lights Royal Icing Sugar Cookies can be made up to two days in advance and stored, tightly wrapped, in the fridge. You can also freeze dough disks for longer storage—simply thaw in the refrigerator before rolling out.
Why chill the cookie dough?
Chilling helps firm up the butter and lets the flavors meld, which prevents the cookies from spreading too much while baking and makes them easier to cut and shape.
How do I get vibrant icing colors?
Gel food coloring is the secret! It offers strong color without watering down your icing so your “lights” on the Christmas Lights Royal Icing Sugar Cookies will shine in all their festive glory.
Is it okay to use an edible marker for the string?
Yes, and it’s a fantastic time-saver. Once the base icing is dry, edible black markers work beautifully for drawing those whimsical strings—especially helpful if you’re baking with little ones or want precise detailing.
How do I prevent royal icing from running off the cookie?
Start with a thick, pipeable consistency for outlining, then thin a portion with a little more water for flooding inside the outline. Make sure the outline dries briefly before adding the flood icing so each cookie holds its shape perfectly.
Final Thoughts
If you’ve been searching for a festive treat that doubles as edible art, you will absolutely love making Christmas Lights Royal Icing Sugar Cookies. They turn any ordinary afternoon into a joyful crafting session—and the payoff is as sweet to see as it is to eat. Gather your favorite colors and cookie cutters, invite a friend or two, and start your own holiday cookie masterpiece tradition!
Print
Christmas Lights Royal Icing Sugar Cookies Recipe
- Prep Time: 30 minutes
- Cook Time: 10 minutes
- Total Time: 1 hour 40 minutes
- Yield: 24 cookies
- Category: Dessert
- Method: Baking
- Cuisine: American
- Diet: Vegetarian
Description
These Christmas Lights Royal Icing Sugar Cookies are a festive and fun treat perfect for the holiday season. The buttery cookies are topped with colorful royal icing ‘lights’ and make a beautiful addition to any Christmas gathering.
Ingredients
For the cookies:
- 2¾ cups all-purpose flour
- 1 teaspoon baking powder
- ½ teaspoon salt
- 1 cup unsalted butter (softened)
- 1 cup granulated sugar
- 1 large egg
- 1½ teaspoons vanilla extract
- ½ teaspoon almond extract
For the royal icing:
- 4 cups powdered sugar
- 3 tablespoons meringue powder
- 6 tablespoons water (plus more as needed)
- gel food coloring (various colors for lights)
- black food coloring or edible marker for the string
Instructions
- Preheat oven and prepare dough: Preheat oven to 350°F (175°C) and line baking sheets. Whisk flour, baking powder, and salt together. Cream butter and sugar, beat in egg and extracts, then mix in dry ingredients to form dough. Chill dough for at least 1 hour.
- Roll and bake: Roll out chilled dough, cut into shapes, and bake for 8–10 minutes until edges are golden. Cool completely.
- Make royal icing: Beat powdered sugar, meringue powder, and water until stiff peaks form. Thin as needed and color with gel food coloring.
- Decorate cookies: Outline and flood cookies with white icing, let dry. Add black string, then dot colored icing along the string. Let dry before serving.
Notes
- Royal icing needs time to dry fully for best results, preferably several hours or overnight.
- For better decorating control, use squeeze bottles or piping bags with fine tips.

