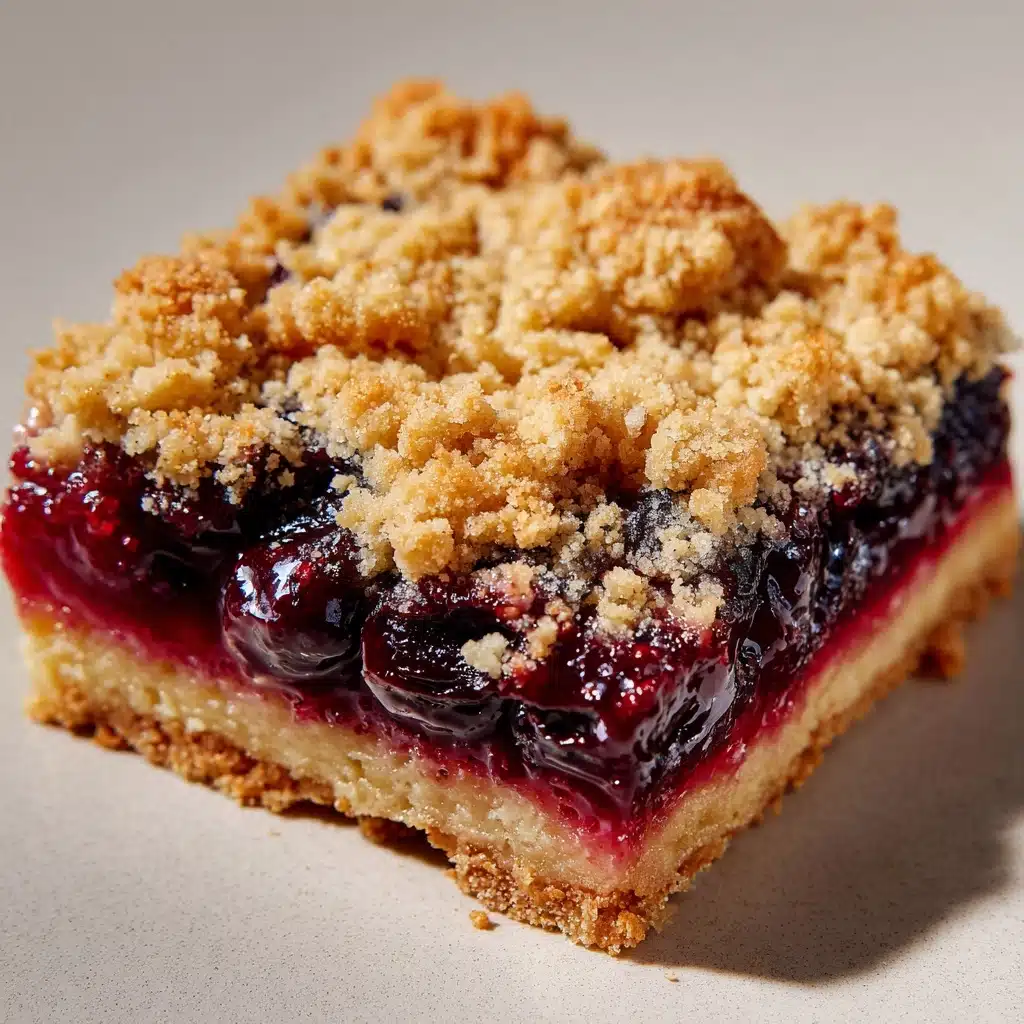
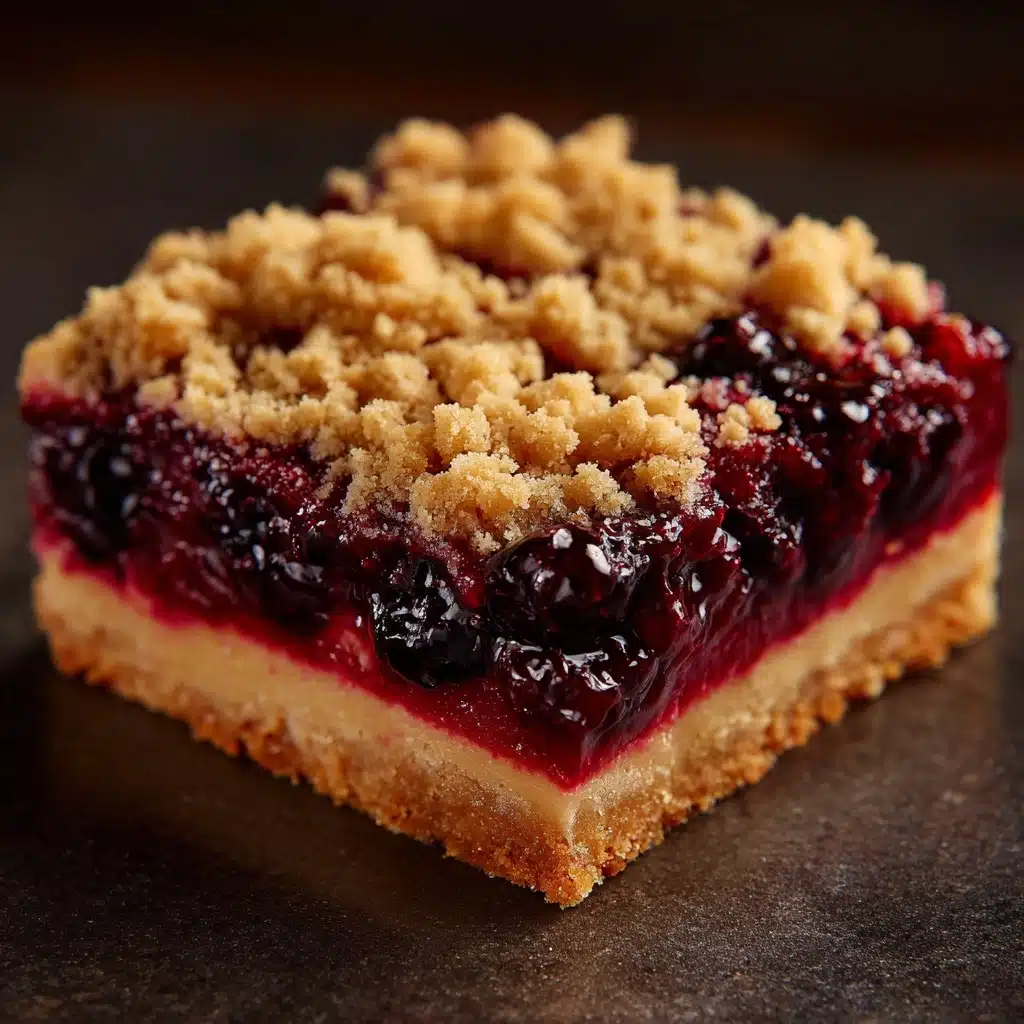
If ever there were a dessert to capture the twinkle of the season, Christmas Cherry Cheesecake Bars are it! These bars start with a buttery graham cracker crust, segue into a luxuriously creamy cheesecake layer, and finish with a glossy cherry pie topping—each bite delivering festive magic and just the right amount of sweet tang. Whether you’re hosting a family gathering or making treats for neighbors, these bars bring cheer with every luscious, cherry-studded square.
Ingredients You’ll Need
This recipe comes together with a handful of classic baking staples, each playing a starring role in texture, taste, or those eye-catching pops of color. Simple ingredients, when treated with care and a touch of holiday spirit, turn into something worthy of your Christmas dessert table.
- Graham cracker crumbs: Provide the crunchy, slightly sweet base that perfectly supports the creamy layers on top.
- Unsalted butter (melted): Helps bind the crust and adds a rich, buttery flavor that complements both cheesecake and cherries.
- Granulated sugar: Used in both crust and filling for ideal sweetness and a pleasant hint of crunch in the base.
- Cream cheese (softened): The heart and soul of these Christmas Cherry Cheesecake Bars, lending a velvety, tangy layer that contrasts the sweet topping.
- Eggs: Bind and smooth the cheesecake, creating a creamy structure that slices beautifully.
- Vanilla extract: Adds classic warmth and depth, rounding out the rich flavors of the filling.
- Sour cream: Infuses a gentle tang, ensuring the filling stays ultra-creamy and never too heavy.
- Cherry pie filling: The jewel-bright crown for these bars, giving them their signature festive look and burst of fruity flavor.
- Festive sprinkles or white chocolate drizzle (optional): These finishing touches add whimsy and a little extra charm—perfect for a celebratory table.
How to Make Christmas Cherry Cheesecake Bars
Step 1: Prepare the Pan
Begin by preheating your oven to 325°F (160°C). Line a 9×13-inch baking pan with parchment paper, extending it over the edges for easy lifting later. This simple step ensures the bars will come out of the pan cleanly and retains the beautiful layers intact for serving.
Step 2: Mix and Press the Crust
In a medium bowl, stir together the graham cracker crumbs, melted butter, and granulated sugar until the mixture looks like wet sand. Scoop it into your prepared pan and press it evenly and firmly with the bottom of a measuring cup or your hands. The tighter you press, the less likely the crust is to crumble when slicing the finished bars.
Step 3: Make the Cheesecake Filling
Using a hand mixer or stand mixer, beat the softened cream cheese and sugar until completely smooth and creamy—no lumps allowed! Add the eggs one at a time, mixing after each addition for a silky consistency. Blend in the vanilla extract and sour cream just until smooth. Don’t overmix, which can incorporate too much air and lead to cracks while baking.
Step 4: Bake to Perfection
Pour the cheesecake batter over your pressed crust and spread it evenly with a spatula. Bake for 35 to 40 minutes. You’re looking for a gently set center that still has a slight jiggle—think of the wobble in the center of a baked New York cheesecake. Don’t worry; it will set beautifully as it cools.
Step 5: Cool and Chill
Let the cheesecake bars cool at room temperature until no longer warm, then transfer to the refrigerator for at least 3 hours, or overnight if you can plan ahead. This not only helps everything set up, but it also makes for the cleanest slices and best flavor.
Step 6: Top and Decorate
Once the cheesecake layer is fully chilled, spread the cherry pie filling evenly over the surface. Feel free to get playful with white chocolate drizzle or add a festive shower of holiday sprinkles. It’s your moment to make these Christmas Cherry Cheesecake Bars truly sparkle!
Step 7: Slice and Serve
Lift the bars out of the pan using the parchment paper. For picture-perfect squares, use a sharp knife and wipe it clean between each cut. Serve chilled for the dreamiest bite and maximum flavor contrast.
How to Serve Christmas Cherry Cheesecake Bars
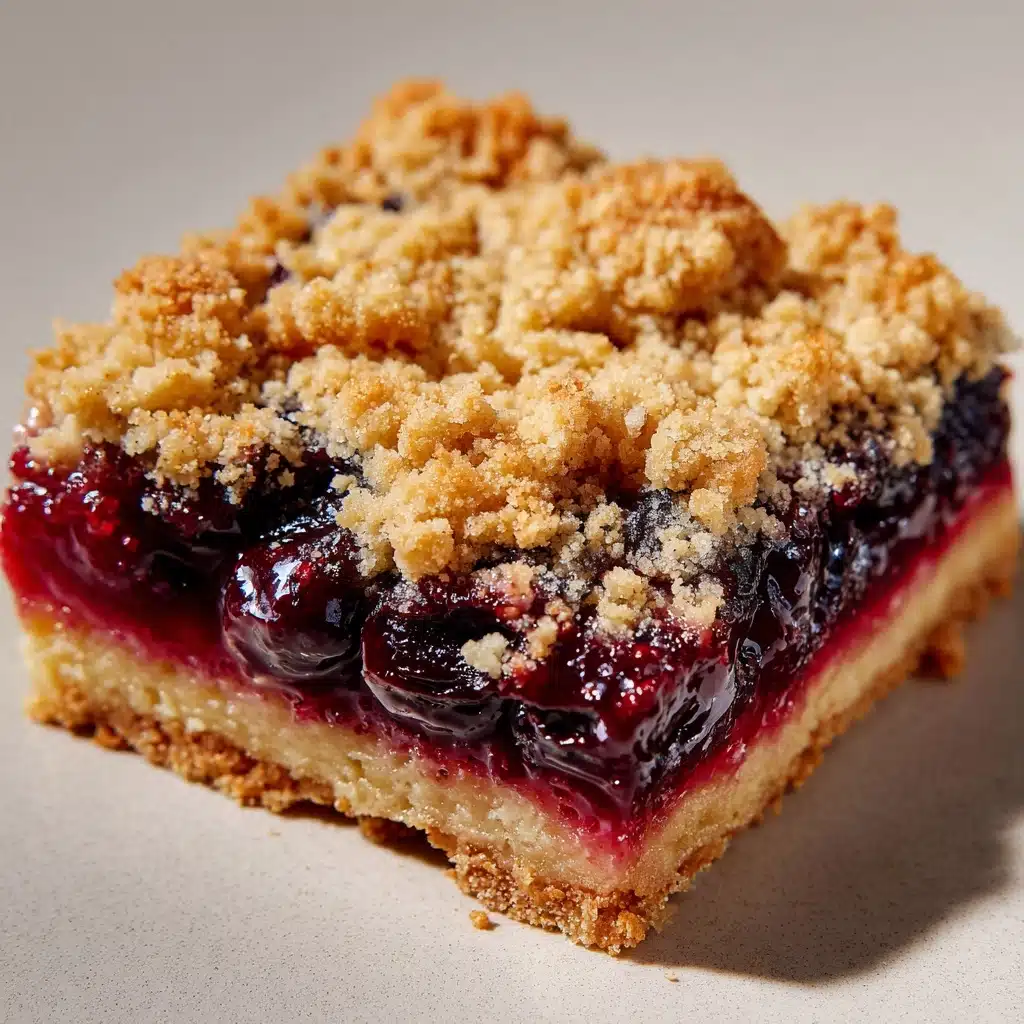
Garnishes
The jewel-red cherry topping is beautiful all on its own, but a little flourish goes a long way for holiday presentation. Add white chocolate drizzle for elegance or a generous pinch of red, green, and white sprinkles for a playful touch that kids and adults alike will love.
Side Dishes
Pair these bars with a steaming mug of mulled wine, hot chocolate, or festive tea to balance the creamy sweetness. A simple bowl of fresh berries or orange segments also makes a lovely, lighter companion on the dessert plate.
Creative Ways to Present
To really make these bars the star of your gathering, arrange them on a tiered cake stand or rustic wooden board. For party platters, alternate slices with mini meringues or peppermint candies to weave in extra holiday charm. They also look stunning individually tucked in festive cupcake liners for grab-and-go gifting!
Make Ahead and Storage
Storing Leftovers
Leftover Christmas Cherry Cheesecake Bars keep beautifully. Store them in an airtight container in the refrigerator for up to 4 days. The flavors actually deepen as they sit, making the bars taste just as delicious a couple of days after baking.
Freezing
To freeze, cut the bars (without the cherry topping, if possible) and arrange in a single layer on a baking sheet until firm. Once frozen, transfer to a freezer-safe container with parchment between layers. Add cherry topping after thawing for best texture—it prevents sogginess and keeps the cherries bright and glossy.
Reheating
Cheesecake bars are meant to be enjoyed chilled, so no reheating is necessary! If you do want to bring them closer to room temperature, let them sit out for about 10 minutes before serving, but avoid microwaving to preserve their creamy texture and beautiful finish.
FAQs
Can I use a different fruit topping instead of cherry?
Absolutely! Blueberry, raspberry, or even a tangy cranberry compote works wonderfully. Just be sure to use a thick, pie-style filling so it sits nicely atop the cheesecake.
How do I prevent the cheesecake layer from cracking?
Make sure not to overmix the batter after adding the eggs and avoid overbaking. Cooling gradually and keeping the oven at the correct temperature are key to a smooth, crack-free top.
Can I make these bars gluten-free?
Yes! Simply substitute your favorite gluten-free graham crackers for the crust. The rest of the ingredients are naturally gluten-free, making them an easy option for anyone with a gluten sensitivity.
What’s the best way to get clean slices?
Chill the bars thoroughly, use a sharp knife, and wipe the knife clean with a damp towel between each cut. This small step makes a big difference, especially with layers as pretty as these.
Do Christmas Cherry Cheesecake Bars need to be refrigerated?
Yes, since they contain dairy and eggs, they should always be kept in the refrigerator when not serving. They hold their shape and taste best when chilled, anyway!
Final Thoughts
If you’re looking for a foolproof way to wow a crowd this season, give Christmas Cherry Cheesecake Bars a place at your dessert table. They’re approachable, stunning, and overflowing with holiday cheer—one bite and you’ll see why they’re a personal favorite to share with the people you love. Wishing you the merriest (and most delicious) of holidays!
Print
Christmas Cherry Cheesecake Bars Recipe
- Prep Time: 20 minutes
- Cook Time: 40 minutes
- Total Time: 1 hour (plus chilling time)
- Yield: 16 bars
- Category: Dessert, Bars
- Method: Baking
- Cuisine: American
- Diet: Non-Vegetarian
Description
Indulge in the festive spirit with these delightful Christmas Cherry Cheesecake Bars. A buttery graham cracker crust supports a creamy cheesecake layer topped with cherry goodness. Perfect for holiday gatherings or a sweet treat any time of year!
Ingredients
For the crust:
- 2 cups graham cracker crumbs
- 1/2 cup unsalted butter, melted
- 1/4 cup granulated sugar
For the cheesecake filling:
- 16 ounces cream cheese, softened
- 3/4 cup granulated sugar
- 2 large eggs
- 1 teaspoon vanilla extract
- 1/2 cup sour cream
For the topping:
- 1 can (21 ounces) cherry pie filling
- festive sprinkles or white chocolate drizzle (optional)
Instructions
- Preheat the oven and prepare the pan: Preheat the oven to 325°F (160°C) and line a 9×13-inch baking pan with parchment paper.
- Make the crust: Combine graham cracker crumbs, melted butter, and sugar. Press firmly into the bottom of the pan to form a crust.
- Prepare the filling: Beat cream cheese and sugar until smooth. Add eggs one at a time, then mix in vanilla extract and sour cream.
- Bake the bars: Pour the filling over the crust and bake for 35-40 minutes until set. Cool and refrigerate for at least 3 hours.
- Add the topping: Spread cherry pie filling over the chilled cheesecake. Optionally, decorate with sprinkles or white chocolate.
- Serve: Cut into bars and enjoy chilled!
Notes
- Bars can be made up to 2 days ahead.
- Try different fruit fillings for variety.
- For clean slices, wipe the knife between cuts.

