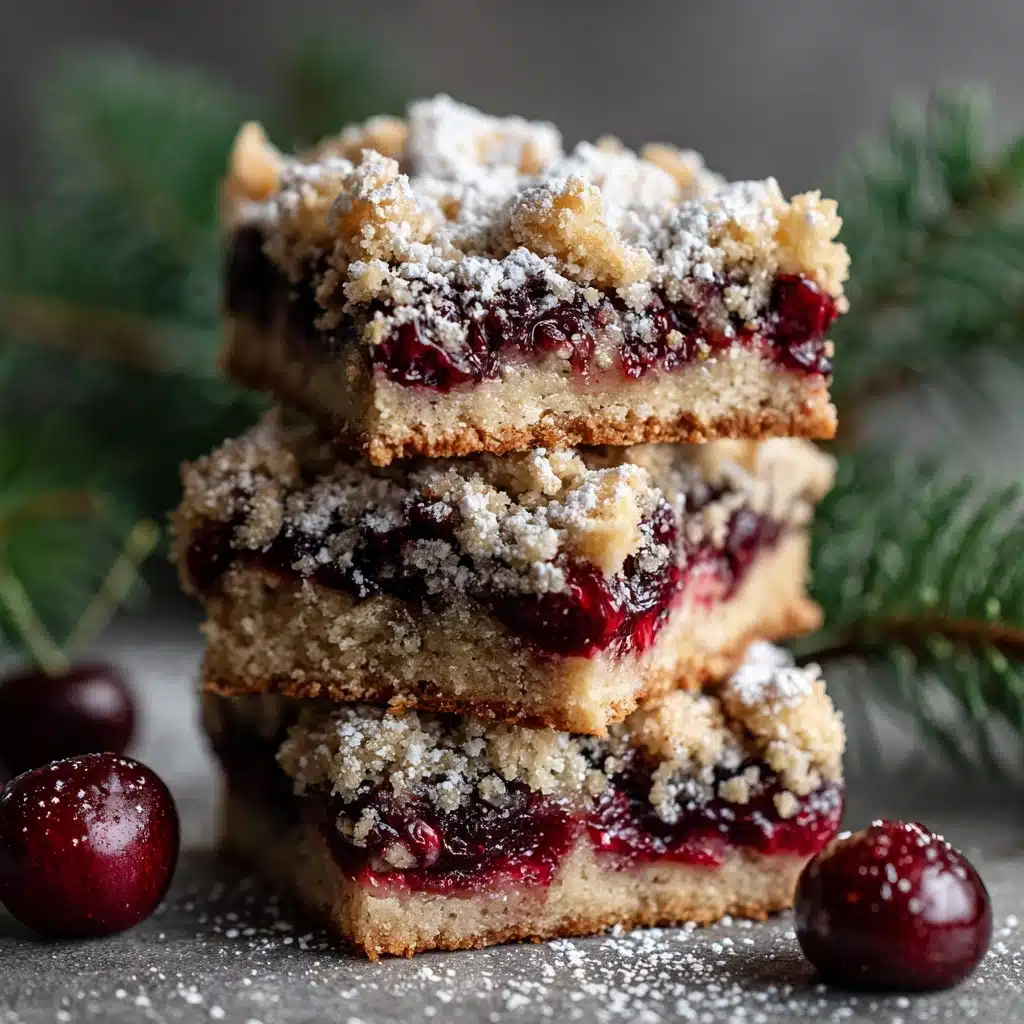
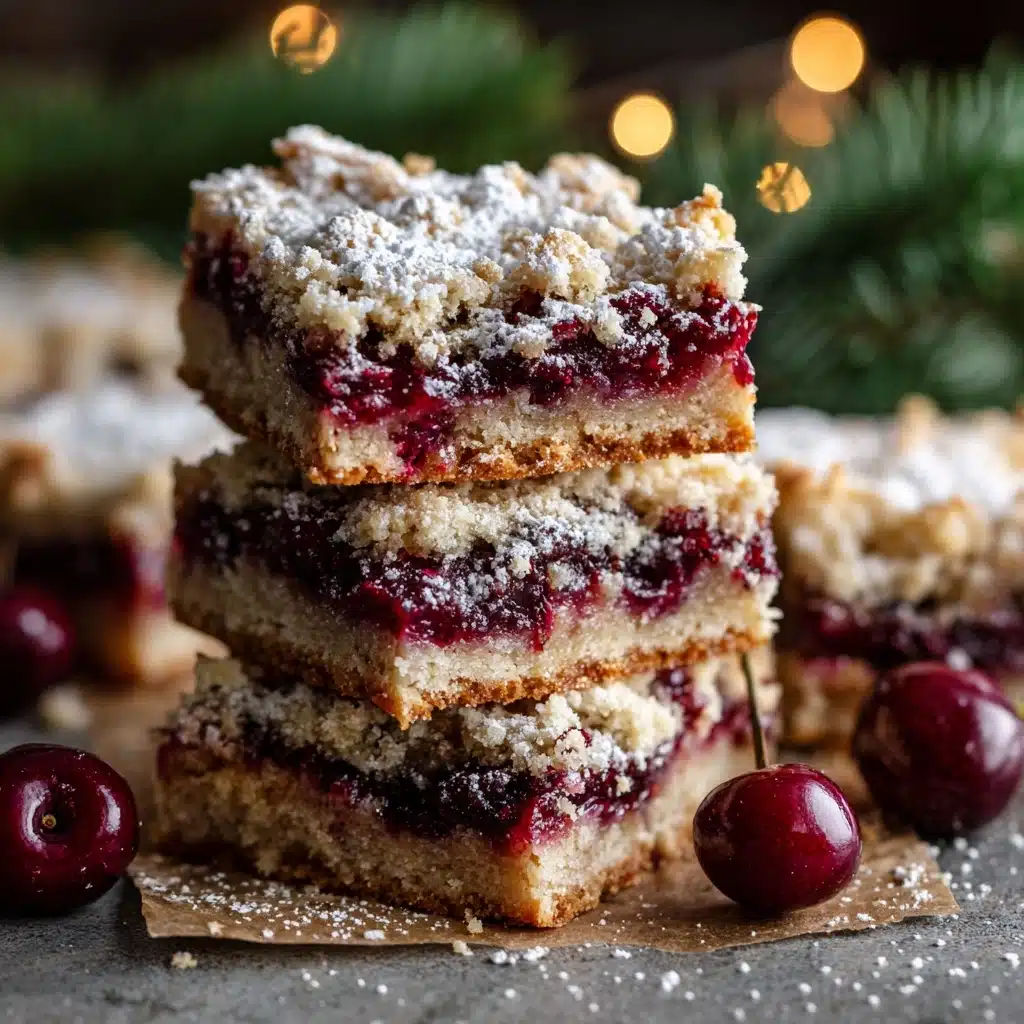
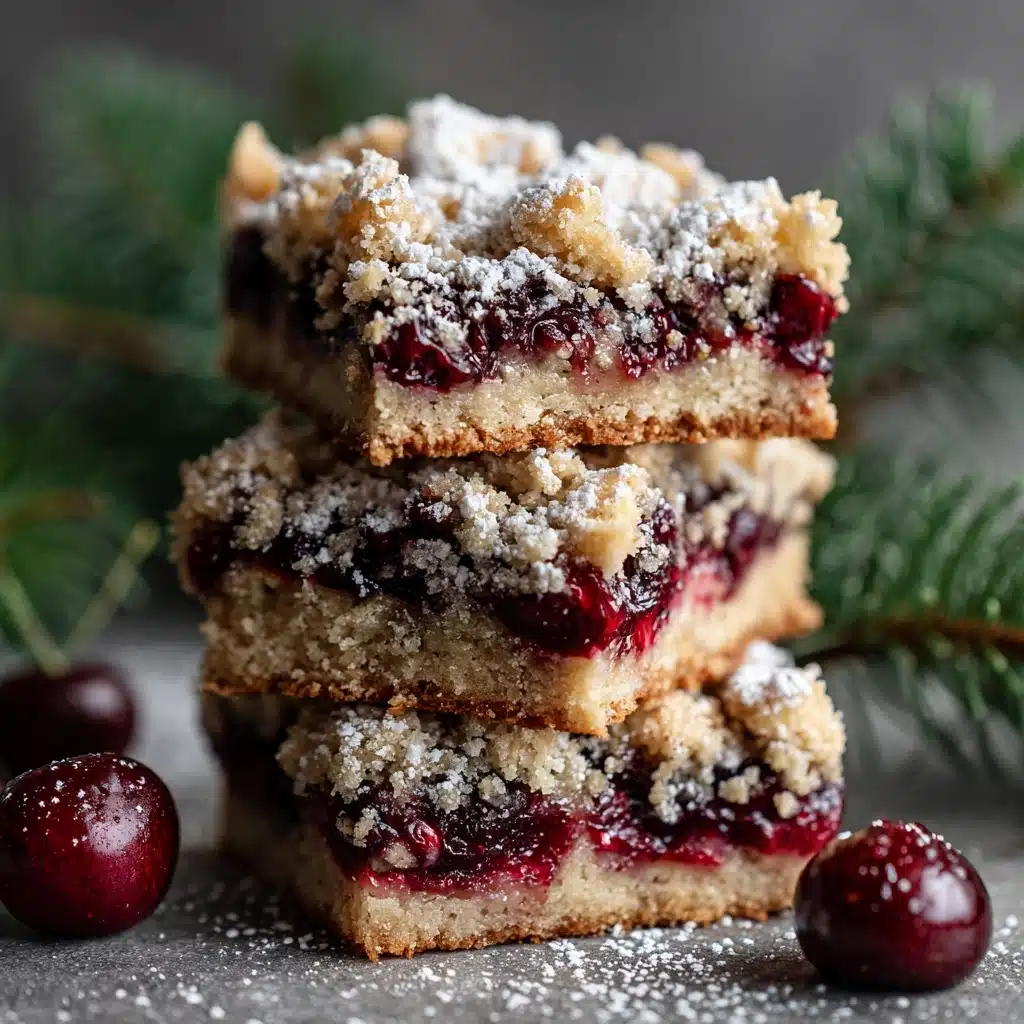
If you’re searching for a show-stopping holiday treat, it’s time to meet your new seasonal staple: Christmas Cherry Bars. These festive bars combine a rich, buttery cookie base, ruby-red cherry pie filling, and a sweet vanilla glaze, resulting in a dessert that looks as cheerful as it tastes. Perfectly portable and easy to slice into holiday shapes, they’re as crowd-pleasing at a cookie exchange as they are with a big mug of cocoa by the tree. Whether you’re baking for family, friends, or your own sweet tooth, these bars prove again and again that simple, classic flavors are truly magical at Christmastime.
Ingredients You’ll Need
There’s nothing complicated here—just basic pantry staples, a can of cherry pie filling, and a hint of almond for that unmistakable Christmas flair. Every ingredient brings something special, from richness to brightness to sparkle, ensuring your Christmas Cherry Bars turn out beautifully every time.
- Unsalted butter (1 cup, softened): The backbone of the cookie layer, giving you that melt-in-your-mouth texture everyone craves.
- Granulated sugar (2 cups): Sweetness that balances the tartness of the cherries and brings it all together.
- Eggs (4 large): These add moisture and help bind everything for a perfectly soft, cake-like crumb.
- Vanilla extract (1 tsp): Classic warm flavor that always belongs in Christmas baking.
- Almond extract (1/2 tsp): The secret ingredient — a tiny splash makes the cherry flavor pop and feels oh-so-festive.
- All-purpose flour (3 cups): The essential structure-builder for bars that set up perfectly.
- Baking powder (1 tsp): Adds just enough lift to keep the bars light instead of dense.
- Salt (1/2 tsp): Rounds out the sweetness and enhances all the flavors.
- Cherry pie filling (1 can, 21 oz): The jewel-toned centerpiece — use your favorite brand for maximum cherry goodness.
- Chopped walnuts or pecans (1/2 cup, optional): A sprinkle adds crunch and a nutty richness, but you can skip or swap as needed.
- Powdered sugar (1 cup): For the glaze, which adds sweetness and that classic bakery finish.
- Milk (2 tbsp): Thins the glaze to drizzling perfection — add a bit more if needed.
- Vanilla or almond extract (1/2 tsp for glaze): Keeps your glaze fragrant and flavorful to complement the bar.
How to Make Christmas Cherry Bars
Step 1: Prepare Your Pan and Preheat the Oven
Kick things off by preheating your oven to 350°F (175°C), ensuring everything bakes evenly. Grease a 10×15-inch jelly roll pan or baking sheet with raised sides — you want to avoid any pesky sticking when it’s time to slice your Christmas Cherry Bars.
Step 2: Cream Butter and Sugar
In a large mixing bowl, cream together the softened butter and granulated sugar until the mixture is pale, fluffy, and looks irresistibly creamy. This step is all about whipping in air for a lighter texture once the bars bake up.
Step 3: Add Eggs and Extracts
Beat in the eggs one at a time, making sure each egg is fully incorporated before adding the next. Pour in the vanilla and almond extracts — breathe in that heavenly aroma! These flavors are what turn simple bars into unmistakably festive Christmas Cherry Bars.
Step 4: Mix Dry Ingredients Separately
In another bowl, whisk together your flour, baking powder, and salt. It’s a quick step, but ensures the leavening and seasoning spread evenly, avoiding any floury or overly salty bites in the final bars.
Step 5: Combine Wet and Dry Mixtures
Gradually add the dry ingredients to your creamed mixture, mixing just until everything is combined. Don’t overwork the batter here or the bars can turn a little tough — gentle folding is your friend.
Step 6: Assemble and Layer
Spread two-thirds of the batter evenly in your prepared pan. The consistency should be thick but spreadable, acting as a soft mattress for that luscious cherry layer. Spoon the cherry pie filling evenly over the surface — try to get an even spread of cherries for every bite. Finish by dropping the remaining batter by spoonfuls across the top, creating a rustic, cobblestone effect. Sprinkle with chopped nuts now if using.
Step 7: Bake to Golden Perfection
Slide the pan into your oven and bake for 30 to 35 minutes, until the top is lightly golden and the middle is set. Your kitchen will smell heavenly — a surefire sign the holidays have arrived! Once baked, let the Christmas Cherry Bars cool completely before glazing.
Step 8: Glaze and Decorate
Prepare your glaze by whisking powdered sugar, milk, and extract until smooth and pourable. Once the bars are fully cooled, drizzle the glaze generously over the top, letting it settle into the nooks and crannies. Let the glaze set before slicing into bars or festive shapes.
How to Serve Christmas Cherry Bars
Garnishes
To really make your bars sparkle, top them with a shower of red and green sprinkles just after glazing. You can also add extra chopped nuts or a dusting of powdered sugar. Each little touch adds another layer of festivity to this classic treat.
Side Dishes
Pair your Christmas Cherry Bars with mugs of hot cocoa, warm cider, or even a scoop of vanilla ice cream for a full-blown dessert spread. They also play nicely with a plate of assorted holiday cookies for those marathon movie nights or family gatherings.
Creative Ways to Present
Slice your bars into classic rectangles or use cookie cutters for trees, stars, or hearts. Stack them with parchment in gift tins, or nestle a few into a cellophane bag with a ribbon for the sweetest homemade gift. Christmas Cherry Bars also stand tall on a festive platter, ready to steal the show at any cookie swap.
Make Ahead and Storage
Storing Leftovers
Keep any extra bars in an airtight container at room temperature for up to three days. If your kitchen runs warm or humid, pop them in the fridge to extend their freshness and keep the glaze crisp.
Freezing
You can absolutely freeze Christmas Cherry Bars. Place cut bars in a single layer on a baking sheet to freeze solid, then transfer to a zip-top freezer bag or airtight container. They’ll keep well for up to two months — thaw at room temperature before serving.
Reheating
If you’d like to serve your bars warm, simply let them come to room temperature and pop them in a low oven for 5-10 minutes. Just keep in mind that the glaze will soften, so re-glaze after reheating if you want them picture-perfect for entertaining.
FAQs
Can I use other pie fillings besides cherry?
Absolutely! Blueberry, raspberry, even apple or peach fillings will all work beautifully, but the classic cherry version really brings out the holiday spirit that makes Christmas Cherry Bars so beloved.
What if I don’t have a jelly roll pan?
A 9×13-inch pan can be used in a pinch; the bars will be a bit thicker and may require an extra few minutes in the oven. Watch for that golden top and set center as your signs of doneness.
Can these be made gluten-free?
Yes! Simply substitute your favorite cup-for-cup gluten-free flour blend for all-purpose flour. Be sure the baking powder and pie filling are gluten-free as well for a safe holiday treat.
Do I need to use the glaze?
The glaze adds a lovely sweetness and finished look, but if you prefer, you can serve the bars plain or just dust them lightly with powdered sugar. They’ll still taste fantastic!
What’s the best way to cut clean squares?
Let the bars cool completely and use a sharp knife, wiping it clean between cuts. For an extra festive touch, use holiday-shaped cookie cutters, pressing straight down for neat shapes.
Final Thoughts
If ever a recipe captured the magic of the season in every bite, it’s these Christmas Cherry Bars. They’re cheerful, delicious, and so fun to make — you’ll look forward to sharing them year after year. Gather your ingredients, turn on your favorite carols, and let the holiday baking begin!
Print
Christmas Cherry Bars Recipe
- Prep Time: 20 minutes
- Cook Time: 35 minutes
- Total Time: 55 minutes
- Yield: 24 bars
- Category: Dessert
- Method: Baking
- Cuisine: American
- Diet: Vegetarian
Description
These Christmas Cherry Bars are a delightful holiday treat that’s perfect for festive gatherings. A buttery base topped with cherry pie filling and a sweet glaze, these bars are easy to make and even easier to enjoy.
Ingredients
Main Ingredients
- 1 cup unsalted butter, softened
- 2 cups granulated sugar
- 4 large eggs
- 1 teaspoon vanilla extract
- ½ teaspoon almond extract
- 3 cups all-purpose flour
- 1 teaspoon baking powder
- ½ teaspoon salt
- 1 (21-ounce) can cherry pie filling
Optional
- ½ cup chopped walnuts or pecans
For the glaze
- 1 cup powdered sugar
- 2 tablespoons milk
- ½ teaspoon vanilla or almond extract
Instructions
- Preheat Oven: Preheat oven to 350°F (175°C) and grease a 10×15-inch jelly roll pan.
- Cream Butter and Sugar: In a large bowl, cream butter and sugar until light and fluffy. Add eggs one at a time, then mix in vanilla and almond extracts.
- Combine Dry Ingredients: In a separate bowl, whisk flour, baking powder, and salt. Gradually add to wet mixture.
- Assemble Bars: Spread two-thirds of the batter in the pan, top with cherry filling, dollop remaining batter, and sprinkle with nuts if desired.
- Bake: Bake for 30–35 minutes until set. Cool.
- Make Glaze: Whisk powdered sugar, milk, and extract. Drizzle over cooled bars.
- Serve: Cut into squares or shapes once glaze is set.
Notes
- You can use other pie fillings like blueberry or raspberry.
- Add red or green sprinkles for a festive touch.

