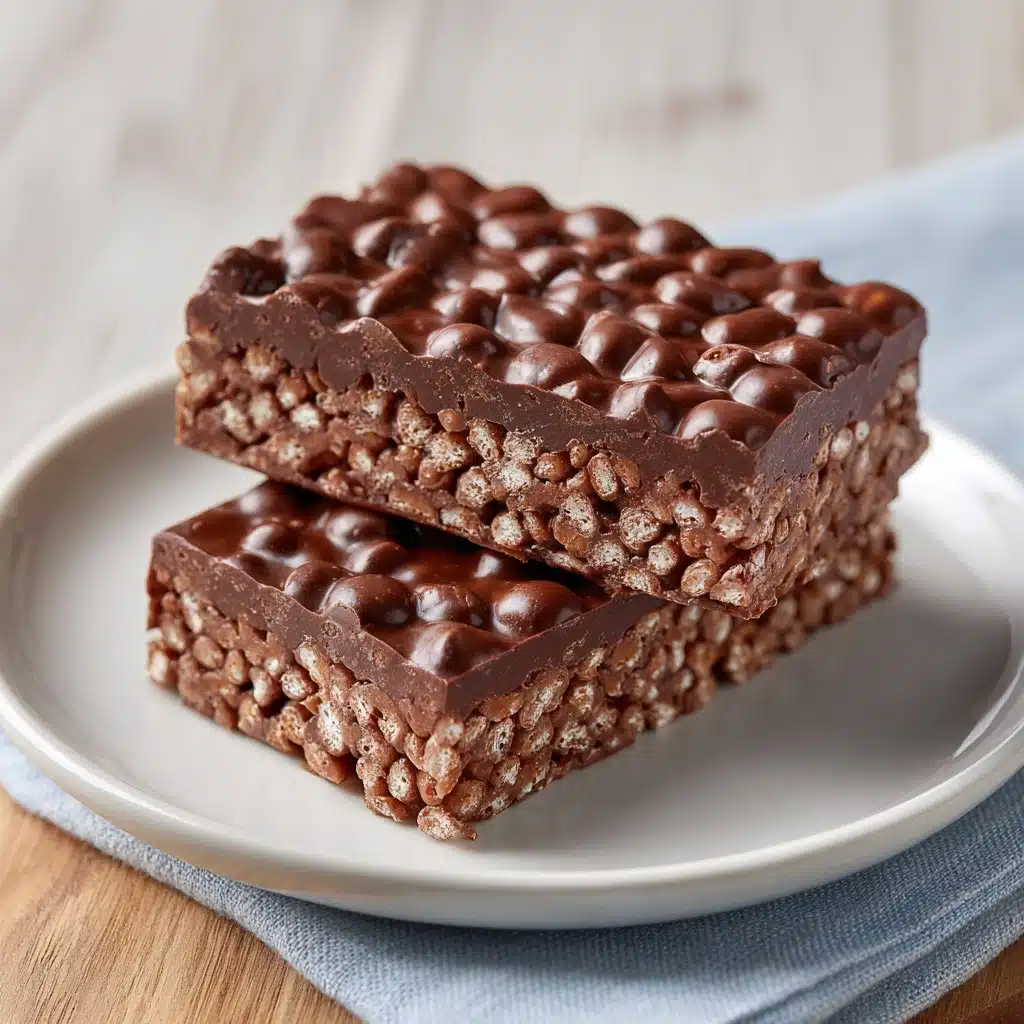
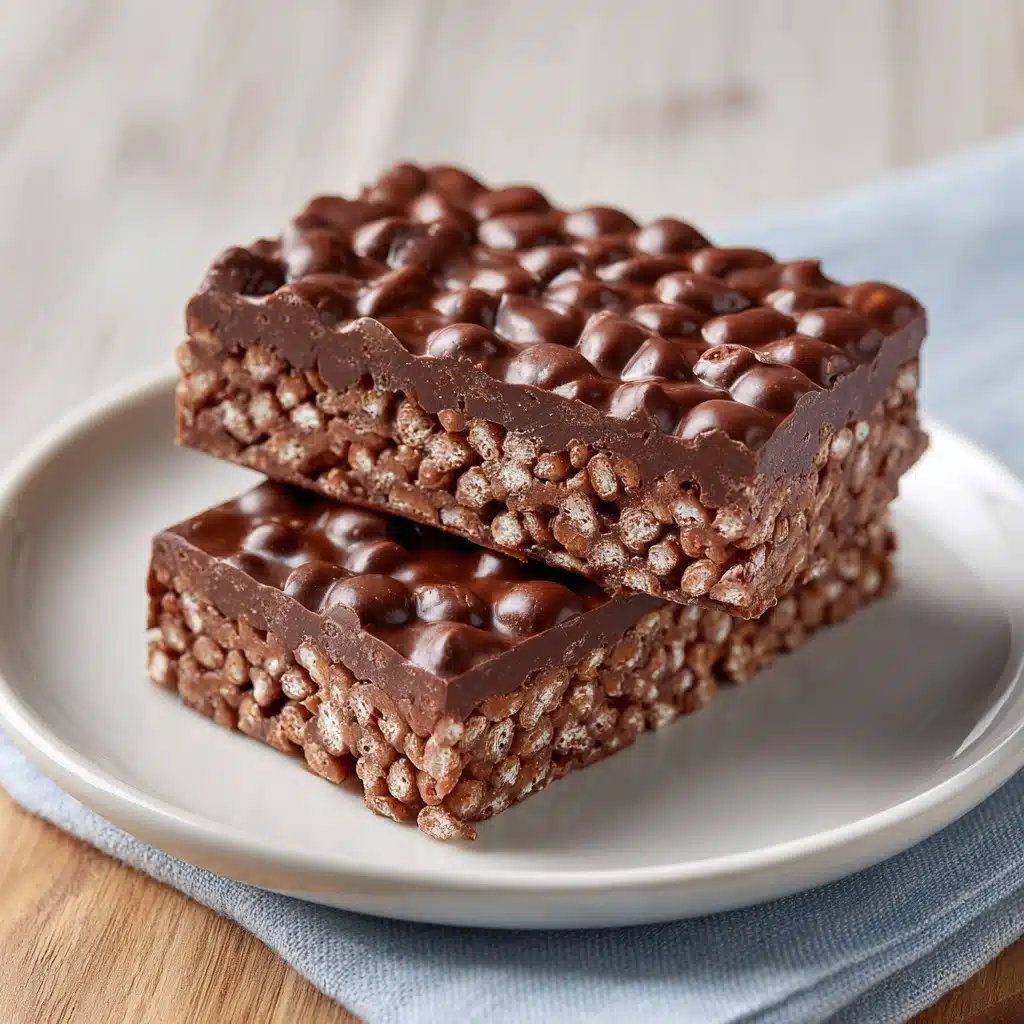
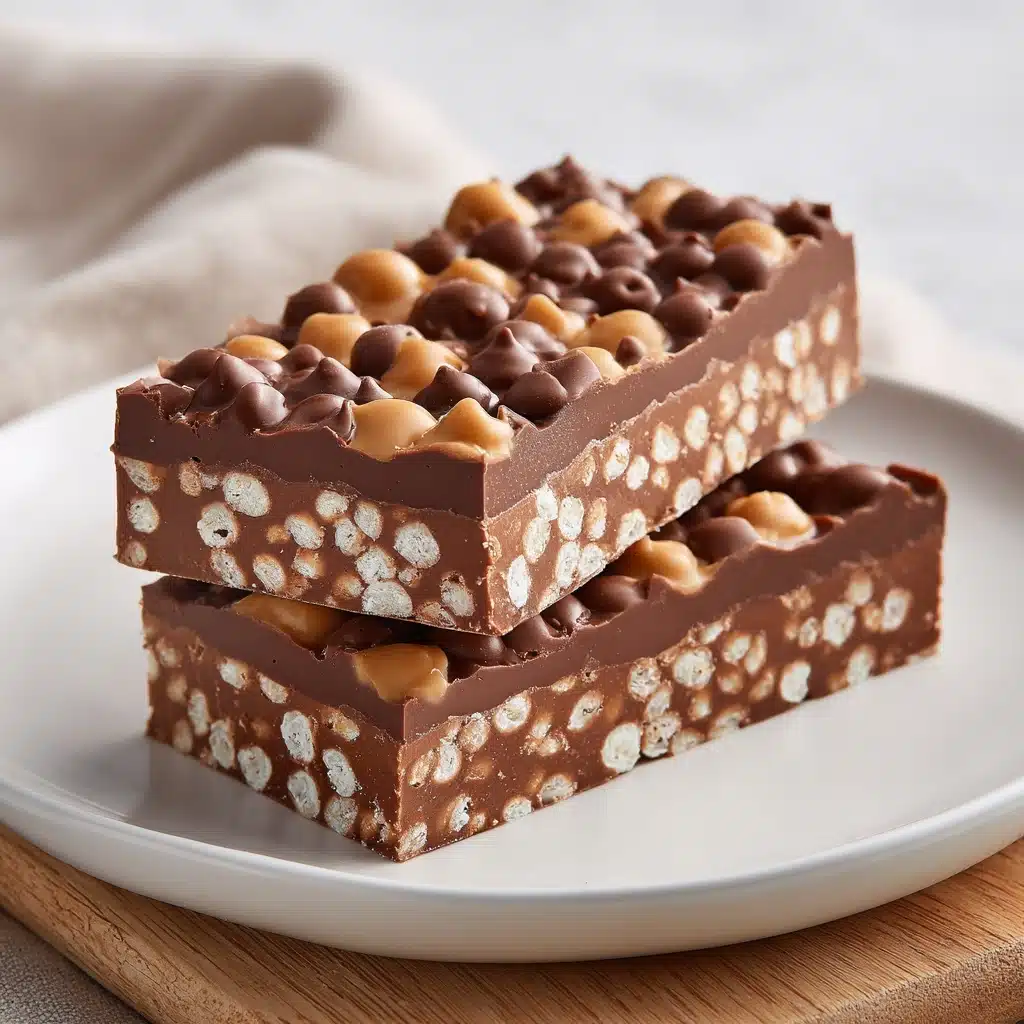
Get ready to experience pure nostalgic bliss with these Chocolate Crunch Bars! With their irresistibly crisp texture and decadent chocolatey-peanut butter flavor, they’re the kind of treat you’ll want to make on repeat. This easy, no-bake classic comes together with just a handful of pantry staples and a few minutes of hands-on time—perfect for everything from after-school snacks to festive gatherings. Rich, crunchy, and simply delightful, Chocolate Crunch Bars are a sweet little luxury that always makes an impression!
Ingredients You’ll Need
The beauty of Chocolate Crunch Bars lies in their simplicity—each ingredient is a hero in its own right. These basics come together to create layers of taste and texture you’ll crave. Here’s what you’ll need and why they matter:
- Semi-Sweet Chocolate Chips: Balances sweetness and depth, creating the rich chocolate foundation for these bars.
- Peanut Butter (creamy or crunchy): Gives the bars a velvety texture and subtle nutty flavor; use crunchy if you love extra texture.
- Unsalted Butter: Adds silkiness and helps the chocolate melt smoothly; unsalted keeps the sweetness in check.
- Crisped Rice Cereal: The secret to that signature crunch—it keeps every bite light and bubbly.
- Vanilla Extract: Just a dash brightens up the chocolate and rounds out the flavors beautifully.
- Pinch of Salt: Elevates all the flavors and keeps the bars from tasting flat.
How to Make Chocolate Crunch Bars
Step 1: Prepare Your Pan
Line an 8×8-inch square baking dish with parchment paper, leaving a bit of overhang on the sides. This makes it super easy to lift out the bars once they’re set, and keeps cleanup blissfully simple.
Step 2: Melt and Mix the Chocolate Base
In a large microwave-safe bowl, add the semi-sweet chocolate chips, peanut butter, and unsalted butter. Microwave this mixture in 30-second bursts, stirring really well between each round. In a minute or two, you’ll have a gorgeous, glossy blend—smooth and totally irresistible! Stir in the vanilla extract and pinch of salt to bring everything together.
Step 3: Fold in the Crunch
Pour the crisped rice cereal right into the chocolate-peanut butter mixture. Gently fold (not mash!) the cereal in until every little piece is coated with chocolatey goodness. The goal is to keep the cereal as puffy and crunchy as possible.
Step 4: Set and Chill
Scrape the mixture into your prepared pan and spread it out with a spatula. Press gently to even everything out, but don’t compact it too much—you want these bars to stay airy and light. Pop the pan into the refrigerator and chill for at least 2 hours, until everything is firm and set.
Step 5: Slice and Enjoy
Once the Chocolate Crunch Bars are chilled, simply lift the whole slab out using the parchment handles. Cut into squares or bars of your preferred size. Now’s the time to taste-test—and, trust me, stopping at one is impossible!
How to Serve Chocolate Crunch Bars

Garnishes
A little garnish can take these bars to the next level. Try a sprinkle of flaky sea salt for extra crunch, a dusting of cocoa powder for elegance, or a drizzle of melted white chocolate for contrast. Each adds its own magic to the flavor and look.
Side Dishes
Chocolate Crunch Bars make a fantastic companion to a cold glass of milk, piping-hot coffee, or a fruity tea. For celebrations, serve alongside fresh berries or even a scoop of vanilla ice cream to balance the richness and add a playful touch.
Creative Ways to Present
Want to wow a crowd or create instant smiles? Cut your Chocolate Crunch Bars into fun shapes using cookie cutters, or stack them in a tower on a pretty platter. Wrap individual bars in parchment and tie with twine for thoughtful lunchbox treats or party favors.
Make Ahead and Storage
Storing Leftovers
Keep your Chocolate Crunch Bars fresh by storing them in an airtight container in the refrigerator. They’ll stay delicious and perfectly crisp for up to a week. Layer wax or parchment paper between each layer to prevent sticking.
Freezing
Yes, these bars freeze beautifully! Place cut bars on a baking sheet to freeze, then transfer to a zip-top bag. They’ll keep their fabulous crunch for up to two months. Simply thaw in the fridge or at room temperature whenever you’re ready for a treat.
Reheating
No need to reheat these no-bake beauties, but if you want to soften them up just a bit, let them sit at room temperature for about 10–15 minutes before eating. This takes the chill off and brings out all those creamy, chocolatey flavors.
FAQs
Can I use a different nut butter or make these nut-free?
Absolutely! Almond butter, cashew butter, or sunflower seed butter all work beautifully here. If you need a nut-free version, sunflower seed butter is my favorite swap—it’s creamy, easy to find, and delicious.
Do I have to use semi-sweet chocolate chips?
Semi-sweet chocolate keeps things classic and balanced, but you can certainly explore! Try dark chocolate for a grown-up twist or milk chocolate if you like things extra sweet. Just be sure to use good-quality chips for the smoothest melt.
How do I keep the bars extra crunchy?
The secret is stirring the cereal in gently so it stays airy, and not pressing the mixture too firmly into the pan. Always store your Chocolate Crunch Bars in the fridge—they’ll taste fresher and crunchier for longer.
Can I add mix-ins to the batter?
Yes, get creative! Chopped nuts, dried fruit, or mini marshmallows turn these bars into a crave-able trail mix treat. Sprinkle extras on top for even more fun and texture before chilling.
What’s the best way to cut Chocolate Crunch Bars neatly?
For perfect slices, use a sharp chef’s knife and clean it between cuts. Chilling the bars well before slicing helps prevent cracking and keeps the layers beautifully defined.
Final Thoughts
If you love easy, crowd-pleasing treats with serious crunch, these Chocolate Crunch Bars are the recipe to try next. I hope you enjoy every rich, crispy bite and find as many excuses to share them as I do—happy snacking!
Print
Chocolate Crunch Bars Recipe
- Prep Time: 10 minutes
- Cook Time: 0 minutes
- Total Time: 2 hours 10 minutes (includes chilling)
- Yield: 16 bars
- Category: Dessert
- Method: No-Bake
- Cuisine: American
- Diet: Vegetarian
Description
Indulge in these easy-to-make Chocolate Crunch Bars that combine the richness of chocolate with the crunch of crisped rice cereal, creating a delightful treat for all ages.
Ingredients
Main Ingredients:
- 2 cups semi-sweet chocolate chips
- 1/2 cup peanut butter (creamy or crunchy)
- 2 tablespoons unsalted butter
- 3 cups crisped rice cereal
Additional Ingredients:
- 1/2 teaspoon vanilla extract
- Pinch of salt
Instructions
- Prepare the Base: Line an 8×8-inch baking dish with parchment paper.
- Melt the Chocolate Mixture: In a large microwave-safe bowl, combine chocolate chips, peanut butter, and butter. Microwave in 30-second intervals, stirring until smooth.
- Finish the Mixture: Stir in vanilla extract, salt, and crisped rice cereal until coated.
- Set and Serve: Press the mixture into the dish, chill for 2 hours, cut into bars, and refrigerate.
Notes
- You can substitute almond butter or sunflower seed butter for a peanut-free version.
- For added texture, sprinkle sea salt or drizzle melted white chocolate on top before chilling.


