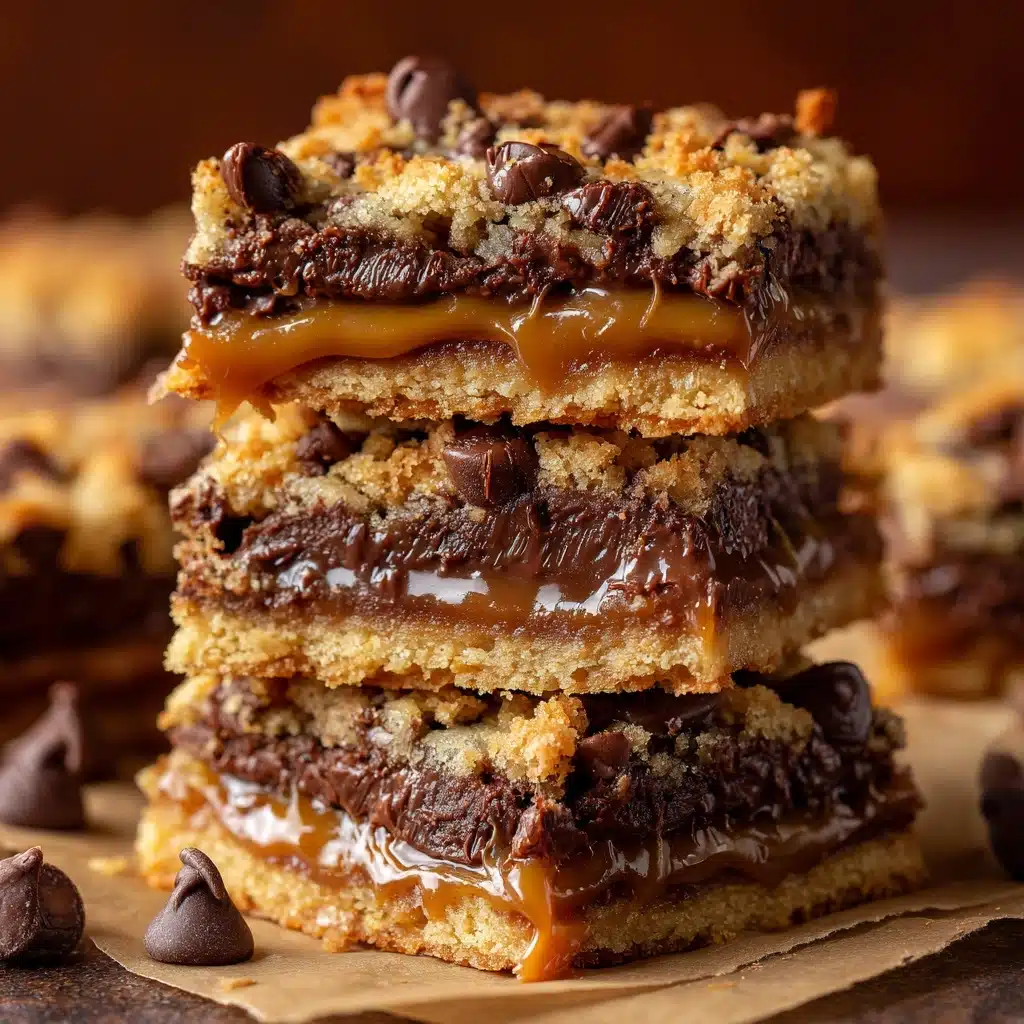
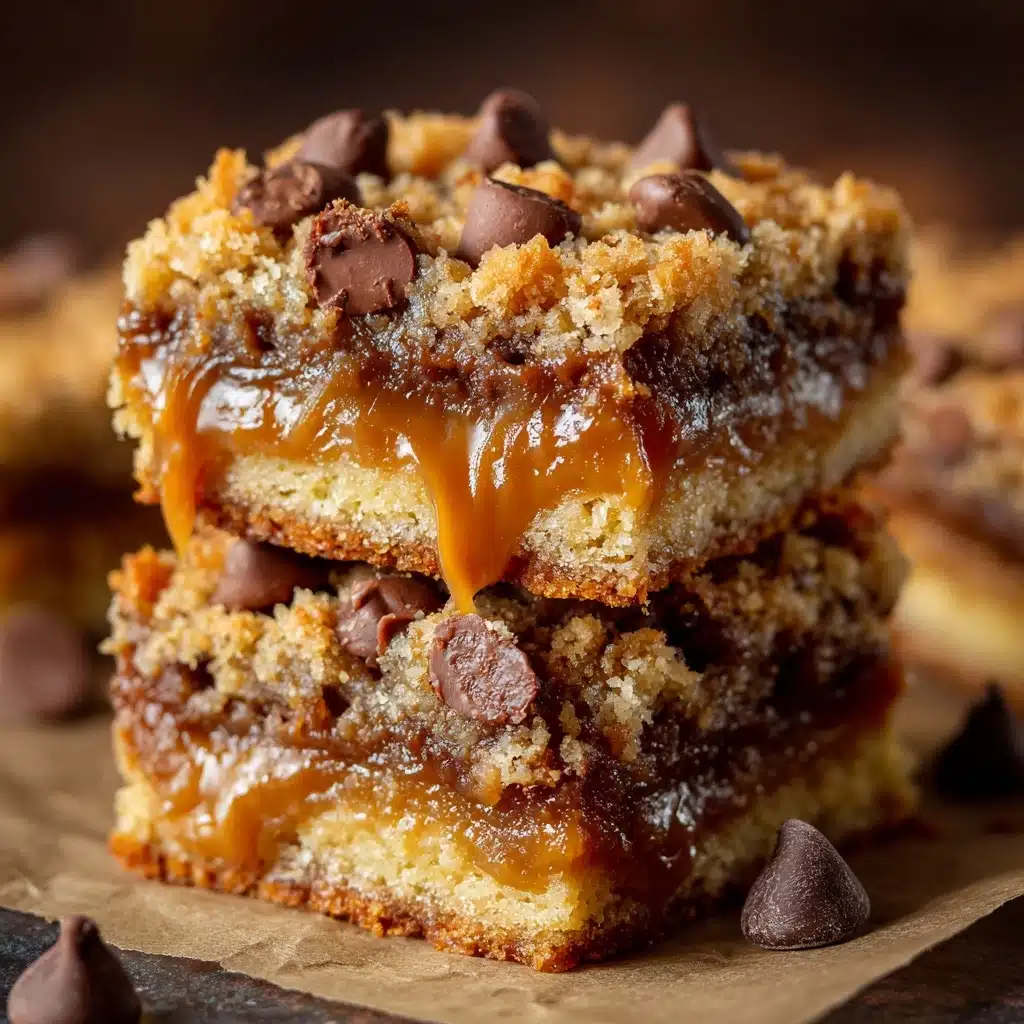
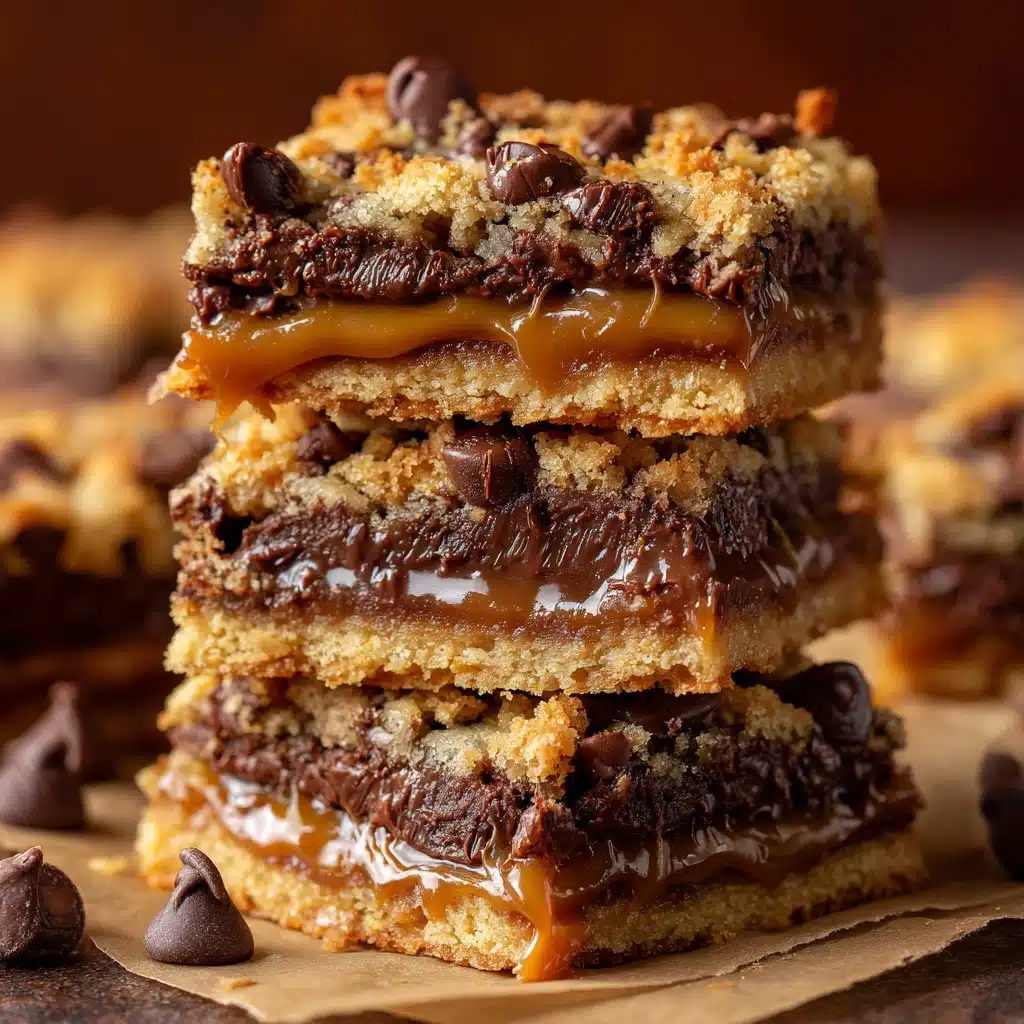
If you’ve ever daydreamed about the perfect union of gooey caramel, melty chocolate, and soft, buttery cookie dough, these Chocolate Chip Caramel Bars are about to make your sweet tooth sing. Each bite delivers a delightful balance of chewy cookie, oozing caramel, and bursts of rich chocolate chips, all in one handheld treat. One tray never lasts long, whether you’re whipping them up for a weekend gathering, holiday dessert table, or just a special family treat. Trust me, these bars are destined to become a new favorite in any dessert lover’s rotation!
Ingredients You’ll Need
The best part of these Chocolate Chip Caramel Bars is how straightforward the ingredients list is—nothing fancy, just pantry staples coming together to create something magical. Each element adds its own special touch, from the warm undertones of brown sugar to the irresistible stretch of melted caramel.
- All-purpose flour: Gives structure to the bars for that perfect, sturdy-yet-chewy bite.
- Baking soda: Adds a bit of lift and a soft, pillowy texture to the cookie dough layers.
- Salt: Just a touch brings all the sweet flavors into delicious harmony and heightens the chocolate and caramel.
- Unsalted butter, softened: Provides a rich, indulgent foundation and makes the cookie dough melt-in-your-mouth tender.
- Granulated sugar: Helps give a subtle crispness and sweet balance to the bars.
- Packed brown sugar: Adds depth, moisture, and that irresistible molasses note that sets these bars apart.
- Large eggs: Bind everything together while offering richness and lift.
- Vanilla extract: Deepens the flavor and adds that classic, comforting cookie aroma.
- Semi-sweet chocolate chips: Every bite promises pockets of melted chocolate, balancing the sweetness of the caramel.
- Caramel candies, unwrapped: The star ingredient for the gooey, flowing center—use a trusted brand for best results.
- Heavy cream: Melts with the caramel to create a lusciously smooth, pourable layer.
How to Make Chocolate Chip Caramel Bars
Step 1: Prepare the Pan and Preheat the Oven
Start by preheating your oven to 350°F (175°C). Grease a 9×13-inch baking pan or line it with parchment paper if you prefer easy lifting and even easier cleanup. This gives your Chocolate Chip Caramel Bars the perfect surface for even baking and ensures they won’t stick when it’s time to slice.
Step 2: Mix Dry Ingredients
In a medium bowl, whisk together the flour, baking soda, and salt. Don’t skip this step—combining the dry ingredients first means everything gets distributed evenly, preventing clumps and ensuring your dough bakes up perfectly from edge to center.
Step 3: Cream the Butter and Sugars
In a large mixing bowl, beat the softened butter with the granulated sugar and brown sugar until the mixture is light, creamy, and fluffy. This step isn’t just about sweetness; it’s what gives the bars that beloved soft, chewy cookie texture and helps incorporate air for a tender crumb.
Step 4: Incorporate Eggs and Vanilla
Add the eggs one at a time, mixing well after each addition, then pour in the vanilla extract. This ensures everything comes together smoothly and gives those classic cookie notes that make people’s eyes light up at first bite.
Step 5: Bring in the Dry Ingredients
With your mixer on low (or a sturdy wooden spoon), slowly add the dry mixture to the wet ingredients. Mix until just combined and no streaks remain—over-mixing is the enemy of tender bars! Then gently stir in those generous semi-sweet chocolate chips. The dough will be thick and irresistible.
Step 6: Bake the Base Layer
Press or spread half of the dough evenly into your prepared pan. It doesn’t have to be perfect—just make sure it covers the whole bottom! Slide it into the oven and bake for 10 minutes. This gives your Chocolate Chip Caramel Bars a sturdy base that can hold that dreamy caramel layer to come.
Step 7: Melt the Caramel
While the base is par-baking, combine the unwrapped caramel candies and heavy cream in a microwave-safe bowl. Heat in short, 30-second bursts, stirring in between, until smooth and pourable. The heavy cream helps the caramel flow beautifully and keeps it from turning stiff or chewy once cooled.
Step 8: Assemble the Layers
As soon as the base comes out of the oven, pour the melted caramel over the top and spread it evenly. Then, drop spoonfuls of the remaining cookie dough all across the caramel layer. Use a spatula or the back of a spoon to gently spread the dough—don’t stress if a little caramel peeks through, those pockets of caramel are a hidden treat!
Step 9: Final Bake
Pop the pan back in the oven and bake for 15–18 minutes more, until the top is golden and the edges look set. Try not to overbake; the bars will continue to set as they cool, ensuring the perfect chewy-meets-gooey center.
Step 10: Cool and Slice
Let the bars cool completely in the pan—this is key for that perfect, clean cut. For extra neat squares (and easier slicing), chill the bars in the fridge for about 30 minutes. Lift them out with the parchment, cut into pieces, and get ready for some chocolate-caramel bliss.
How to Serve Chocolate Chip Caramel Bars
Garnishes
There’s nothing like dressing up your tray of bars! A light drizzle of melted chocolate or caramel on top makes them look extra special. You could even sprinkle a touch of flaky sea salt to contrast the sweetness and really make the flavors pop. If you’re feeling fancy, a dusting of powdered sugar transforms them into bakery-worthy treats.
Side Dishes
While these Chocolate Chip Caramel Bars love being the star, they pair beautifully with a cold glass of milk, a scoop of vanilla or caramel ice cream, or a mug of coffee or hot cocoa. That balance of cool, creamy ice cream melting into a warm bar is simply unforgettable.
Creative Ways to Present
Bring these to your next gathering on a rustic wooden board, nestled among berries for a pretty contrast. Cut them into bite-sized squares for a dessert platter, or serve them in cupcake liners for a grab-and-go treat at picnics or potlucks. However you present them, they’ll disappear in a flash!
Make Ahead and Storage
Storing Leftovers
Chocolate Chip Caramel Bars are just as delicious the next day! Store any leftovers in an airtight container at room temperature for up to 3 days. The caramel will stay soft and the cookie layers maintain their magic—if they last that long without being devoured.
Freezing
Want to get ahead for a big event? These bars freeze wonderfully. Arrange fully cooled bars in layers with parchment between each to prevent sticking, then seal in a freezer-safe container or zip-top bag. They’ll keep for up to 2 months. Just thaw at room temp when you’re ready for a sweet treat.
Reheating
If you want that fresh-from-the-oven feel, warm individual bars in the microwave for about 10–15 seconds. The chocolate becomes gooey and the caramel softens, making every bite as irresistible as when they were first baked.
FAQs
Can I use caramel sauce instead of caramel candies?
For best results, stick with the caramel candies and cream, since they melt into a thick, rich layer that holds up well between the cookie layers. Premade caramel sauce tends to be too thin and can make your bars messy.
Do I have to use semi-sweet chocolate chips?
Nope! Feel free to try dark chocolate, milk chocolate, or even white chocolate chips. Each option gives the bars a different vibe—dark is rich and intense, while milk or white makes them even sweeter.
How do I prevent the bars from sticking to the pan?
Either grease the pan really well or line it with parchment paper (my favorite trick). This makes it easy to lift the whole slab out before slicing, and it means no bars left stuck behind!
Can these be made gluten-free?
Absolutely! Simply swap the all-purpose flour with your favorite 1:1 gluten-free baking blend. The rest of the ingredients should already be gluten-free, but always double-check your labels just to be safe.
Why do my bars come out a bit gooey in the middle?
This is a common sign that they just need to cool completely before cutting—they’ll firm up as they stand. If you cut in too soon, the caramel might run a bit, but a quick chill in the fridge will help get nice, neat squares.
Final Thoughts
I can’t encourage you enough to give these Chocolate Chip Caramel Bars a whirl. Every bite is a celebration of gooey, chocolaty, caramel-filled joy, and they never fail to impress at bake sales, parties, or just a cozy night in with family. Enjoy, share, and get ready for lots of recipe requests—the secret’s out!
Print
Chocolate Chip Caramel Bars Recipe
- Prep Time: 15 minutes
- Cook Time: 25 minutes
- Total Time: 40 minutes
- Yield: 24 bars
- Category: Dessert
- Method: Baking
- Cuisine: American
- Diet: Vegetarian
Description
Indulge in these decadent Chocolate Chip Caramel Bars that strike the perfect balance between gooey caramel, rich chocolate chips, and buttery cookie dough. A delightful treat for any occasion!
Ingredients
For the Cookie Dough:
- 2 ¼ cups all-purpose flour
- 1 teaspoon baking soda
- ½ teaspoon salt
- 1 cup unsalted butter, softened
- ¾ cup granulated sugar
- ¾ cup packed brown sugar
- 2 large eggs
- 2 teaspoons vanilla extract
- 2 cups semi-sweet chocolate chips
For the Caramel Layer:
- 1 (14 oz) bag caramel candies, unwrapped
- 2 tablespoons heavy cream
Instructions
- Preheat the Oven: Preheat oven to 350°F (175°C) and prepare a 9×13-inch baking pan.
- Prepare the Dough: Mix flour, baking soda, and salt. Cream butter and sugars, add eggs and vanilla, then mix in dry ingredients and chocolate chips.
- Layer and Bake: Spread half the dough in the pan, bake for 10 minutes. Melt caramels with cream, pour over crust. Add remaining dough on top and bake for 15–18 minutes.
- Cool and Serve: Let the bars cool completely before cutting into squares.
Notes
- For easier cutting, chill the bars in the refrigerator for 30 minutes after cooling.
- You can use caramel bits instead of wrapped candies for convenience.

