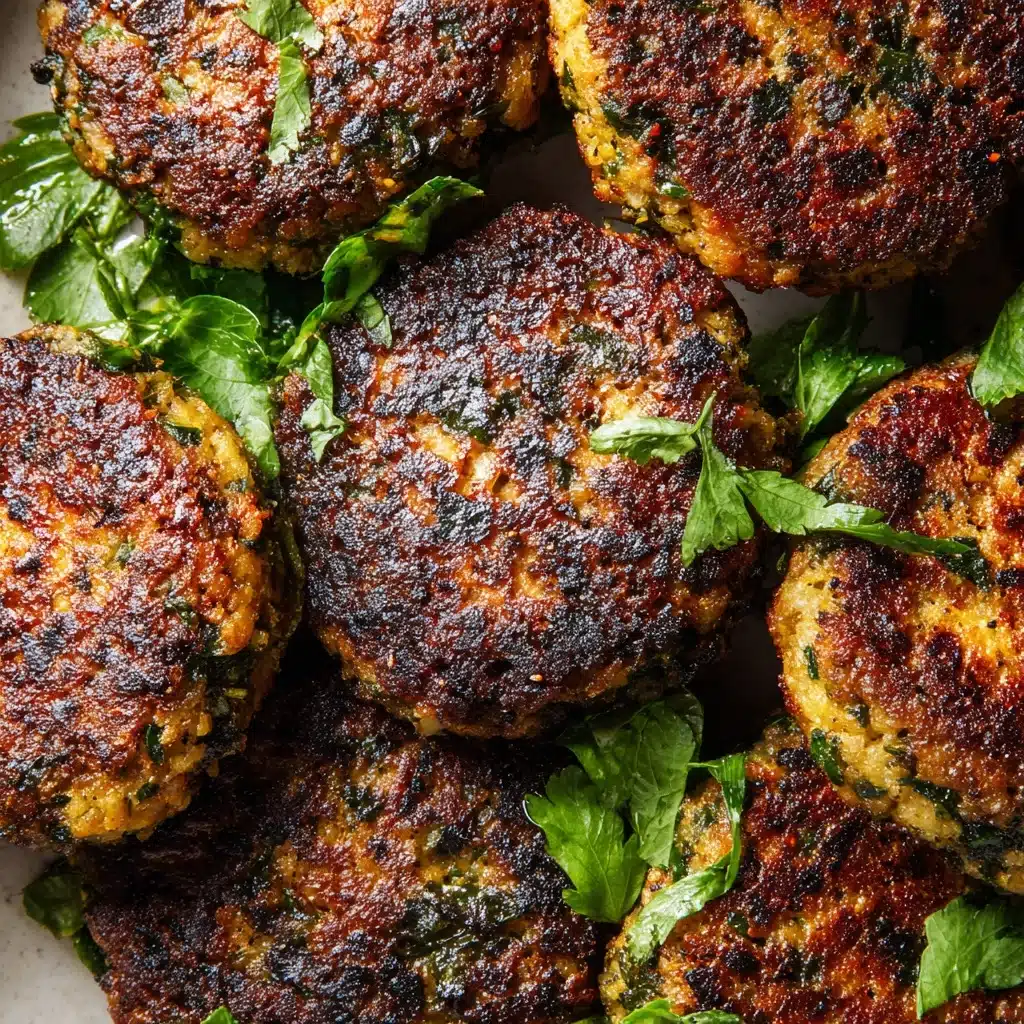
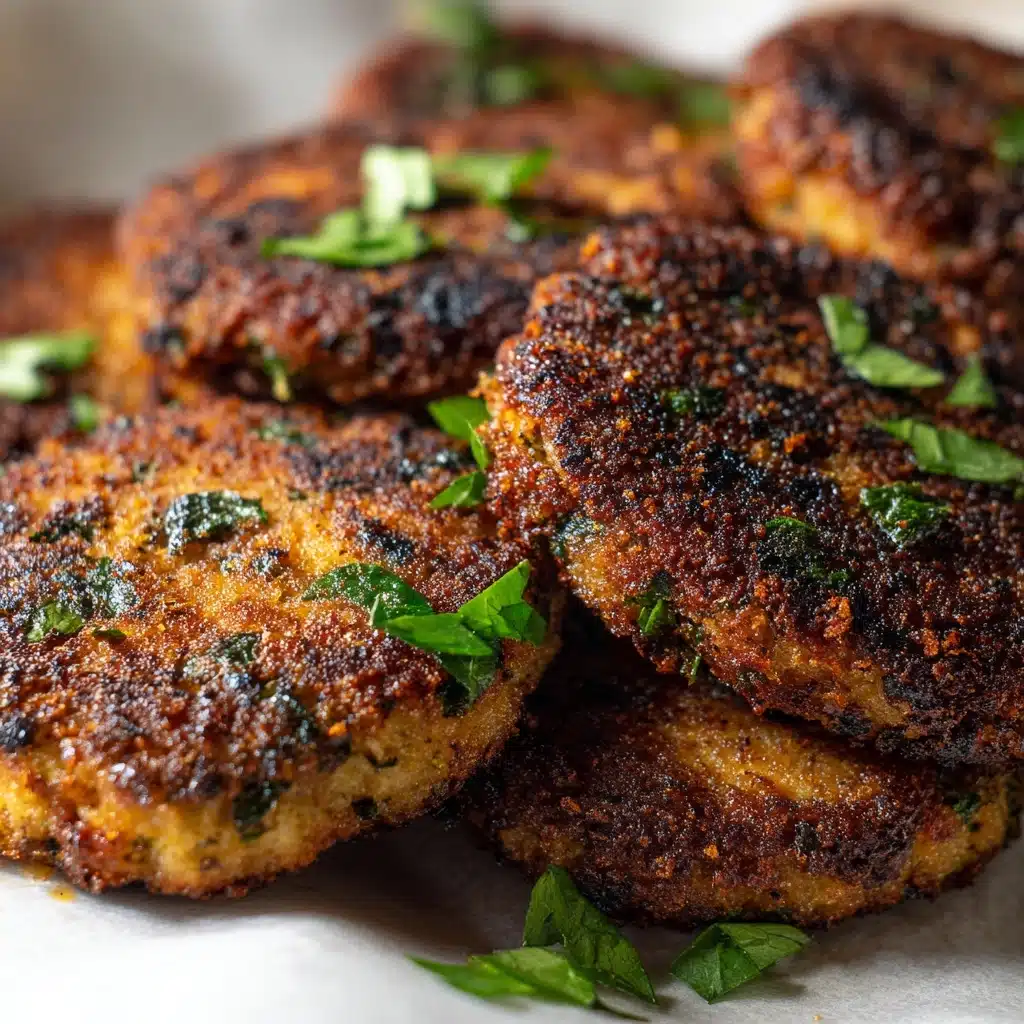
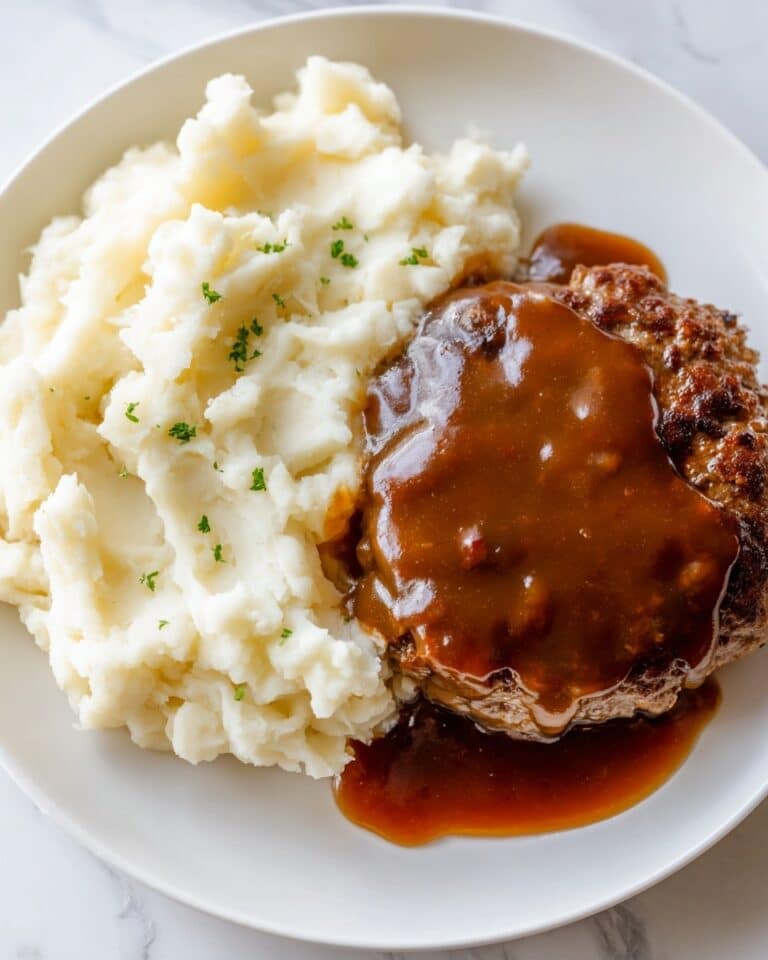
There’s something magical about the crispy, golden edges and juicy interior of Chicken Rissoles, isn’t there? Every bite is an explosion of comforting, savory flavor — softly spiced, lifted by tangy Dijon, and sweetly mellow from carrot and onion. Whether you’re looking for a quick weeknight hero or prepping for a family lunch, these rissoles are the kind of dish you’ll return to again and again. Trust me, you’re going to want to make extra because leftovers are an absolute treat!
Ingredients You’ll Need
Chicken Rissoles come together with an everyday ingredient list, but each one plays a special role. These humble staples build big flavor, perfect texture, and gorgeous color. Let’s peek at what turns ground chicken into the best homemade rissoles you’ve tasted.
- Ground Chicken: The star of our rissoles—lean, juicy, and soaks up every bit of flavor you add.
- Onion (finely grated): Grated onion melts into the mix, giving each bite a gentle sweetness and extra moisture.
- Carrot (finely grated): Adds vibrant color, natural sweetness, and a tender texture to the rissoles.
- Fresh Parsley (chopped): Brightens up the entire dish and gives a fresh, herby lift.
- Garlic (minced): Just one clove is plenty—rich, aromatic flavor that ties everything together.
- Breadcrumbs: Essential for binding, and they stop the rissoles from being too dense or soggy.
- Egg: Holds everything together and keeps the patties tender.
- Worcestershire Sauce: Adds an umami punch and subtle tang that makes the chicken sing.
- Dijon Mustard: A little sharpness for depth and a gentle hint of heat.
- Salt and Black Pepper: Don’t skimp—seasoning brings every other flavor to life.
- Olive Oil (for frying): Gives a golden crust that is irresistibly crispy and flavorful.
How to Make Chicken Rissoles
Step 1: Mix the Chicken Rissoles Base
In a large mixing bowl, combine ground chicken with finely grated onion and carrot, fresh parsley, garlic, breadcrumbs, egg, Worcestershire sauce, Dijon mustard, plus a good pinch of salt and black pepper. Get in there with clean hands or a sturdy spoon — you want everything evenly blended, but don’t overwork it, as that can make the patties a bit tough. That fresh, herby aroma tells you good things are ahead!
Step 2: Shape the Patties
It’s time to form your Chicken Rissoles! With damp hands (the secret to less sticky fingers), scoop out portions of the mixture and shape them into 8 to 10 small, even patties. Try to keep them roughly the same size so they’ll cook perfectly and evenly. Place them on a plate as you go.
Step 3: Sizzle and Cook
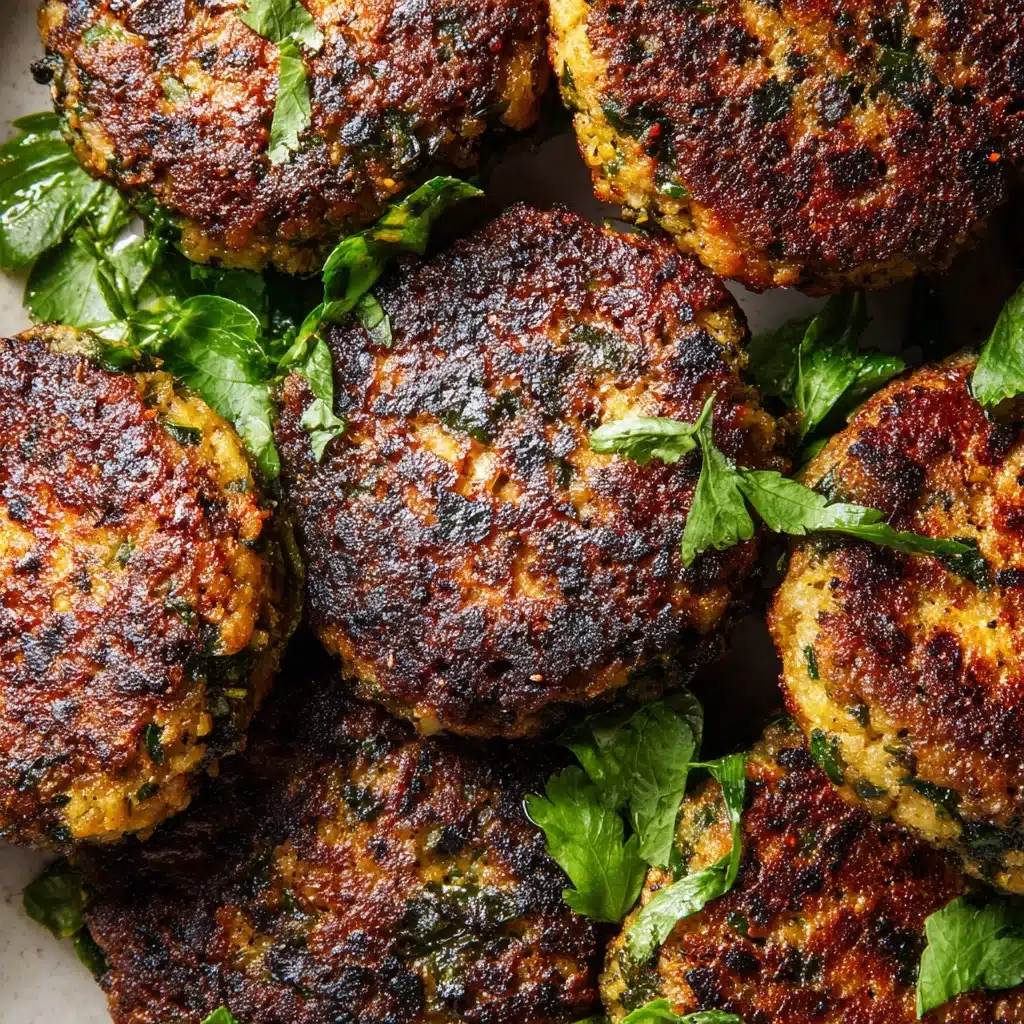
Heat olive oil in a large skillet over medium heat. Once the oil shimmers, gently lay the rissoles into the pan. Don’t overcrowd — cook in batches if needed. Fry each side for about 4 to 5 minutes, or until golden brown and cooked all the way through. You’re looking for a caramelized crust with juicy centers. When they’re done, let them rest briefly on a plate lined with paper towels.
Step 4: Serve and Enjoy
With your Chicken Rissoles hot and crispy, it’s time for the best part—eating! These are at their peak served fresh from the skillet. Plate them up and prepare for happy faces at the table. Whether you lean classic with mashed potatoes or go lighter with salad, the flavor is always a hit.
How to Serve Chicken Rissoles
Garnishes
Fresh parsley sprinkled over the top is always a winner, adding color and brightness to highlight the golden Chicken Rissoles. For a pop of extra flavor, try a squeeze of lemon or a dollop of Greek yogurt, sour cream, or even a tangy mustard sauce.
Side Dishes
Chicken Rissoles can adapt to any meal vibe: classic mashed potatoes, crisp garden salad, or simple steamed green beans all work beautifully. Crusty bread and roasted veggies also make a lovely, comforting spread, letting the rissoles take center stage without any fuss.
Creative Ways to Present
Want something a little different? Tuck the patties into sliders or burger buns with slaw for a fun family meal, or slice leftover Chicken Rissoles to layer in wraps with lettuce, tomato, and a swish of sauce. You can even pop mini versions on toothpicks for party snacks!
Make Ahead and Storage
Storing Leftovers
Leftover Chicken Rissoles keep beautifully for a quick lunch or second-round dinner. Place cooled rissoles in an airtight container and store them in the fridge for up to 3 days. They’ll stay moist and flavorful and are ideal for meal prep.
Freezing
To freeze, arrange cooked and completely cooled Chicken Rissoles in a single layer on a baking sheet and freeze until solid. Then transfer to a freezer bag or airtight container. They’ll keep for up to 3 months—just be sure to label them with the date!
Reheating
For best results, reheat Chicken Rissoles gently in a hot skillet with a splash of oil, or pop them in a 350°F oven until heated through. The microwave works in a pinch but use short bursts to avoid drying them out. Serve immediately for the best flavor and texture.
FAQs
Can I make Chicken Rissoles with turkey or beef instead of chicken?
Absolutely! Just swap in ground turkey or beef for the chicken—follow the recipe exactly, though keep in mind that beef and turkey may require a touch more seasoning. The texture and flavor will shift a little, but they’ll still be delicious and satisfying.
How do I keep my rissoles from falling apart?
The key is binding—make sure to use enough breadcrumb and egg, and don’t skip the resting stage before frying. If your mixture is too wet, add a sprinkle more breadcrumbs. If you’re extra worried, chill the shaped patties for 10-15 minutes before cooking to help them set.
Can Chicken Rissoles be baked instead of fried?
Yes! For a lighter version, place shaped patties on a parchment-lined baking tray and bake at 375°F (190°C) for 20–25 minutes, flipping halfway for even color. You’ll get a slightly different texture but just as much flavor, with less overall oil.
Are these gluten free?
They can be! Simply use your favorite gluten-free breadcrumbs or crushed gluten-free crackers as the binder. Double-check your Worcestershire sauce, as not all brands are gluten-free. With those tweaks, you’re good to go!
What’s the best way to serve Chicken Rissoles to kids?
Kids love smaller, easy-to-eat pieces, so shape the mixture into mini patties or “nuggets.” Serve with their favorite dipping sauces—ketchup, ranch, or even honey mustard—and maybe tuck a few inside a soft wrap or pita with crunchy veggies for a balanced meal.
Final Thoughts
If you’re after a meal that’s easy, flexible, and guaranteed to please, give these Chicken Rissoles a try—you won’t regret it. Whether you keep it classic or play with sides and garnishes, this recipe has a way of making ordinary ingredients taste absolutely special. Here’s to happy cooking and even happier eating!
Print
Chicken Rissoles Recipe
- Prep Time: 15 minutes
- Cook Time: 15 minutes
- Total Time: 30 minutes
- Yield: 4 servings
- Category: Main Course
- Method: Pan-Fry
- Cuisine: Australian
- Diet: Non-Vegetarian
Description
These Chicken Rissoles are flavorful and easy to make, perfect for a quick weeknight dinner. Juicy ground chicken mixed with vegetables and seasonings, pan-fried to golden perfection.
Ingredients
Ground Chicken:
1 lb
Onion, finely grated:
1 small
Carrot, finely grated:
1
Parsley, chopped:
1/4 cup
Garlic, minced:
1 clove
Breadcrumbs:
1/2 cup
Egg:
1
Worcestershire sauce:
1 tablespoon
Dijon mustard:
1 teaspoon
Salt and black pepper:
to taste
Olive oil for frying:
2 tablespoons
Instructions
- Mix Ingredients: In a large bowl, combine ground chicken, grated onion, grated carrot, parsley, garlic, breadcrumbs, egg, Worcestershire sauce, Dijon mustard, salt, and pepper. Mix well.
- Shape Patties: Form the mixture into 8–10 small patties.
- Fry Rissoles: Heat olive oil in a skillet, fry the rissoles for 4–5 minutes per side until golden and cooked through.
- Drain and Serve: Transfer cooked rissoles to a paper towel-lined plate. Serve hot with sides of your choice.
Notes
- You can use panko breadcrumbs for extra texture.
- Add a pinch of paprika for a smoky flavor.
- Rissoles can be baked at 375°F (190°C) for 20–25 minutes, flipping halfway through.

