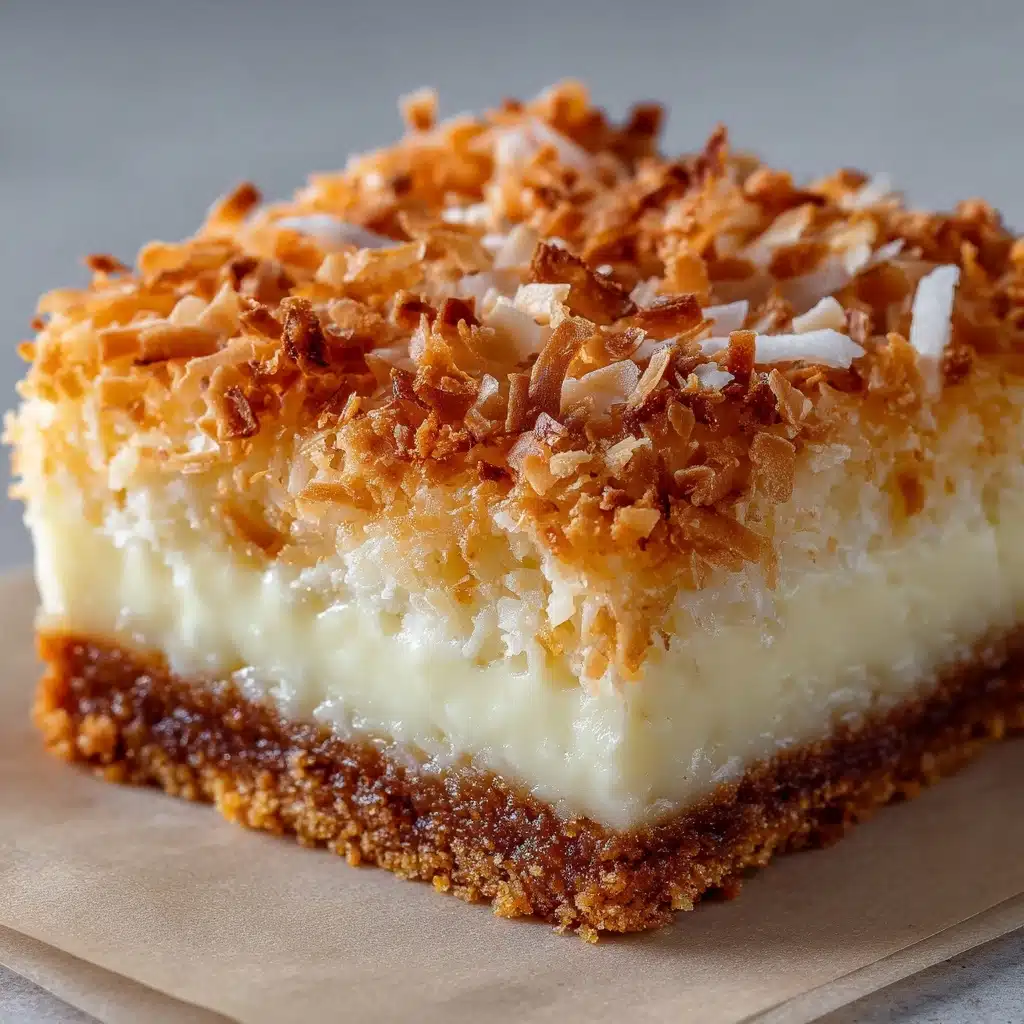
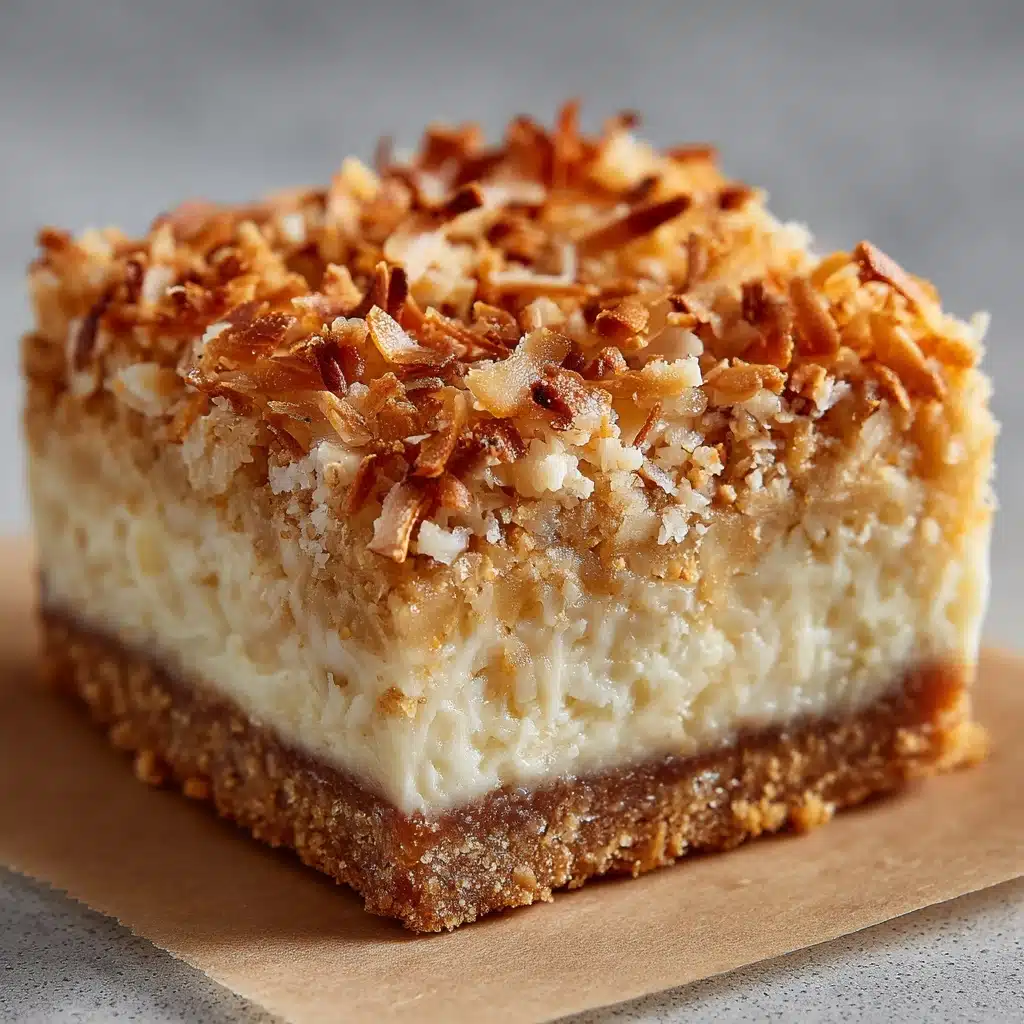
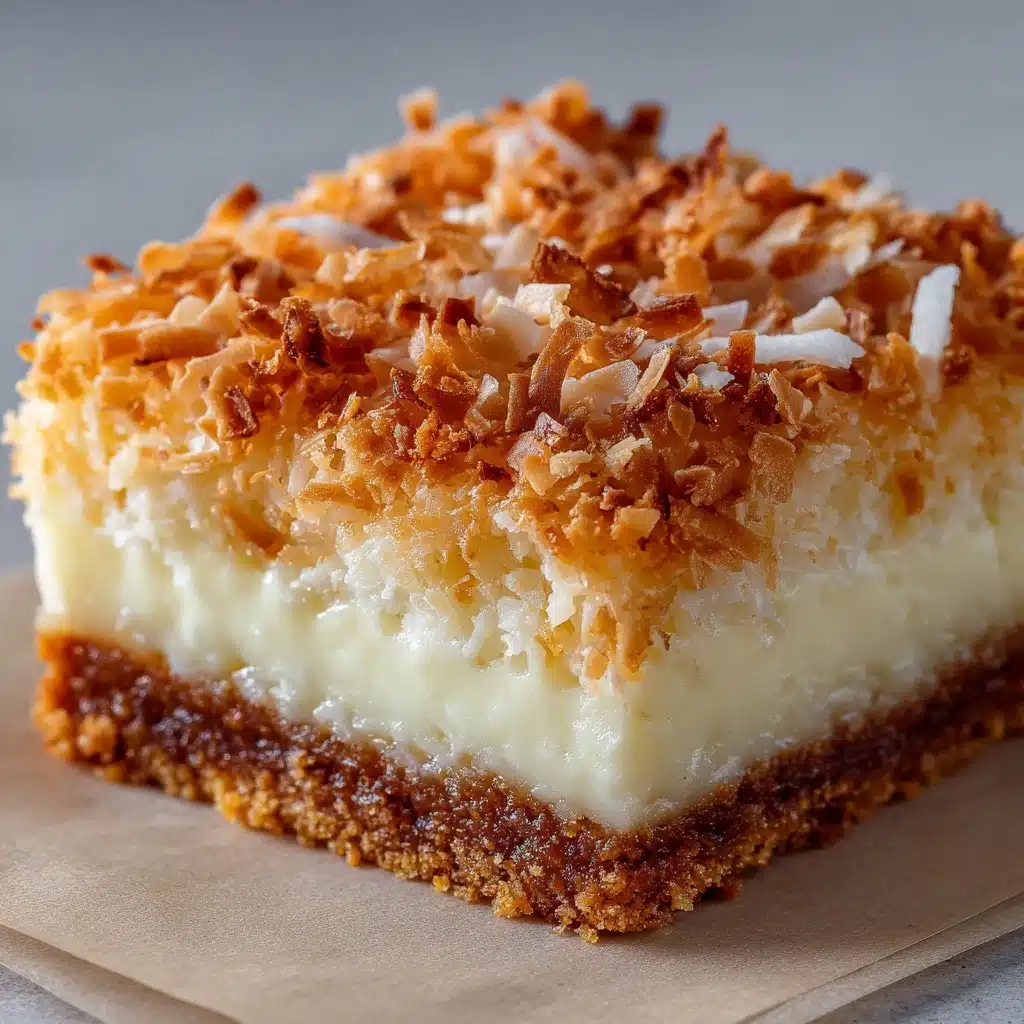
Chewy Coconut Bars are the sort of dessert you never forget after just one bite—gooey, golden, and bursting with tropical coconut flavor. These easy bars come together fast, with a compact list of classic pantry ingredients and big homemade comfort in every delicious square. If you adore rich, sweet, and chewy treats with crispy edges and a soft center, this recipe is about to become your new go-to for any occasion.
Ingredients You’ll Need
Let’s talk about how wonderfully simple (and necessary!) each ingredient is for Chewy Coconut Bars. There are only a handful of pantry staples here, but together, they weave a tapestry of texture and flavor that makes these bars truly unforgettable.
- Unsalted butter (1/2 cup, melted): Brings a luscious richness to the bars and helps lock in that irresistibly chewy texture.
- Brown sugar (1 cup, packed): Adds deep caramel notes and extra moisture for fudgy, chewy results.
- Large eggs (2): Binds everything together and keeps the bars tender.
- Vanilla extract (1 teaspoon): Amplifies the flavors and adds a warm, cozy aroma.
- Salt (1/2 teaspoon): Balances the sweetness and makes every bite pop with flavor.
- All-purpose flour (1 cup): Provides structure while keeping the crumb soft, not cakey.
- Sweetened shredded coconut (1 1/2 cups): The star ingredient! Toasts to perfection in the oven and gives every bite a golden, chewy finish.
How to Make Chewy Coconut Bars
Step 1: Prep Your Pan and Oven
Start by preheating your oven to 350°F (175°C). Give your 8×8-inch baking pan a quick coat of butter or nonstick spray, or line it neatly with parchment paper for super easy removal later. This extra minute of prep makes slicing and serving your Chewy Coconut Bars an absolute breeze.
Step 2: Mix the Butter and Brown Sugar
In a large mixing bowl, whisk together the melted butter and packed brown sugar until the mixture is glossy and smooth. This base is what gives your bars that wonderful caramelized chew, so don’t rush this step. The combination should look thick and silky before you move on.
Step 3: Add the Eggs and Vanilla
Crack in the eggs one at a time, then pour in the vanilla extract. Whisk everything together until completely combined and the mixture turns a bit lighter in color. This is the secret to a unified, tender crumb throughout the bars.
Step 4: Incorporate Salt and Flour
Sprinkle in the salt and gently fold in the flour, mixing just until you no longer see dry streaks. Don’t over-mix! Keeping it just combined ensures the Chewy Coconut Bars stay soft and don’t turn dense.
Step 5: Fold in the Shredded Coconut
Add the sweetened shredded coconut last, folding it in evenly so every bite gets that signature chewy texture and nutty, golden flavor. If you’re feeling adventurous, now is the time to stir in a handful of chocolate chips or chopped walnuts for extra pizzazz.
Step 6: Bake to Perfection
Scoop the batter into your prepared pan and smooth it out to the edges. Bake for 25 to 30 minutes, until the top is golden brown and a toothpick inserted in the center emerges with only a few moist crumbs (not wet batter). Try not to overbake, as you want to lock in that classic chewy texture.
Step 7: Cool and Slice
Let the bars cool completely in the pan before slicing into neat squares—this helps them set properly and keeps the edges crisp. If you line your pan with parchment, you can lift the entire batch out for easier cutting and sharing.
How to Serve Chewy Coconut Bars
Garnishes
These bars are wonderful on their own, but a gentle dusting of powdered sugar makes them look extra magical. For a special touch, sprinkle toasted coconut over the finished bars or drizzle with a bit of melted chocolate or a light vanilla glaze—the added flavor and presentation always draw compliments.
Side Dishes
A scoop of vanilla ice cream or a dollop of whipped cream will turn your Chewy Coconut Bars into a showstopping dessert plate. Pair with fresh fruit like sliced kiwi, pineapple, or berries for a tropical vibe, or enjoy them alongside a cup of coffee or tea for the coziest afternoon treat.
Creative Ways to Present
If you’re packing these bars for a picnic or gifting, stack them in parchment-lined boxes or tins for a charming effect. For parties, cut the bars into tiny squares and arrange them on a tiered dessert platter, or serve them with little cocktail picks for easy nibbling. These Chewy Coconut Bars even make a fantastic base for an ice cream sundae bar!
Make Ahead and Storage
Storing Leftovers
Once completely cooled, store your bars in an airtight container at room temperature. They’ll stay delightfully chewy for up to four days. For even longer freshness, pop them in the refrigerator—though they might disappear before you get the chance!
Freezing
Chewy Coconut Bars freeze wonderfully! Simply wrap each bar in plastic wrap and tuck them into a freezer bag or airtight container. They’ll be good for up to three months—just thaw at room temperature before serving for best flavor and texture.
Reheating
If you love bars with a warm, just-baked quality, pop a bar in the microwave for about 10 seconds. This brings back the melty, gooey center and makes the coconut aroma pop. Avoid longer heating times, as you don’t want to dry them out.
FAQs
Can I use unsweetened coconut in this recipe?
You can substitute unsweetened shredded coconut, but keep in mind the bars will be less sweet and may have a drier texture. If you go this route, consider adding a couple of extra tablespoons of sugar or a drizzle of syrup.
Should I toast the coconut before adding it?
For a deeper, nuttier flavor, you can briefly toast the coconut in a dry skillet before mixing it into the batter. This isn’t required, as the coconut will naturally toast during baking, but it’s a nice upgrade if you have a few extra minutes!
Can I double the recipe for a larger crowd?
Absolutely! Just double all the ingredients and bake in a 9×13-inch pan. Check for doneness at around 30–35 minutes, and allow the bars to cool before slicing.
How can I make Chewy Coconut Bars gluten free?
Swap in your favorite 1:1 gluten-free all-purpose flour blend. The texture will be slightly different, but the bars will still be wonderfully chewy and flavorful.
What’s the best way to gift these bars?
Wrap individual bars in parchment or waxed paper and tie with string for charming homemade gifts. You can also tuck them into decorative cookie tins or boxes for holidays and special occasions.
Final Thoughts
If you’re craving something easy, crowd-pleasing, and delightfully indulgent, these Chewy Coconut Bars have your name all over them. Rich, chewy, and brimming with coconut goodness, they’re a little slice of homemade heaven you’ll reach for again and again. Grab your ingredients and give them a try—you’ll be so glad you did!
Print
Chewy Coconut Bars Recipe
- Prep Time: 10 minutes
- Cook Time: 30 minutes
- Total Time: 40 minutes
- Yield: 16 bars
- Category: Dessert
- Method: Baking
- Cuisine: American
- Diet: Vegetarian
Description
Indulge in these delicious Chewy Coconut Bars that are the perfect combination of sweet and chewy, with a hint of coconut flavor in every bite. These bars are easy to make and a great treat for coconut lovers!
Ingredients
Ingredients:
- 1/2 cup unsalted butter (melted)
- 1 cup brown sugar (packed)
- 2 large eggs
- 1 teaspoon vanilla extract
- 1/2 teaspoon salt
- 1 cup all-purpose flour
- 1 1/2 cups sweetened shredded coconut
Instructions
- Preheat the oven: Preheat the oven to 350°F (175°C) and grease or line an 8×8-inch baking pan with parchment paper.
- Mix the wet ingredients: In a mixing bowl, whisk together the melted butter and brown sugar until smooth. Add the eggs and vanilla extract, mixing well.
- Add dry ingredients: Stir in the salt and flour until just combined. Fold in the shredded coconut.
- Bake: Spread the batter in the prepared pan and bake for 25–30 minutes until golden brown and a toothpick comes out clean.
- Cool and slice: Allow the bars to cool completely in the pan before slicing into squares.
Notes
- For added texture and flavor, consider mixing in 1/2 cup chopped walnuts or chocolate chips.
- Store bars in an airtight container at room temperature for up to 4 days or refrigerate for longer freshness.

