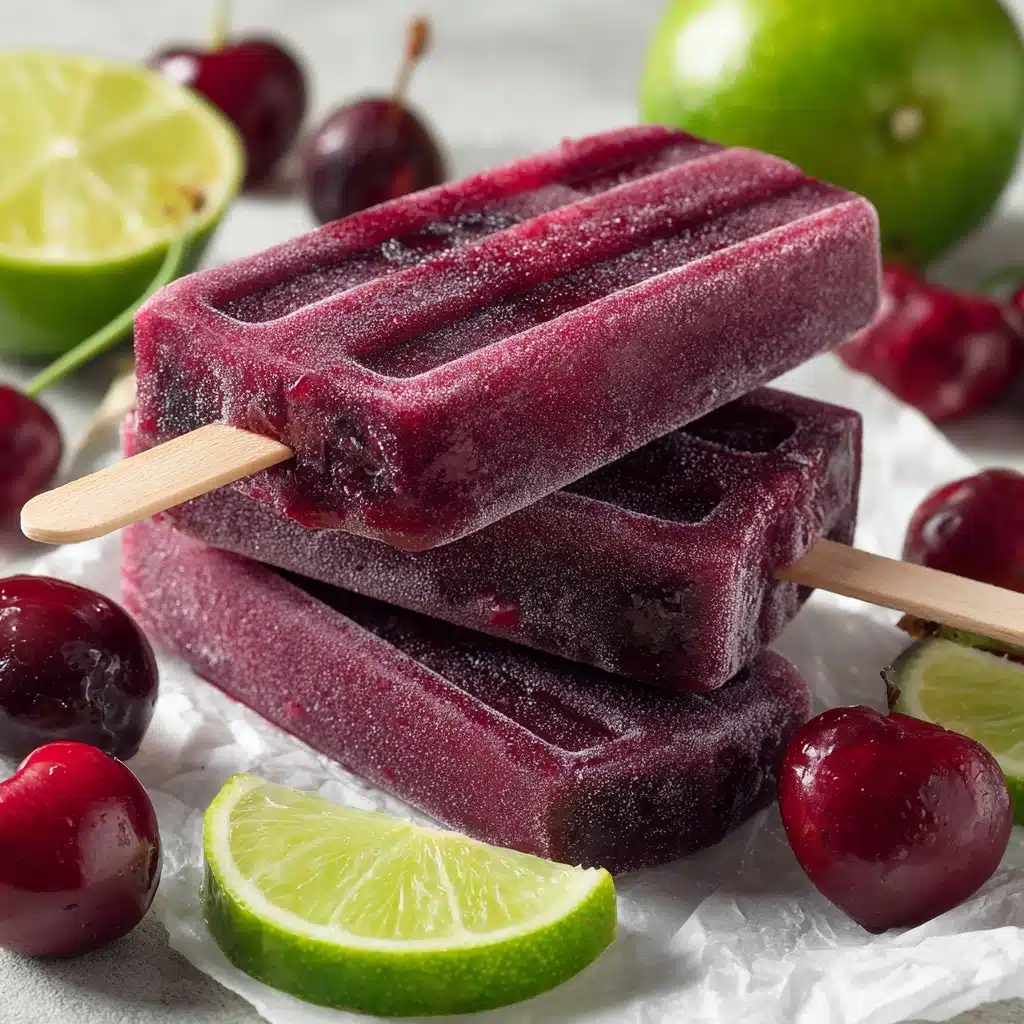
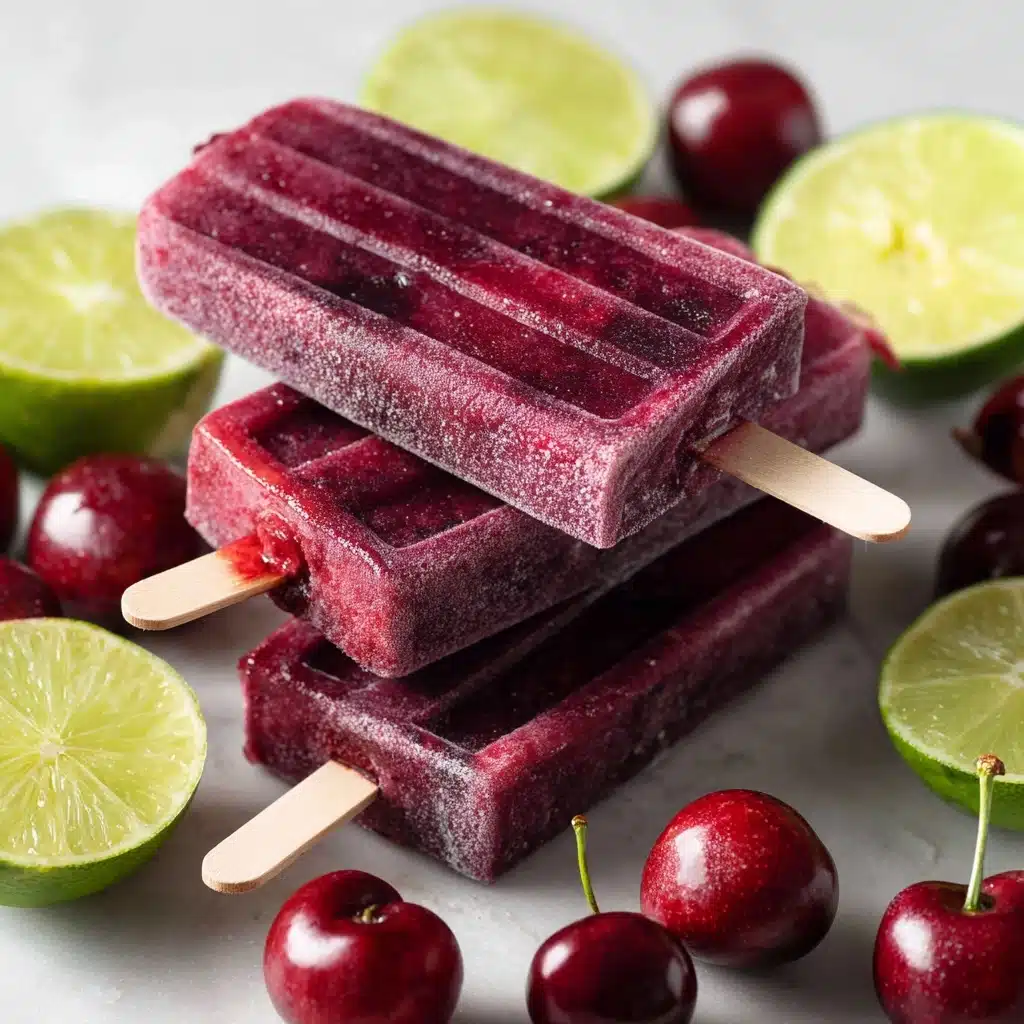
Meet your new summer obsession: Cherry Lime Ice Pops! These vibrant, fruity pops are bursting with sweet cherries, zingy lime, and a gentle kiss of honey or maple syrup, making every bite a perfectly balanced blend of tart and sweet. Whether you’re craving a refreshing treat after a sunny afternoon or looking for a fun way to wow your friends at your next BBQ, Cherry Lime Ice Pops will keep you cool, satisfied, and totally delighted with each frosty, jewel-toned bite.
Ingredients You’ll Need
Let’s keep things simple and satisfying. Every ingredient in Cherry Lime Ice Pops has a special role—delivering fresh flavor, vivid color, and the kind of juiciness that turns ordinary popsicles into a celebration. Stock up on these basics, and you’ll be minutes away from homemade frozen happiness.
- Cherries (2 cups, fresh or frozen, pitted): The star of the show, they give a naturally bold color and deep, rich fruitiness.
- Freshly squeezed lime juice (1/2 cup): About 4 limes, for that bright citrus sparkle that makes the flavors pop.
- Honey or maple syrup (1/3 cup): Natural sweetness that pairs perfectly with fruit and adds just the right amount of stickiness.
- Water (1/2 cup): Helps blend everything together and ensures your pops freeze with a gorgeous icy texture.
- Lime zest (1 teaspoon): Intensifies the lime flavor and perfumes each pop with fragrant citrus oils.
- Pinch of salt: Just a bit, but it magically boosts every other flavor!
How to Make Cherry Lime Ice Pops
Step 1: Blend Everything to Perfection
Grab your blender and toss in the cherries, freshly squeezed lime juice, honey or maple syrup, water, lime zest, and that tiny pinch of salt. Blend on high until the mixture is completely smooth—don’t be shy, let it go for a full minute! This is when the cherries and lime become best friends, turning into a luscious, jewel-toned liquid. Taste and adjust sweetness if needed; sometimes cherries are extra tart and need an extra drizzle of honey or maple syrup.
Step 2: Strain for Smoothness (Optional)
If you like your ice pops ultra-smooth, pour the blended mixture through a fine-mesh strainer into a large measuring cup or bowl. This step will catch any stray cherry skins and make each bite perfectly silky, but it’s totally optional—some people love the little bits for an extra fruity bite!
Step 3: Fill the Molds
Divide the cherry-lime mixture evenly among your ice pop molds, leaving just a touch of space at the top so the pops have room to expand as they freeze. Want extra pizazz? Drop a few whole cherry halves into each mold before pouring—it adds a beautiful surprise in every pop!
Step 4: Insert Sticks and Freeze
Secure the sticks into each mold, making sure they’re upright and centered. Transfer the molds to the freezer and let them chill for at least 4–6 hours, or until they’re solidly frozen through. Now for the hardest part: waiting!
Step 5: Unmold and Enjoy
When your Cherry Lime Ice Pops are fully set, run the outside of the molds under warm water for just a few seconds, then gently pull on the sticks to release the pops. Serve them right away for maximum refreshment or stash them in the freezer until you’re ready to treat yourself.
How to Serve Cherry Lime Ice Pops
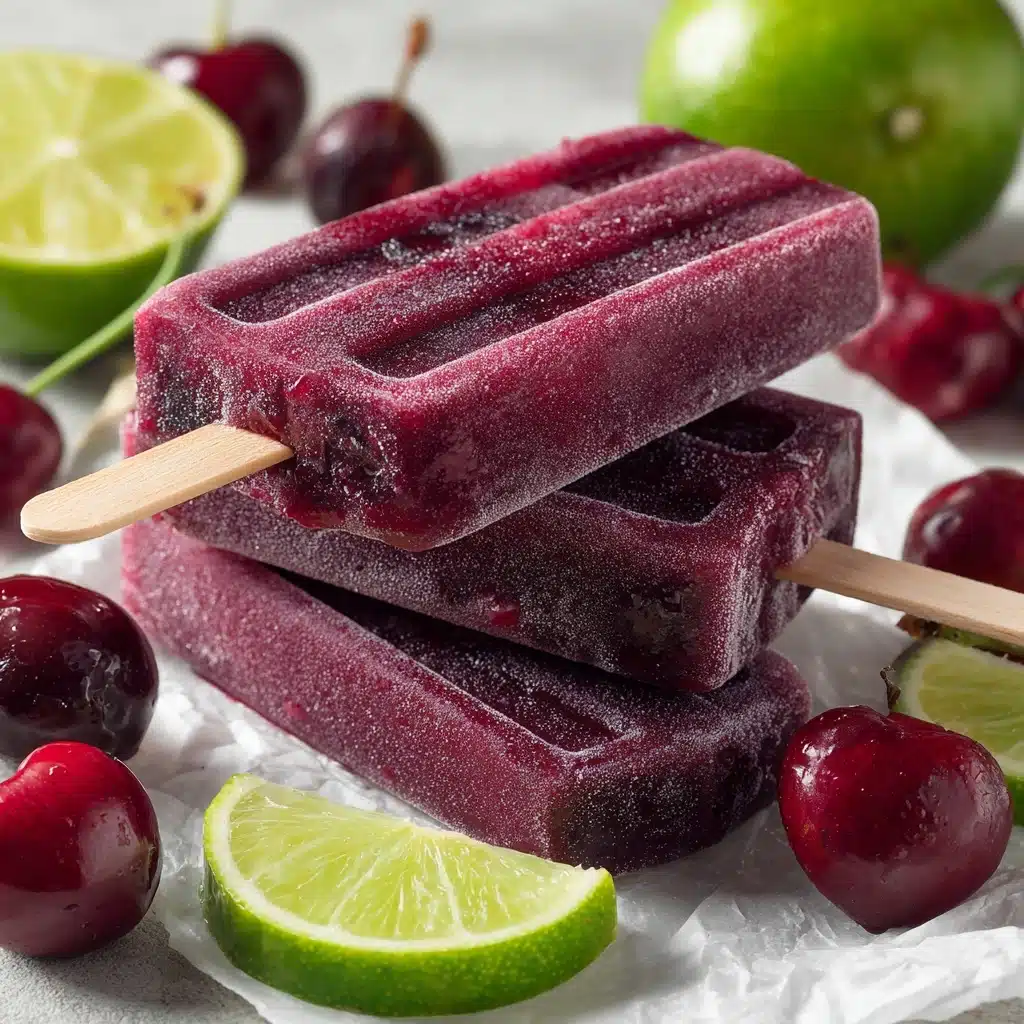
Garnishes
Dress up your Cherry Lime Ice Pops with a simple garnish to make them irresistibly photogenic. Try a thin lime wheel slid onto each popsicle stick, or sprinkle a bit of extra grated lime zest on the pops just before serving. For a playful touch, give each pop a quick dip in coconut flakes or drizzle with a little extra honey.
Side Dishes
Balance the sweet-tart brightness of Cherry Lime Ice Pops with easy summer sides. A bowl of chili-lime watermelon cubes, crunchy berry salad, or some cool cucumber-mint slices transform snack time into a full-blown garden party!
Creative Ways to Present
Take your presentation up a notch by serving the pops in colorful cups of crushed ice or standing tall in a mason jar filled with frozen berries and lime slices. Or, freeze your Cherry Lime Ice Pops with fun shapes using novelty molds—kids and adults alike will love these playful treats!
Make Ahead and Storage
Storing Leftovers
If you don’t devour them all at once, Cherry Lime Ice Pops keep wonderfully in any airtight container or zip-top freezer bag. Just separate pops with parchment paper, so they don’t stick together, and your next cooldown is moments away.
Freezing
The pops maintain their flavor and texture for up to two months in the freezer. Be sure to keep them tightly sealed to protect against freezer burn and absorb any stray odors. Label with the date for maximum freshness!
Reheating
No need to reheat—just the opposite! If your pops are rock-solid, let them sit at room temperature for a minute or two, or run them under warm water for a few seconds. They’ll loosen up just enough for that first refreshing bite.
FAQs
Can I use bottled lime juice instead of fresh?
Freshly squeezed lime juice really delivers a brighter, cleaner flavor, but in a pinch, bottled works too—look for ones without added sugar or preservatives for the closest match to fresh.
Are Cherry Lime Ice Pops vegan?
Absolutely! If you use maple syrup instead of honey, these pops are 100 percent plant-based, dairy-free, and gluten-free, making them perfect for all your friends and family.
What if I don’t have popsicle molds?
Don’t worry—you can use small paper cups and wooden sticks, or even an ice cube tray with toothpicks for mini-pops. Just cover the cups with foil and poke the sticks through before freezing so they stand up straight.
Can I make Cherry Lime Ice Pops with other fruits?
Definitely! Try swapping some or all of the cherries for strawberries, raspberries, or blackberries. You can even mix and match for your own signature combinations.
How do I make the pops even sweeter or more tart?
Feel free to adjust the honey or maple syrup and lime juice ratios before freezing. Taste the blended base and tweak to your liking—it’s your kitchen, your rules!
Final Thoughts
If you’re ready for a treat that tastes as happy as summer feels, you can’t go wrong with Cherry Lime Ice Pops. They’re easy, bursting with real fruit, and guaranteed to deliver big smiles on any hot day. Grab your blender and let’s bring a little frosty joy to your next kitchen adventure!
Print
Cherry Lime Ice Pops Recipe
- Prep Time: 10 minutes
- Cook Time: 0 minutes
- Total Time: 6 hours (including freezing)
- Yield: 6 pops
- Category: Dessert, Snack
- Method: No-Cook, Freezing
- Cuisine: American
- Diet: Vegan
Description
Enjoy the refreshing combination of sweet cherries and zesty lime in these homemade Cherry Lime Ice Pops. These fruity popsicles are a perfect treat for hot summer days, and they are vegan, dairy-free, and gluten-free.
Ingredients
Cherry Lime Ice Pops:
- 2 cups fresh or frozen cherries (pitted)
- 1/2 cup freshly squeezed lime juice (about 4 limes)
- 1/3 cup honey or maple syrup
- 1/2 cup water
- 1 teaspoon lime zest
- Pinch of salt
Instructions
- In a blender, combine cherries, lime juice, honey (or maple syrup), water, lime zest, and a pinch of salt.
- Pour the mixture evenly into ice pop molds, leaving a little space at the top for expansion.
- Insert sticks and freeze for at least 4–6 hours or until fully solid.
- To release the pops, run warm water over the outside of the molds for a few seconds and gently pull them out.
- Serve immediately or store in the freezer.
Blend until completely smooth. Taste and adjust sweetness if needed.
Notes
- You can strain the mixture before pouring if you prefer a smoother texture.
- Add whole cherry halves to the molds before freezing for a fun surprise inside.
- These are naturally dairy-free and gluten-free.

