If you’ve ever been captivated by that perfect pop of sour cherry flavor, homemade Cherry Blasters are about to become your new obsession. With a vibrant crimson hue and puckering tang, these candies strike the ultimate balance of sweet and tart. Whether you savor them one at a time or share with friends, Cherry Blasters bring all the nostalgia of your favorite childhood confections, but with the extra satisfaction of being homemade. Get ready for candy kitchen fun and a treat that never sticks around for long!
Ingredients You’ll Need
-
Main Ingredients:
- 1 1/2 cups granulated sugar
- 1/2 cup light corn syrup
- 1/3 cup water
- 1/2 teaspoon cherry extract
- red gel food coloring
- 1/4 teaspoon citric acid (for sourness)
Additional:
- powdered sugar (optional, for dusting)
- nonstick spray or parchment paper
- candy thermometer
How to Make Cherry Blasters
Step 1: Prepare Your Candy Station
Line a baking sheet with parchment paper or lightly coat it with nonstick spray. Set up your molds if using, and have the cherry extract and red gel food coloring standing by. Candy-making moves quickly, so organizing everything before you start makes the process absolutely foolproof.
Step 2: Heat the Base
In a medium saucepan, combine the granulated sugar, light corn syrup, and water. Place the pan over medium heat and stir constantly until the sugar dissolves. You’ll notice the mixture go from cloudy to clear, which means you’re on track for perfectly smooth Cherry Blasters.
Step 3: Boil to Hard Crack
Once your sugar is dissolved, stop stirring and clip your candy thermometer to the pan. Let the mixture boil untouched until it reaches 300°F, the hard-crack stage. This is crucial for that snappy, satisfying crunch you expect from Cherry Blasters. Watch closely—this step can go from perfect to overdone in a snap!
Step 4: Add Color and Flavor
Remove the pan from heat and quickly stir in the cherry extract and a few drops of red gel food coloring. Work swiftly, as the candy will start to set fast. The aroma here is truly irresistible and may draw spectators into your kitchen!
Step 5: Shape Your Candies
Pour the hot candy into silicone molds, or spoon small dollops onto the prepared sheet to form circles. If you want uniformity, molds are your best friend, but freeform rounds have homemade charm. Let the candies cool and harden completely at room temperature—no rush, patience pays off here.
Step 6: Coat for Sour Power
Once set, roll the Cherry Blasters in a mixture of powdered sugar and citric acid for the full sour-and-sweet experience. If you love that extra tart zip, add a little more citric acid. Now, they’re ready to eat or store for later (if you can resist!).
How to Serve Cherry Blasters
Garnishes
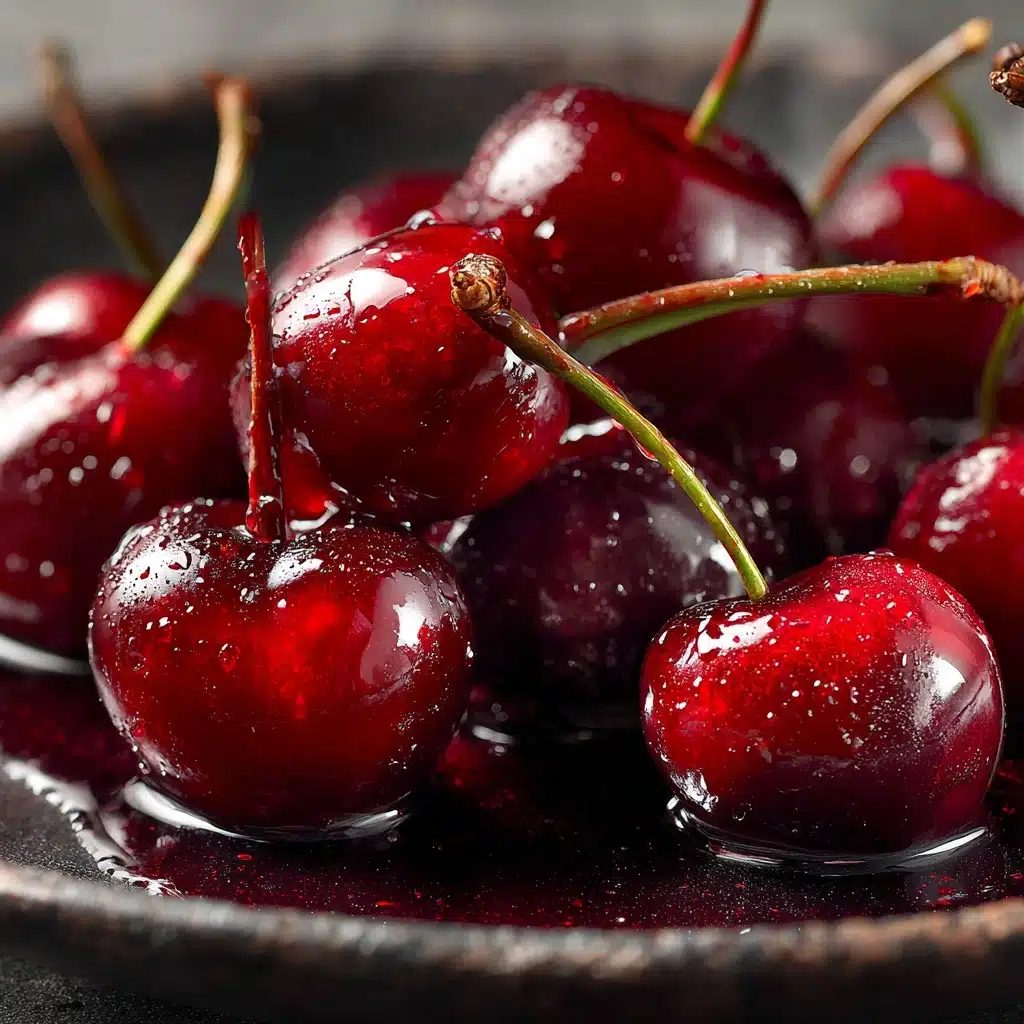
For instant wow factor, dust your Cherry Blasters with a blend of powdered sugar and an extra pinch of citric acid. This creates a frosted look and gives every bite an extra tangy sparkle. Edible glitter or colored sanding sugar can add pizzazz for parties and gifts.
Side Dishes
Cherry Blasters are a showstopper on their own, but they shine alongside simple vanilla ice cream, a fresh fruit platter, or a small bowl of salted nuts. Their bold, sour-sweet punch pairs beautifully with creamy, mild, or salty snacks, making them a playful finish to any gathering.
Creative Ways to Present
Turn your Cherry Blasters into party favors by wrapping them in cellophane with a twist of ribbon, or stack them in mason jars for a cheerful pop of color on the dessert table. For special occasions, pair them with chocolate truffles for a DIY candy box that’s sure to impress your friends and family.
Make Ahead and Storage
Storing Leftovers
Your Cherry Blasters will happily keep for weeks stored in an airtight container at room temperature. Lay parchment or wax paper between layers to prevent sticking, and stash them out of direct sunlight to preserve that bold color and perfect crunch.
Freezing
Freezing isn’t recommended for hard candies like Cherry Blasters. The cold can cause them to absorb moisture when thawed, which can lead to stickiness or softening—the opposite of the crisp finish you want. Stick to a cool, dry pantry instead.
Reheating
Unfortunately, once Cherry Blasters have set, reheating is not a good option; melted sugar won’t return to that same airy, hard crack. If you need more candies, it’s best (and fun!) to whip up a fresh batch from scratch.
FAQs
Can I use another extract besides cherry?
Absolutely! Feel free to swap in raspberry, strawberry, or even a burst of citrus extract for a different flavor profile. The process stays the same, but the outcome will be totally unique and just as delicious.
What if I don’t have a candy thermometer?
You can carefully drip a small amount of hot sugar into a bowl of cold water. If it forms brittle threads that snap easily, you’ve reached the hard crack stage. However, a thermometer is more precise and the safest route.
How can I make them extra sour?
To really amp up the tartness, increase the citric acid to a full 1/2 teaspoon in the base, and roll the set candies in even more citric acid mixed with powdered sugar. Taste as you go to find your perfect level of pucker!
Can kids help make Cherry Blasters?
Kids love shaping and dusting the finished candies, but keep them away from boiling sugar—it’s dangerously hot. Supervise at every stage and let little hands join in once the candies are cool and hardened.
My Cherry Blasters are sticky. What went wrong?
Typically, this means the sugar mixture didn’t quite reach the hard crack stage, or the candies are being stored in a humid environment. Make sure you hit 300°F and store in an airtight container with parchment between layers.
Final Thoughts
If you’re craving that ultimate sour cherry candy crunch, making your own Cherry Blasters is rewarding, satisfying, and just plain fun. Once you taste that burst of homemade flavor, you’ll be hooked—and your friends and family will beg for the recipe. Grab your saucepan and get ready to create some sweet kitchen memories!
Print
Cherry Blasters Recipe
- Prep Time: 10 minutes
- Cook Time: 15 minutes
- Total Time: 25 minutes
- Yield: 30 small candies
- Category: Candy
- Method: Candy Making
- Cuisine: American
- Diet: Gluten-Free, Vegan
Description
Indulge in the sweet and tangy flavors of homemade Cherry Blasters with this easy candy recipe. These bite-sized treats are bursting with cherry essence and a hint of sourness, perfect for satisfying your candy cravings.
Ingredients
Main Ingredients:
- 1 1/2 cups granulated sugar
- 1/2 cup light corn syrup
- 1/3 cup water
- 1/2 teaspoon cherry extract
- red gel food coloring
- 1/4 teaspoon citric acid (for sourness)
Additional:
- powdered sugar (optional, for dusting)
- nonstick spray or parchment paper
- candy thermometer
Instructions
- Prepare the Pan: Line a baking sheet with parchment paper or lightly spray it with nonstick spray.
- Cook the Candy: In a medium saucepan, combine the sugar, corn syrup, and water. Heat over medium heat, stirring until the sugar dissolves. Boil until it reaches 300°F on a candy thermometer. Remove from heat.
- Flavor and Color: Stir in cherry extract and red food coloring. Pour into molds or onto the sheet.
- Cool and Set: Let the candies cool and harden at room temperature.
- Finish: Dust with powdered sugar mixed with citric acid if desired. Store in an airtight container.
Notes
- For a more sour taste, increase citric acid to 1/2 teaspoon.
- Exercise caution when working with hot sugar.
- Enhance cherry flavor with a pinch of salt.

