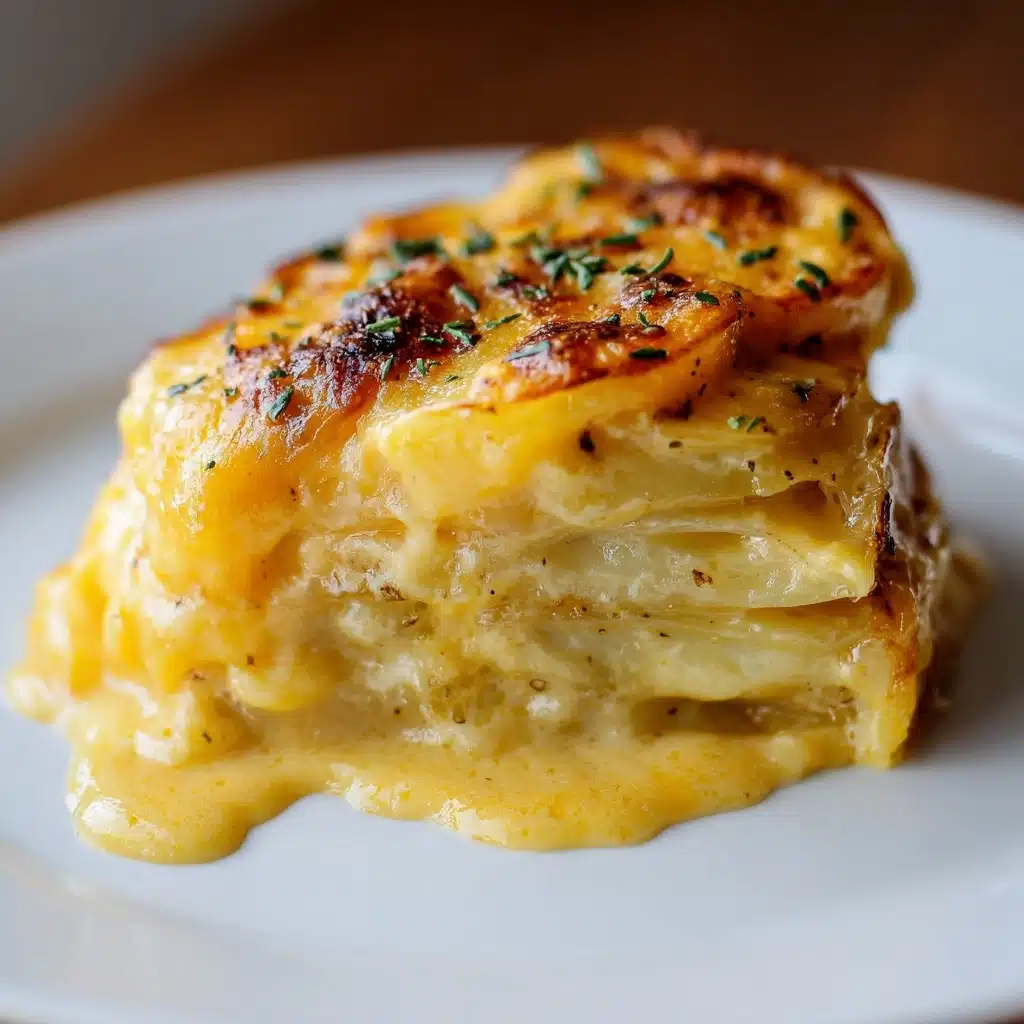
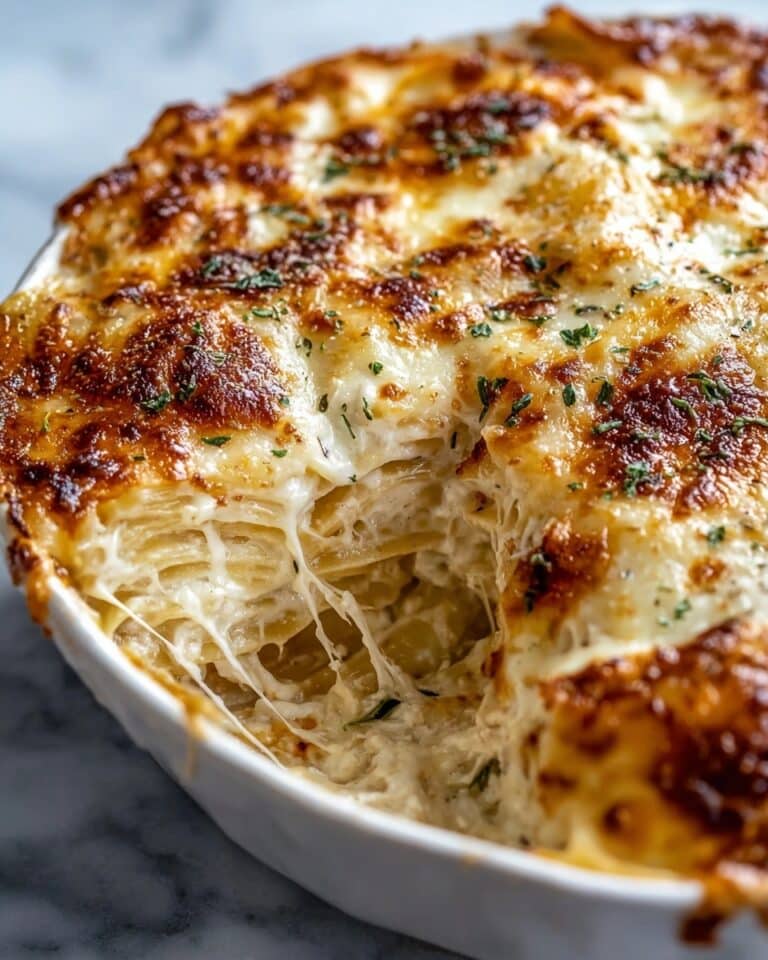
If you’re hunting for the ultimate comfort food, let me introduce you to my all-time favorite: Cheesy Scalloped Potatoes. Layers of thinly sliced potatoes, smothered in a velvety, cheesy sauce, baked until bubbly and golden brown—this dish is always the first thing to vanish at my dinner table. Whether you’re looking for the perfect holiday side or a cozy weeknight indulgence, Cheesy Scalloped Potatoes add warmth and flavor to any meal, and are guaranteed to earn you rave reviews!
Ingredients You’ll Need
Cheesy Scalloped Potatoes may look fancy, but the ingredient list is refreshingly humble. Each component plays a vital role, from the creamy sauce to the crisp, caramelized top. Here’s what you’ll need—and why it matters:
- Russet potatoes: Their high starch content ensures each slice turns buttery-tender while soaking up the sauce beautifully.
- Sharp cheddar cheese: Gives the sauce a rich, tangy depth and that irresistible melty stretch.
- Gruyère cheese: Adds nutty, luxurious notes that make this dish extra special; or substitute with Swiss if you prefer.
- Unsalted butter: The base for the roux, butter lends creaminess and helps the sauce cling to every potato layer.
- All-purpose flour: Creates a smooth, thickened sauce that nestles perfectly between the potatoes.
- Whole milk: For the silkiest (never gluey) texture—light cream works, too, for even more decadence.
- Garlic: Minced or finely grated, garlic infuses each bite with a gentle savory kick.
- Fresh thyme: This herb’s fragrant earthiness pairs so nicely with cheese and potatoes.
- Kosher salt and ground black pepper: Essential for seasoning every layer and bringing out all the cheesy flavor.
- Optional: paprika or cayenne pepper: Sprinkle in a pinch for subtle heat and a pop of color.
How to Make Cheesy Scalloped Potatoes
Step 1: Prep the Potatoes
Start by peeling the potatoes and slicing them as thinly as possible—about 1/8 inch thick is perfect. If you have a mandoline slicer, this is its time to shine! The uniform slices ensure the potatoes bake evenly and absorb all the cheesy goodness. Give the sliced potatoes a quick soak in cold water and then pat them dry with a clean towel; this step washes away excess starch and keeps the layers from turning gluey.
Step 2: Build the Cheese Sauce
Melt the butter in a saucepan over medium heat, then sauté the garlic just until fragrant. Sprinkle in the flour and whisk constantly for a couple of minutes—it’ll look like a thick paste. Pour in the warm milk gradually, whisking to avoid lumps, and cook until the sauce begins to thicken. Now comes the best part: Off the heat, stir in the shredded cheddar and Gruyère (reserving a handful for later), plus salt, pepper, and thyme. The heat will melt the cheese into a creamy, dreamy sauce you’ll want to eat with a spoon.
Step 3: Layer the Dish
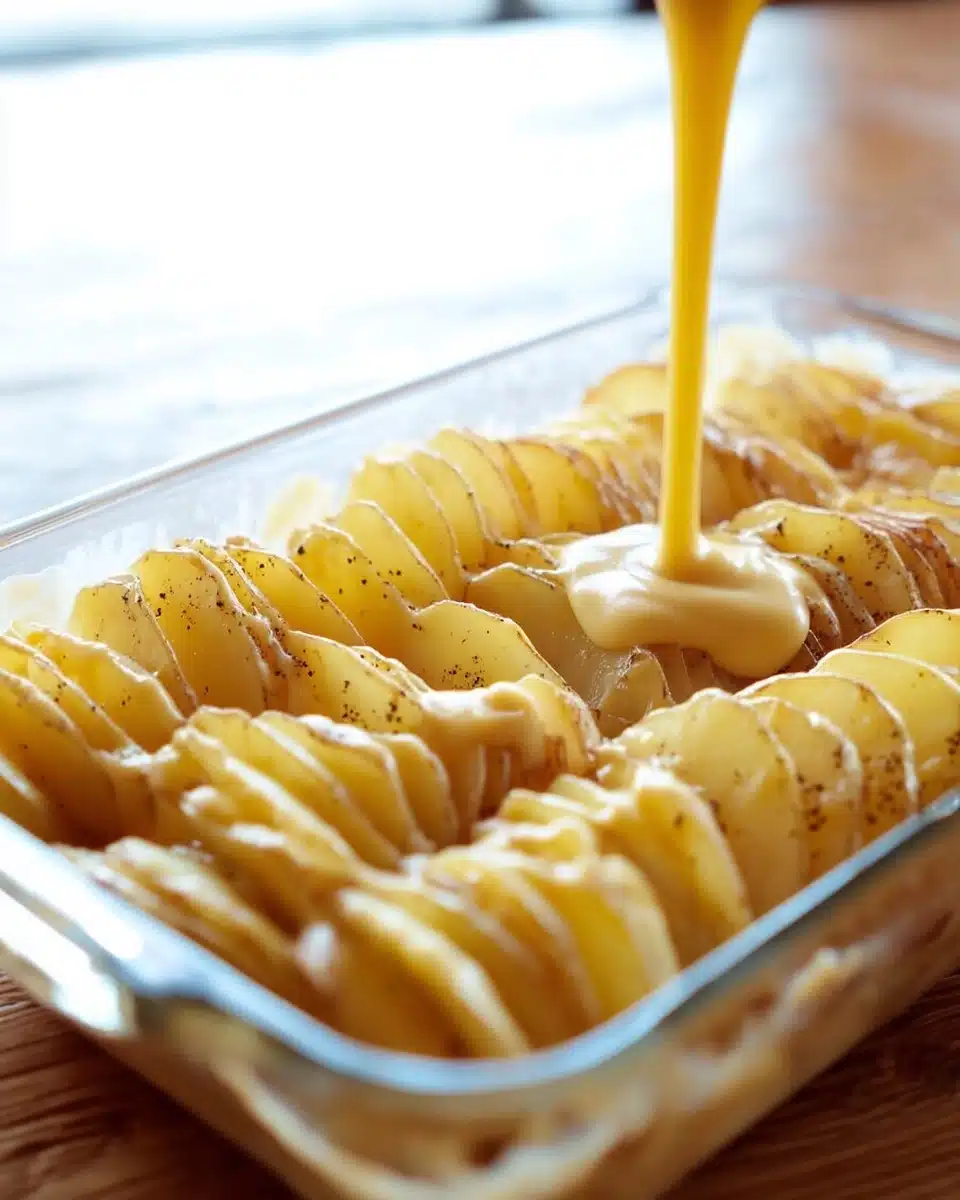
Lightly butter a baking dish, then arrange the first layer of potatoes on the bottom—overlapping slightly for maximum coverage. Pour a portion of the cheese sauce over the potatoes, smoothing to the edges, and repeat the process of layering potatoes and sauce. Finish with any remaining cheese sauce on top and scatter the reserved cheese for extra gooeyness.
Step 4: Bake to Perfection
Cover the baking dish with foil and bake at 375°F (190°C) for about 30 minutes. Remove the foil and continue to bake for another 25–30 minutes until the Cheesy Scalloped Potatoes are bubbling at the edges and the top is deeply golden. If you love a crispy cheese crust, broil for an extra minute or two—just keep a close eye so it doesn’t burn.
Step 5: Let Them Rest
This is the hardest part—waiting! Let your piping-hot Cheesy Scalloped Potatoes sit for at least 10 minutes before serving. This helps the sauce set up so you get beautiful, creamy squares instead of a runny (though still delicious) mess. Sprinkle with extra fresh thyme or a dash of paprika for flair right before hitting the table.
How to Serve Cheesy Scalloped Potatoes
Garnishes
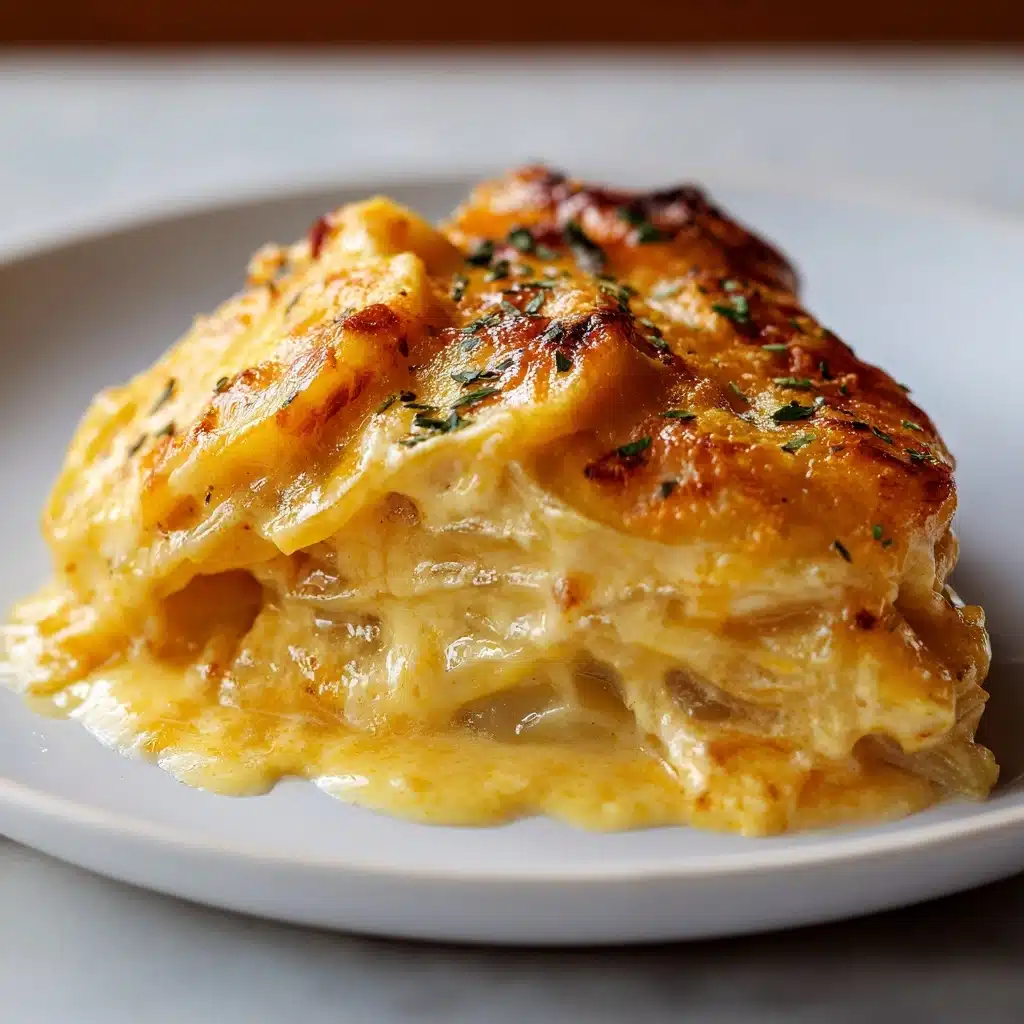
The finishing touches make all the difference. Fresh herbs like chopped parsley or thyme bring a burst of color and a fresh aroma that perfectly complements the rich cheese. For a subtle kick and gorgeous color, a light sprinkle of paprika or cracked black pepper is always a hit. If you want a bit of crunch, try toasted breadcrumbs tossed with melted butter for a homemade topping everyone will rave about.
Side Dishes
Cheesy Scalloped Potatoes pair seamlessly with a variety of main dishes. They’re unbeatable beside a juicy roast chicken, glazed ham, or a perfectly grilled steak. For a lighter table, serve them with a crisp green salad or steamed vegetables like broccoli, asparagus, or green beans—the creaminess of the potatoes balances out fresh, vibrant sides beautifully.
Creative Ways to Present
You can serve Cheesy Scalloped Potatoes straight from the casserole (family style is always satisfying) or, for special occasions, cut the potatoes into neat squares using a metal spatula and stack them elegantly on plates. For gatherings, prepare mini portions in individual ramekins—they look adorable and give everyone their own golden, bubbly top.
Make Ahead and Storage
Storing Leftovers
If you’re lucky enough to have leftovers, let the potatoes cool completely, then cover tightly and refrigerate for up to 4 days. The flavors actually deepen as they sit, making for a just-as-tasty second act. Store in the same baking dish or transfer to airtight containers—whatever fits best in your fridge.
Freezing
Yes, you can freeze Cheesy Scalloped Potatoes! Once they’re baked and cooled, wrap the dish tightly in several layers of plastic wrap and foil. Freeze for up to 2 months. For easier portions, slice and freeze in individual servings. Thaw overnight in the refrigerator before reheating. They’re the ultimate make-ahead side for busy seasons.
Reheating
To revive the creamy, melt-in-your-mouth texture, reheat leftovers in a covered baking dish at 350°F (175°C) until warmed through, about 20–25 minutes. For single servings, a microwave works in a pinch—but if you want the top to crisp up again, pop them under the broiler for a few minutes.
FAQs
Can I use a different type of cheese?
Absolutely! While cheddar and Gruyère are classic, you can mix things up with Monterey Jack, fontina, or even a bit of blue cheese for adventurous palates. Just stick to cheeses that melt smoothly for that perfect saucy consistency.
What’s the best way to slice the potatoes?
A mandoline slicer is my go-to for uniform, thin slices (about 1/8 inch), but a sharp chef’s knife works too with a little patience. Always aim for consistency so the potatoes cook evenly and every bite is just as tender as the last.
Can I prepare Cheesy Scalloped Potatoes ahead of time?
Yes, you can assemble the dish a day ahead and keep it covered in the fridge. When you’re ready to serve, simply bake as directed (you may need a few extra minutes if it’s cold). Perfect for busy gatherings or holidays with lots of moving parts!
Why are my scalloped potatoes sometimes watery?
This usually happens if the potatoes aren’t sliced thin enough, or if you skip the soaking and drying step. Start with starchy potatoes, layer and season well, and give them time to rest after baking to help the sauce thicken and hold together.
Can I make this recipe gluten-free?
Definitely! Swap the regular flour with your favorite 1:1 gluten-free flour blend or use cornstarch. The results are just as creamy and satisfying—no one will ever know the difference!
Final Thoughts
It’s impossible not to fall in love with classic Cheesy Scalloped Potatoes—they’re pure, potatoey joy with a gooey, golden top. I find myself reaching for this recipe whenever I want to treat the people I love to a little comfort on the side. Give these a try and see if you don’t start looking for excuses to make them again (and again)! Happy cooking!
Print
Cheesy Scalloped Potatoes Recipe
- Prep Time: 10 minutes
- Cook Time: 20 minutes
- Total Time: 30 minutes
- Yield: 4 servings
- Category: Main Course
- Method: Skillet
- Cuisine: Mediterranean
- Diet: Vegetarian
Description
Cheesy Scalloped Potatoes are a comfort food classic, with tender layers of russet potatoes baked in a rich, melty cheddar and Gruyère sauce until golden and bubbly.
Ingredients
- 3 lbs russet potatoes, peeled and sliced 1/8 inch thick
- 2 cups sharp cheddar cheese, shredded
- 1 cup Gruyère cheese, shredded (or Swiss cheese)
- 4 tablespoons unsalted butter
- 3 tablespoons all-purpose flour
- 2 1/2 cups whole milk, warmed
- 2 cloves garlic, minced
- 1 teaspoon fresh thyme leaves
- 1 1/4 teaspoons kosher salt
- 1/2 teaspoon ground black pepper
- Optional: 1/4 teaspoon paprika or cayenne pepper for garnish or heat
Instructions
- Preheat oven to 375°F (190°C). Peel and slice potatoes 1/8 inch thick. Soak slices in cold water, then drain and pat dry.
- In a saucepan over medium heat, melt butter and sauté garlic until fragrant. Whisk in flour to form a roux and cook for 2 minutes.
- Gradually whisk in warm milk, cooking until thickened. Remove from heat and stir in cheddar, Gruyère (reserve a handful), thyme, salt, and pepper until cheese melts.
- Butter a baking dish. Layer one-third of potatoes in dish, slightly overlapping. Pour one-third of cheese sauce over. Repeat two more times. Top with reserved cheese.
- Cover with foil and bake for 30 minutes. Remove foil and bake 25–30 minutes more until golden and bubbly. Optional: broil for 1–2 minutes for extra browning.
- Let rest 10 minutes before serving. Garnish with extra thyme or paprika if desired.
Notes
- Top with fresh herbs, paprika, or toasted breadcrumbs for added flavor and texture.
- Pairs well with roast chicken, ham, steak, or a crisp green salad.
- Serve family-style, as elegant plated squares, or in ramekins for individual servings.
- Store leftovers refrigerated up to 4 days in an airtight container.
- To freeze, cool completely and wrap well for up to 2 months. Thaw before reheating.
- Reheat covered at 350°F for 20–25 minutes; broil briefly to crisp the top if desired.
- Substitute other cheeses like Monterey Jack or fontina as desired.
- Use a mandoline slicer for uniform potato slices and even cooking.
- Make ahead by assembling the dish and refrigerating until ready to bake.
- Use gluten-free flour or cornstarch for a gluten-free version.

