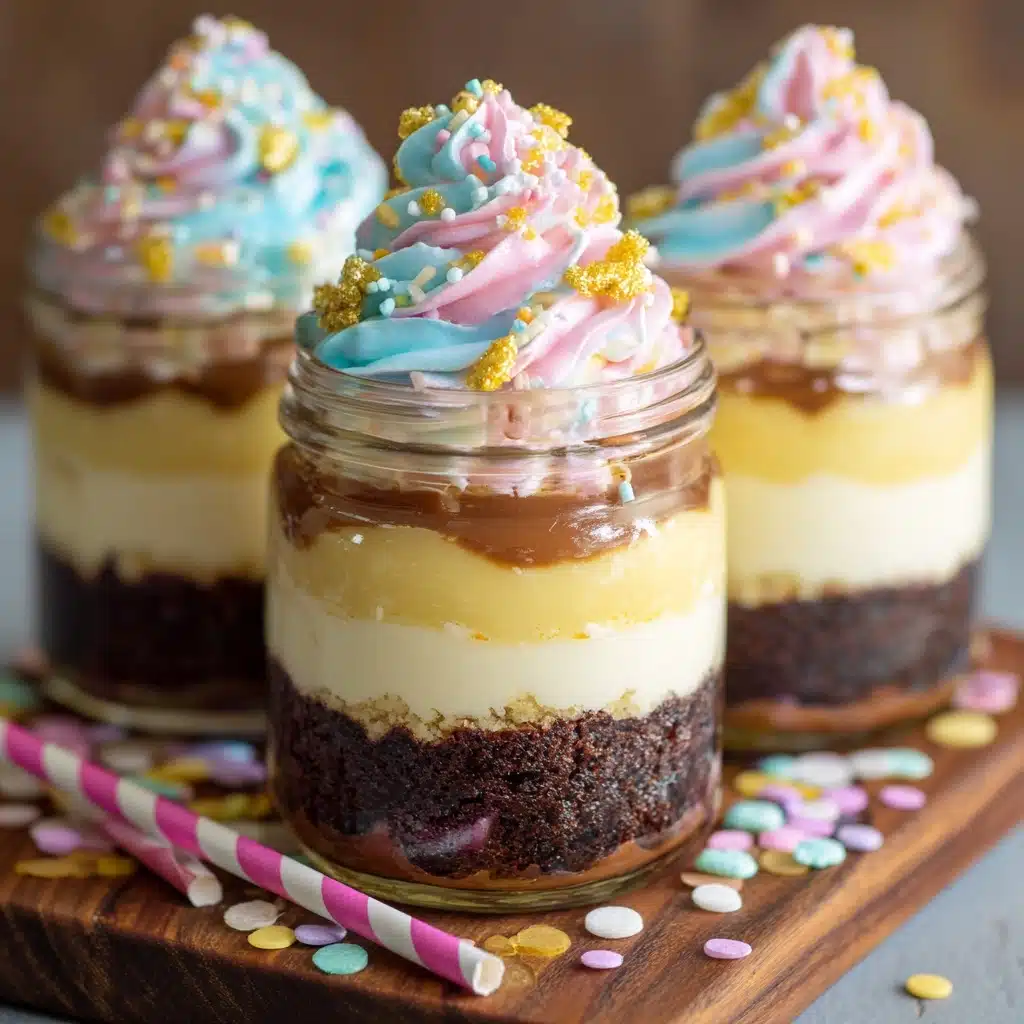
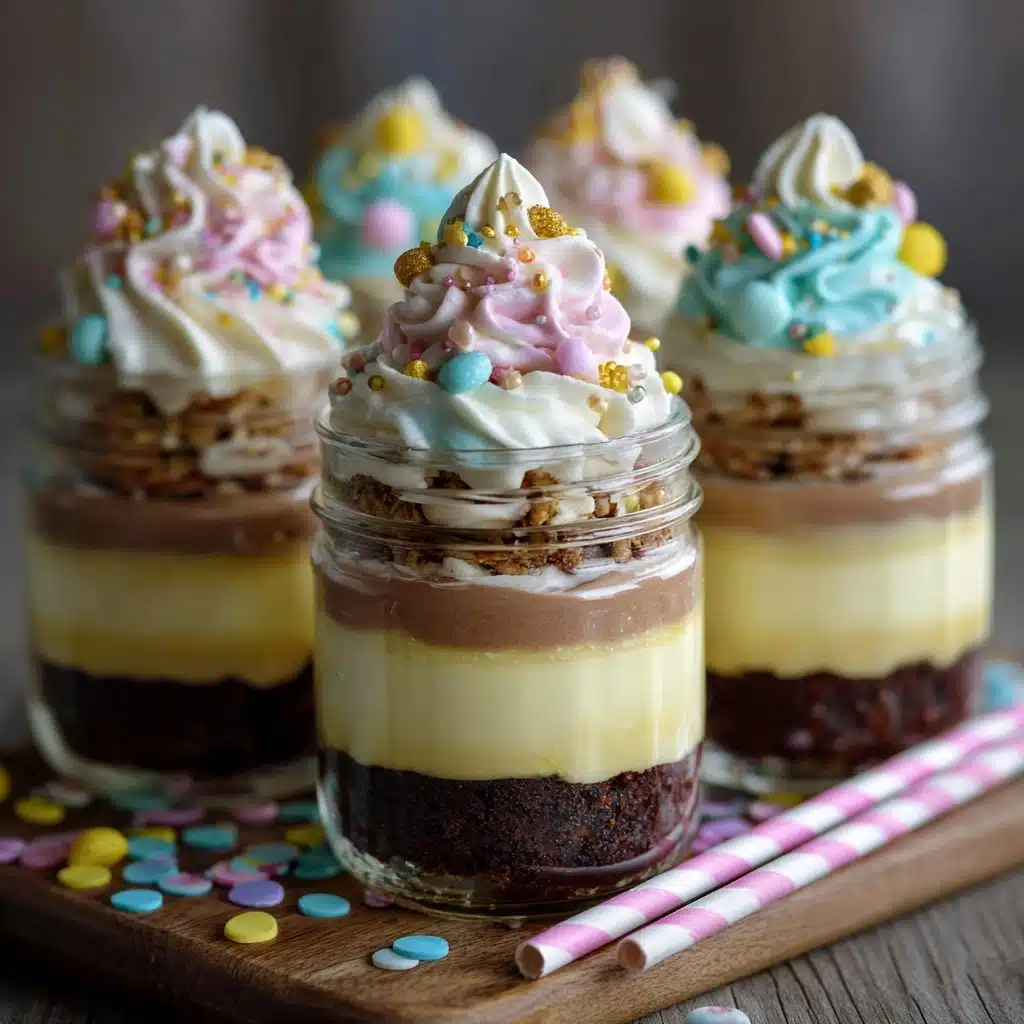
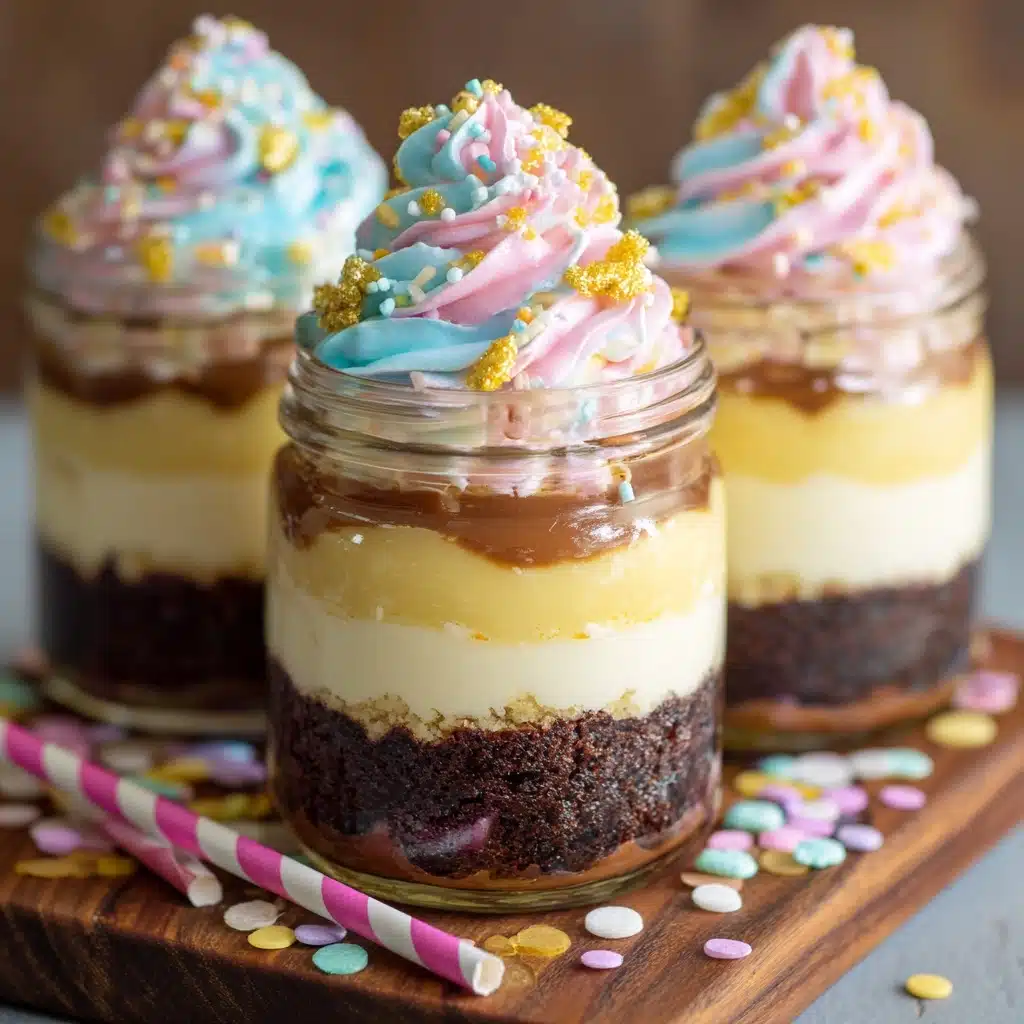
Cake in a Jar is the ultimate dessert for anyone who loves convenience and creativity combined. With beautiful layers of moist cake, creamy frosting, and playful toppings all displayed in a cute mason jar, this treat is as much fun to make as it is to eat. Whether you’re prepping them for a party, gifting to friends, or just craving a little something sweet for yourself, these portable cakes deliver joyful flavor in every single spoonful. Embrace the ease of assembly and endless customization—Cake in a Jar is destined to be your new favorite way to celebrate any occasion!
Ingredients You’ll Need
Gather just a handful of pantry staples—and a few fun extras—to craft a Cake in a Jar that’s as flavorful as it is eye-catching. Each component plays a starring role in creating layers of taste, texture, and visual appeal that are impossible to resist.
- Box cake mix (any flavor): Use your favorite variety for a quick base—vanilla, chocolate, red velvet… the possibilities are endless!
- Eggs, oil, and water (as called for on cake mix): These kitchen basics bring the cake to life, making it rich, fluffy, and perfectly moist.
- Frosting (1 1/2 cups, store-bought or homemade): The creamy layer that ties everything together—choose from classics like chocolate, vanilla, or get adventurous with fun flavors.
- Optional extras—whipped cream, sprinkles, fruit, or chocolate chips: These add a burst of flavor, color, and crunch that make each jar extra special.
- 6 to 8 half-pint (8 oz) mason jars: The adorable vessels that transform your cake from ordinary to extraordinary. Perfect for portioning and presentation!
How to Make Cake in a Jar
Step 1: Bake the Cake
Start by preparing your cake mix according to the package directions. Pour the batter into a 9×13-inch pan and bake until golden and a toothpick comes out clean. Let the cake cool completely—this ensures your layers stay distinct and the frosting won’t melt.
Step 2: Cut the Cake
Once cooled, slice the cake into small cubes. If you want picture-perfect layers, use a round cutter close to your jar’s width. Cake cubes work just as well and give a rustic, homey vibe—let your style (and appetite) lead the way.
Step 3: Layer the Cake and Frosting
Begin with a layer of cake pieces at the bottom of each mason jar. Top with a generous dollop of frosting, then repeat: cake, frosting, cake, and one more swirl of frosting. Keep layering until you nearly reach the top for that impressive, filled-to-the-brim look every Cake in a Jar deserves.
Step 4: Add Toppings
Crown your creation with any or all of your favorite extras: a cloud of whipped cream, a shower of sprinkles, a smattering of berries, or a handful of chocolate chips. Not only do toppings add beauty, but they also introduce flavor and texture contrasts that make every bite exciting.
Step 5: Serve or Store
You can seal the jars with lids and keep them chilled until serving, or dive right in while everything is fresh and fluffy. Cake in a Jar is ready when you are—pure dessert magic on your timeline!
How to Serve Cake in a Jar
Garnishes
Let your inner artist shine here! Swirl a little extra frosting or whipped cream on top, then sprinkle over your favorites—think rainbow sprinkles, toasted nuts, shaved chocolate, or a single ripe raspberry. The garnish is where you give each Cake in a Jar its own personality.
Side Dishes
While these jars absolutely stand on their own, you can round out dessert hour with fresh berries, a scoop of ice cream, or a cup of coffee or tea. They’re also a brilliant finish for a brunch spread or picnic—nothing brightens the table like a tray of colorful jarred cakes!
Creative Ways to Present
Personalize your Cake in a Jar by tying ribbon or twine around the lid, adding hand-written name tags for party favors, or stacking them in a basket lined with a cheerful napkin. For a fun twist, try displaying an assortment of cake and frosting combos—guests will love choosing their own!
Make Ahead and Storage
Storing Leftovers
Simply screw on the mason jar lids and pop any leftovers in the fridge. These stay fresh for up to four days—perfect for prepping ahead or enjoying dessert on demand throughout the week.
Freezing
Yes, you can freeze Cake in a Jar! Seal the jars tightly and freeze for up to two months. To enjoy, thaw overnight in the refrigerator before serving. While the texture will remain delicious, avoid freezing whipped cream toppings for best results—add fresh after thawing.
Reheating
Though Cake in a Jar is designed to be eaten cold or at room temperature, if you crave a warm treat, remove any whipped cream topping and microwave the jar (if microwave-safe, glass only!) in ten-second bursts until just warmed. Top freshly as desired and dig in.
FAQs
Can I use homemade cake instead of box mix?
Absolutely! If you have a favorite from-scratch cake recipe, simply bake it in a 9×13-inch pan, let it cool, and proceed with the layering. Cake in a Jar is all about flexibility and making the process fun for you.
Which frosting flavors work best?
The classic pairings—vanilla with chocolate frosting, lemon cake with cream cheese icing, or red velvet with marshmallow fluff—are all delicious. But why not get playful? Match all sorts of cake and frosting flavors until you find your dream combination.
Are there gluten-free or vegan options?
Absolutely! There are many gluten-free and vegan cake mixes and frosting options available—just be sure to check labels. Cake in a Jar adapts beautifully to special diets, so everyone can enjoy a sweet treat tailored to them.
How long can Cake in a Jar sit out at room temperature?
For the best food safety and flavor, keep your jars refrigerated until ready to serve. If you want to pack them for a picnic or event, they’ll be just fine at room temperature for an hour or two—after that, pop them back in the fridge.
Can I assemble these with kids?
Definitely! Layering cake, spreading frosting, and adding toppings are all hands-on fun for bakers of any age. Kids especially love building their own Cake in a Jar with their favorite flavors and decorations.
Final Thoughts
If you haven’t yet enjoyed the simple delight of making and sharing Cake in a Jar, now’s the perfect time to start. With endless flavor combinations, easy assembly, and irresistibly cute results, this treat is guaranteed to bring smiles to every table. So grab your jars and make dessert memories—one spoonful at a time!
Print
Cake in a Jar Recipe
- Prep Time: 20 minutes
- Cook Time: 30 minutes
- Total Time: 50 minutes
- Yield: 6 to 8 jars
- Category: Dessert
- Method: Baking, Assembly
- Cuisine: American
- Diet: Vegetarian
Description
Indulge in the delightful treat of Cake in a Jar, where layers of moist cake and creamy frosting come together for a portable dessert experience that is perfect for parties or gifts. Customize with your favorite flavors and toppings!
Ingredients
Cake:
- 1 box cake mix (any flavor)
- Ingredients as called for on box (eggs, oil, water)
Frosting:
- 1 1/2 cups frosting (store-bought or homemade)
Optional Toppings:
- Whipped cream
- Sprinkles
- Fruit
- Chocolate chips for layering
Additional:
- 6 to 8 half-pint (8 oz) mason jars
Instructions
- Prepare Cake: Make cake mix according to package directions and bake in a 9×13-inch pan. Allow to cool completely.
- Layer Cake in Jars: Cut the cake into small cubes or use a round cutter to create layers. Alternate cake and frosting layers in each jar.
- Add Toppings: Finish with optional toppings like whipped cream, sprinkles, fruit, or chocolate chips.
- Serve: Seal jars with lids or enjoy immediately!
Notes
- Great for parties, gifts, or make-ahead desserts.
- Experiment with different cake and frosting combinations for unique flavors.

