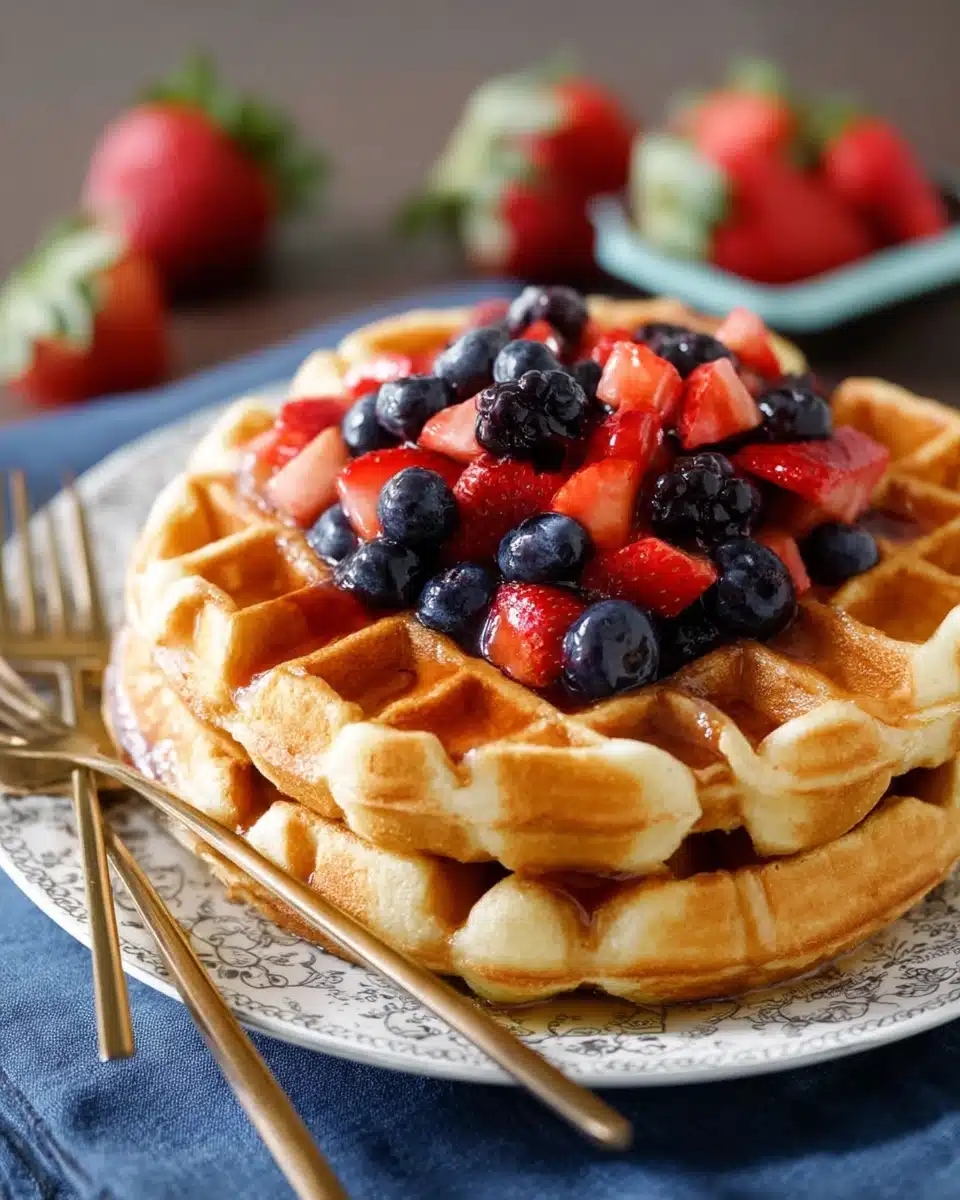
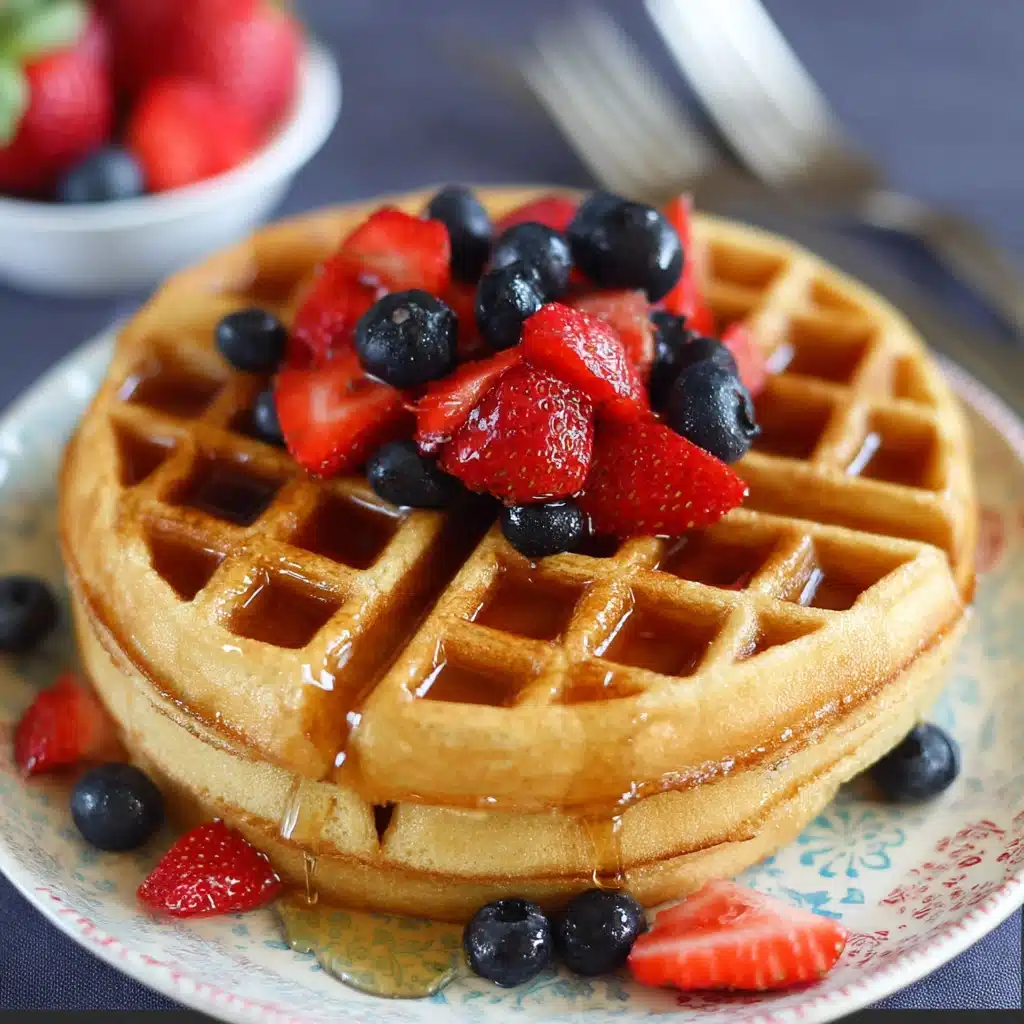
If ever there was a good-morning hug in food form, it would be Buttermilk Waffles. Their golden, crisp edges and fluffy interiors make each bite the perfect balance of texture and pure comfort. You’ll be amazed how a few simple touches—tangy buttermilk, creamy butter, a hint of vanilla—transform breakfast into something truly special. Whether you’re quickly whipping up a weekday treat or planning a relaxed brunch, these waffles turn any moment into an occasion worth celebrating.
Ingredients You’ll Need
Every ingredient in this recipe is essential, playing a unique part in creating irresistibly tender, flavorful Buttermilk Waffles. When you see how just a handful of pantry staples come together, you’ll realize breakfast can be both easy and extraordinary.
- Buttermilk: Classic buttermilk adds signature tang and keeps the waffles extra soft inside while helping them crisp up outside.
- All-purpose flour: Our reliable base; it provides just the right structure to keep waffles tender but sturdily golden.
- Sugar: Just enough to sweeten lightly, letting the toppings shine without being overpowering.
- Baking powder: Helps waffles puff up beautifully, creating those coveted pockets.
- Baking soda: Reacts with the buttermilk for maximum fluff and delicate crumb.
- Salt: A pinch sharpens and balances all the flavors.
- Eggs: Bind everything together and add rich flavor—the secret to a satisfyingly plush interior.
- Unsalted butter: Melted and mixed in for a richness you can taste in every golden bite.
- Vanilla extract: Just a splash for a hint of warmth and lovely aroma.
- Cooking spray or melted butter (for waffle iron): Keeps those waffles from sticking and ensures they release beautifully crisp.
How to Make Buttermilk Waffles
Step 1: Whisk the Dry Ingredients
In a large mixing bowl, whisk together the flour, sugar, baking powder, baking soda, and salt. Mixing the dry ingredients thoroughly helps the baking agents distribute evenly, giving your Buttermilk Waffles that wonderfully light texture in every bite.
Step 2: Combine the Wet Ingredients
In a separate bowl, whisk together the buttermilk, eggs, melted butter, and vanilla extract. This blend brings both creaminess and structure, ensuring your waffles stay moist inside without getting soggy.
Step 3: Mix Wet and Dry Ingredients
Gently pour the wet mixture into the bowl of dry ingredients. Stir everything just until combined; don’t worry about a few lumps! Overmixing can make Buttermilk Waffles tough, so a gentle hand is key for that crave-worthy fluffiness.
Step 4: Preheat Your Waffle Iron
Heat the waffle iron according to its manufacturer’s instructions. Give it a good spray with cooking oil or a brush of melted butter so the waffles release easily and develop beautifully crisp exteriors.
Step 5: Cook the Waffles
Pour a scoop of batter into the center of your hot waffle iron, taking care not to overfill (the batter spreads as it cooks!). Close the lid and wait—usually around 3 to 5 minutes—until the waffles are golden and crisp. Your kitchen will smell incredible at this point.
Step 6: Serve as Desired
Carefully lift the waffle from the iron and repeat with remaining batter. Stack the finished waffles on a wire rack to keep them crisp on all sides while you make the rest. Now, you’re ready for your toppings!
How to Serve Buttermilk Waffles
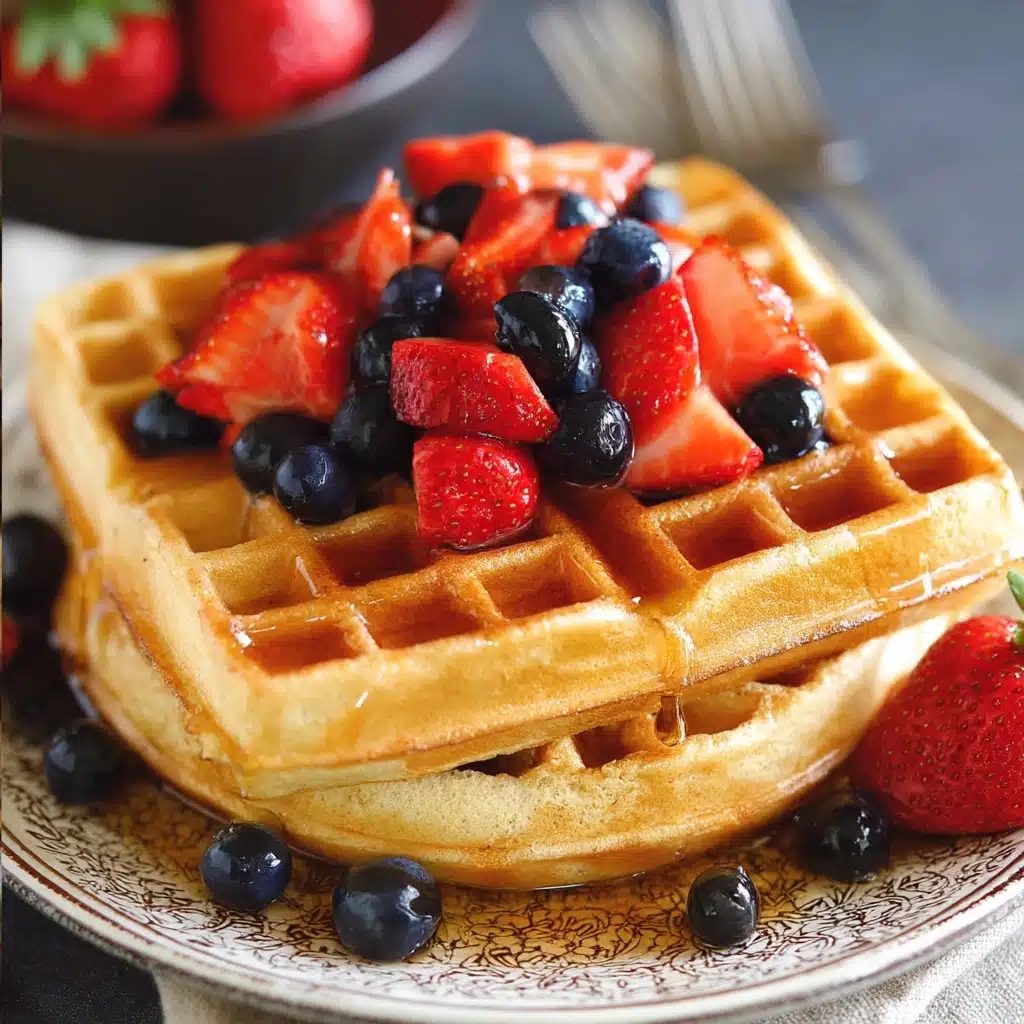
Garnishes
The simplest drizzle of real maple syrup is always a classic, but Buttermilk Waffles love company. Fresh berries, sliced bananas, whipped cream, toasted nuts, or even a dusting of powdered sugar all take them to the next level. Garnishing is your chance to make every plate special—so go with what you love!
Side Dishes
Pair your Buttermilk Waffles with crispy bacon, sausage links, or scrambled eggs for a hearty breakfast spread everyone will remember. If you’re leaning sweet, yogurt parfaits or a fruit salad round out a brunch table beautifully.
Creative Ways to Present
You can turn these waffles into a showstopper: try stacking them high and tucking fruit between the layers, or slice them into strips for waffle “dippers” with warm chocolate or berry sauce. Consider serving mini Buttermilk Waffles at a brunch buffet, or creating a DIY toppings bar for guests to have fun with their plates.
Make Ahead and Storage
Storing Leftovers
If you find yourself with extra Buttermilk Waffles (it happens!), let them cool completely on a wire rack first. Once cooled, stack them with parchment or wax paper in between to prevent sticking, and store in an airtight container in the refrigerator for up to three days. They’re just as delicious the next day!
Freezing
Buttermilk Waffles are freezer-friendly, making them the ultimate breakfast meal-prep star. Arrange cooled waffles in a single layer on a baking sheet and freeze until solid, then transfer to a freezer bag or container. This way, you can reheat only what you need without any fuss—and enjoy homemade waffles anytime the craving strikes.
Reheating
For best results, reheat Buttermilk Waffles straight from the fridge or freezer in a toaster or toaster oven. This crisps them right back up, just like fresh! A few minutes at 350°F in a preheated oven works too, especially if you’re warming up a big batch.
FAQs
Why is buttermilk so important in Buttermilk Waffles?
Buttermilk gives these waffles their signature tang and helps create an unbeatable fluffy yet tender texture. Its acidity activates the baking soda, which lifts the batter and makes your waffles light inside and crisp outside.
Can I substitute the buttermilk?
If you don’t have buttermilk on hand, simply add 1 tablespoon of lemon juice or vinegar per cup of milk and let it sit for 5 minutes. This makes a quick homemade version that mimics the acidity and texture needed for classic Buttermilk Waffles.
Why do my waffles sometimes stick to the iron?
Usually, waffles stick if the iron isn’t hot enough or wasn’t greased well before pouring in the batter. Make sure to give it a quick spray or brush with butter between batches for easy release and crisp results.
Can I make the batter ahead of time?
Buttermilk Waffles taste best when made fresh, but you can mix the dry ingredients together and whisk the wet ones separately the night before. Combine them just before cooking for maximum fluffiness and best flavor.
What’s the best way to keep waffles crisp until serving?
Place finished waffles on a wire rack set over a baking sheet in a low oven (200°F) while you finish the rest. Stacking on a plate can trap steam and make them soggy—a little air circulation is the secret to that perfect crisp.
Final Thoughts
If you’re looking for a breakfast that feels like a celebration, Buttermilk Waffles are always the right call. They’re simple, cozy, and endlessly customizable—so why not treat yourself or your loved ones to something special this weekend? Give these waffles a try and let their nostalgic, fresh-off-the-iron magic fill your kitchen with smiles.
Print
Buttermilk Waffles Recipe
- Prep Time: 10 minutes
- Cook Time: 15 minutes
- Total Time: 25 minutes
- Yield: 4 servings
- Category: Breakfast
- Method: Waffle Iron
- Cuisine: American
- Diet: Vegetarian
Description
Buttermilk Waffles are the perfect breakfast treat, with crispy golden edges and a soft, fluffy interior. The tangy buttermilk adds incredible flavor, and the simplicity of the recipe makes it a go-to for any occasion, whether it’s a special weekend breakfast or a quick weeknight treat.
Ingredients
- 2 cups all-purpose flour
- 2 tbsp sugar
- 2 tsp baking powder
- 1/2 tsp baking soda
- 1/4 tsp salt
- 2 large eggs
- 1 3/4 cups buttermilk
- 1/2 cup unsalted butter, melted
- 1 tsp vanilla extract
- Cooking spray or melted butter (for waffle iron)
Instructions
- In a large mixing bowl, whisk together the flour, sugar, baking powder, baking soda, and salt.
- In a separate bowl, whisk together the eggs, buttermilk, melted butter, and vanilla extract.
- Pour the wet ingredients into the dry ingredients and stir gently until just combined—it’s okay if the batter is slightly lumpy. Don’t overmix!
- Preheat your waffle iron according to the manufacturer’s instructions. Lightly grease it with cooking spray or a brush of melted butter.
- Pour a scoop of batter into the waffle iron, being careful not to overfill (the batter will spread as it cooks). Close the lid and cook according to your waffle iron’s instructions, usually about 3-5 minutes, until golden and crispy.
- Remove the waffle from the iron and serve immediately with your favorite toppings, or keep warm on a wire rack in a 200°F (90°C) oven until ready to serve.
Notes
- If you don’t have buttermilk, you can substitute with milk and 1 tablespoon of lemon juice or vinegar per cup of milk. Let it sit for 5 minutes to mimic buttermilk.
- You can freeze leftover waffles by placing them in a single layer on a baking sheet and freezing them solid, then transferring to a freezer bag. Reheat in a toaster or oven for the best results.
- If you prefer a crispier waffle, place them in a low oven (200°F) on a wire rack while you finish cooking the rest.

