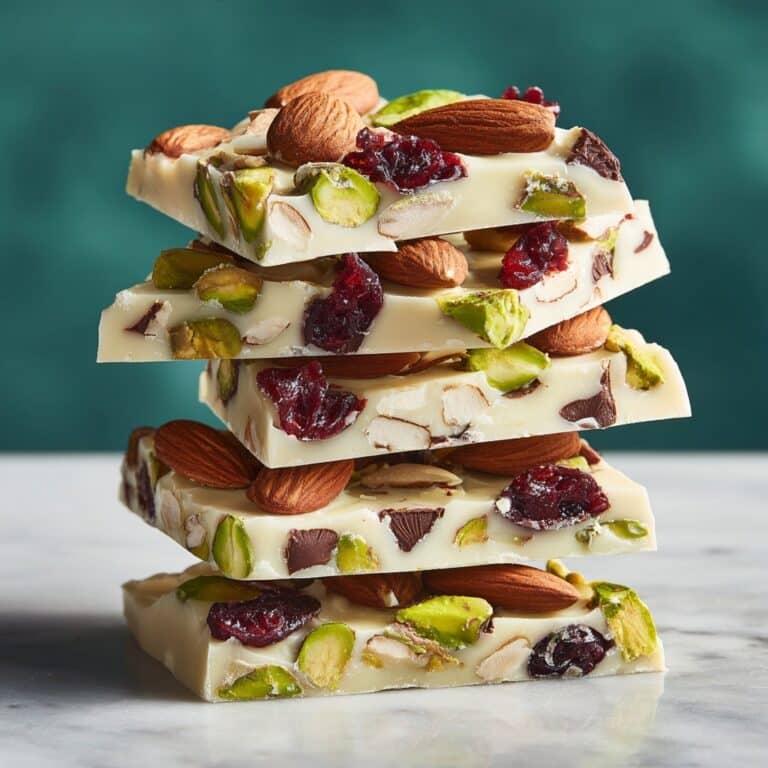
If you’re searching for the ultimate sweet treat that melds creamy white chocolate with the irresistible crunch and peanut-buttery magic of your favorite candy bar, look no further than Butterfinger Fudge. This meltingly smooth, delightfully textured fudge is the stuff dessert dreams are made of: quick to whip up, totally indulgent, and guaranteed to be a show-stopper at parties, potlucks, or cozy nights in. Every square bursts with rich vanilla, a sprinkle of salt, and generous chunks of Butterfinger bars that keep things interesting with every bite. Whether you’re a fudge fanatic or just a sucker for Butterfingers, this recipe is an absolute must-try.
Ingredients You’ll Need
The beauty of Butterfinger Fudge is in its simplicity! Each ingredient is perfectly chosen to balance flavor and texture, coming together to create fudge that’s luxuriously rich but never complicated. Here’s exactly what you’ll need—and how it all works its magic.
- White chocolate chips: These provide a creamy, melt-in-your-mouth base that lets the Butterfinger flavor shine.
- Sweetened condensed milk: This staple gives the fudge its signature smooth texture and support for easy, no-bake setting.
- Salt: Just a pinch enhances all the sweet flavors and rounds everything out perfectly.
- Vanilla extract: Adds warmth and a classic fudge aroma that makes every bite comforting.
- Chopped Butterfinger candy bars: The real star here—these bits create pockets of crunch and that iconic peanut-buttery flavor.
- Additional chopped Butterfinger (optional): For topping, these extra chunks add show-stopping appeal and bonus crunch!
How to Make Butterfinger Fudge
Step 1: Prepare Your Pan
Start by lining an 8×8-inch baking dish with parchment paper, leaving a little overhang on the sides. This step is crucial—it makes removing and slicing your Butterfinger Fudge a total breeze, and saves you from any sticky cleanup.
Step 2: Melt White Chocolate and Sweetened Condensed Milk
In a medium saucepan placed over low heat, combine your white chocolate chips with the sweetened condensed milk. Stir constantly, letting the chips melt slowly and merge into a silky, unified mixture. Keep your heat low and steady—patience means no burnt chocolate!
Step 3: Add the Salt and Vanilla
Once everything is completely melted and smooth, remove the pan from heat. Immediately add in the salt and vanilla extract, then stir well to blend in those deeper, rounder flavors that take this fudge over the top.
Step 4: Fold in the Butterfinger Pieces
With the base still warm, gently fold in the chopped Butterfinger candy bars. Mix just enough so the pieces are evenly distributed, but be careful not to over-stir—you want those candy bits to stay delightfully chunky for pockets of crunch.
Step 5: Pour, Top, and Set
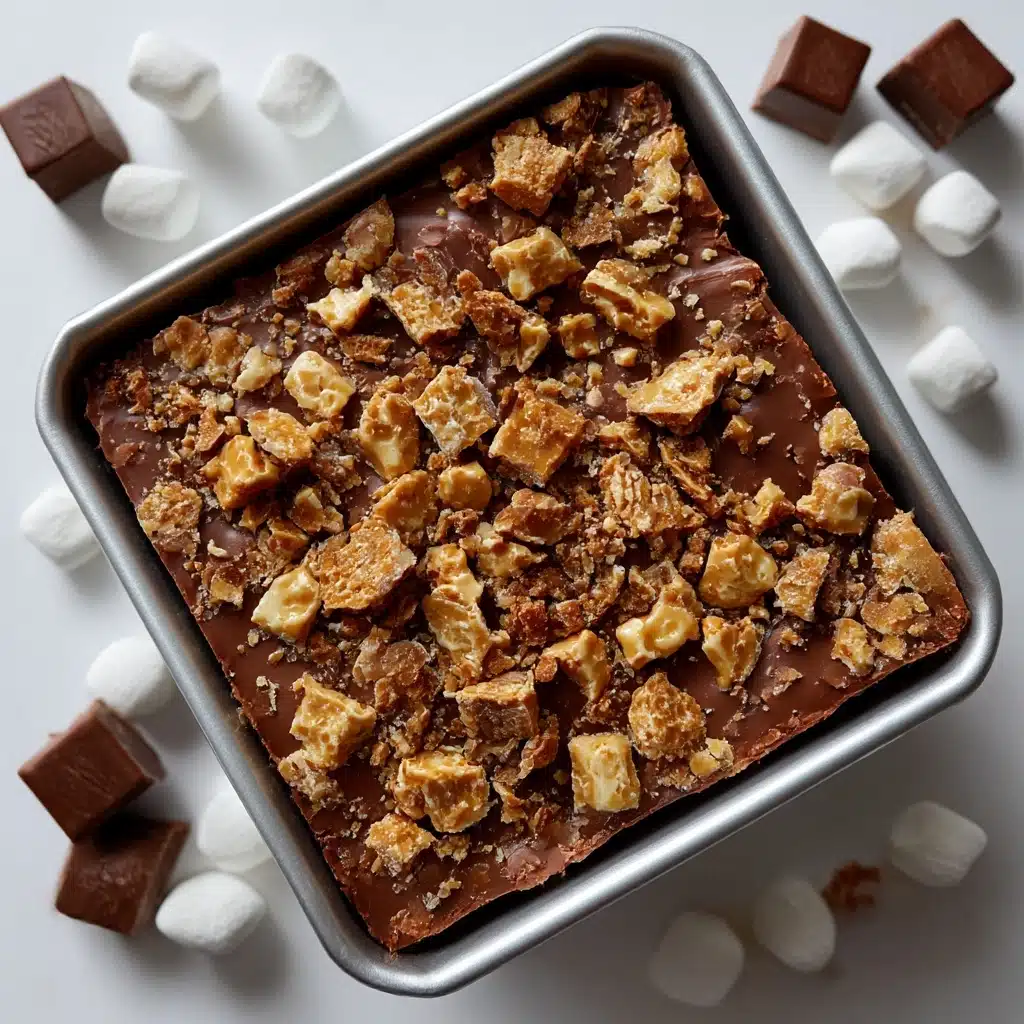
Pour the fudge mixture into your prepared baking dish, using a spatula to spread it evenly into every corner. For an extra wow factor, sprinkle more chopped Butterfinger pieces on top and lightly press them in. Pop the pan in the refrigerator and chill for at least two hours, or until the Butterfinger Fudge is firm and ready to slice.
Step 6: Slice and Serve
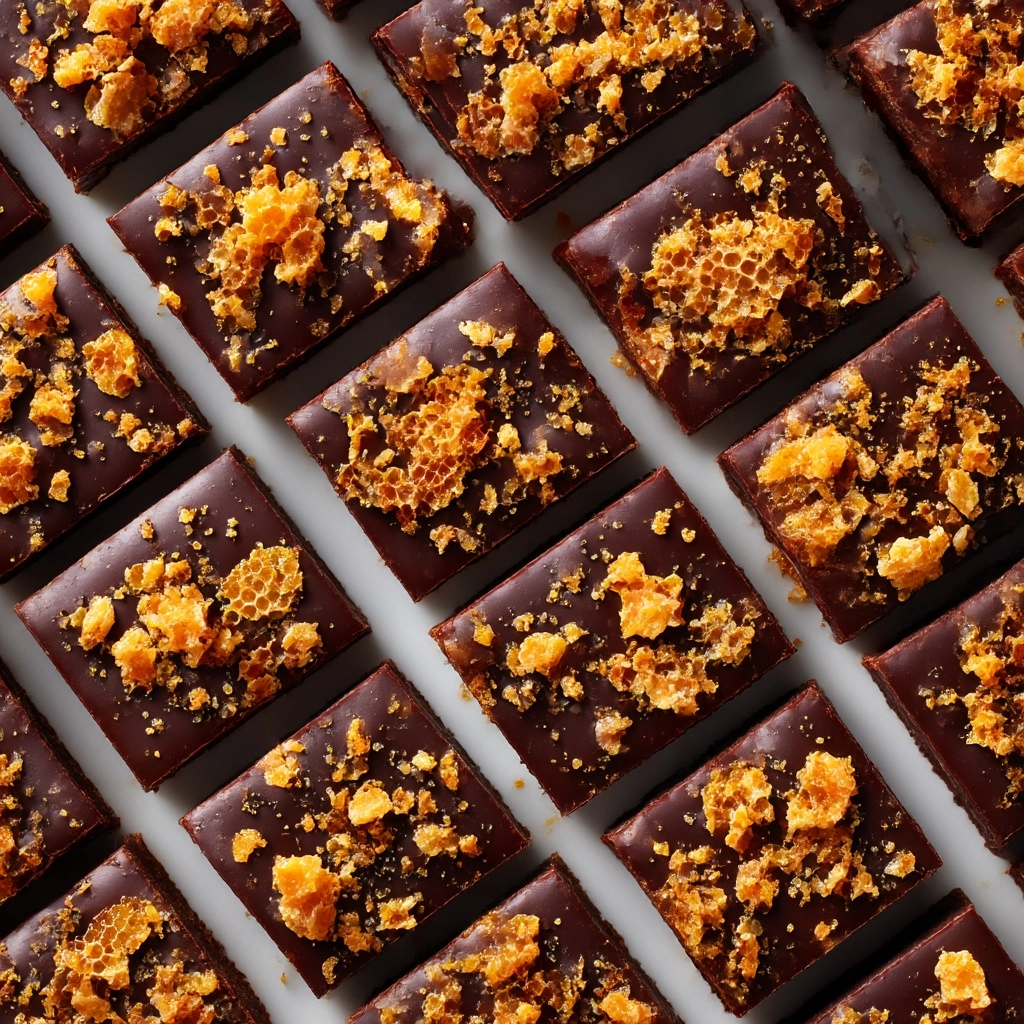
Once set, use the parchment paper handles to lift your fudge out onto a cutting board. For neat, beautiful squares, warm a sharp knife under hot water, wipe it dry, and cut your fudge into 25 tidy pieces. Prepare for happy faces!
How to Serve Butterfinger Fudge
Garnishes
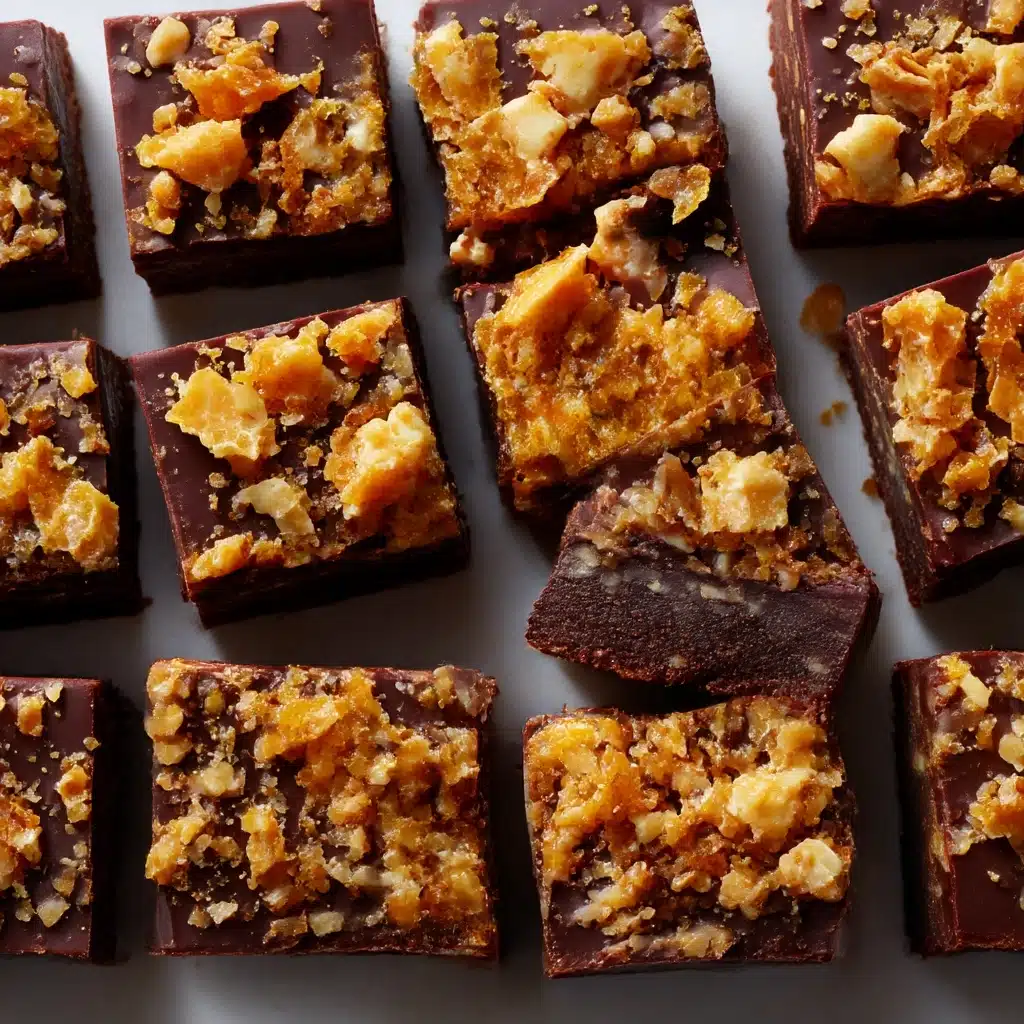
Maximize presentation with just a few simple garnishing touches! A final scattering of extra chopped Butterfinger bars on top provides color and that classic orange crunch. If you love a bit of contrast, drizzle a little melted chocolate or even a dusting of flaky sea salt for sparkle and a touch of sophistication.
Side Dishes
While Butterfinger Fudge is an absolute showstopper on its own, it pairs beautifully with other sweets on a dessert platter. Serve it alongside fresh strawberries, a bowl of vanilla ice cream, or even with salty pretzels for a perfectly balanced sweet-and-salty bite.
Creative Ways to Present
Get festive! Stack cubes of Butterfinger Fudge in colorful cupcake liners for gifts, or arrange pieces on a decorative tray for a candy buffet. For special occasions, wrap individual squares in parchment and tie with twine for adorable homemade party favors that everyone will gush over.
Make Ahead and Storage
Storing Leftovers
Butterfinger Fudge keeps beautifully! Store your leftovers in an airtight container in the refrigerator for up to one week. The chilled environment keeps the fudge set and the candy bits crispy, ensuring every piece stays as delicious as the day you made it.
Freezing
For longer-term storage, you can absolutely freeze Butterfinger Fudge. Wrap the pieces in parchment or wax paper, then seal in a freezer-safe bag or airtight container. The fudge will keep for up to two months—just remember to thaw it in the fridge overnight before enjoying for best flavor and texture.
Reheating
While Butterfinger Fudge is best enjoyed chilled or at room temperature, if you happen to like it slightly softened, let the pieces sit out for 15–20 minutes to lose their chill. No need to microwave or bake! The fudge will retain its beautiful texture without melting into a mess.
FAQs
Can I use milk or dark chocolate instead of white chocolate?
Absolutely! While white chocolate keeps the flavor extra creamy and lets the Butterfinger shine, using milk or dark chocolate will create a deeper, cocoa-rich fudge. Just keep in mind that this will change the overall flavor profile a bit, but for chocolate lovers, it’s a delicious twist.
Why isn’t my fudge setting properly?
If your Butterfinger Fudge is too soft, it might need more time in the refrigerator, or the chocolate may not have fully melted when you combined it. Make sure to let the fudge chill for a solid two hours, and double-check that you used sweetened condensed milk—not evaporated milk—which is thicker and creamier.
Can I make this fudge ahead for the holidays or parties?
Definitely! Butterfinger Fudge is an ideal make-ahead treat because it stores so well. Prep it up to a week before your event, slice, and store in an airtight container. Pieces can even be individually wrapped for easy gifting or serving.
Can I substitute the Butterfinger bars for another candy?
Yes, you can swap in other crunchy candy bars like Heath, Snickers, or even Reese’s for a different flavor spin. Each one adds its own personality, but Butterfinger’s one-of-a-kind crispy, peanut-buttery texture really makes this fudge extra special.
Is Butterfinger Fudge gluten-free?
The fudge itself is gluten-free if you use certified gluten-free white chocolate chips (some brands process with wheat, so always check!). Just double-check the labels on your Butterfinger bars, too—most versions are gluten-free, but it’s best to confirm for anyone with sensitivities.
Final Thoughts
I hope you dive right in and treat yourself to a batch of Butterfinger Fudge! It’s so simple, so generously packed with nostalgic flavor, and perfect for sharing with everyone you love. If you give this recipe a try, don’t forget to save an extra piece for yourself—you’re in for a truly sweet reward.
Print
Butterfinger Fudge Recipe
- Prep Time: 10 minutes
- Cook Time: 5 minutes
- Total Time: 2 hours 15 minutes
- Yield: 25 pieces
- Category: Dessert
- Method: No-Bake
- Cuisine: American
- Diet: Vegetarian
Description
Indulge in the creamy, decadent sweetness of Butterfinger Fudge. This easy, no-bake treat is loaded with white chocolate, sweetened condensed milk, and crunchy Butterfinger candy. Perfect for satisfying your sweet tooth!
Ingredients
For the Fudge:
- 3 cups white chocolate chips
- 1 (14-ounce) can sweetened condensed milk
- 1/4 teaspoon salt
- 1 teaspoon vanilla extract
- 1 1/2 cups chopped Butterfinger candy bars (about 6 fun-size bars)
For Topping (optional):
- Additional chopped Butterfinger
Instructions
- Prepare the Fudge Base: Line an 8×8-inch baking dish with parchment paper. In a saucepan over low heat, melt white chocolate chips with sweetened condensed milk until smooth. Stir in salt and vanilla.
- Add Butterfinger: Fold in chopped Butterfinger pieces. Spread mixture in the pan and top with additional Butterfinger pieces.
- Chill and Serve: Refrigerate for 2 hours until firm. Cut into squares and enjoy!
Notes
- Store fudge in the refrigerator for up to 1 week.
- For easier cutting, warm the knife before slicing.

