

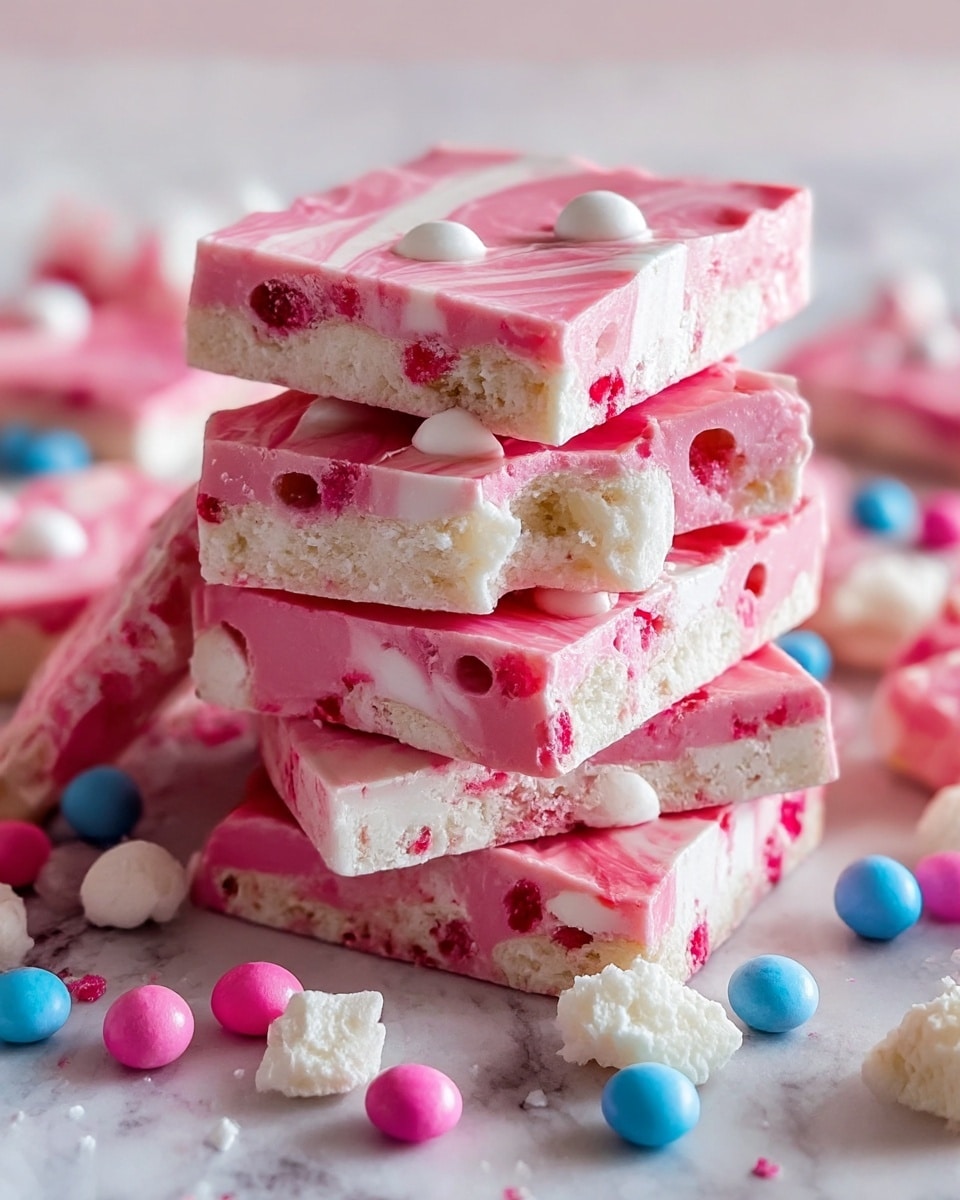
If you have a sweet tooth and a soft spot for nostalgic flavors, this Bubblegum Cloud Fudge Recipe is going to become one of your all-time favorites. Imagine biting into creamy, melt-in-your-mouth fudge infused with that unmistakable bubblegum flavor, speckled with fluffy mini marshmallows, and dressed up in pretty pastel colors. It’s a dreamy treat that brings joy to kids and adults alike, perfect for parties, holiday gatherings, or simply as a fun, colorful dessert that brightens your day.

Ingredients You’ll Need
The magic of this fudge comes from a handful of simple but incredibly effective ingredients, each playing a crucial role in achieving that perfect texture, flavor, and look. These essentials ensure your fudge is creamy, flavorful, and visually delightful.
- White chocolate chips: These provide the rich, creamy base that makes the fudge decadently smooth and sweet.
- Sweetened condensed milk: This adds the perfect binding sweetness and a velvety texture.
- Bubblegum flavoring or extract: This is the star ingredient that gives the fudge its unique, nostalgic bubblegum taste.
- Gel food coloring (pink or blue): Optional but highly recommended for vibrant, fun colors without affecting the fudge’s texture.
- Mini marshmallows: These little clouds add a delightful chewiness and softness contrast within the fudge.
- Colorful sprinkles: Also optional, but they bring a playful, festive touch perfect for topping your fudge squares.
How to Make Bubblegum Cloud Fudge Recipe
Step 1: Prepare Your Pan
Start by lining an 8×8-inch baking pan with parchment paper. This step makes sure your fudge will come out clean and easy to cut once set, preventing any stickiness or mess.
Step 2: Melt White Chocolate and Condensed Milk
Using a medium saucepan on low heat, melt the white chocolate chips together with the sweetened condensed milk. Stir constantly to blend these two until they form a silky smooth liquid without lumps, the foundation for your fudge’s creamy texture.
Step 3: Add Bubblegum Flavor and Color
Once the chocolate mixture is smooth and off the heat, stir in your bubblegum flavoring along with gel food coloring if you want to give your fudge a lively pink or blue hue. This step infuses that playful bubblegum essence straight into the fudge.
Step 4: Fold in Mini Marshmallows
Gently fold the mini marshmallows into the mixture, ensuring they are evenly distributed without melting, adding delightful little pops of softness throughout your fudge.
Step 5: Pour and Chill
Pour the fudge batter into your prepared pan and smooth the top with a spatula. Sprinkle your colorful sprinkles on top for that extra spark of joy. Transfer the pan to the refrigerator and let it chill for 2 to 3 hours until completely set and firm.
Step 6: Slice and Serve
Once firm, carefully lift the fudge out using the parchment paper and cut it into about 36 small squares — perfect little bites bursting with bubblegum delight.
How to Serve Bubblegum Cloud Fudge Recipe
Garnishes
Adding an extra touch with colorful sprinkles not only enhances texture but also makes this fudge irresistibly fun and festive. You can also sprinkle some edible glitter or even mini candy pearls to up the wow factor for special occasions.
Side Dishes
Bubblegum Cloud Fudge pairs wonderfully with a chilled glass of milk or a scoop of vanilla ice cream. For a party, consider serving it alongside fresh fruit or a light sorbet to balance the sweetness and add a refreshing contrast.
Creative Ways to Present
These fudge squares look adorable arranged on a themed platter or stacked in a decorative jar as party favors. Wrapping individual pieces in colorful wax paper tied with ribbon makes for a charming gift or cute addition to a dessert buffet.
Make Ahead and Storage
Storing Leftovers
Keep any leftover fudge in an airtight container in the refrigerator to maintain freshness and prevent drying out. Stored properly, it should stay perfect for up to one week.
Freezing
You can freeze the fudge by wrapping individual pieces in plastic wrap and placing them in a freezer-safe bag. This lets you enjoy the treat even weeks later. Thaw in the refrigerator overnight before serving for the best texture.
Reheating
Since fudge is best enjoyed chilled or at room temperature, reheating is generally unnecessary. If you like it a bit softer, let it sit out for about 15 minutes to reach the ideal creamy consistency.
FAQs
Can I use milk chocolate instead of white chocolate chips?
While milk chocolate can be substituted, it will change the flavor and color of the fudge significantly, making it less ‘cloud-like’ and altering the bubblegum flavor’s brightness. White chocolate is preferred for the authentic look and taste.
Where can I find bubblegum flavoring?
Bubblegum flavoring or extract is available in specialty baking stores, some grocery stores, or online. Look for a high-quality product to get that genuine bubblegum taste in your fudge.
Is this recipe suitable for kids?
Absolutely! The Bubblegum Cloud Fudge Recipe is a kid-friendly, no-bake dessert that’s fun to make and enjoy together, with safe ingredients and bright, appealing colors.
Can I skip the gel food coloring?
Yes, the fudge will still taste amazing without food coloring. The gel coloring is just to give those vibrant pink or blue hues that make the fudge visually enticing, especially for parties or themed events.
How long does it take for the fudge to set?
The fudge typically needs about 2 to 3 hours in the refrigerator to firm up completely. Patience during this chilling phase ensures easy slicing and the perfect fudge texture.
Final Thoughts
Now that you know how to whip up this delightful Bubblegum Cloud Fudge Recipe, I encourage you to give it a try and experience the joy it brings. It’s a fun, colorful treat that’s quick to make and guaranteed to brighten any day. Whether you’re treating yourself or sharing with friends and family, this fudge will surely become a beloved classic in your dessert repertoire.
Print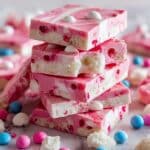
Bubblegum Cloud Fudge Recipe
- Prep Time: 10 minutes
- Cook Time: 5 minutes
- Total Time: 15 minutes plus 2-3 hours chilling
- Yield: 36 small squares
- Category: Dessert
- Method: No-Cook
- Cuisine: American
- Diet: Vegetarian
Description
Bubblegum Cloud Fudge is a whimsical and colorful treat featuring creamy white chocolate, sweetened condensed milk, and a fun bubblegum flavor. This no-bake fudge is enhanced with mini marshmallows for a light, fluffy texture and finished with vibrant sprinkles to make it perfect for parties and kid-friendly celebrations.
Ingredients
Fudge Base
- 3 cups white chocolate chips
- 1 can (14 ounces) sweetened condensed milk
- 1 teaspoon bubblegum flavoring or extract
- Pink or blue gel food coloring (optional)
Add-ins & Topping
- 1/2 cup mini marshmallows
- Colorful sprinkles (optional, for topping)
Instructions
- Prepare the Pan: Line an 8×8-inch baking pan with parchment paper and set aside to prevent sticking and allow for easy removal of the fudge.
- Melt Ingredients: In a medium saucepan over low heat, melt together the white chocolate chips and sweetened condensed milk, stirring constantly until the mixture is smooth and completely melted.
- Add Flavor & Color: Remove the saucepan from heat and stir in the bubblegum flavoring and optional gel food coloring, mixing until evenly combined to achieve the desired color and flavor.
- Fold in Marshmallows: Gently fold the mini marshmallows into the fudge mixture, distributing them evenly without melting them.
- Pour & Smooth: Pour the fudge mixture into the prepared pan, smoothing the top with a spatula to create an even surface.
- Add Toppings: Sprinkle colorful sprinkles on top if desired for a festive appearance.
- Chill to Set: Refrigerate the fudge for 2–3 hours, or until firm and fully set.
- Cut and Serve: Once set, lift the fudge out of the pan using the parchment paper, cut into 36 small squares, and serve.
Notes
- Use gel food coloring for the brightest colors without altering the fudge’s texture.
- Store fudge in an airtight container in the refrigerator for up to one week to maintain freshness.


