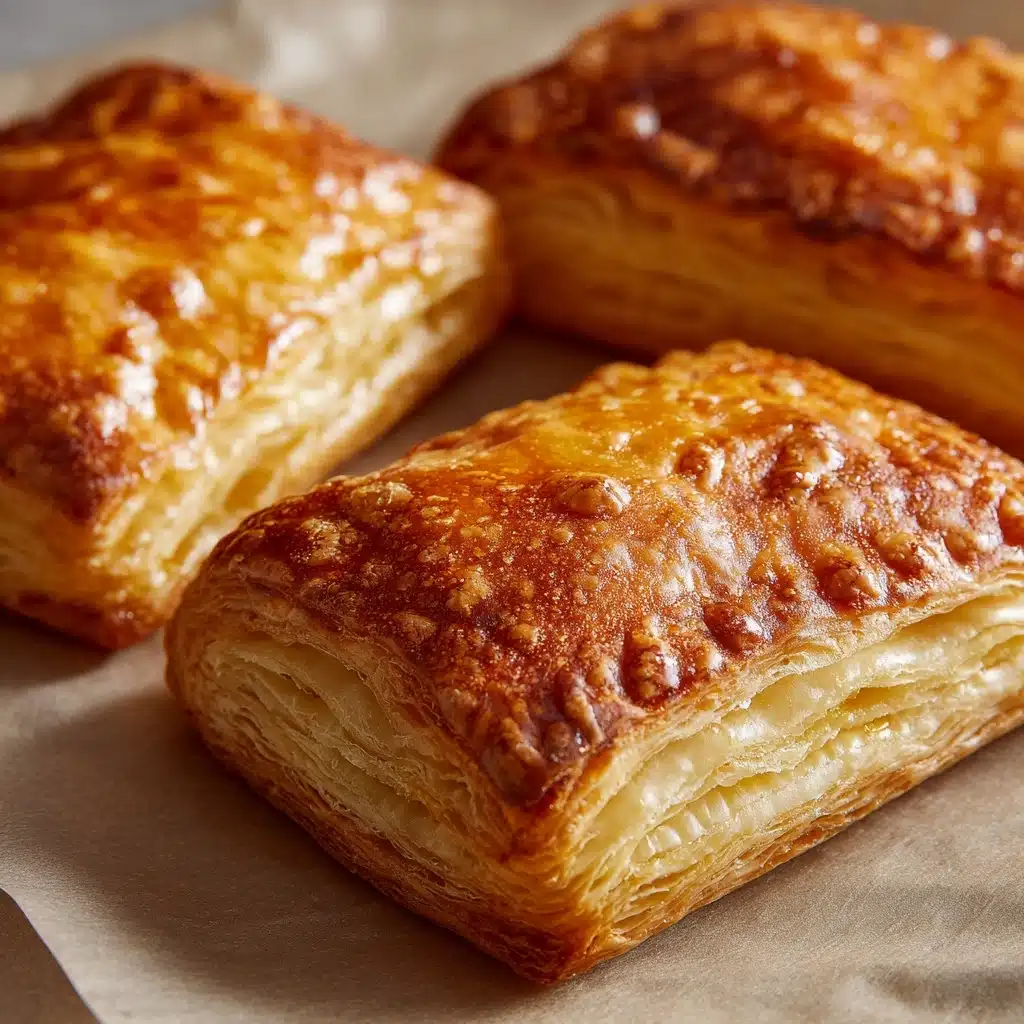
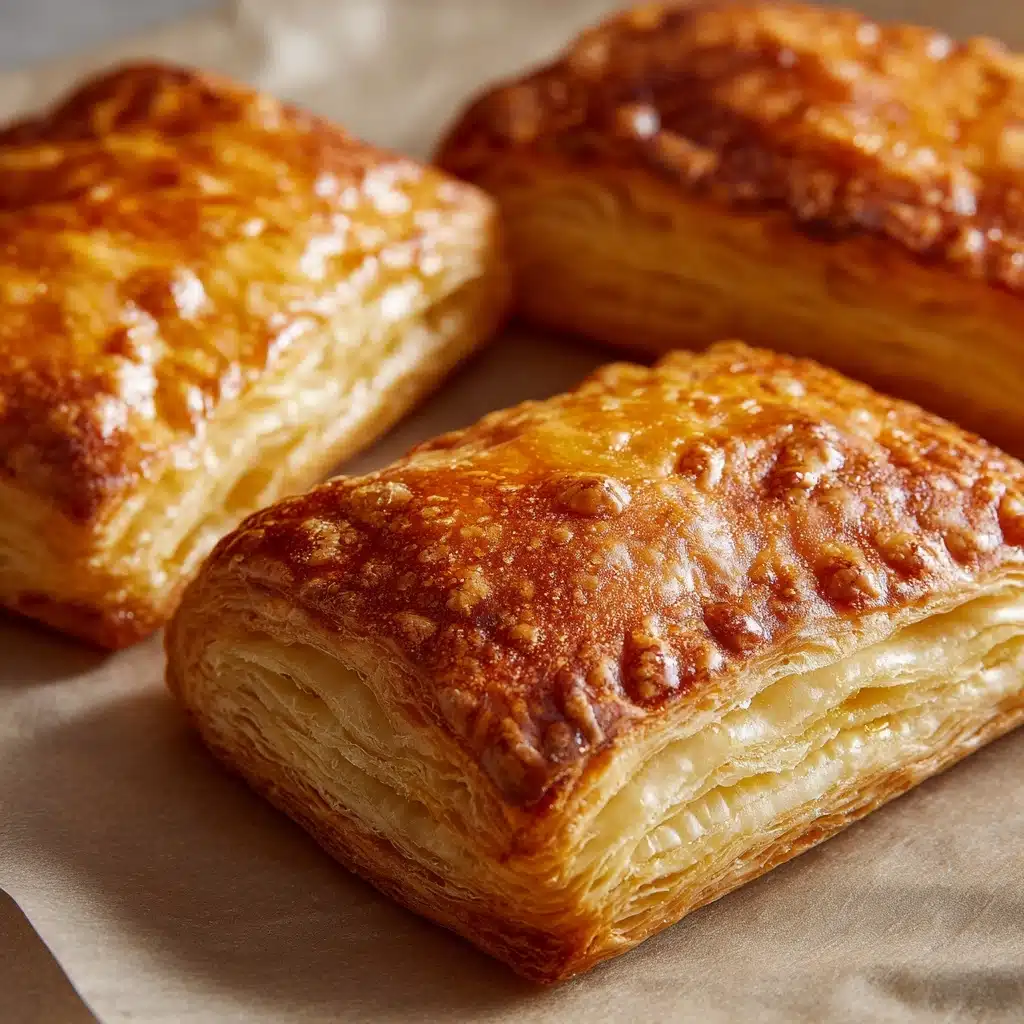
If you’re ready to take your mornings from ordinary to pure childhood-nostalgia bliss, these Breakfast Pop-Tarts are here to answer your cravings. Flaky, golden pastry pockets loaded with jammy fruit filling, topped with a dreamy vanilla glaze and a festival of sprinkles—each bite feels like a little celebration at your breakfast table. Homemade Breakfast Pop-Tarts are shockingly simple to whip up and allow you to customize every detail, from the jam filling to the colorful toppings. Trust me, once you taste these, those store-bought toaster versions will never look the same.
Ingredients You’ll Need
-
For the Pop-Tarts:
- 2 refrigerated pie crusts (or homemade pastry)
- 1/2 cup fruit jam or preserves (any flavor)
- 1 tablespoon cornstarch
- 1 egg (beaten, for egg wash)
For the Glaze:
- 1 cup powdered sugar
- 1–2 tablespoons milk
- 1/2 teaspoon vanilla extract
- sprinkles for topping (optional)
How to Make Breakfast Pop-Tarts
Step 1: Prep the Oven and Baking Sheet
Preheat your oven to 375°F (190°C) and line a baking sheet with parchment paper. This step is all about setting yourself up for pastry-baking success by ensuring nothing sticks and your Breakfast Pop-Tarts bake evenly.
Step 2: Mix Up the Jam Filling
In a small bowl, combine your chosen fruit jam with the cornstarch until there are no lumps. This simple mix ensures a thick, luscious center that stays put inside the pastry as it bakes—no more leaky pop-tarts!
Step 3: Roll and Cut the Pie Crusts
Unroll the pie crusts onto a lightly floured surface and use a rolling pin to gently thin them out. This step helps you get six generous rectangles (about 3 by 4 inches each), and a more delicate crunch once baked.
Step 4: Fill and Seal the Pastries
Place a generous tablespoon of the jam filling onto half of your rectangles, leaving a small border around the edges. Brush the edges with beaten egg, then cover each with a second rectangle of dough. Carefully crimp the edges with a fork to seal all the fruity goodness inside and use a fork to poke a few holes in the tops for steam to escape. This is what gives classic Breakfast Pop-Tarts their familiar look (and keeps them from puffing up too much).
Step 5: Bake Until Golden and Cool Completely
Arrange the filled pastries on your prepared baking sheet. Brush the tops with remaining egg wash for extra shine, then bake for 15–18 minutes or until they’re golden brown and crisp around the edges. Let your pop-tarts cool completely on a rack—this helps set that flaky pastry and makes glazing way easier.
Step 6: Glaze and Decorate
While the pop-tarts are cooling, whisk together the powdered sugar, milk, and vanilla extract until smooth. Drizzle and spread the glaze over the cooled pastries, then shower them with sprinkles if you like. Let the icing set before serving—if you can possibly wait that long!
How to Serve Breakfast Pop-Tarts

Garnishes
For the most eye-catching Breakfast Pop-Tarts, go wild with decorations: multi-colored sprinkles give a retro vibe, while finely chopped nuts or a dusting of citrus zest can add grown-up flair. You can even drizzle a little extra melted chocolate or a swipe of peanut butter glaze for a fun twist.
Side Dishes
Turn your pop-tart into a true breakfast spread by pairing it with fresh berries or a small bowl of yogurt. For something heartier, a side of scrambled eggs or a smoothie balances that sweet pastry with satisfying protein and freshness. Coffee or a tall glass of cold milk is practically a must!
Creative Ways to Present
If you’re serving these to guests or celebrating a special morning, stack cooled, iced Breakfast Pop-Tarts on a platter with pastel napkins tucked underneath. For a brunch party, offer a “dipping bar” with bowls of extra glaze and toppings like mini chocolate chips and chopped nuts. Or wrap each pop-tart in parchment and tie with string for adorable breakfast favors.
Make Ahead and Storage
Storing Leftovers
Store leftover Breakfast Pop-Tarts in an airtight container at room temperature for up to two days. If you’d like them to stay even fresher, pop the container in the fridge for up to five days. The pastry stays pleasantly crisp and the jam center remains gooey.
Freezing
You can absolutely freeze Breakfast Pop-Tarts! Simply arrange them in a single layer on a tray, freeze until solid, and then transfer to a freezer-safe bag. They keep well for up to two months. For best results, thaw overnight in the fridge before enjoying.
Reheating
To recapture that fresh-baked magic, gently reheat refrigerated or thawed pop-tarts in a toaster oven at 325°F for just a few minutes. You can also use a conventional toaster for unglazed pop-tarts, but for ones with glaze, an oven is your best bet to avoid a sticky mess.
FAQs
Can I use puff pastry instead of regular pie crust?
While you can use puff pastry, the texture will be much flakier and airier, which changes the classic Breakfast Pop-Tarts experience. Regular pie crust delivers that nostalgic balance of tender and crisp.
How do I keep the filling from leaking out?
Mixing the jam with cornstarch helps thicken it as it bakes, and carefully sealing the edges with egg wash and a fork keeps everything contained. Be sure to leave a border around the filling and don’t over-stuff!
Can I make these gluten-free?
Absolutely! Swap in your favorite gluten-free pie crust recipe or store-bought crust. The method stays the same, so you’ll still get tasty, golden Breakfast Pop-Tarts that everyone can enjoy.
What other fillings can I try?
The sky’s the limit: Nutella, peanut butter, sweetened cream cheese, lemon curd, or even apple butter all work beautifully. Try seasonal jams or even a savory option for fun breakfast variety.
Can I prepare Breakfast Pop-Tarts ahead of time?
Yes, you can assemble the pop-tarts and store them (unbaked and covered) in the refrigerator overnight. Bake them fresh in the morning for the flakiest pastry and warm, gooey filling.
Final Thoughts
Homemade Breakfast Pop-Tarts are such a joyful treat—simple to make, endlessly customizable, and likely to disappear faster than you expect. Don’t be surprised if these become a new breakfast tradition in your house. Get creative, have fun with the fillings, and enjoy sharing a little nostalgic happiness right from your own oven!
Print
Breakfast Pop-Tarts Recipe
- Prep Time: 15 minutes
- Cook Time: 18 minutes
- Total Time: 33 minutes
- Yield: 6 pop-tarts
- Category: Breakfast, Snack
- Method: Baking
- Cuisine: American
- Diet: Vegetarian
Description
Indulge in these homemade Breakfast Pop-Tarts that are filled with fruity jam and topped with a sweet glaze. Perfect for a delightful breakfast or a snack, these pastries are easy to make and customizable with different fillings.
Ingredients
For the Pop-Tarts:
- 2 refrigerated pie crusts (or homemade pastry)
- 1/2 cup fruit jam or preserves (any flavor)
- 1 tablespoon cornstarch
- 1 egg (beaten, for egg wash)
For the Glaze:
- 1 cup powdered sugar
- 1–2 tablespoons milk
- 1/2 teaspoon vanilla extract
- sprinkles for topping (optional)
Instructions
- Preheat Oven: Preheat oven to 375°F (190°C) and line a baking sheet with parchment paper.
- Prepare Filling: Mix jam and cornstarch in a small bowl until smooth.
- Assemble Pop-Tarts: Roll out pie crusts, cut into rectangles, spoon jam onto half of them, seal with remaining rectangles, and prick the tops.
- Bake: Bake for 15–18 minutes until golden brown. Let cool.
- Make Glaze: Mix powdered sugar, milk, and vanilla until smooth.
- Glaze Pop-Tarts: Spoon glaze over cooled pop-tarts and top with sprinkles.
- Serve: Allow the icing to set before serving.
Notes
- Experiment with fillings like Nutella or peanut butter.
- Use gluten-free pie crust for a gluten-free version.
- Store in an airtight container at room temperature for 2 days or refrigerate for longer freshness.


