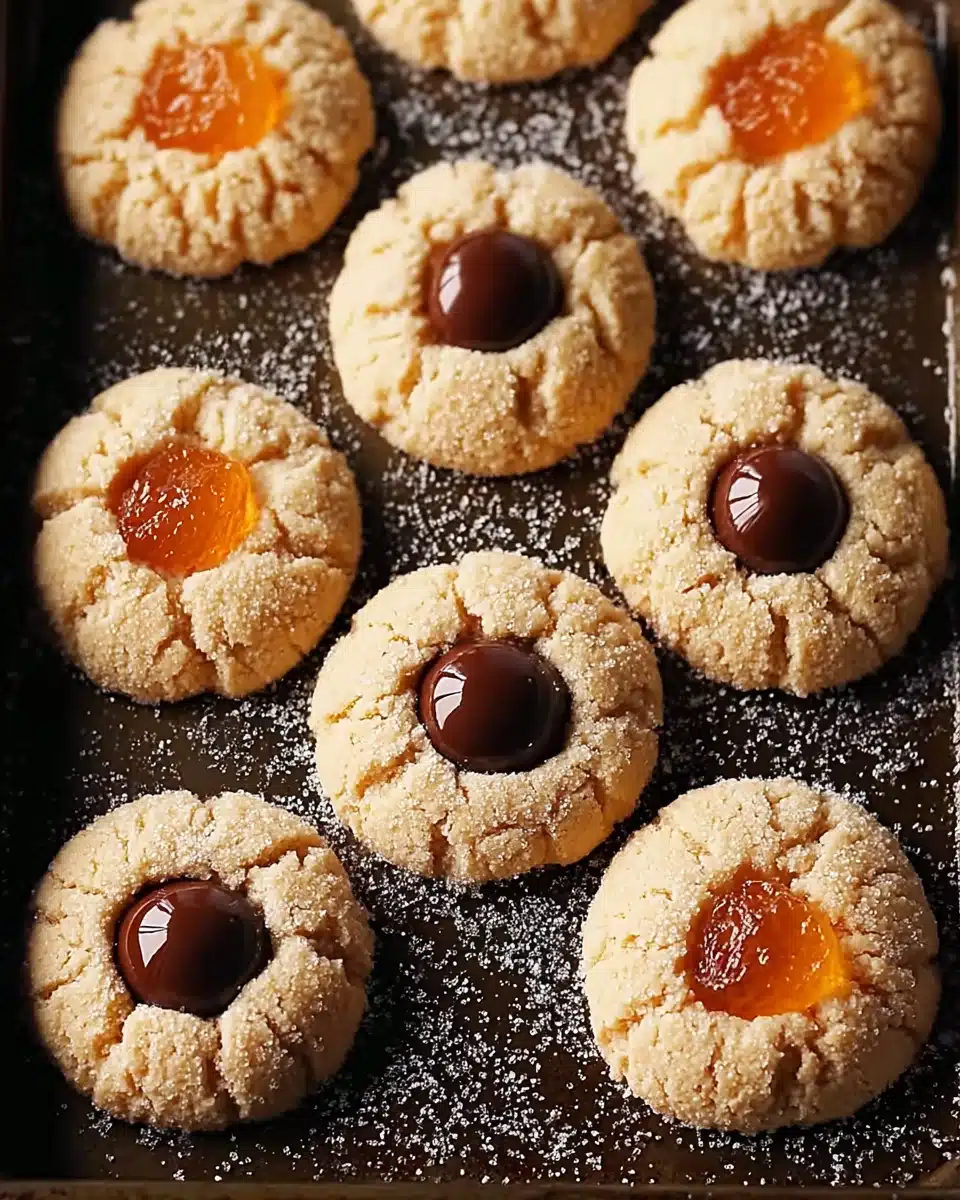
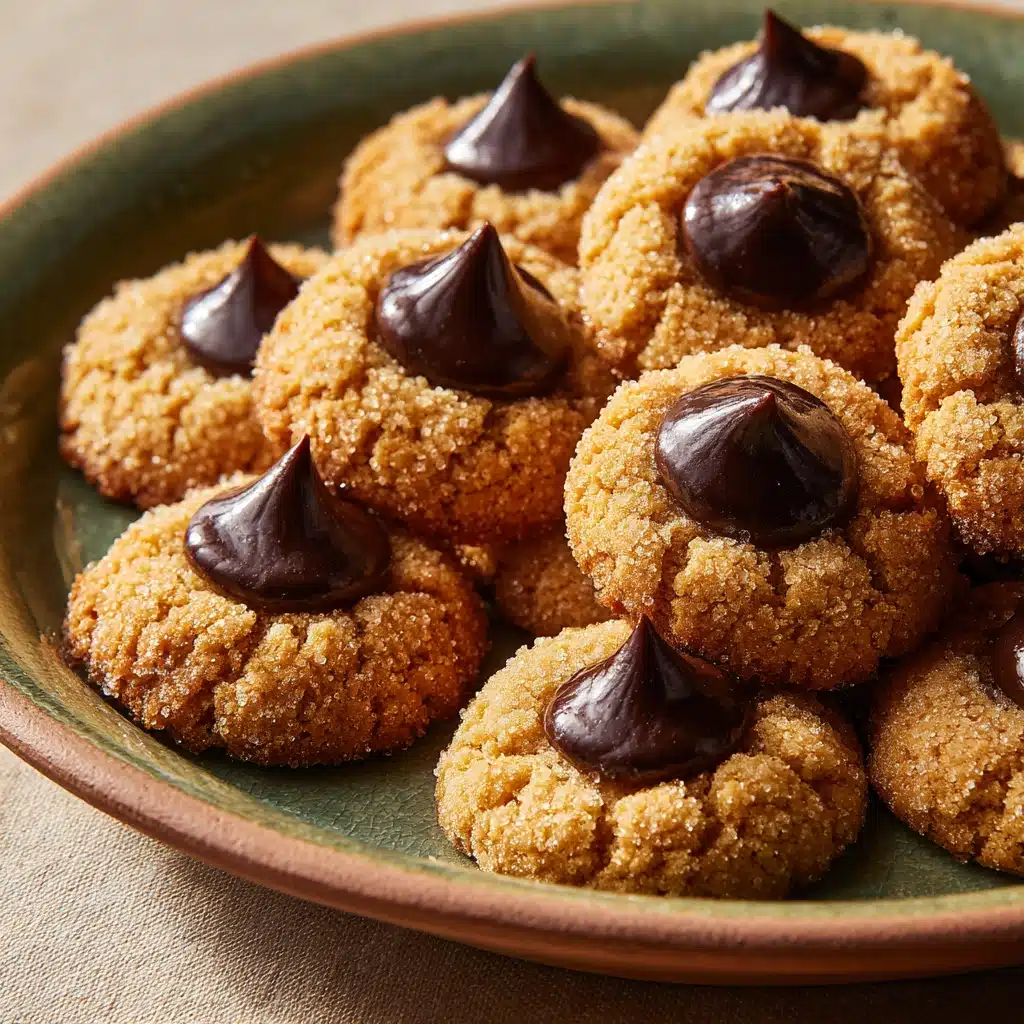
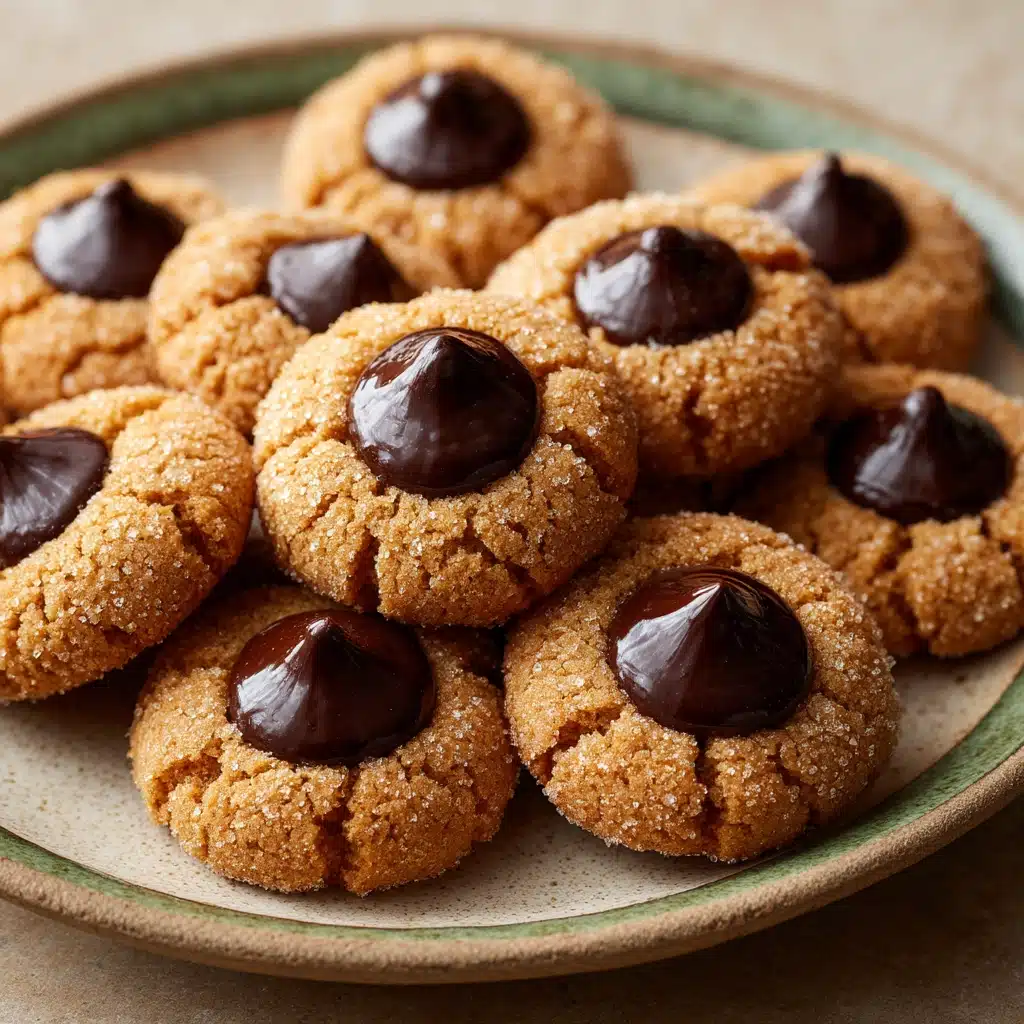
If you’re on the hunt for a treat that marries melt-in-your-mouth peanut butter dough with the instant joy of a chocolate kiss, look no further than Blossom Cookies. The irresistible blend of nutty, soft cookie and that iconic chocolate center makes these cookies a festive favorite year-round, not just at the holidays. They’re delightfully nostalgic yet always welcomed with bright eyes — easy enough for baking with little helpers but sophisticated enough for gifting. There’s pure magic in pressing that chocolate kiss into a warm, sugar-coated cookie, and once you try Blossom Cookies, you’ll find yourself reaching for the recipe time and time again.
Ingredients You’ll Need
The beauty of Blossom Cookies lies in their simplicity—each ingredient has a star role, from the creamy peanut butter to the crown of chocolate. Don’t skimp or swap: these essentials guarantee the signature flavor, iconic look, and irresistible texture you crave.
- Peanut Butter: Go for creamy peanut butter for the smoothest, classic base—natural versions can change the texture.
- Unsalted Butter: Make sure it’s softened to room temperature for best creaming and cookie tenderness.
- Granulated Sugar: Adds sweetness and helps give that sparkling, crackled finish after rolling.
- Brown Sugar: For a touch of caramel flavor and added chewiness.
- Egg: Binds everything and creates the perfect cookie crumb.
- Vanilla Extract: Brings warmth and depth to the dough, a true game changer.
- All-Purpose Flour: Provides structure while keeping the cookie base soft—not cakey.
- Baking Soda: For that gentle lift and perfect, tender bite.
- Salt: Just a pinch brings all the flavors into delicious balance.
- Chocolate Kisses: No substitutions here—the classic finishing touch that defines Blossom Cookies.
- Extra Sugar for Rolling: The crystal coating that adds sparkle and a hint of crunch with every bite.
How to Make Blossom Cookies
Step 1: Cream the Wet Ingredients
Start by beating together your peanut butter, softened butter, granulated sugar, and brown sugar until the mixture is fluffy and light in color. This step is essential for cookies that puff up perfectly and have the classic tender texture—creaming the fats with sugar creates pockets of air and evenly distributes everything.
Step 2: Add the Egg and Vanilla
Beat in the egg and a generous splash of vanilla extract. The egg helps the cookies hold their shape, while vanilla rounds out the peanut butter’s richness and brings that homemade bakery aroma we all love.
Step 3: Mix the Dry Ingredients
In a separate bowl, whisk together your flour, baking soda, and salt. This ensures that every bite of your Blossom Cookies is well balanced and rises evenly. Stir the dry mix into the wet ingredients until just combined—don’t overmix, or you might lose that tender crumb.
Step 4: Shape and Roll in Sugar
Scoop tablespoon-sized pieces of dough, roll them into balls, and then toss each one into a shallow dish of sugar. The extra sugar makes the surface sparkle and delivers a sweet crunchy edge that’s completely delicious once baked.
Step 5: Bake the Cookies
Arrange your sugar-rolled dough balls on a parchment-lined baking sheet, leaving space for spreading. Bake at 350°F (175°C) for about 8–10 minutes—just until the tops crackle and the edges set, but don’t wait for browning. You want them soft!
Step 6: Press in the Chocolate Kisses
The magic moment: As soon as the cookies come out of the oven, gently press a chocolate kiss into the center of each one. The warmth melts the base of the chocolate, causing it to stick and slightly soften, but it will firm back up as the cookies cool. Let them sit undisturbed to set the chocolate before moving.
How to Serve Blossom Cookies
Garnishes
While these cookies shine on their own, you can sprinkle an extra pinch of flaky sea salt over the chocolate kiss for next-level deliciousness. A drizzle of melted chocolate or a dusting of cocoa powder around the plate can elevate presentation for special occasions.
Side Dishes
Pair Blossom Cookies with a cold glass of milk, a mug of hot cocoa, or rich coffee to complement the sweet-salty flavors. For dessert platters, add fresh berries or chocolate-dipped fruit for a splash of color and variety.
Creative Ways to Present
Stack your Blossom Cookies in clear jars for gifting, or arrange them in pretty boxes with festive ribbon. At gatherings, lay them out in concentric circles on a platter, alternating with mini marshmallows or colorful candies for a playful party centerpiece.
Make Ahead and Storage
Storing Leftovers
Keep leftover Blossom Cookies in an airtight container at room temperature for up to a week. They stay soft and inviting, and the chocolate remains perfectly set—just like the day you made them!
Freezing
Blossom Cookies are wonderfully freezer-friendly. Cool them completely, then layer with parchment in a freezer-safe container. Freeze for up to two months, and thaw on the counter to restore that freshly baked magic.
Reheating
To revive that bakery-fresh warmth, pop a cookie (or a few!) in the microwave for just 5–7 seconds. This softens the cookie and melts the chocolate ever-so-slightly—the result tastes like they’re straight from the oven.
FAQs
Can I use other nut butters instead of peanut butter?
Absolutely! Almond butter or cashew butter can stand in for peanut butter, but aim for a creamy, not all-natural style to keep the classic Blossom Cookies texture. The flavor will change but still be delicious.
Why did my cookies turn out dry or crumbly?
Overbaking is the most common culprit. Take them out when they look slightly underdone and set at the edges—the residual heat will finish the job, leaving you with soft, chewy centers.
Can I freeze the dough before baking?
Yes, roll the dough into balls, roll in sugar, and freeze on a baking sheet until solid. Store in a zip-top bag. When ready to bake, place straight onto the sheet and add an extra minute or two baking time.
Do the chocolate kisses melt too much on the cookies?
They’ll soften but keep their iconic shape if you press them in right after baking, and let the cookies cool completely before moving. For best results, chill the kisses before using on warm cookies.
Are Blossom Cookies gluten-free?
Not as written, but you can use a 1:1 gluten-free flour blend with success. Be sure all other ingredients (including chocolates) are certified gluten-free if serving someone with dietary restrictions.
Final Thoughts
There’s a special kind of joy that comes from baking and sharing Blossom Cookies—nothing brightens a day or a dessert platter quite like them. Give this charming recipe a try and see how quickly these sweets become a cherished tradition in your kitchen!
Print
Blossom Cookies Recipe
- Prep Time: 15 minutes
- Cook Time: 8–10 minutes
- Total Time: 25 minutes
- Yield: 24 cookies
- Category: Dessert
- Method: Baking
- Cuisine: American
- Diet: Vegetarian
Description
A melt-in-your-mouth peanut butter dough topped with a chocolate kiss, creating the perfect sweet and salty treat that’s always a crowd-pleaser.
Ingredients
- 1 cup creamy peanut butter
- 1/2 cup unsalted butter, softened
- 1/2 cup granulated sugar
- 1/2 cup brown sugar
- 1 large egg
- 1 tsp vanilla extract
- 1 1/2 cups all-purpose flour
- 1 tsp baking soda
- 1/4 tsp salt
- 24 chocolate kisses (unwrapped)
- Extra sugar for rolling
Instructions
- Preheat your oven to 350°F (175°C). Line a baking sheet with parchment paper.
- In a large mixing bowl, cream together the peanut butter, unsalted butter, granulated sugar, and brown sugar until fluffy and light in color.
- Beat in the egg and vanilla extract until fully combined.
- In a separate bowl, whisk together the flour, baking soda, and salt. Gradually add the dry ingredients to the wet ingredients, mixing until just combined.
- Scoop tablespoon-sized portions of dough and roll them into balls. Roll each dough ball in the extra sugar to coat.
- Place the sugar-coated dough balls on the prepared baking sheet, spacing them about 2 inches apart.
- Bake for 8–10 minutes, or until the tops crackle and the edges are set (they should still be soft in the center).
- As soon as the cookies come out of the oven, gently press a chocolate kiss into the center of each one. Let the cookies cool on the sheet for a few minutes before transferring them to a wire rack to cool completely.
Notes
- For a unique twist, sprinkle the tops of the cookies with a pinch of flaky sea salt after pressing in the chocolate kisses.
- These cookies are best enjoyed fresh, but they store well for up to a week in an airtight container at room temperature.
- To freeze the dough, roll the dough balls and freeze them before baking. When ready to bake, place frozen dough balls on the baking sheet and add an extra minute or two of baking time.

