

If you’re searching for a show-stopping sweet treat that’s uniquely creamy, fruity, and decadently rich, you’re about to meet your new go-to confection: Banana Fudge. This no-bake wonder is lusciously smooth thanks to ripe bananas and white chocolate, with a melt-in-your-mouth texture that’s simply irresistible. The best part? It’s incredibly simple to prepare, making it perfect for both beginners and seasoned dessert aficionados who want to wow family and friends with something just a little different.

Ingredients You’ll Need
Every ingredient in this Banana Fudge recipe plays a starring role. It’s a short list, but each component is chosen for the way it brings flavor, texture, or that eye-catching finish. By gathering these simple staples, you’re halfway to a truly unforgettable treat.
- Ripe Bananas: Use well-spotted, fully ripe bananas for the biggest flavor punch and a naturally sweet, velvety base.
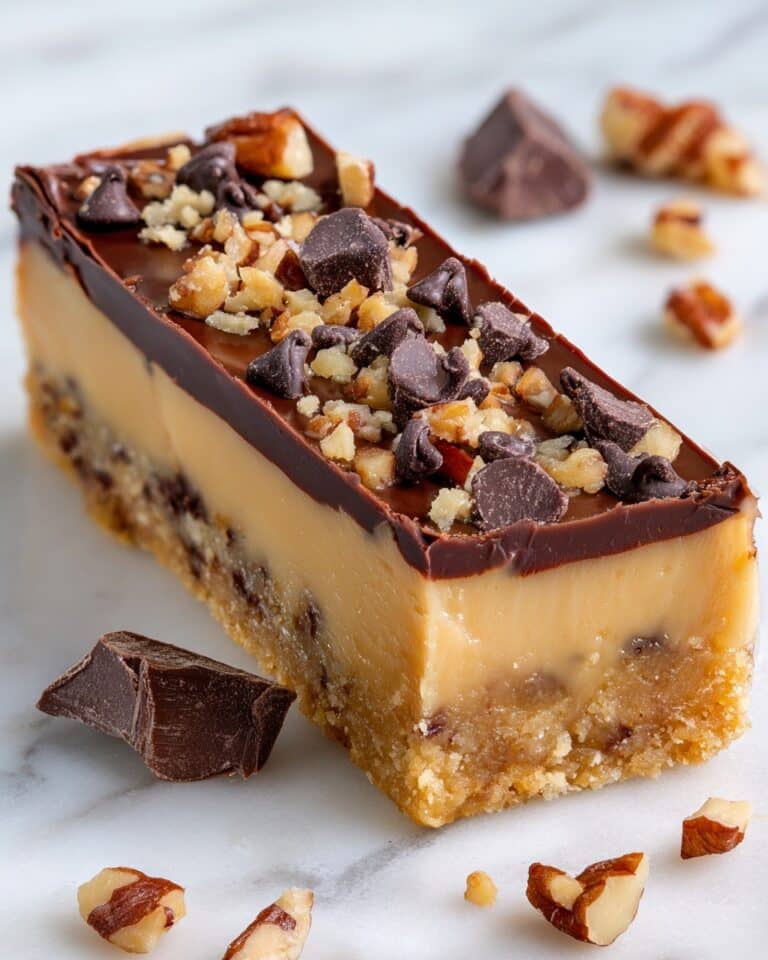
- White Chocolate Chips: These add creamy richness and help the fudge set to luscious perfection.
- Sweetened Condensed Milk: Gives the Banana Fudge its classic tenderness and that lovely, caramelly sweetness.
- Unsalted Butter: Makes every bite silky and keeps the fudge from feeling too heavy or greasy.
- Vanilla Extract: Adds warmth and brings the banana and white chocolate flavors together.
- Salt: Just a pinch balances the sweetness and deepens the flavor profile.
- Ground Cinnamon (Optional): For a cozy, spiced note that pairs beautifully with banana—feel free to skip or make it your signature twist!
- Chopped Walnuts or Banana Chips (Optional): Sprinkle on top for a nutty crunch or extra banana flair.
How to Make Banana Fudge
Step 1: Prep Your Pan
Start by lining an 8×8-inch baking dish with parchment paper, allowing the edges to overhang so you can easily lift the fudge out later. This simple move saves you a world of trouble when it comes time to slice—and means less cleanup, too!
Step 2: Melt the Chocolate Base
In a medium saucepan over low heat, combine the white chocolate chips, sweetened condensed milk, and unsalted butter. Stir constantly, using a spatula to keep everything moving and ensure the chocolate doesn’t scorch. In just a few minutes, you’ll have a smooth, glossy mixture that smells like dessert heaven.
Step 3: Add the Banana Fudge Magic
Take the pan off the heat. Quickly add your mashed bananas, vanilla extract, salt, and cinnamon (if you’re using it). Stir well until everything is completely blended—no streaks, just one dreamy, cohesive fudge mixture. The warm chocolate will slightly soften the bananas, creating the silkiest texture and infusing every bite with banana essence.
Step 4: Pour and Garnish
Pour the fudge mixture into your lined pan, using a spatula to smooth the top. For an extra-special touch, sprinkle with chopped walnuts or banana chips. These finishes aren’t just pretty—they add satisfying crunch and an extra pop of flavor.
Step 5: Chill Until Firm
Refrigerate your Banana Fudge for at least 3 hours, or until it’s fully set and easy to cut. This is the hardest part—the waiting! But trust me, the anticipation makes that first taste all the sweeter.
Step 6: Slice and Enjoy
Once firm, lift the fudge out of the pan using the parchment edges. Cut into small squares—36 is just the right number for bite-sized treats everyone can enjoy. Serve chilled, and wait for the oohs and aahs!
How to Serve Banana Fudge

Garnishes
Go the extra mile with your garnishes for Banana Fudge. Chopped walnuts give each piece a satisfying, toasty crunch that contrasts wonderfully with the creamy fudge, while banana chips on top add a playful, tropical look and amp up that banana flavor. You can even dust with a sprinkle of cinnamon or drizzle a little melted white chocolate over the top for maximum wow factor.
Side Dishes
Banana Fudge stands tall on its own, but it’s even better surrounded by a few complementary sides. Serve alongside fresh berries, a light fruit salad, or a platter of crisp cookies for texture contrast. For a decadent dessert board, try pairing small squares of fudge with dark chocolate pieces—chocolate lovers will be overjoyed!
Creative Ways to Present
Presentation is half the fun. Stack Banana Fudge squares on a tiered dessert tray for parties, or wrap them individually in parchment and twine for homemade gifts. For a whimsical twist, serve cubes on cocktail sticks with slices of strawberry or kiwi for colorful, grab-and-go treats that look as delightful as they taste.
Make Ahead and Storage
Storing Leftovers
Store any leftover Banana Fudge in an airtight container in the refrigerator. It keeps beautifully for up to 5 days, retaining its creamy texture and lovely flavor. (But let’s be honest: they rarely last that long!)
Freezing
Want to make Banana Fudge ahead of time? You absolutely can! Freeze individual squares, layered between sheets of parchment in a freezer-safe container. They’ll stay perfect for up to 2 months. When you’re ready to enjoy, simply thaw them in the fridge overnight.
Reheating
If your Banana Fudge has been chilled or frozen for a while and you prefer a slightly softer bite, just let the pieces sit at room temperature for 10 to 15 minutes before serving. There’s no need to microwave or bake—keep it simple and let those creamy flavors shine.
FAQs
Can I use milk chocolate or dark chocolate instead of white chocolate chips?
White chocolate is essential for the iconic taste and color of Banana Fudge, but you can experiment! Keep in mind that using other chocolate will change both the flavor and appearance, making the fudge richer and less fruity. If you’re feeling creative, a half-and-half blend could be delicious.
My fudge didn’t set—what went wrong?
The most common culprit is not chilling the Banana Fudge long enough, or using bananas that are too watery. Make sure you’ve mashed the bananas well and allow plenty of time in the fridge. Resist the urge to speed things up in the freezer, as it can affect consistency.
Can I make this recipe vegan?
Yes! Substitute the butter and condensed milk with vegan versions, and opt for dairy-free white chocolate chips. The method remains the same, so everyone can enjoy this scrumptious treat, regardless of dietary preference.
What size pan should I use if I want thicker fudge squares?
An 8×8-inch pan gives you classic, bite-sized pieces. For thicker, bakery-style squares, use a slightly smaller pan—such as 7×7-inch or even a loaf pan—and simply extend the chilling time until firm throughout.
Can I double the Banana Fudge recipe for a party?
Absolutely! Just use a 9×13-inch baking dish to double all ingredients and make plenty for sharing. The fudge sets just as beautifully in a larger batch—it’s a crowd-pleaser that disappears fast!
Final Thoughts
This Banana Fudge is the kind of dessert that sparks joy at every bite—creamy, rich, and full of banana goodness you can’t help but love. If you’ve never tried making fudge before (or even if you have), give this recipe a go! I promise, it’ll be the sweet treat your family and friends request again and again.
Print
Banana Fudge Recipe
- Prep Time: 15 minutes
- Cook Time: 5 minutes
- Total Time: 3 hours 20 minutes
- Yield: 36 small squares
- Category: Dessert
- Method: No-Bake
- Cuisine: American
- Diet: Vegetarian
Description
Indulge in the creamy, sweet flavors of Banana Fudge with this easy no-bake recipe. Perfect for dessert or a sweet treat, this fudge is infused with ripe bananas and smooth white chocolate for a delightful treat.
Ingredients
For the Banana Fudge:
- 2 ripe bananas (mashed)
- 3 cups white chocolate chips
- 1/2 cup sweetened condensed milk
- 1/4 cup unsalted butter
- 1/2 teaspoon vanilla extract
- 1/4 teaspoon salt
- 1/4 teaspoon ground cinnamon (optional)
- Chopped walnuts or banana chips for topping (optional)
Instructions
- Prepare the Pan: Line an 8×8-inch baking dish with parchment paper.
- Melt Ingredients: In a saucepan over low heat, melt white chocolate chips, sweetened condensed milk, and butter until smooth.
- Add Bananas: Remove from heat and stir in mashed bananas, vanilla extract, salt, and cinnamon if using.
- Set Fudge: Pour mixture into the pan, smooth the top, and add optional toppings.
- Chill: Refrigerate for at least 3 hours until firm, then cut into squares.
Notes
- Use very ripe bananas for the best flavor and texture.
- Store in the refrigerator and consume within 5 days for freshness.

