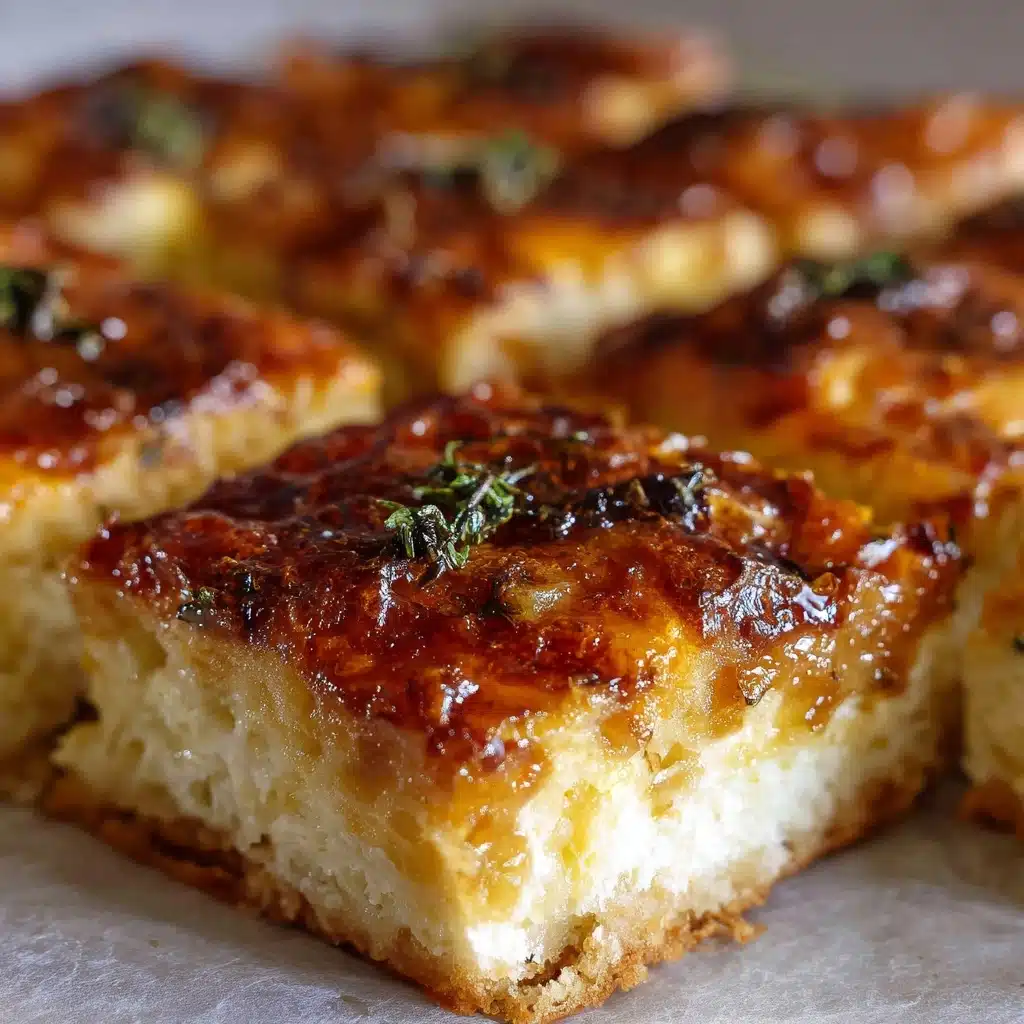
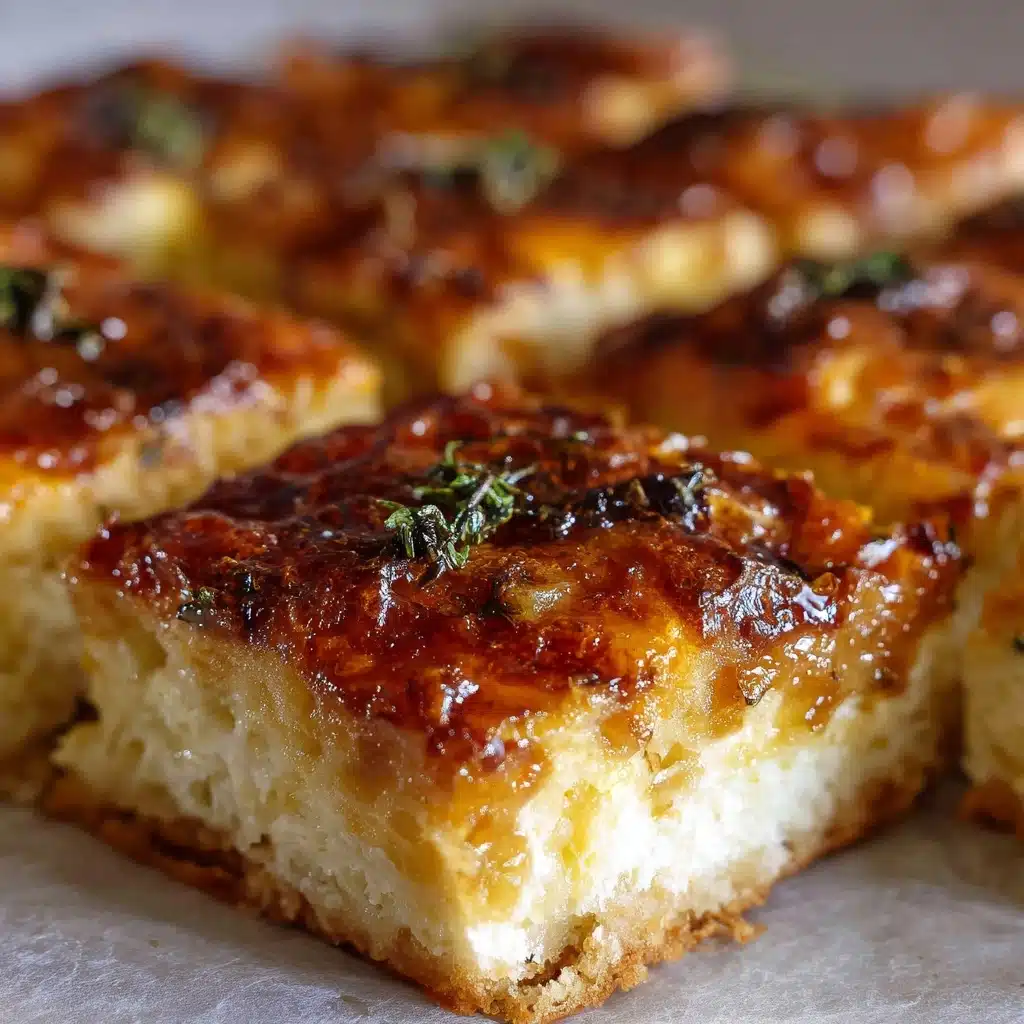
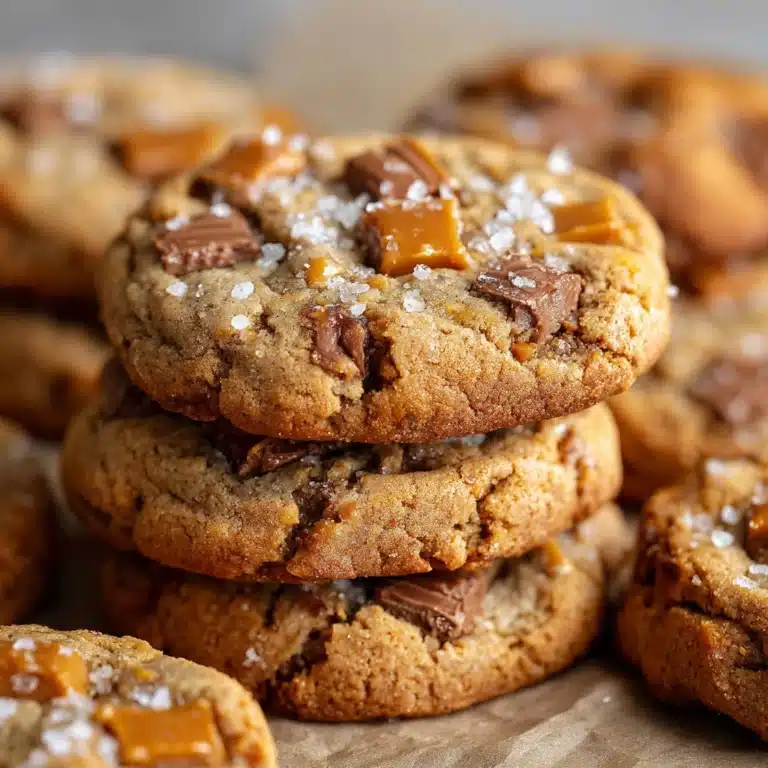
If you’re searching for the ultimate comfort snack that’s joyfully easy and ridiculously delicious, look no further than Cheese Dreams. This vintage recipe takes humble pantry staples and transforms them into golden, bubbly toasts that hit all the right notes: buttery, cheesy, and satisfyingly crisp. Whether you’re after a late-night treat, a lazy brunch, or a crowd-pleasing appetizer, Cheese Dreams will transport you to pure, melty bliss in less time than it takes to set the table.
Ingredients You’ll Need
Ingredients You’ll Need
This recipe proves that with just a handful of basic ingredients, you can whip up a snack that everyone will remember. Each element serves a purpose, delivering rich flavors and irresistible texture—don’t skimp on the details!
- White or sandwich bread: Soft, sturdy slices crisp beautifully under the broiler and provide the perfect canvas for gooey cheese.
- Shredded sharp cheddar cheese: Brings bold, tangy flavor and that signature meltiness we all crave in Cheese Dreams.
- Unsalted butter: Softened butter ensures a golden, crunchy base with every bite.
- Mayonnaise: Adds creaminess to the cheese mixture and helps it spread smoothly over the bread.
- Garlic powder: Infuses a warm, savory note that rounds out the flavors beautifully.
- Paprika: A dash of paprika lends subtle color and a smoky depth.
- Salt: Just a pinch brings everything into balance and enhances the overall flavor.
- Optional sliced tomatoes or cooked bacon: For those wishing to add a fresh or savory touch, tomatoes offer juicy brightness and bacon a salty crunch.
How to Make Cheese Dreams
Step 1: Prepare Your Workspace
Fire up your broiler to high so it’s piping hot when you’re ready. Line a sturdy baking sheet with foil—cleanup will be a breeze, and the foil helps reflect the heat for even browning. Get your ingredients out and ready, because Cheese Dreams come together fast!
Step 2: Create the Cheese Mixture
In a medium bowl, combine the shredded cheddar cheese, mayonnaise, garlic powder, paprika, and just a pinch of salt. Stir it all together with gusto, making sure every shred of cheddar is coated in the creamy, flavorful blend. This is the magical spread that turns plain bread into Cheese Dreams.
Step 3: Butter and Assemble the Toasts
Next, grab your bread slices and spread a thin, even layer of softened butter on one side of each. Arrange the bread, buttered-side down, on the prepared baking sheet—this way, the undersides toast up crisp and golden. Generously spread the cheese mixture over the top of each slice, right out to the edges for maximum melt.
Step 4: Top It Off (Optional)
If you’re feeling a little extra, now’s the time to add your favorite toppings. A slice or two of juicy tomato, or some crispy cooked bacon, takes Cheese Dreams to the next level of indulgence. Arrange your toppings on the cheesy surface so they nestle in and bake up nicely.
Step 5: Broil and Watch Closely
Slide the tray under the broiler and keep a sharp eye—Cheese Dreams go from golden and bubbling to burnt in a flash! Broil for 2 to 4 minutes, just until the cheese is melted and bubbly and the bread edges are gloriously browned. Serve immediately while everything’s hot and irresistible.
How to Serve Cheese Dreams
Garnishes
While Cheese Dreams are iconic on their own, a sprinkle of chopped fresh chives or parsley can add a pop of color and a fresh, herbal aroma. Cracked black pepper gives a gentle bite, and a light drizzle of hot honey brings a sweet kick that complements the sharp cheddar beautifully.
Side Dishes
Your Cheese Dreams pair perfectly with classic sides. Try them with a crisp green salad tossed in a zippy vinaigrette or a warm tomato soup for dunking—honestly, it’s a combo that never goes out of style. For an afternoon pick-me-up, serve alongside crunchy pickles or a cup of fresh fruit.
Creative Ways to Present
Take your Cheese Dreams to party-platter perfection by slicing them into fingers or triangles before serving. Stack them artfully on a board with little bowls of dipping sauces (think spicy ketchup or herbed aioli), or set out a “build your own” bar with different toppings and garnishes for interactive fun at brunches or game nights.
Make Ahead and Storage
Storing Leftovers
If you somehow have Cheese Dreams left after your feast, let them cool to room temperature before wrapping snugly in foil or storing in an airtight container. They’ll keep in the fridge for up to 2 days—just note they’ll lose a bit of crispiness.
Freezing
You can freeze cooked Cheese Dreams for quick snacks anytime. Lay them in a single layer on a tray until firm, then transfer to a freezer-safe bag or container. They’ll last about a month this way; just reheat directly from frozen for best results.
Reheating
For the crispiest, gooey-est result, reheat Cheese Dreams in a toaster oven or under the broiler for a few minutes—just until the cheese is hot and bubbly again. The microwave works in a pinch, but will soften the bread more than revive its crunch.
FAQs
Can I use a different kind of cheese for Cheese Dreams?
Absolutely! While sharp cheddar is classic for its tang and melt, feel free to experiment with Monterey Jack, Swiss, or even pepper jack for a spicier twist. Just make sure your cheese is well-shredded so it melts evenly.
How do I make them vegetarian if I don’t eat bacon?
Simply skip the bacon and stick with classic toppings like tomato slices or fresh herbs. Cheese Dreams are naturally vegetarian if you leave off the meat, making them a super-flexible snack for any crowd.
Can I prepare Cheese Dreams mixture in advance?
Yes! The cheese spread can be mixed together up to a day ahead. Store it in an airtight container in the fridge, and let it come to room temperature before spreading on the bread for best texture and flavor.
What’s the best way to keep Cheese Dreams crispy for a party?
Serve them hot from the broiler and, if needed, hold them in a warm oven (about 200°F) on a wire rack, which lets air circulate and keeps the edges crisp.
Is there a gluten-free version of Cheese Dreams?
Certainly! Use your favorite gluten-free sandwich bread and double-check that all other ingredients are gluten-free. The rich, cheesy topping works perfectly on any bread base.
Final Thoughts
Cheese Dreams are the kind of nostalgic snack that never fails to delight, bringing back cozy memories and making new ones every time you share them. I can’t recommend them enough—whether you serve them at your next party or whip up a batch just for yourself, you’re in for a savory, melty treat that’s as unfussy as it is unforgettable. Come join the Cheese Dreams fan club and taste the magic for yourself!
Print
Cheese Dreams Recipe
- Prep Time: 10 minutes
- Cook Time: 5 minutes
- Total Time: 15 minutes
- Yield: 4 servings
- Category: Snack, Appetizer
- Method: Broiling
- Cuisine: American
- Diet: Non-Vegetarian
Description
Cheese Dreams are a classic and comforting snack or appetizer featuring melted sharp cheddar cheese on buttery toast. Easy to make and perfect for any cheese lover.
Ingredients
Bread:
- 8 slices white or sandwich bread
Cheese Mixture:
- 2 cups shredded sharp cheddar cheese
- 4 tablespoons unsalted butter (softened)
- 2 tablespoons mayonnaise
- 1/2 teaspoon garlic powder
- 1/4 teaspoon paprika
- pinch of salt
Optional Toppings:
- sliced tomatoes or cooked bacon
Instructions
- Preheat and Prepare: Preheat the broiler. Line a baking sheet with foil.
- Mix Cheese: Combine cheddar, mayonnaise, garlic powder, paprika, and salt.
- Assemble: Butter bread slices, place on sheet. Spread cheese mix, add toppings.
- Broil: Broil for 2–4 mins until cheese melts and edges brown.
- Serve: Serve hot.
Notes
- Use thick-sliced bread for sturdier toasts.
- Try adding Dijon mustard or green onions for extra flavor.

